


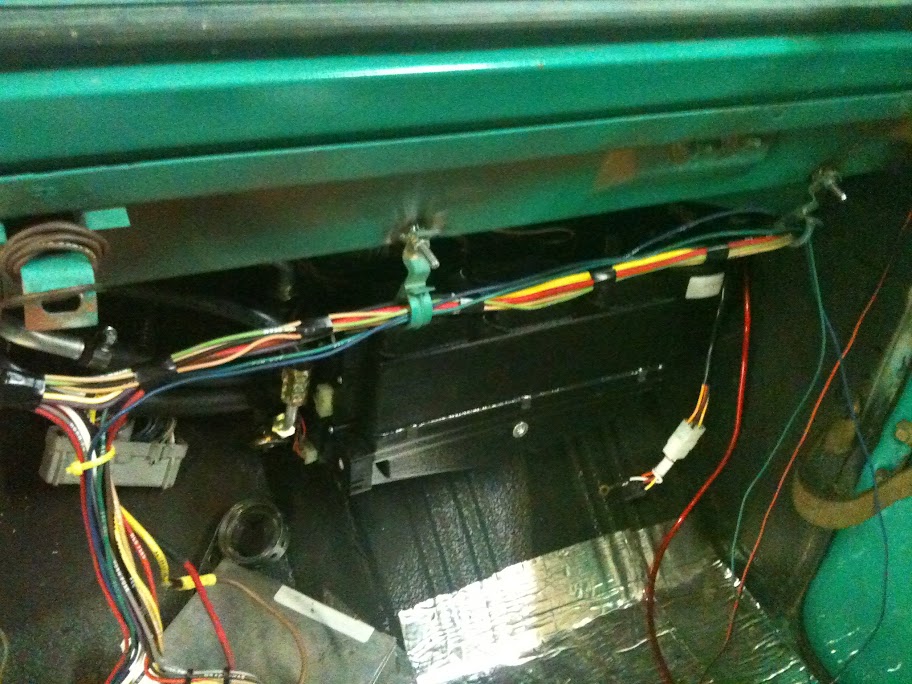
Just mounted up the BC Broncos A/C Evaporator case in the Bronco tonight and I'm concerned about the Expansion Valve resting on the body/hump/firewall as shown in the pic. Anyone else with the BC A/C kit....is your expansion valve head resting on the body like mine is in the pic? If so, what sort of adjustments did you make so it's not resting on the hump/firewall area?
I'm assuming it should not be this way, but no matter which way I shift the evap case around, it's still resting on the hump/firewall sheet metal. It seems like over the long term this would break the expansion valve.
Suggestions? Thanks in advance.
One more....I received a few bags of hardware, bolts, nuts, screws, etc with the kit. Nothing in the instructions that I've found details what goes where and which hardware is to be used for which pieces. Is there a detail on this available?


") The other day a guy called and told me he had to add 1/2" of spacer to move the evap out to clear the exp. valve. Later I was thinking about why his floor would be diff. The insulation is the only thing I can see that would be diff. Hope that helped, if not give me a call.
The other day a guy called and told me he had to add 1/2" of spacer to move the evap out to clear the exp. valve. Later I was thinking about why his floor would be diff. The insulation is the only thing I can see that would be diff. Hope that helped, if not give me a call.


