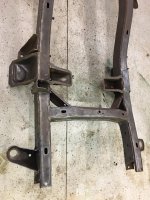
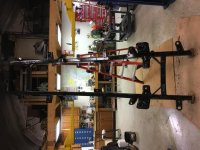
Today I worked on cleaning up the frame.
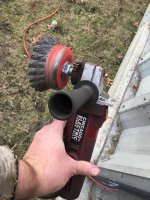
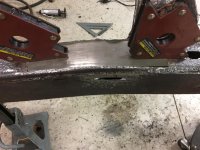
Spent a few hours running the wire wheel on it. I gave it a quick once-over to get the majority of the loose rust off the surface. Then I started the serious, time consuming rust removal process.
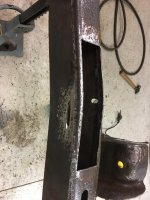
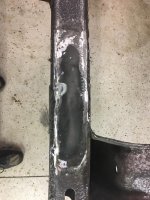
Overall it’s in good shape. The majority of it just had surface rust. There are some areas that have deeper pits that are cleaning up ok. Most of those are under the bed area.
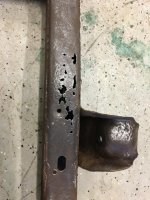
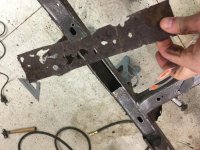
There is an area that had some holes rusted through back by the left rear spring hanger. It’s only on the bottom of the frame, and maybe about 8 inches long. This just happens to be the area that I found an old mouse nest.

Looks like it should be an easy fix.
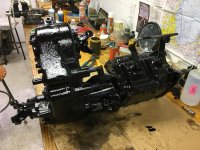
A couple of pics from today.