


Community
Message Forum
Photo Gallery
Event Calendar
Book Reviews
Bronco Wallpaper
Bronco FAQ
Link Back to CB!
Photo Gallery
Event Calendar
Book Reviews
Bronco Wallpaper
Bronco FAQ
Link Back to CB!
Buy / Sell


Bronco Tech
3 Arm Wiper Setup
Fix Motor Mount
Roll Cage Braces
Throttle Body 65mm
Wheel Alignment
Heat Riser Replacement
Vent Window Repair
Center Console Mount
Straighten Bumper
Ford 6R80 6 spd
More Tech...
Fix Motor Mount
Roll Cage Braces
Throttle Body 65mm
Wheel Alignment
Heat Riser Replacement
Vent Window Repair
Center Console Mount
Straighten Bumper
Ford 6R80 6 spd
More Tech...

Install the app
-
Welcome to ClassicBroncos! - You are currently viewing the forums as a GUEST. To take advantage of all the site features, please take a moment to register. It's fast, simple and absolutely free. So please join our community today!If you have problems registering or can't log into your account, please contact Admin.
You are using an out of date browser. It may not display this or other websites correctly.
You should upgrade or use an alternative browser.
You should upgrade or use an alternative browser.
Broncoski ( My Build Thread)
- Thread starter Nowik35
- Start date
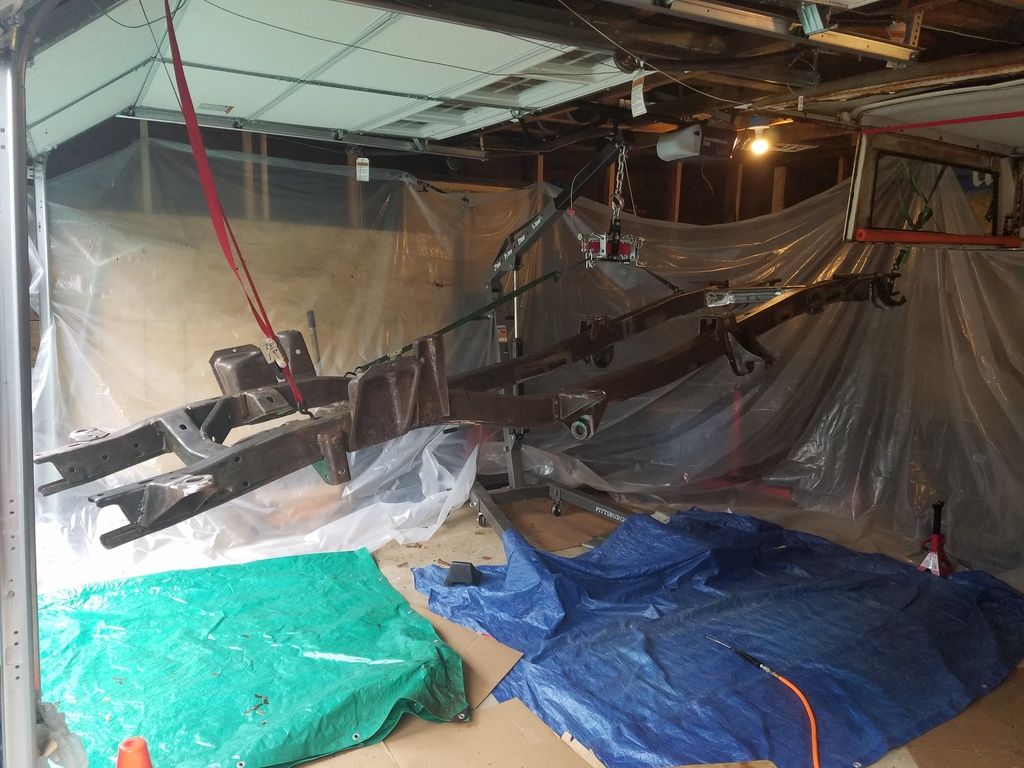
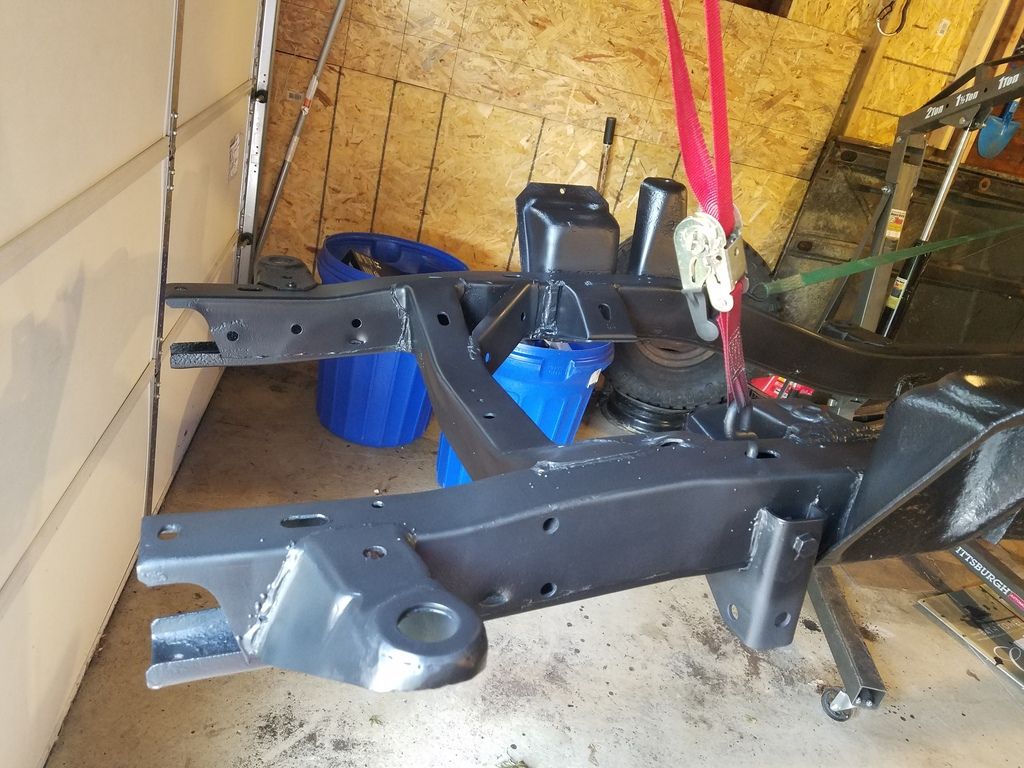
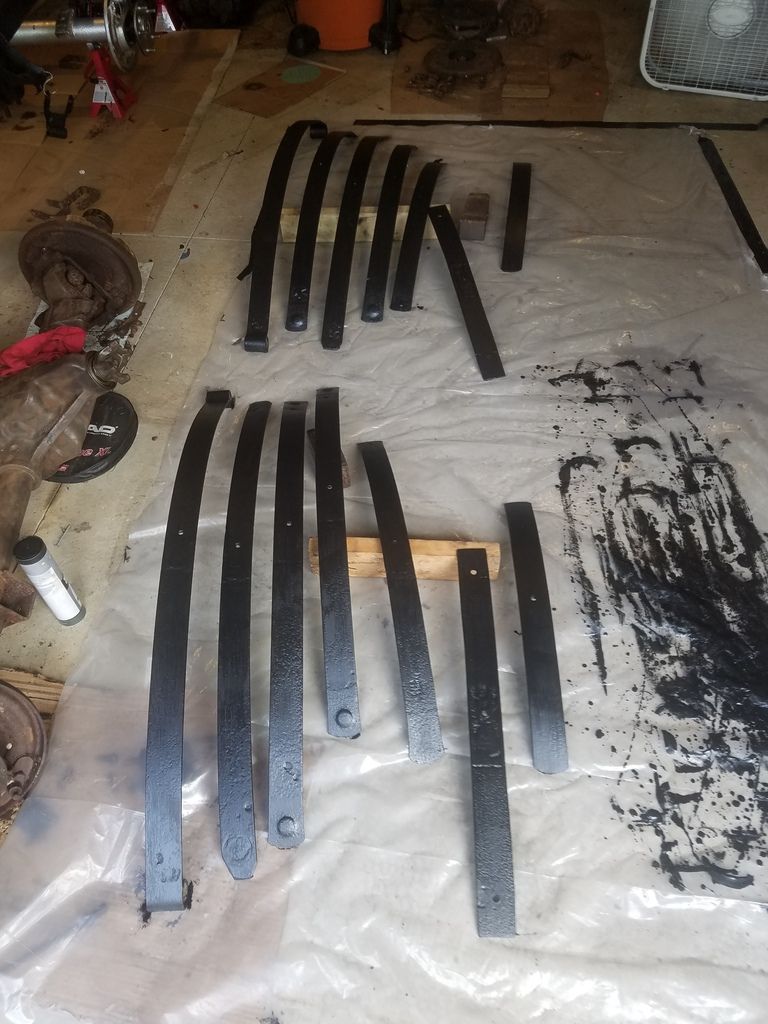
Next milestone was paint day. Once again i didn't have a rotisserie so I had too be innovative. So I hung the frame from my rafters. It worked out great. I used my 30gal compressor to spray paint and I used Eastwood rust encapsulator. I love this stuff worked perfect. I didn't want to use POR15 bc I heardyou can't spray that stuff. I also used Eastwood inside frame. My frame now doesn't have a inch of bare metal exposed anymore.
Looking good! When I first did my dad's bronco in the 90's it looked like what you have so keep up the good work!
WOW RUST! Great job. Good luck with the rest of it! You should be proud!
Rustytruck
Bronco Guru
- Joined
- Feb 24, 2002
- Messages
- 10,875
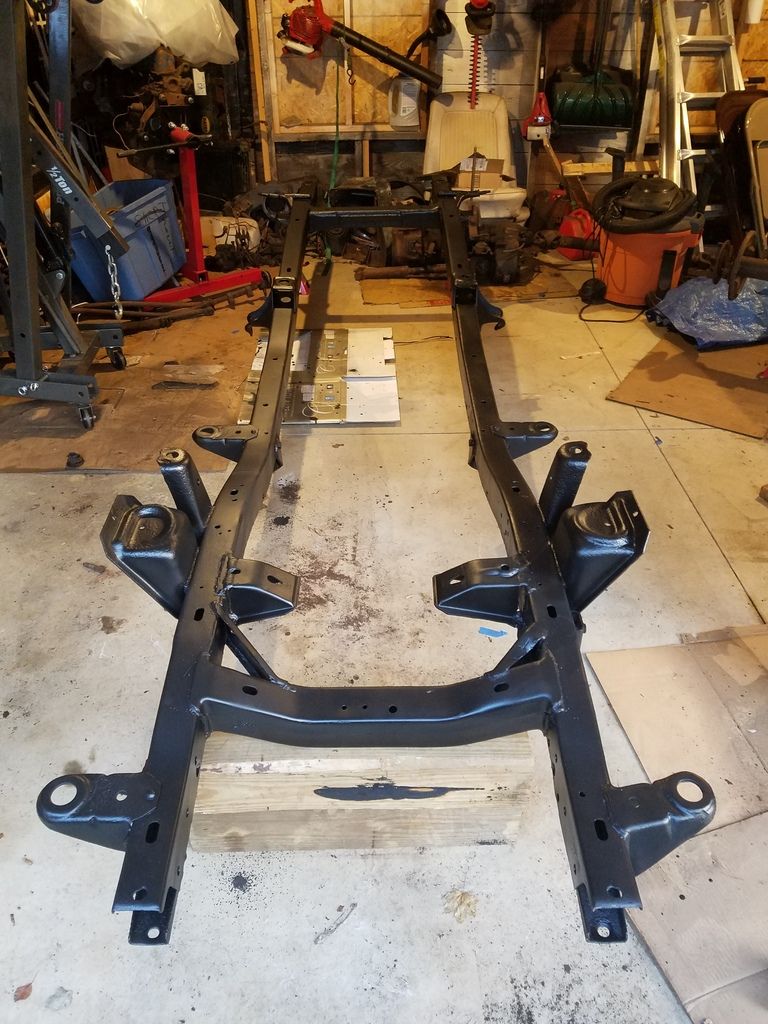
Make sure you measure that frame (or at least I hope you did before painting) with all that rust, age and welding you want the body mounting pads where they belong. There are several posts on this site with dimensional drawings. You don't want to go hanging doors and fenders and find out something is not in the right place. Easy to fix now before hanging a bunch of parts on the frame.
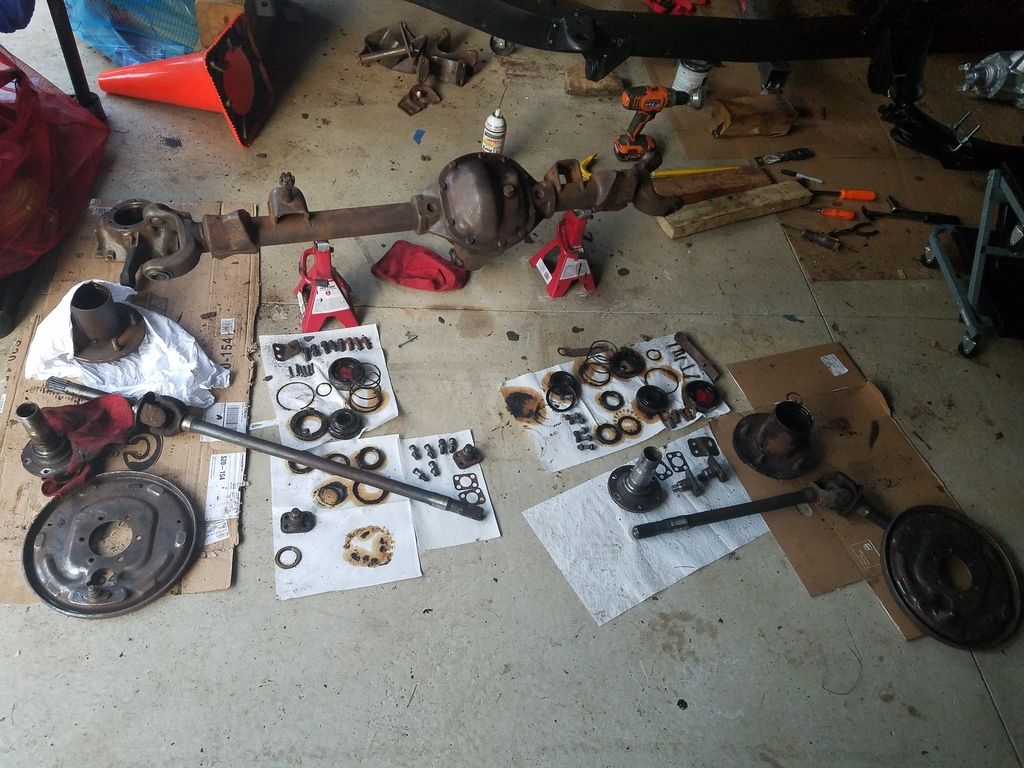
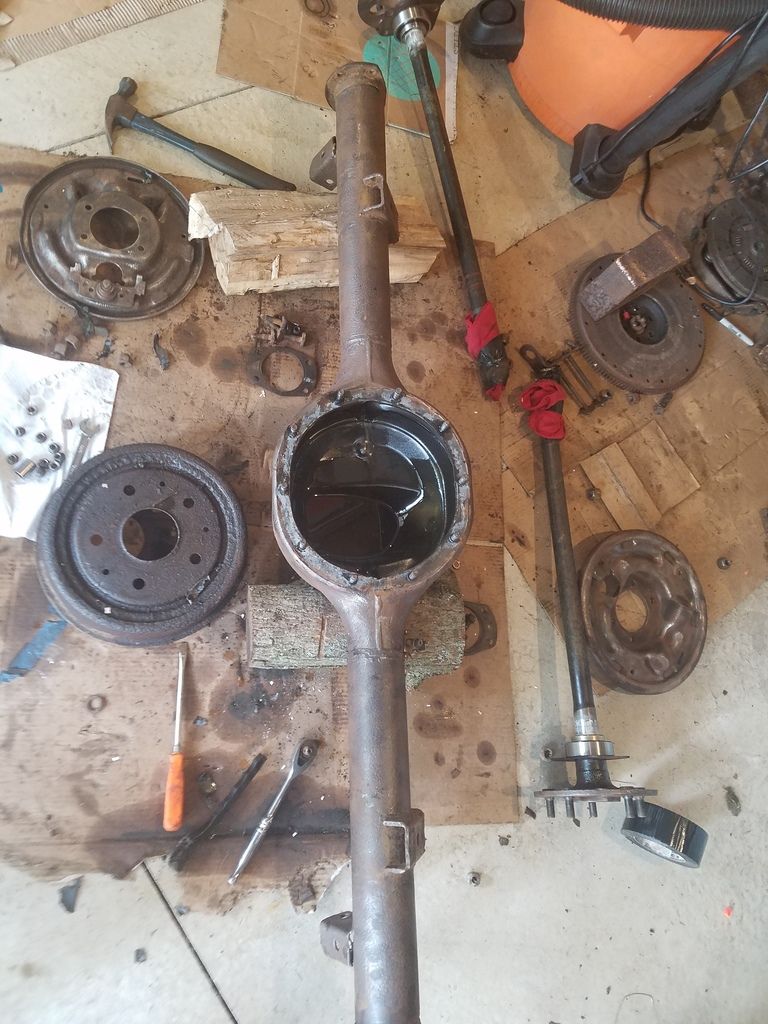
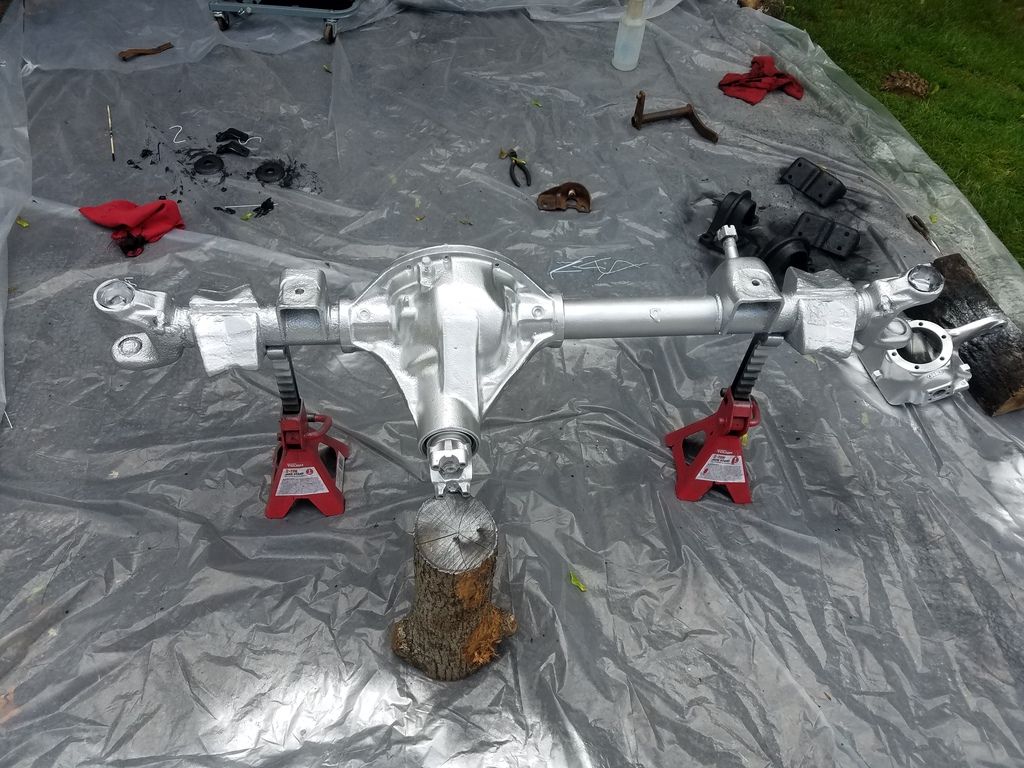
Next step was rebuild the good old Ford 9". I tore it apart and rebuilt with all new bearings and seals. Also I did the same with my dana 30. I broke it down to the last screw. Let's just say front was 1000 times harder then the rear to rebuild. SO MANY SEALS AND BEARINGS. These two builds YouTube became very useful.
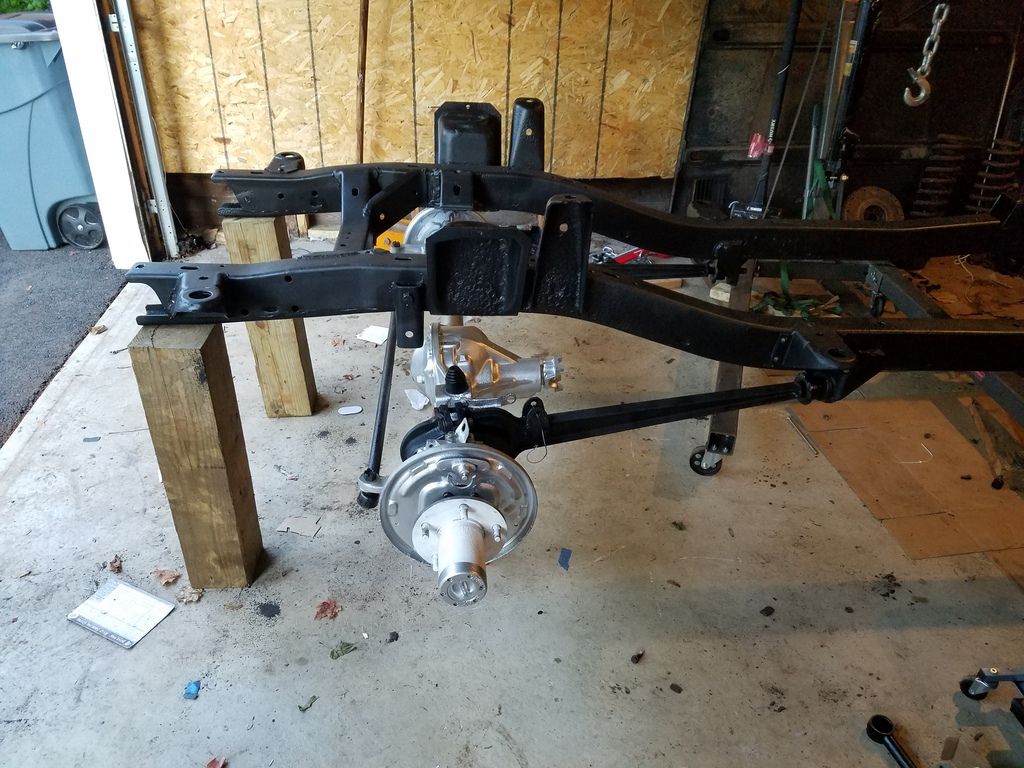
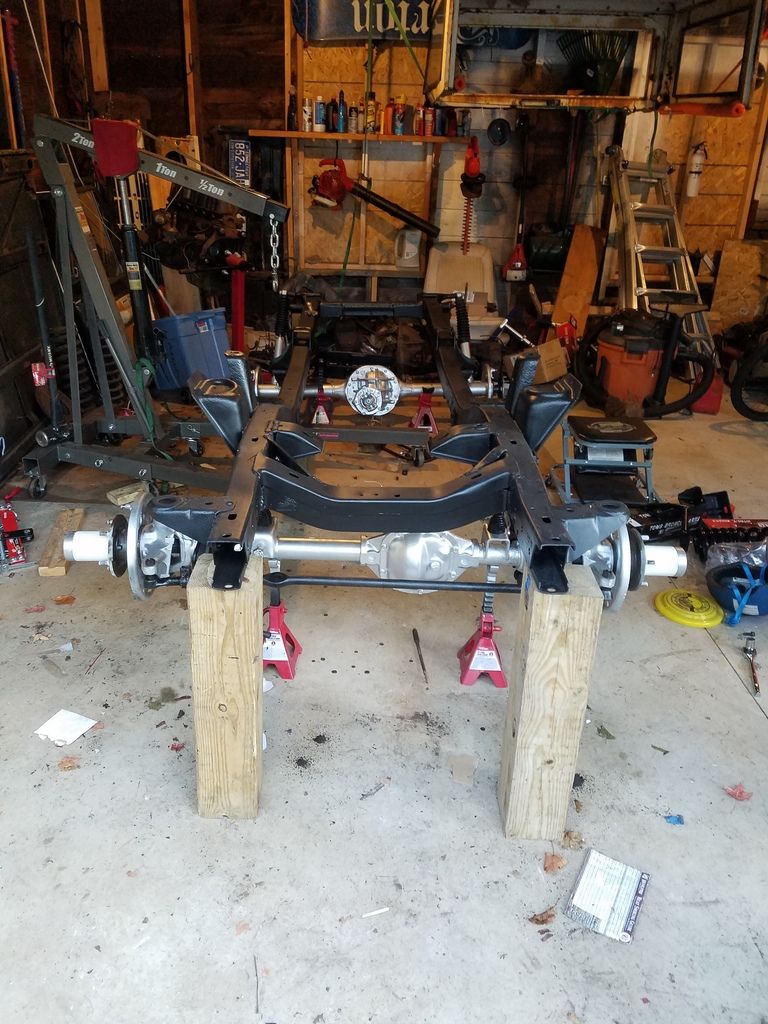
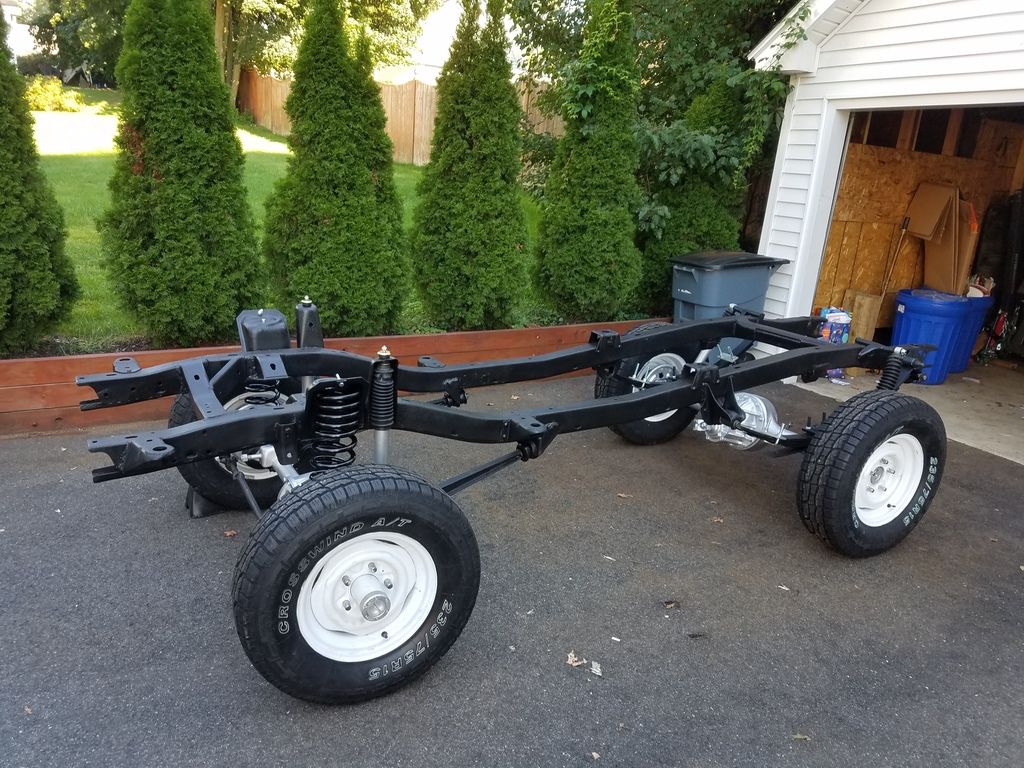
ROLLING FRAME!!!!!!! Everything you see is the original bronco except new tires and new suspension with 2.5 lift.
More pics here http://classicbroncos.com/forums/showthread.php?t=289708
More pics here http://classicbroncos.com/forums/showthread.php?t=289708
")
- Joined
- Oct 4, 2015
- Messages
- 340
You have come a long way. Looking good. Can't wait to see if finished.
- Joined
- Sep 26, 2009
- Messages
- 6,253
Great job man, keep those pictures coming.
Inspiring! Keep up the good work!
- Joined
- Oct 4, 2015
- Messages
- 340
That is a lot of welding to do. Looks good. Will be following this thread to see the finished product. Keep the pics coming.
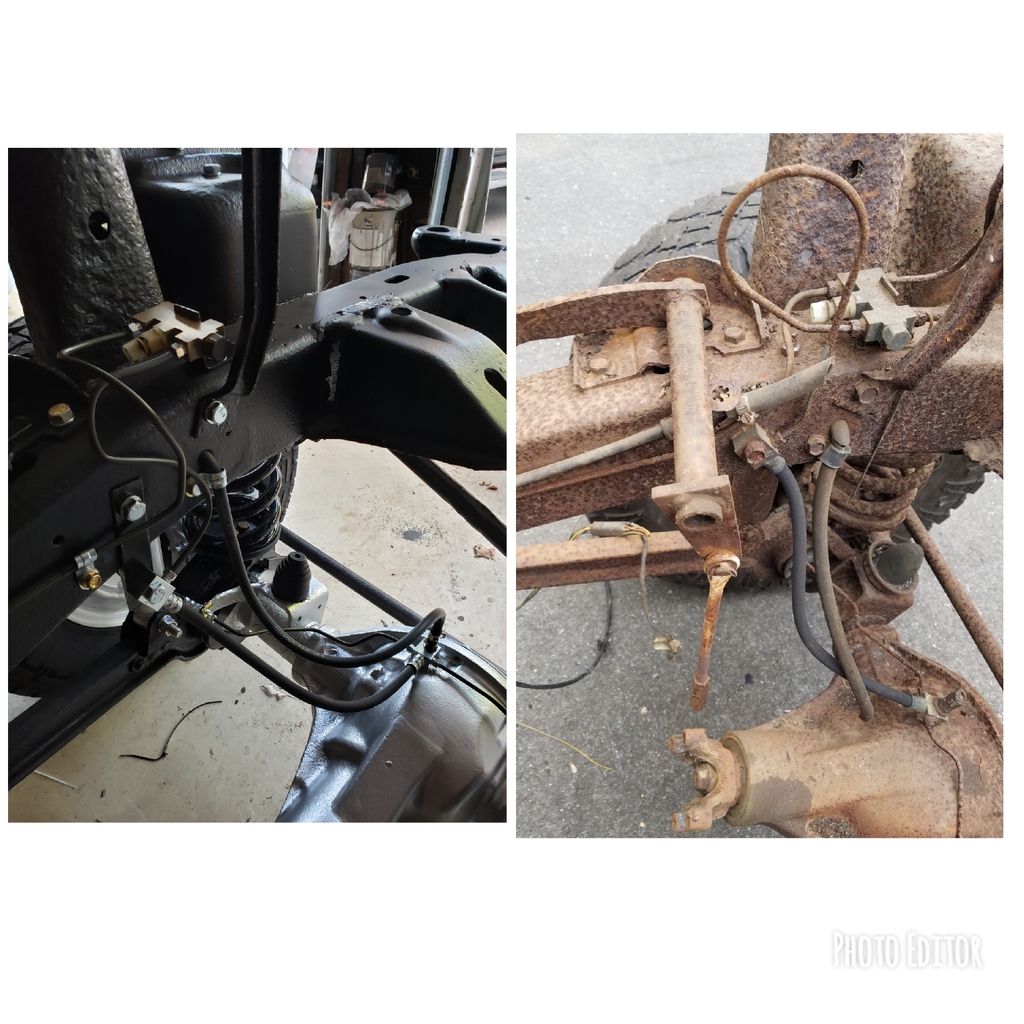
So I finally got the brakes completely finished and rebuilt. Thanks to this website I was able to piece together everything I needed. I bent and cut all my own lines. Everything is replaced 100% but kept stock. I'm very proud of this step. It was very cool learning how the whole brake system comes together. Little before and after at ther junction box to appreciate the difference
broncoitis
Bronco Guru
- Joined
- Jul 23, 2010
- Messages
- 4,449
Good Job! Keep at it lookin good! Not any easy task you have taken on there by any means!
Similar threads
- Replies
- 11
- Views
- 327