Jamie Chriss
Sr. Member
- Joined
- Feb 28, 2015
- Messages
- 576
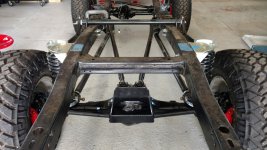
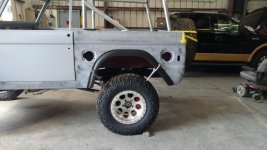
Making progress! Great choice on the TDK frame with the 1" offset!


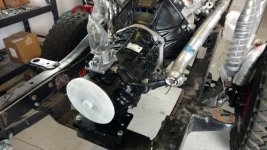
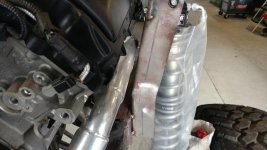
I'll drop in the Coyote today and check clearance and see if there are any issues with the TDK frame.
I almost changed my mind and wanted to go with a 351 Cleveland instead.......
The Roll Cage is my design built right next door to the body Shop. The guy builds Cages for NHRA Cars. Beautiful work. DOM that ties into the Windshield Frame. He works for the county now, too bad he only builds for himself. This Cage is my last one.
I am in the process of reconfiguring the original 77 Dash.
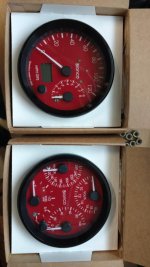
These SpeedHut Gauges will go on each side of the steering column.
4 1/2" GPS Speedo with Tach, Turn Signals and High Beam.
4 1/2" Quad Gauge with Fuel Level, Temp, Oil Pressure and Volts.
The SpeedHut Gauges are completely customizable. Sizes, colors, and just about anything including logos.
The Optional Pointer color on these are White for Daylight but Glows Red for Night Driving.
Sorry they are sideways in the picture.
I am in the process of reconfiguring the original 77 Dash.
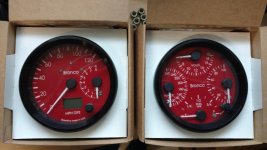
These SpeedHut Gauges will go on each side of the steering column.
4 1/2" GPS Speedo with Tach, Turn Signals and High Beam.
4 1/2" Quad Gauge with Fuel Level, Temp, Oil Pressure and Volts.
The SpeedHut Gauges are completely customizable. Sizes, colors, and just about anything including logos.
The Optional Pointer color on these are White for Daylight but Glows Red for Night Driving.
Sorry they are sideways in the picture.