I am sorry to here this... Nobody likes doing things twice.
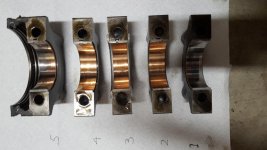
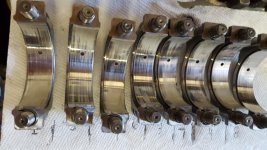
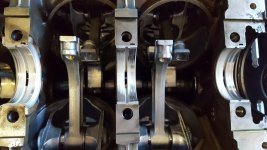
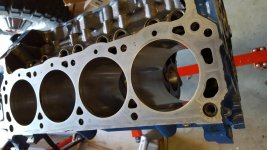
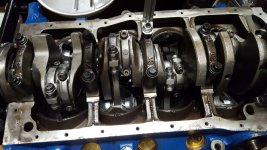
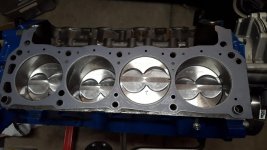
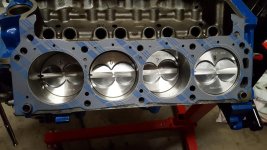
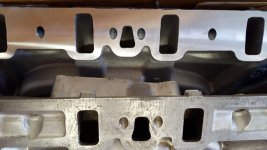
That happened with the new motor in my former 68. Machinist was good and stood by his work. No One could figure out why the cylinder walls got scored?
K&N filters... Oil soaked? I will never run them again. IMHO
They do not keep the incoming air clean. They get plugged up with dirt quickly and no matter how light you oil they, oil seems to get into and mess up the mass air meter. Three different rigs, and a grenaded run lean motor due to contaminated MAS.
Dry filters only for me.
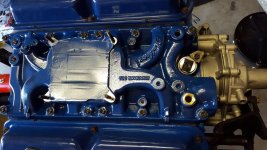
") We will see once I dig in. I had put on a K&N Oil Filter (not air filter). The K&N oil filters have a nut attached to the end to facilitate removal. The oil filter seemed fine when I took it apart, but I never verified that there wasn't anything stuck in it when I installed it.
We will see once I dig in. I had put on a K&N Oil Filter (not air filter). The K&N oil filters have a nut attached to the end to facilitate removal. The oil filter seemed fine when I took it apart, but I never verified that there wasn't anything stuck in it when I installed it.