Looks like a really good start! Good Luck with the build and remember that alot of these beauties that you see on these pages started out looking similar to yours or worse! Just shows you what can be done with these rigs. There really are not any limits as to what can be built! Best of luck with the build!
Thank you broncoitis,
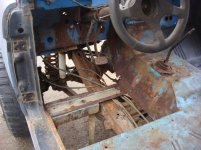
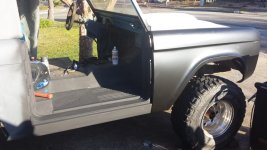
Several of the builds on this site have certainly inspired. While this is my first attempt at anything of this caliber I can only try and learn. There are bound to be mistakes along the way but as long as I am having fun and correcting the wrongs with rights the end results should be something fantastic.
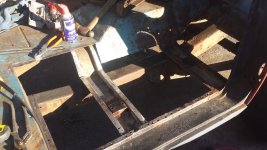
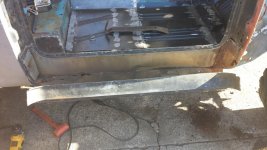
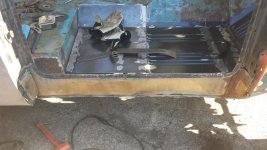
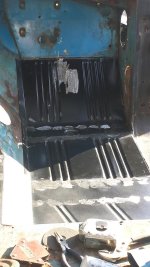
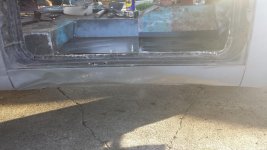
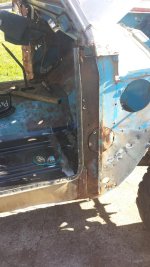
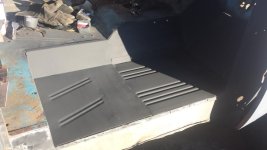
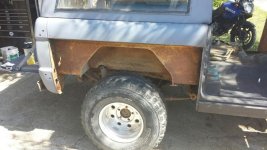
I got hit pretty hard with the hail driving up to Sac! Was pretty crazy. Looks like you are making some good progress. Make sure to treat any rust with something like rust mort or ospho before putting your new panels in (in case you aren't already doing it)
")
. Also, you may want to use a weld through primer prior to welding them in. Any safeguard is good to keep the rust away! Keep kickin ass on that thing!
Yesterdays weather was a trip to say the least! I'll take as little time with the bronco as possible though.
I've been good about treating where possible but I know I could do better. I get going along and lose track of things. I guess on a strange positive note if things start to rust again I'll be rather intimate with how things come apart and go together I'll just be able to do it all over again... %) Lets hope that doesn't happen!
Its doubtful but I'd like this thing to be under its own power by the time TBP has its next round up. Not sure when that even is but I went to their last event and had such a good time. I've got family just on the CA side of the OR boarder so its a good excuse to visit.
Anyhow, thinking about calling Duff's today and getting a shipping quote on some suspension stuff. I know I can't go wrong with WH or TBP but I've got history with DUFF and have always enjoyed their quality. At least I've got options!
Cheers and thanks