pcf_mark
Bronco Guru
- Joined
- Jun 11, 2010
- Messages
- 3,580
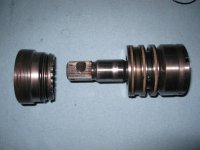
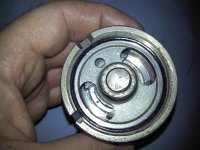
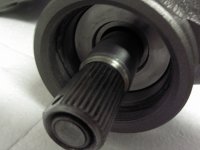
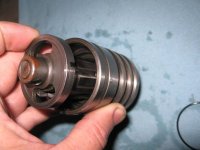
I am putting the steering box back together tonight and I have a question. All of the seals and bearings went in fine so far - I have put everything back in EXCEPT the sector shaft. I can turn the input shaft back and forth it is nice and smooth. I am a little nervous about running it the full 5 1/2 - 6 turns. Can the balls fall out inside or something since sector shaft is not in place? I ran it pretty far in each direction and now I am second guessing doing that. Could the last few balls drop out inside the mechanism and screw me up? I was able to insert all of the balls by carefully rotating the input shaft. When I was done they were all down inside the holes none in the steel guide that goes on last.
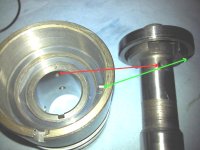
I did not take the big plug out of the end but if I did I bet I could see if a ball fell out or something. They should give you some spare teflon seals - one broke I had to re-use an old one.
I did not take the big plug out of the end but if I did I bet I could see if a ball fell out or something. They should give you some spare teflon seals - one broke I had to re-use an old one.
Last edited: