Tom Hartz
Full Member
- Joined
- May 18, 2010
- Messages
- 209
My name is Tom and I am building a 1969 Bronco for a friend of mine, Tony.
This was going to be a stock rebuild, however it has changed directions.
I have been a Jeep guy so this is my first Bronco. I must say I like this thing.
When it is done I will be sad to see it go. I may need one after this.
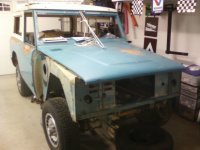
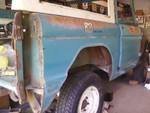
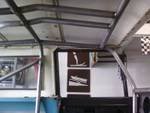
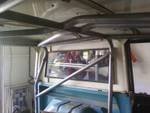
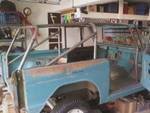
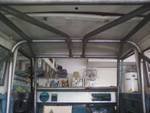
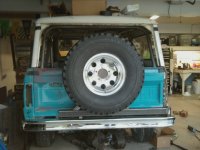
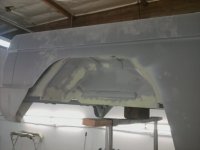
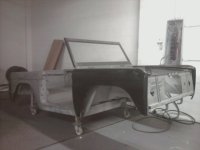
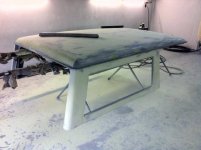
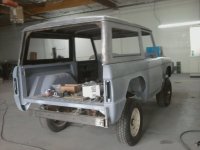
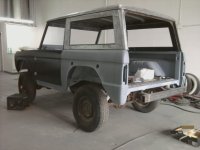
The Bronco is a 1969 that he found for sale in May of 2010. The engine was rebuilt in I think 2006, we will get into that later.The guy that owned it died soon after, so there she sat in the hot So. Cal. sun. The body is good, some rust but we can work with it.
Tony picked it up and it was sent to my house.

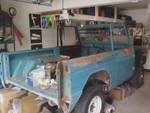
A day or two looking at it and coming up with a plan, a big shopping list was made.


Then I started to take it apart.


At some point someone had shot at her. There are two holes through the inner fender on the passenger side into the block. Maybe that is why the engine was rebuilt.

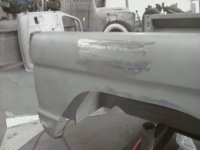
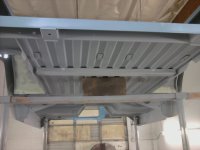
Like I said there is some rust so we will have to take care of it.

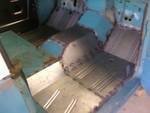
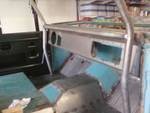
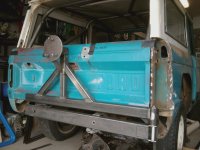
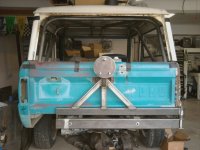
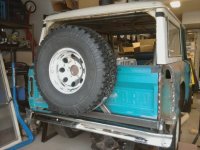
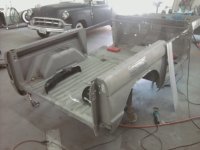
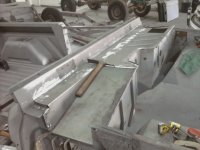
The front section of the floor was bad so it was cut out.

I pulled the engine to take a look inside. We never tried to start it. so we did not know if it ran.
The insides looked real clean and after pulling the heads the hone marks looked real good.


However when I took a look at the bearings I could see the quality of the rebuild, or lack of is a better way to put it. The mains were not line bored and the rods where not sized. You can see it in the bearing wear.

So this is only the beginning, I will keep you all posted with updates.
Thanks for looking.
Tom
This was going to be a stock rebuild, however it has changed directions.
I have been a Jeep guy so this is my first Bronco. I must say I like this thing.
When it is done I will be sad to see it go. I may need one after this.
The Bronco is a 1969 that he found for sale in May of 2010. The engine was rebuilt in I think 2006, we will get into that later.The guy that owned it died soon after, so there she sat in the hot So. Cal. sun. The body is good, some rust but we can work with it.
Tony picked it up and it was sent to my house.
A day or two looking at it and coming up with a plan, a big shopping list was made.
Then I started to take it apart.
At some point someone had shot at her. There are two holes through the inner fender on the passenger side into the block. Maybe that is why the engine was rebuilt.
Like I said there is some rust so we will have to take care of it.
The front section of the floor was bad so it was cut out.
I pulled the engine to take a look inside. We never tried to start it. so we did not know if it ran.
The insides looked real clean and after pulling the heads the hone marks looked real good.
However when I took a look at the bearings I could see the quality of the rebuild, or lack of is a better way to put it. The mains were not line bored and the rods where not sized. You can see it in the bearing wear.
So this is only the beginning, I will keep you all posted with updates.
Thanks for looking.
Tom
Attachments
-
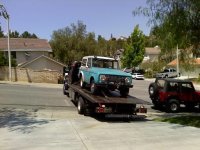 Photo Aug 31, 10 32 52 PM.jpg72.5 KB · Views: 709
 -
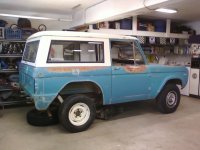 Photo Aug 31, 10 33 20 PM.jpg117 KB · Views: 699
 -
 Photo Aug 31, 10 33 17 PM.jpg100.4 KB · Views: 695
 -
 Photo Aug 31, 10 32 21 PM.jpg12.9 KB · Views: 1,279
 -
 Photo Aug 31, 10 32 15 PM.jpg16.4 KB · Views: 1,265
 -
 Photo Aug 31, 10 32 12 PM.jpg18.4 KB · Views: 1,278
 -
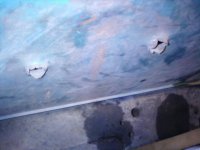 Photo Sep 06, 9 00 27 PM.jpg75 KB · Views: 690
 -
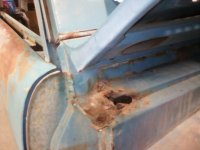 Photo Sep 06, 9 00 02 PM.jpg85 KB · Views: 691
 -
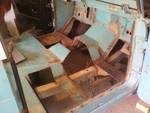 Photo Aug 31, 10 32 27 PM.jpg18.4 KB · Views: 1,265
 -
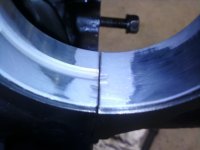 Photo Sep 06, 9 29 04 PM.jpg66.9 KB · Views: 691
 -
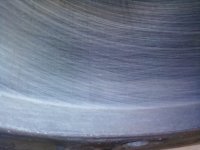 Photo Sep 06, 9 29 08 PM.jpg88 KB · Views: 692
 -
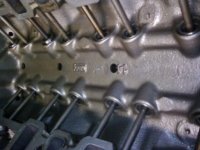 Photo Sep 06, 9 29 23 PM.jpg107.2 KB · Views: 694
Last edited: