OP
OP
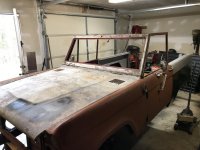
A little more progress
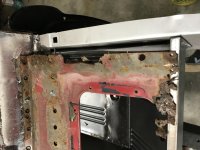
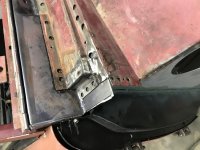
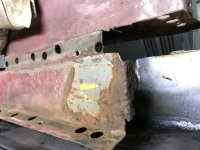
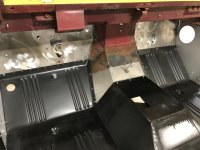
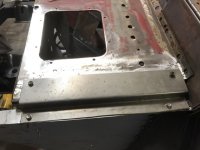
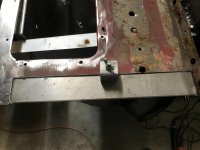
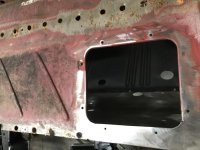
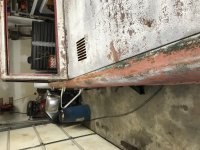
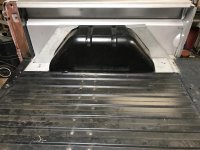
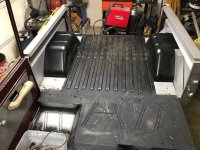
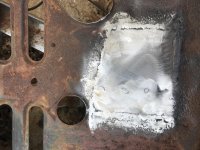
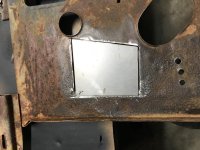
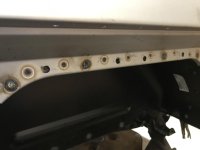
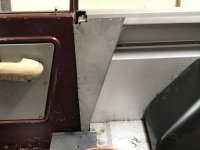
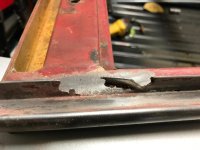
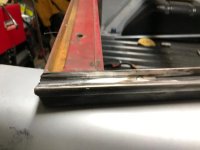
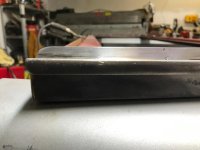
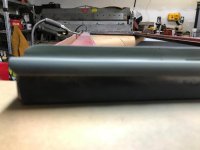
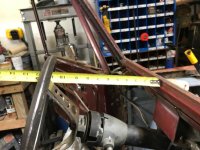
I had to repair the cowl panel and the ends of the windshield support. I used an old firewall down to where the rust got bad on it and made a patch panel for the upper trans tunnel.
And how do you get pictures to view right side up?
I had to repair the cowl panel and the ends of the windshield support. I used an old firewall down to where the rust got bad on it and made a patch panel for the upper trans tunnel.
And how do you get pictures to view right side up?