OP
OP
- Joined
- Mar 2, 2019
- Messages
- 2,530
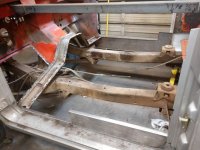
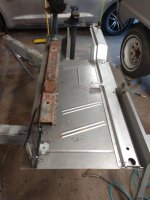
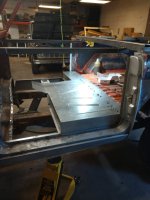
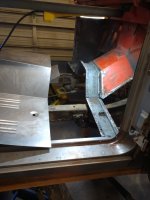
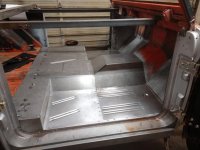
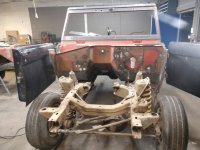
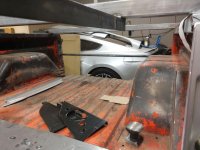
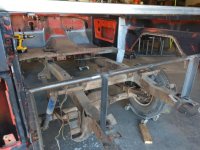
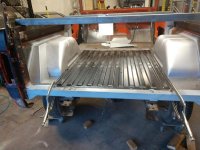
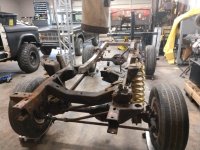
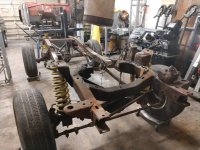
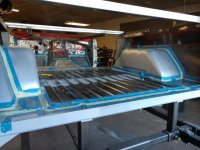
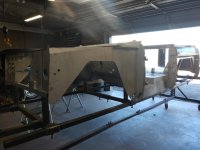
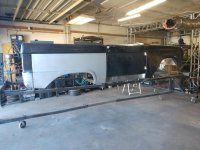
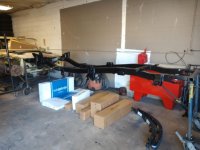
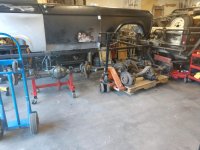
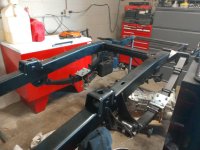
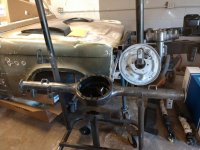
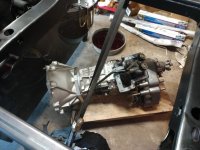
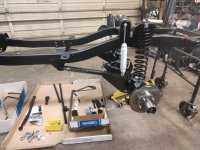
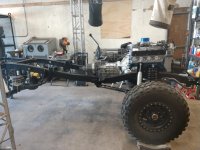
Ok the weather has been much nicer and all of the distractions are out of the way (except the Bluefin Tuna are still biting in SD) so I was back at it this weekend. Started attacking the floors. I learned the hard way that the seat platforms are just bare stamps and don't have any holes, welded nuts, seat brackets. braces etc. I just assumed the holes would be there. So, I had to strip all of the salvageable little parts off the old platform and measure, cut, clean and weld up the new pans. In hindsight, I wish I would have known about the one piece floor as it has it all done. Oh well, its just another weekend....