77Bronco636
Sr. Member
- Joined
- May 9, 2006
- Messages
- 847
SLICK!!!!!! Looking great!!! Keep the pic's coming!!


I’ve never seen a frame painted like that but it makes sense...you can let gravity drip it into those crevices.
Very cool. Mine was prob made pretty close to yours. Mines 820080. It’s in the range for late Feb 1966.
")
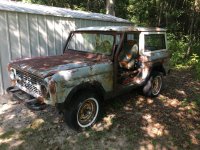
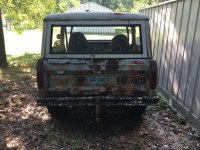
Making slow progress.
I finally heard from the machine shop; they’re going to have to bore it to clean up some taper and turn the crank. I’ve gotten most of the parts, so as soon as I get it back I can build up the engine.
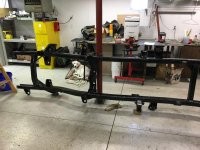
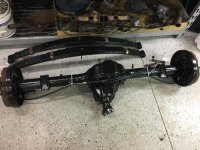
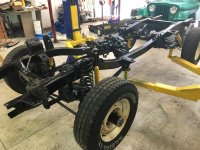
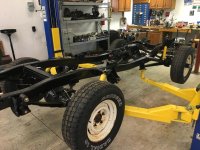
Over the last week or so, I cleaned up most of the rest of the chassis parts and got them painted yesterday. The frame is done, and I got the rear axle bump stops and the crossmember back on today.
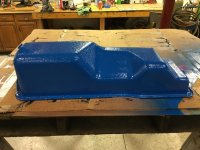
I also picked up some engine paint today, and sprayed the oil pan. It was pretty rusty, and is really thin in a few spots, but nothing rusted through.
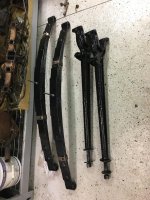
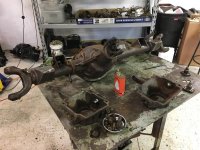
I plan on tearing the axles down starting tomorrow. I think they will just need seals, gaskets and some paint.
I would find another oil pan before you install the motor. That one has some heavy pitting on it and they are hard to change once the motor is installed (have to jack the motor up to finagle the pan from around the cross member). Just a suggestion that may save you some time down the road.....
Making great progress!!!!!!!!!