OP
OP
- Joined
- Sep 17, 2018
- Messages
- 344
Question
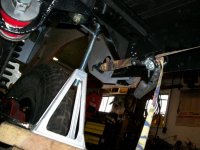
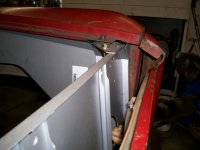
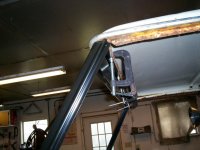
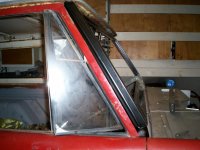
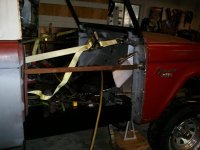
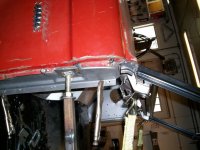
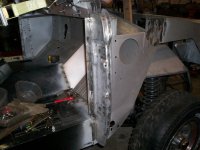
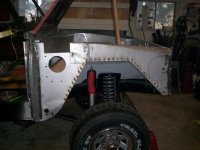
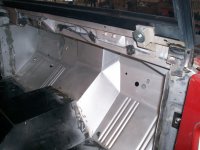
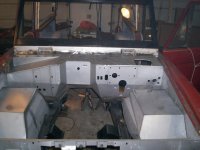
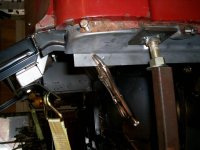
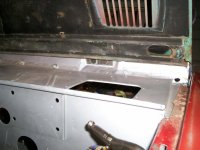
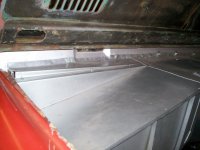
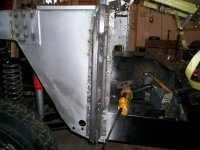
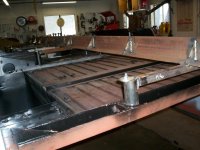
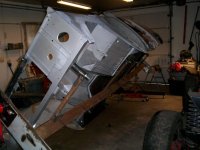
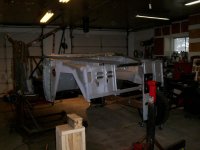
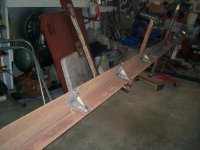
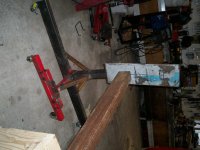
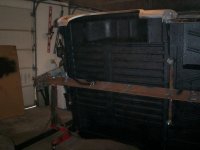
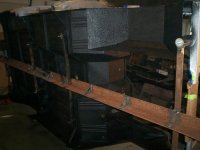
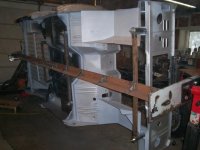
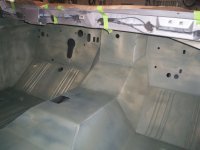
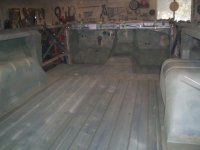
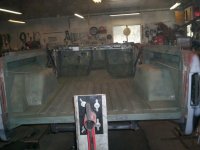
Can anybody give me the measurement of the distance between the very top of the door post and the floor. I received the drivers door post yesterday . When I tried to install it as I did the passenger side ( I pushed the door post up until it touched the cowl ) The 2 measurements were off by 1/2 inch . When I tried to pull it into place the passenger door hit the top of cab. I haven't thrown in the towel or anything but I did have to walk away yesterday and rethink it?:?
Can anybody give me the measurement of the distance between the very top of the door post and the floor. I received the drivers door post yesterday . When I tried to install it as I did the passenger side ( I pushed the door post up until it touched the cowl ) The 2 measurements were off by 1/2 inch . When I tried to pull it into place the passenger door hit the top of cab. I haven't thrown in the towel or anything but I did have to walk away yesterday and rethink it?:?
")