chuzie
Bronco Guru
- Joined
- Jul 21, 2006
- Messages
- 2,701
****ATTENTION potential 4R70W installer**** If you intend to reference this thread in accomplishing your installation, I STRONGLY urge you to carefully read through the ENTIRE writeup. Modifications were made along the way so everything is not necessarily is perfect operational order.
---------------------------------------------------------------------------------------------------------------------------------------
This is the beginning of my transmission swap. There is a lot of good info on Classic about this swap and this will just add to or duplicate that information found on the following threads:
http://www.classicbroncos.com/forums/showthread.php?t=183817&highlight=4R70W+ZF
http://classicbroncos.com/forums/showthread.php?t=184809
http://classicbroncos.com/forums/showthread.php?t=182915&page=3
http://classicbroncos.com/forums/showpost.php?p=1787098&postcount=194
http://classicbroncos.com/forums/showpost.php?p=1623884&postcount=1
The C4 has served me well but with the 35" tires, 4.56 gears and my personal requirement to make this rig drive to events, I am forced to install something with overdrive. Currently my RPM sits around 3,000 @ 60MPH which is unacceptable to me. I have no desire to travel faster than 60 because this huge rolling brick becomes a massive drag device and MPG go even further down the toilet. I would prefer to see my RPM cruise around 2300 RPM and with the 0.7 gear ratio of the 4R70W, I will be able to achieve that assuming my math is good.
Below is my list of parts which I have added as of the conclusion of the project
starter-junkyard-'99 AWD V8 Mountaineer-$ Included w/ transmission
converter-junkyard-'99 AWD V8 Mountaineer-$ Included w/ transmission
flexplate-junkyard-'99 AWD V8 Mountaineer-$ Included w/ transmission
4R70W-junkyard-'99 AWD V8 Mountaineer -$320 + $30 core
ZF crossmember-BC Broncos-ZF-$125.99
ZF adapter-BC Broncos-50-4303-$441
harness-Baumann-HPF2 or HPF2A-$ Included w/ controller
controller-Baumann-OS1-$565
shift cable-Lokar-ACA-1808-$52
Lokar Dipstick -$$105.90
JB Fab Twin Sticks-$149.03
Aux cooler lines-$23.99
Adapter seal 471950-$18.36
Misc fitting, bolts, and other crap-$59.61
14 quarts of trans fluid and trans filter:$90.00
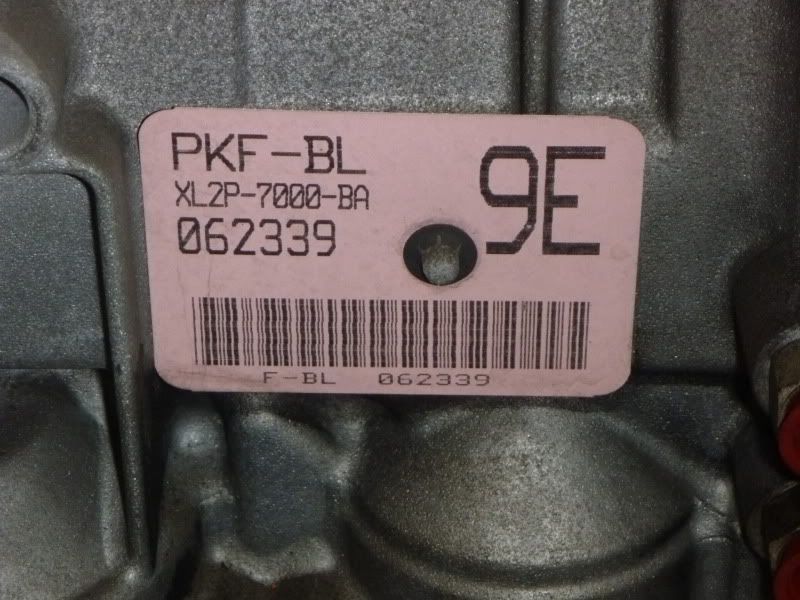
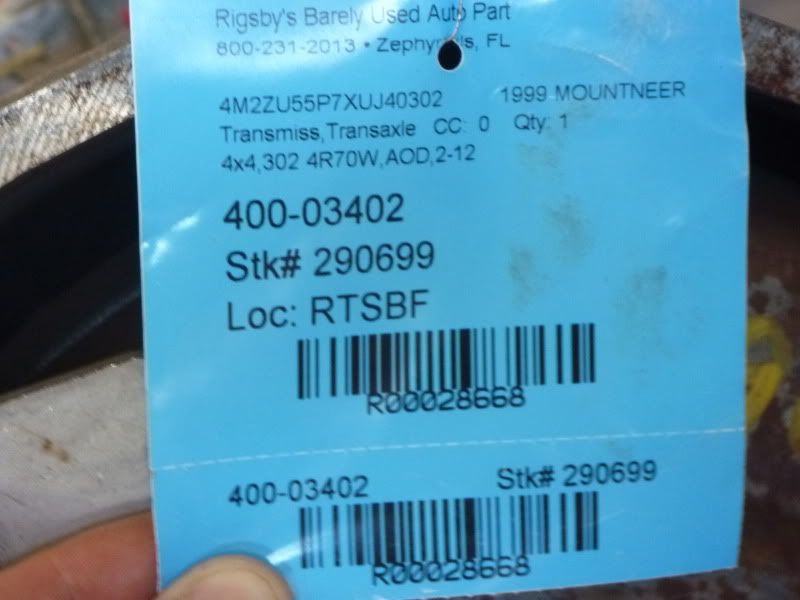
Finally picked up a 4R70W from a 1999 Mountaineer AWD 5.0 with 100K miles from a local salvage yard. They only provide a 90 day warranty so I have to really get in gear (no pun intended) to complete this conversion and road test it.
While at the salvage yard I had them throw in a starter and flexplate. All together it was $350 out the door.
---------------------------------------------------
---------------------------------------------------
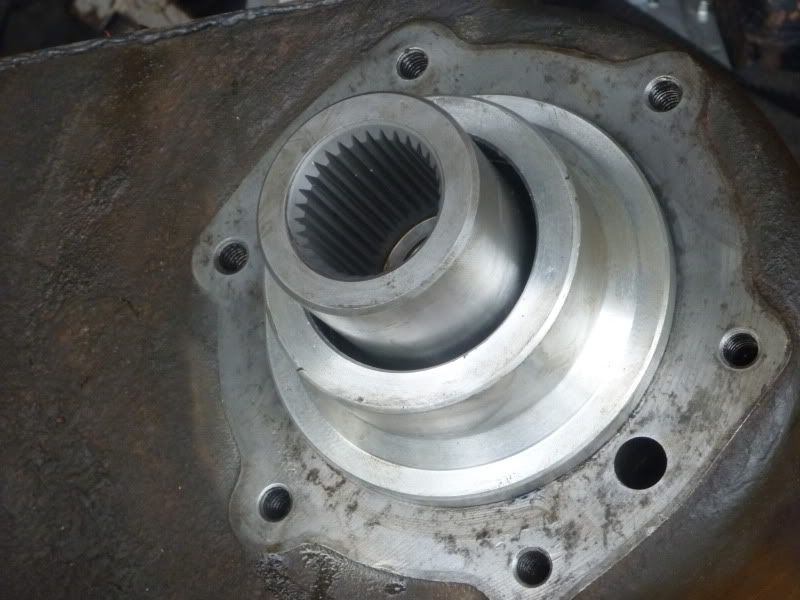
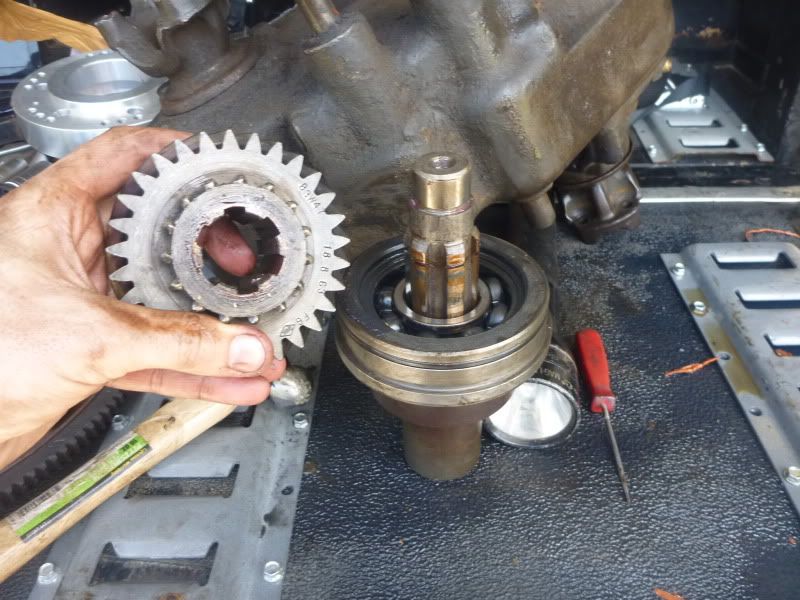
To prevent having to gut the transmission to replace the output shaft as required for other 4R70Ws utilizing the Advanced Adapters 4R70W to D20 adapter, I specifically utilized the AWD 4R70W variant as its shaft length is sufficient to use the ZF to D20 adapter while only needing to cut 1/2" from the end. Eliminating the transmission dissasembly is very appealing as is the flexibility of using a ZF adapter for potential future upgrades if need be. The other advantage of using the ZF variant is the cost being less than the other adapter.
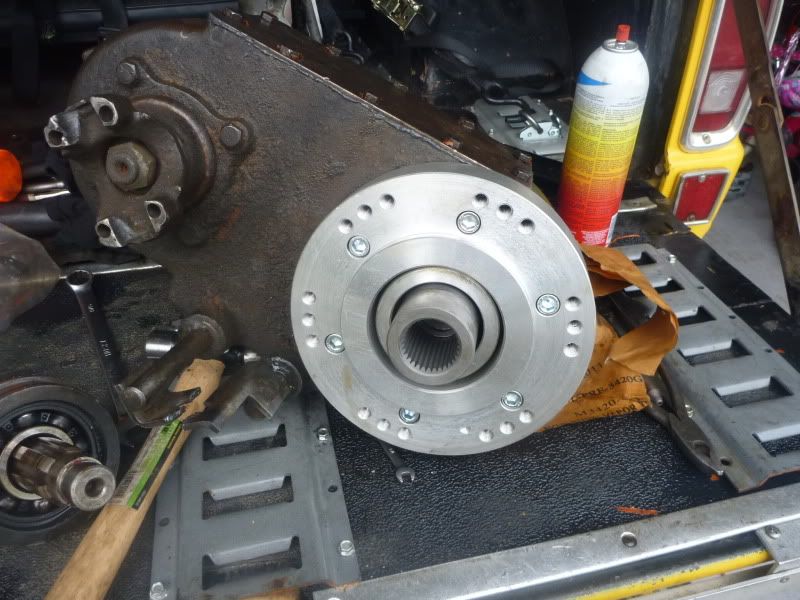
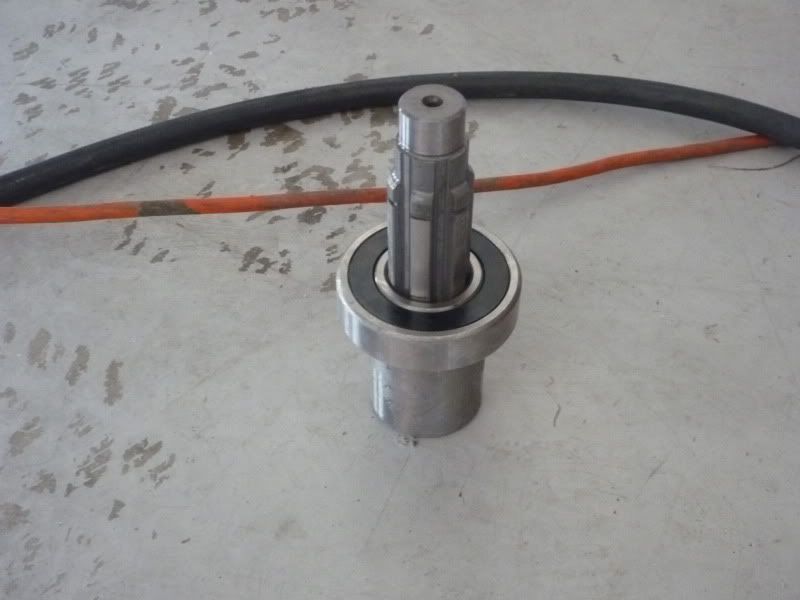
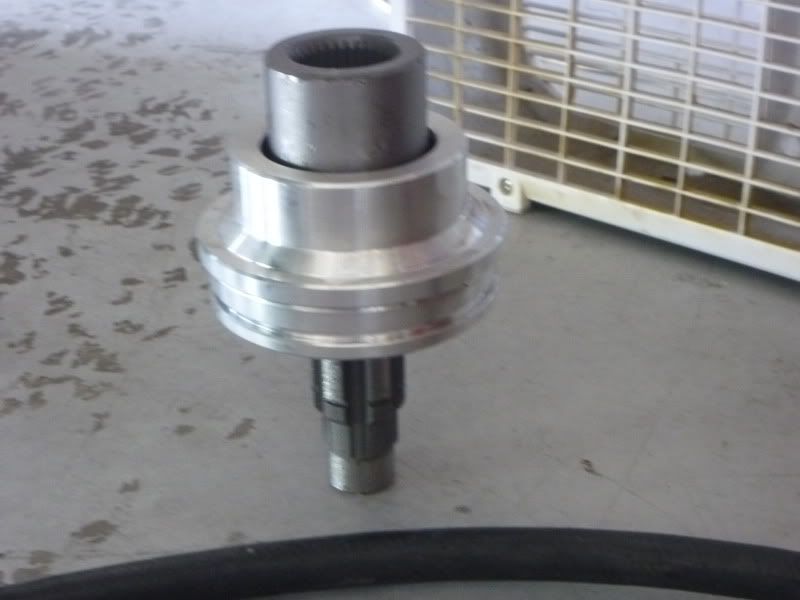
I measured 1/2" from the end of the shaft and used some blue painter's tape as a guide. My cutoff wheel worked well but I was careful to constantly rotate the shaft as I was cutting so as to prevent an angled cut.
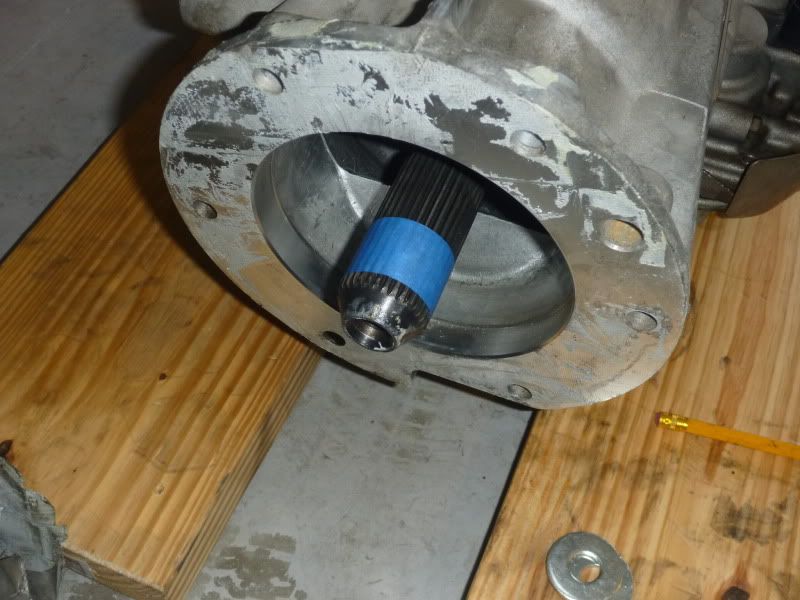
After the cut, the shaft came to 5.938"

---------------------------------------------------
---------------------------------------------------
I chose to do the cut first before pulling my C4 from the Bronco in case I botched something up and had a useless transmission. With the cut successful, the dissassembly could commence.
I measured the distances of the front and rear driveshafts for reference before and after the installation of the 4R70W. My lengths are different than stock as I have a 4-link in the rear.
Front: 24-3/4"
Rear: 35-7/8"
Since I don't own a transmission jack, I just used cargo straps on the front and rear to lower the transmission assembly to the floor.
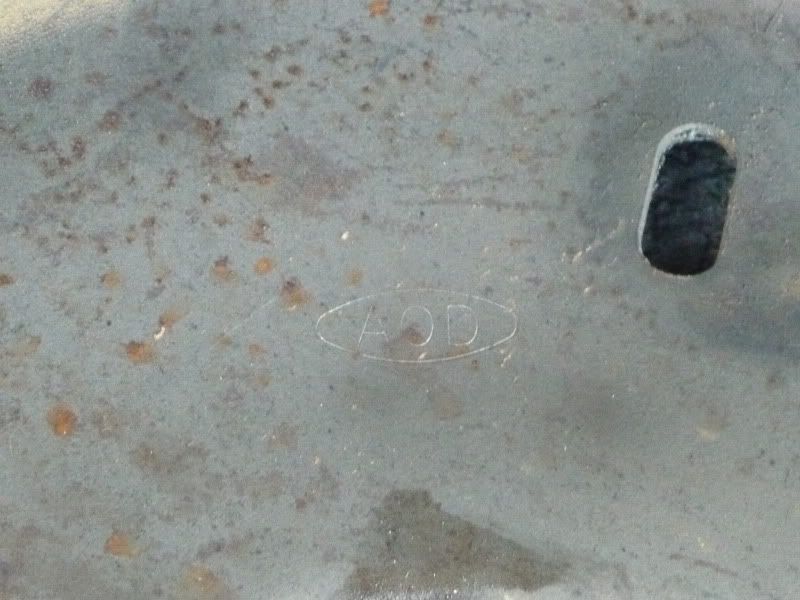
Next, I pulled the flexplate only to find that, after doing so, it was actually an AOD plate as depicted by the AOD stamp on the back. This makes sense as my motor was from an 89 Mark VII. Just wish I had noticed this before I removed the flexplate. Now I have a spare if anyone is interested.
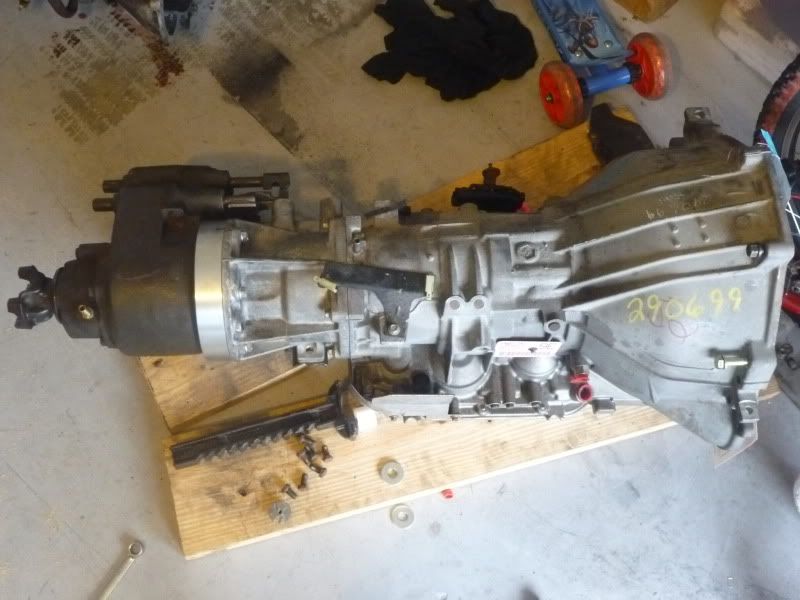
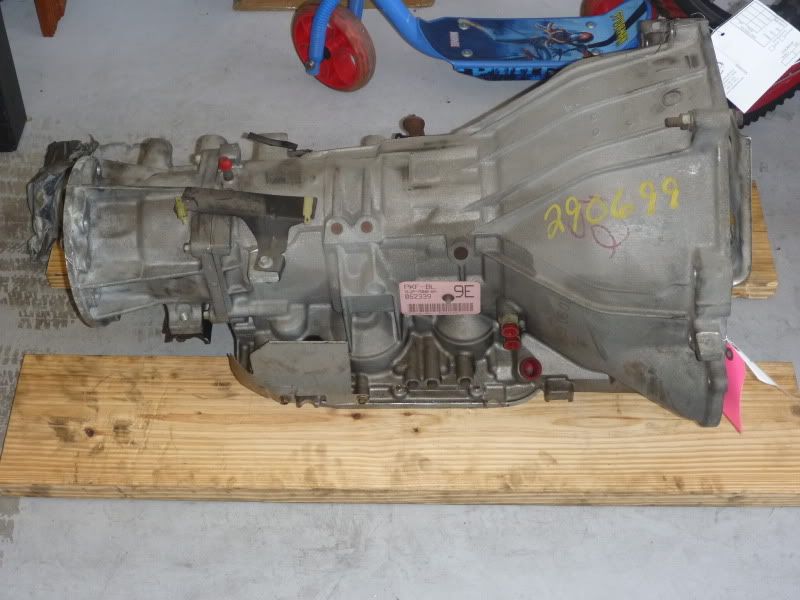
Here is my C4 next to the 4R70W
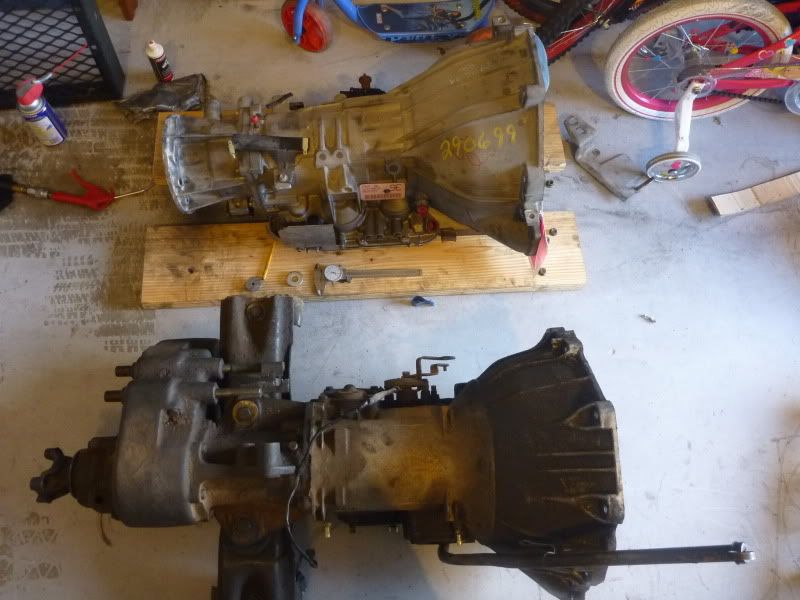
Since my 4R came already pulled, I do not have mounting bolts for transmission to engine nor do I have a dipstick. The length of the 4R mounting bolts is different than the C4 by about 0.465" which is due to a difference in the bellhousing thickness. This means I need to pickup six 7/16 x 2.25" bolts and start figuring out what I am going to do about a dipstick.
The heat here in Tampa today was brutal so I am glad it only took me 3 hours to get all this done.
Next time I plan to separate the D20 from the C4 and begin installing the adapter.
As of now, I am on the fence if I want to do any upgrades to the 4R while it is on the ground and I need to determine if I am going to mount my temp sensor in the port on the transmission or inline at the cooler output.
---------------------------------------------------------------------------------------------------------------------------------------
This is the beginning of my transmission swap. There is a lot of good info on Classic about this swap and this will just add to or duplicate that information found on the following threads:
http://www.classicbroncos.com/forums/showthread.php?t=183817&highlight=4R70W+ZF
http://classicbroncos.com/forums/showthread.php?t=184809
http://classicbroncos.com/forums/showthread.php?t=182915&page=3
http://classicbroncos.com/forums/showpost.php?p=1787098&postcount=194
http://classicbroncos.com/forums/showpost.php?p=1623884&postcount=1
The C4 has served me well but with the 35" tires, 4.56 gears and my personal requirement to make this rig drive to events, I am forced to install something with overdrive. Currently my RPM sits around 3,000 @ 60MPH which is unacceptable to me. I have no desire to travel faster than 60 because this huge rolling brick becomes a massive drag device and MPG go even further down the toilet. I would prefer to see my RPM cruise around 2300 RPM and with the 0.7 gear ratio of the 4R70W, I will be able to achieve that assuming my math is good.
Below is my list of parts which I have added as of the conclusion of the project
starter-junkyard-'99 AWD V8 Mountaineer-$ Included w/ transmission
converter-junkyard-'99 AWD V8 Mountaineer-$ Included w/ transmission
flexplate-junkyard-'99 AWD V8 Mountaineer-$ Included w/ transmission
4R70W-junkyard-'99 AWD V8 Mountaineer -$320 + $30 core
ZF crossmember-BC Broncos-ZF-$125.99
ZF adapter-BC Broncos-50-4303-$441
harness-Baumann-HPF2 or HPF2A-$ Included w/ controller
controller-Baumann-OS1-$565
shift cable-Lokar-ACA-1808-$52
Lokar Dipstick -$$105.90
JB Fab Twin Sticks-$149.03
Aux cooler lines-$23.99
Adapter seal 471950-$18.36
Misc fitting, bolts, and other crap-$59.61
14 quarts of trans fluid and trans filter:$90.00
Finally picked up a 4R70W from a 1999 Mountaineer AWD 5.0 with 100K miles from a local salvage yard. They only provide a 90 day warranty so I have to really get in gear (no pun intended) to complete this conversion and road test it.
While at the salvage yard I had them throw in a starter and flexplate. All together it was $350 out the door.
---------------------------------------------------
---------------------------------------------------
To prevent having to gut the transmission to replace the output shaft as required for other 4R70Ws utilizing the Advanced Adapters 4R70W to D20 adapter, I specifically utilized the AWD 4R70W variant as its shaft length is sufficient to use the ZF to D20 adapter while only needing to cut 1/2" from the end. Eliminating the transmission dissasembly is very appealing as is the flexibility of using a ZF adapter for potential future upgrades if need be. The other advantage of using the ZF variant is the cost being less than the other adapter.
I measured 1/2" from the end of the shaft and used some blue painter's tape as a guide. My cutoff wheel worked well but I was careful to constantly rotate the shaft as I was cutting so as to prevent an angled cut.
After the cut, the shaft came to 5.938"
---------------------------------------------------
---------------------------------------------------
I chose to do the cut first before pulling my C4 from the Bronco in case I botched something up and had a useless transmission. With the cut successful, the dissassembly could commence.
I measured the distances of the front and rear driveshafts for reference before and after the installation of the 4R70W. My lengths are different than stock as I have a 4-link in the rear.
Front: 24-3/4"
Rear: 35-7/8"
Since I don't own a transmission jack, I just used cargo straps on the front and rear to lower the transmission assembly to the floor.
Next, I pulled the flexplate only to find that, after doing so, it was actually an AOD plate as depicted by the AOD stamp on the back. This makes sense as my motor was from an 89 Mark VII. Just wish I had noticed this before I removed the flexplate. Now I have a spare if anyone is interested.
Here is my C4 next to the 4R70W
Since my 4R came already pulled, I do not have mounting bolts for transmission to engine nor do I have a dipstick. The length of the 4R mounting bolts is different than the C4 by about 0.465" which is due to a difference in the bellhousing thickness. This means I need to pickup six 7/16 x 2.25" bolts and start figuring out what I am going to do about a dipstick.
The heat here in Tampa today was brutal so I am glad it only took me 3 hours to get all this done.
Next time I plan to separate the D20 from the C4 and begin installing the adapter.
As of now, I am on the fence if I want to do any upgrades to the 4R while it is on the ground and I need to determine if I am going to mount my temp sensor in the port on the transmission or inline at the cooler output.
Last edited:


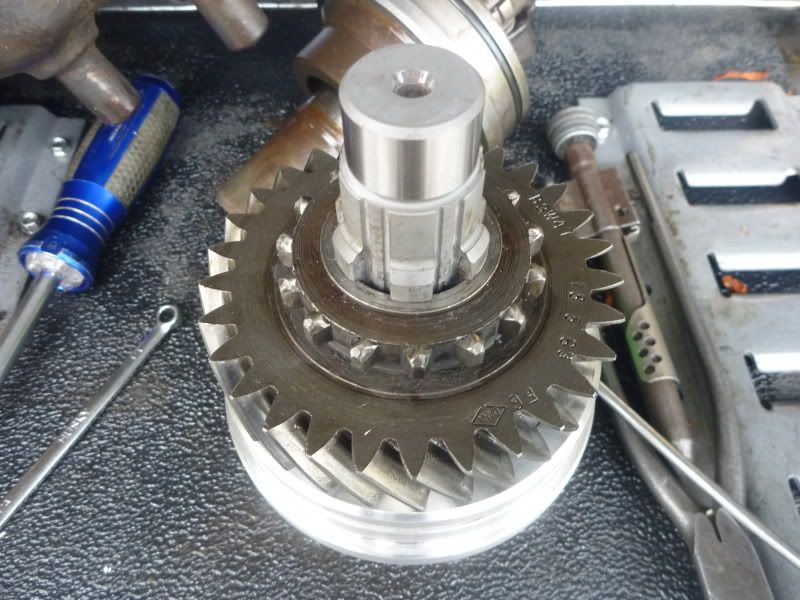
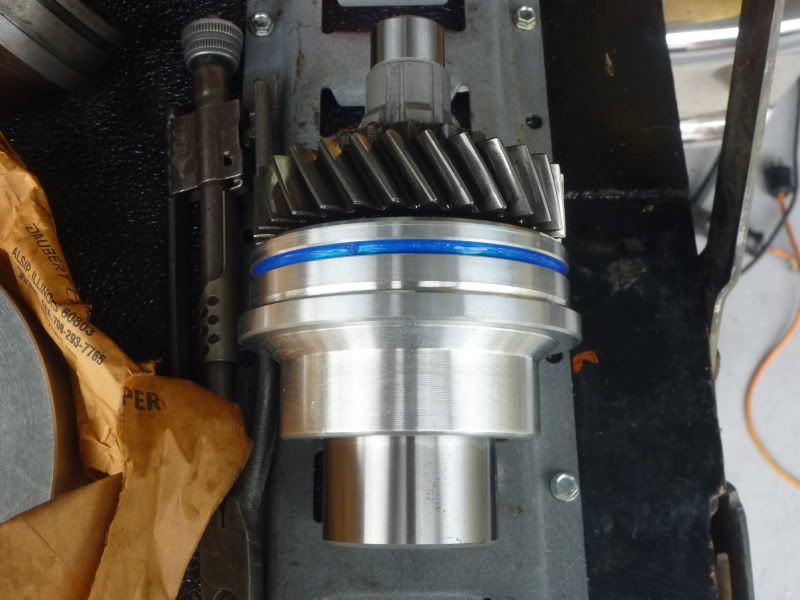
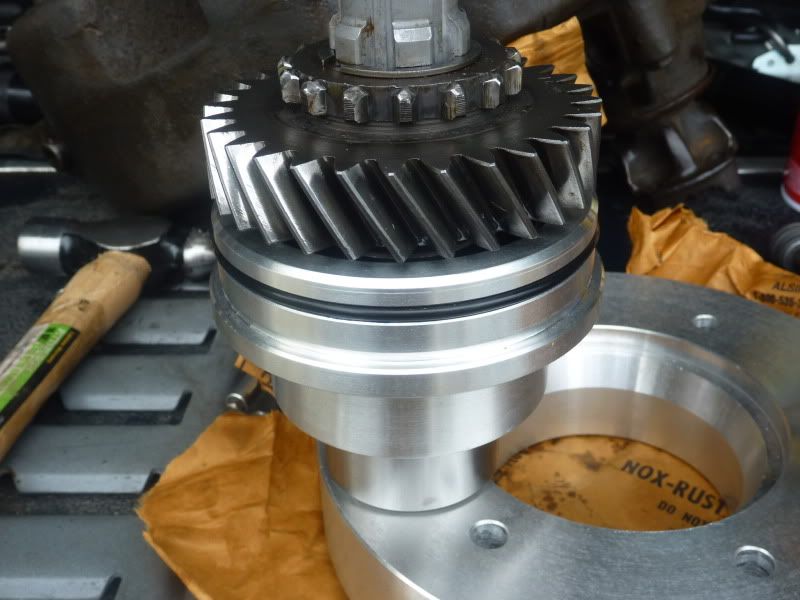
") ), I installed the assembly and gave it a slight tap with the mallet to seat.
), I installed the assembly and gave it a slight tap with the mallet to seat.