renrag
Jr. Member
Chromium plated, fully illuminated, completely welded, genuine accessory Bronco body. (some adjectives may be embellishments)
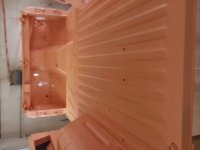
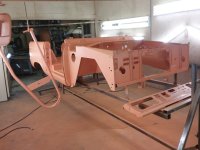
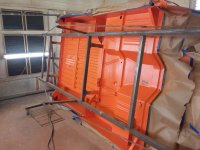
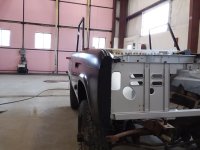
One month, to the day, after we laid down the front floor section, I have the body welded together. Lost a week around the holidays, but have mostly been working on this full time. Dad quickly left me to this project, and went about getting the rest of the stuff cleaned and painted. I'd guess it around 150hrs. I could cut that in half if I were building a wheeling rig I knew was gonna get beat up. I just decided to see how good I could do. All gaps are 3/16" with the exception of the passenger rocker/door gap and the tailgate. I just couldn't get that rocker to play nice. The rockers are convex, and the bottom of the door is concave along the bottom, so there was a lot of massaging of the door. When the skins are crimped onto the shell, the whole thing puckers and pulls the edges towards the center of the truck. You can see this in almost any picture of a (glossy) Bronco. I did my best to get rid of that. As for the tailgate, I made those gaps 1/4" since the latch, hinge arrangement is sloppier. I hope that keeps the edges from chipping.
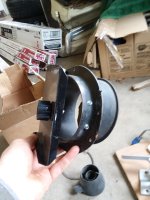
Anyone know what the bracket I am holding goes to? I can't find one like it on my old body. The angle matches the angle of the firewall to floor pan transition. TIA
Attachments
-
 20180119_161722.jpg97.5 KB · Views: 98
 -
 20180119_161745.jpg94.4 KB · Views: 92
 -
 20180119_161804.jpg92.7 KB · Views: 87
 -
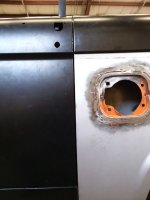 20180119_161821.jpg80.3 KB · Views: 100
 -
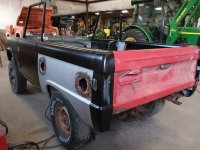 20180119_161908.jpg130.4 KB · Views: 100
 -
 20180119_161955.jpg108.2 KB · Views: 92
 -
 20180119_162015.jpg100.9 KB · Views: 85
 -
 20180119_162441.jpg83.9 KB · Views: 99


