• Just a reminder that you won't be able to start new posts or reply to existings posts in the Archive forum.

    This is where all the old posts go so they can still be used for reference and searched.
  • Welcome to ClassicBroncos! - You are currently viewing the forums as a GUEST. To take advantage of all the site features, please take a moment to register. It's fast, simple and absolutely free. So please join our community today!
    If you have problems registering or can't log into your account, please contact Admin.

My little gray mule: build thread

Vintage Steel

Sr. Member
Joined
Dec 17, 2009
Messages
373
Loc.
Post Falls, ID
CIMG5019.JPG

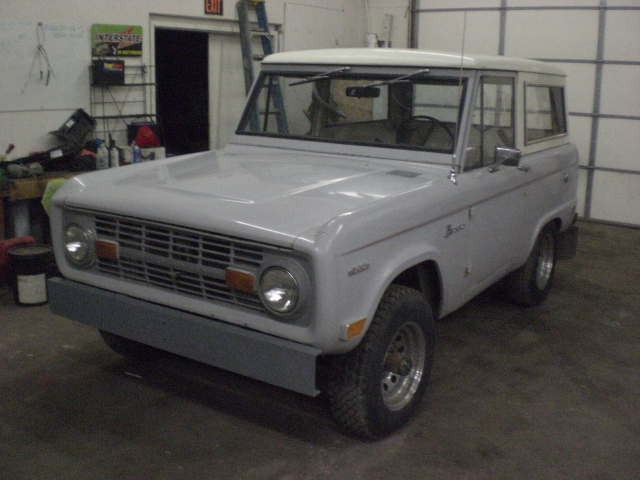
Traded my Dad's cousin,Gary, a 95 dodge 3/4 ton 4x4 V10 Regular cab for it. It had been setting in a barn [sure wish I had pictures of that] for years...kind of. it would get driven a few miles up the mountain in the summer sometimes, to go huckleberry picking, but not for the last 10 years or so. I told Gary I would trade him if I could drive it home. he assured me I could but it would take some work. We agreed that I would buy all the parts and, assuming it drove home, he wouldn't have to pay me back. (he bought the beer) A few hours, about a hundred dollar bill and several trips to Napa later, It started.
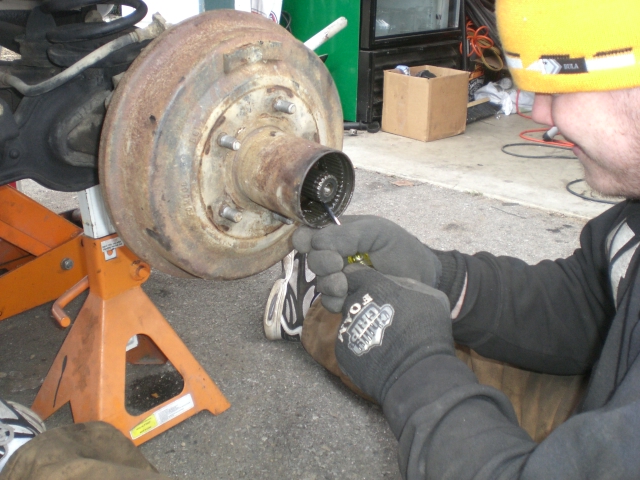
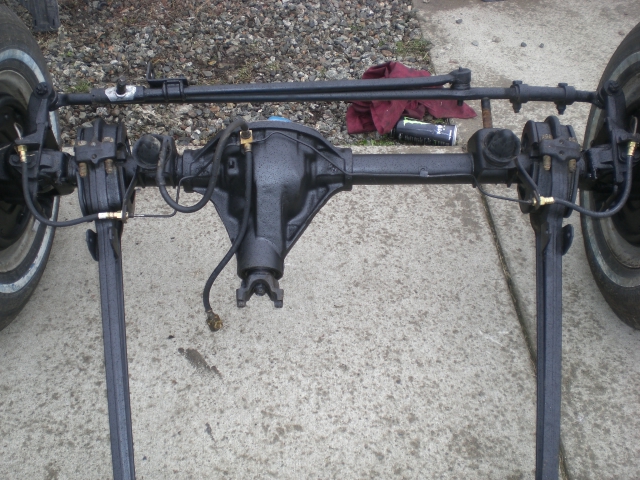
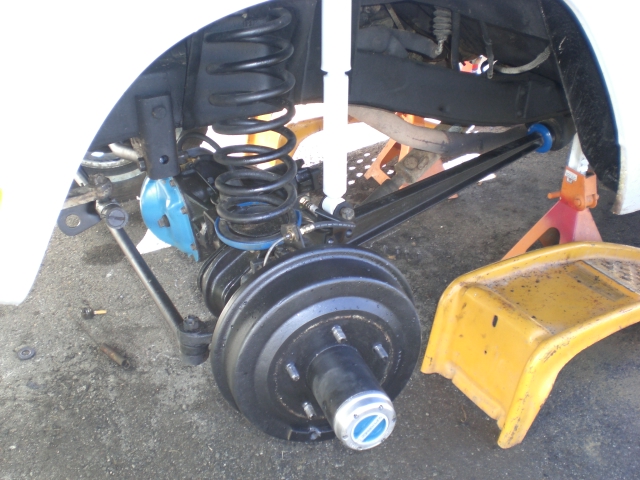
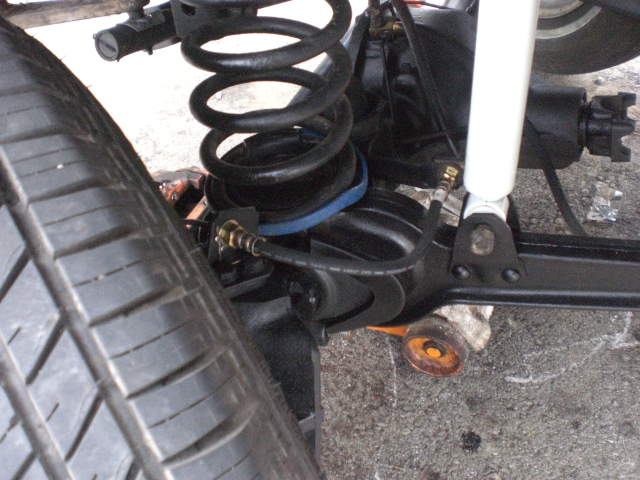
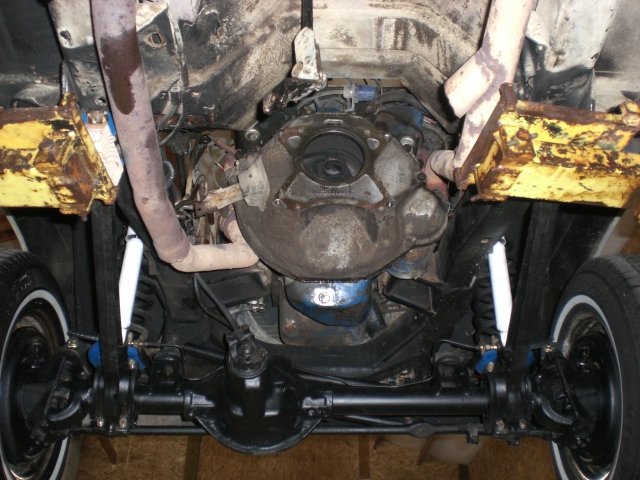
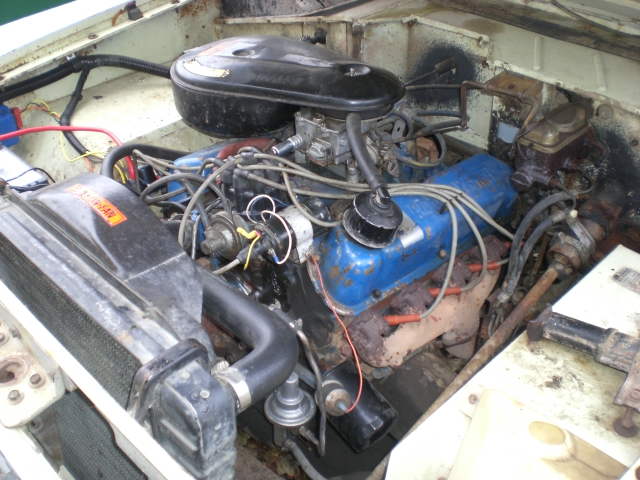
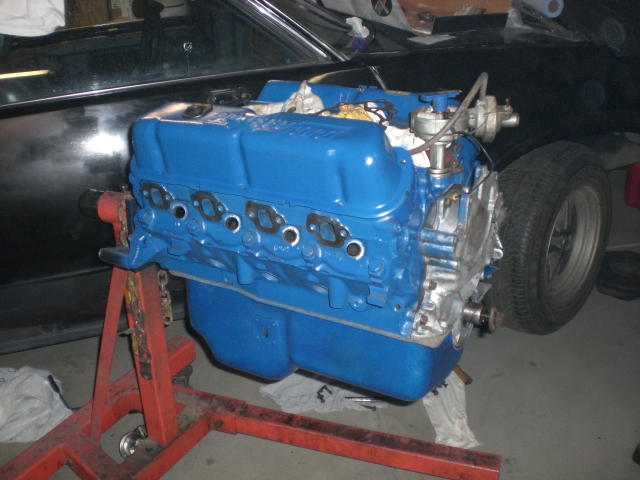
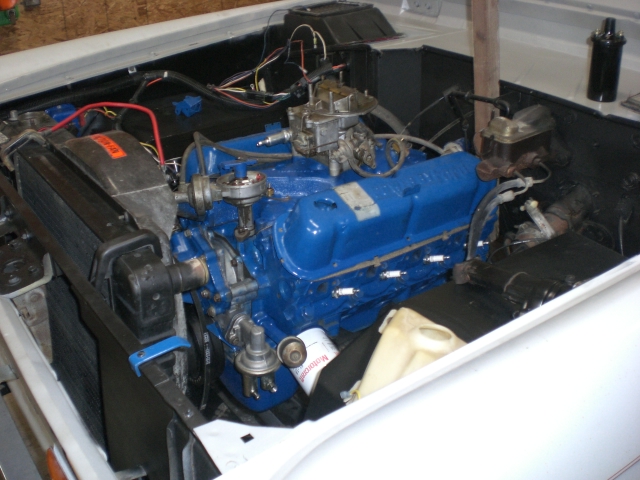
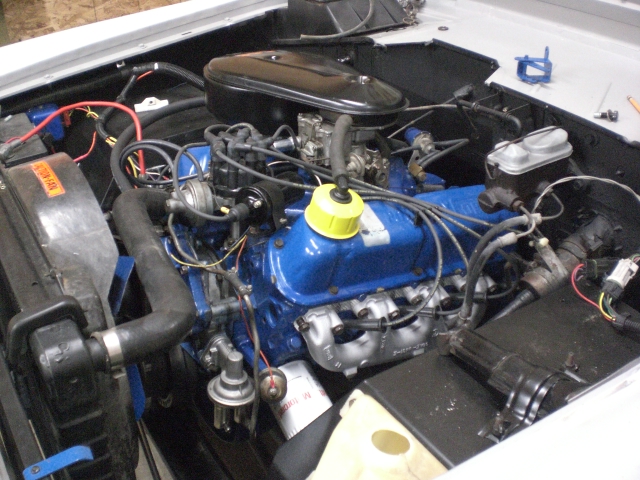
I changed all the oil and filters. Filled it full of premium, topped the radiator off with a garden hose, changed the points, condenser, cap and rotor, plugs, wires, battery, 1 cable and the belt. ran a grease gun under it and aired up 3 tires.
Fended off 5000 wasps and 1 mouse.
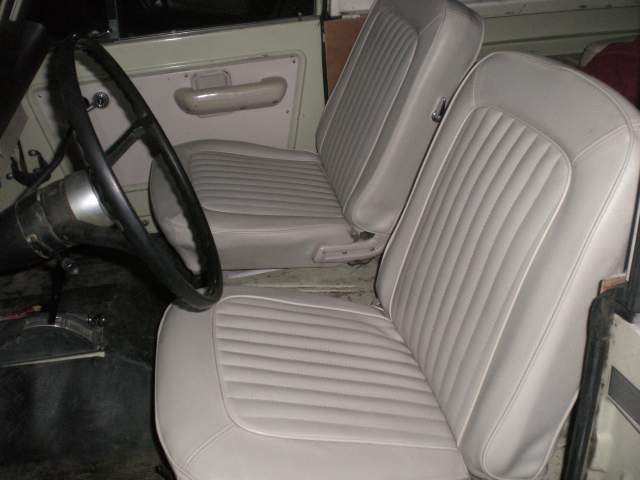
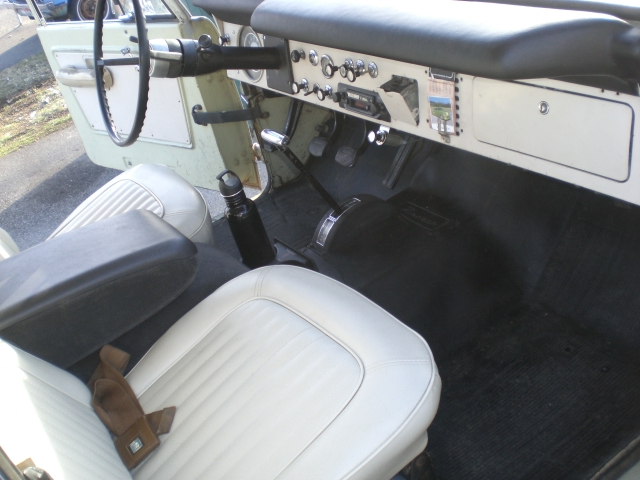
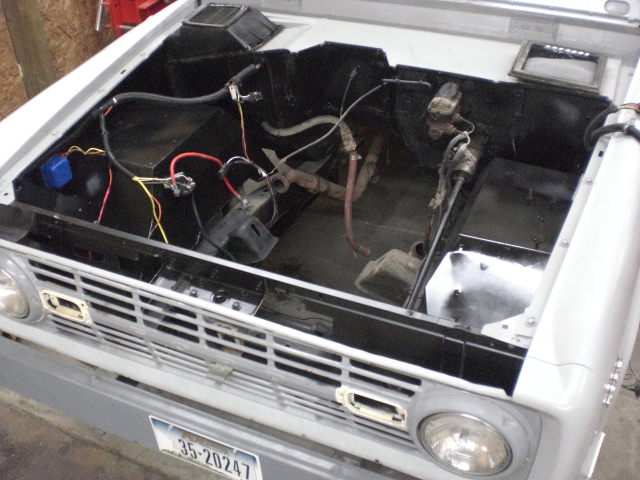
I drove it 26 miles home with a smile on my face. The interior had blankets and tool boxes and tools and camping gear and a whole list of miscellaneous stuff that Gary didn't bother to take out as it was his late fathers [my Great Uncles] rig and he said he had no use for it it. was covered in dust and apparently I missed a wasp nest in the drivers door and got stung twice on the way home. Got it home and took my last can of bee killer to it.
When I popped the hood there were 2 wires on the alternator that were just twisted together that were glowing red hot. I lit a cigarette off the glowing ball of copper and stood back and grinned while my wife asked me if I was crazy for trading a perfectly good pickup for this piece of shit.

...That was almost two years ago, She knows I'm crazy now.
 
Last edited:
OP
OP
V

Vintage Steel

Sr. Member
Joined
Dec 17, 2009
Messages
373
Loc.
Post Falls, ID
I named it my little mule (from romancing the stone) and drove it around for a couple months or so, pretty much without incident. I bought a new rubber for under my lift gate, new foam and covers for the front seats, a new dash cover and a centech wiring harness from Tom's. I put the gasket and the dash cover on it and drove it to my buddy Steve Grimm's house.
I commissioned Steve to install the wiring harness. He got right on it and almost had it done in about a week and a half......while a little over a year later it was still setting in his carport 3/4 wired. ...so, I showed up with a trailer and drug it home (it took me 2 1/2 hours to completely finish the wiring)%)
some where during this time I acquired a top with chrome trim, a good used back seat, and a wiper motor cover with a dome light in it for $150 I traded my old ripped back seat to my buddy for a guitar pedal. swapped tops as mine was painted gray and had a hole in the middle where someone installed a CB antenna. and promptly sold my old top for $250;D
I then replaced over the last 6 months, in no specific order, as they failed:
alternator (rebuilt it)
Voltage regulator
coil
ballast resistor
fuel pump
water pump
all 4 tires (1 at a time as the 20 year old recaps failed)
amp meter
thermostat
upper and lower radiator hoses
oil pressure sending unit
temp sensor
right exhaust manifold
Carburetor (rebuild)
Battery (second one in less than 1000 miles)
the little rollers that go in the side window channels.
the ignition switch
and repainted the front bumper
...all right, that should get us, just about, caught up to the last few weeks.
There is nothing wrong with the powertrain of this truck, The reasons for this build are:
1* It sat in storage for years and most the seals and gaskets are dried out and leaking
2* It looks like it sat in a barn for 20 years
3* I like working on old rigs.
 
Last edited:
OP
OP
V

Vintage Steel

Sr. Member
Joined
Dec 17, 2009
Messages
373
Loc.
Post Falls, ID
Seats

I finally decided to install my new seats. after [7] hours of wrestling with the drivers side seat it was done and got installed. I was so discouraged from my epic battle with the drivers seat that the passenger seat sat in my living room for 3 weeks and I just kicked it as I walked by. my wife finally told me to get it done or just put it back in or she was going to throw it away:-*
CIMG4852.JPG

I reupholstered it and put back in.
CIMG5138.JPG

They look pretty good don't you think?
 
Last edited:
OP
OP
V

Vintage Steel

Sr. Member
Joined
Dec 17, 2009
Messages
373
Loc.
Post Falls, ID
Dome light

installed the dome light I've had laying around for over a year.
CIMG5139.JPG

Took like 2 hours to fish the wire down the window channel.
WHAT A PAIN IN THE ASS!!!!
 
OP
OP
V

Vintage Steel

Sr. Member
Joined
Dec 17, 2009
Messages
373
Loc.
Post Falls, ID
Rust

Years of water seting under the stock rubber floor mats takes a tole
CIMG5162.JPG

The rust was limited to the top side of the floor boards and the only place it rusted through was under the gas pedal.
I wire brushed the intire drivers floorboard area and cleaned it thoroughly
I painted it with POR-15 applying liberally to the hole and even painting it from the underside.
Then I let it dry and covered the underside of the hole with duct tape.
from the top side I painted the duct tape showing through the hole with more POR
I let that dry and smeared a little automotive seam sealer over the rusty seam
when that was dry I top coared it with mor POR. this process took 2 days.
durring all this I also wire brushed and coated the passenger floorboard with POR.
CIMG5164.JPG

I then scuffed the floorboard to the seam just behind the front seats and brushed POR-15 over the entire front pan and reinstalled both seats and the floor mat.
CIMG5245.JPG
 
OP
OP
V

Vintage Steel

Sr. Member
Joined
Dec 17, 2009
Messages
373
Loc.
Post Falls, ID
Front end

Decided it was time to install those urethane bushings I've had setting in a box for a month or 2
My Buddy, Will, came over to help. This is Will digging into the hub
CIMG5259.JPG

Tore out the front end. Here's Will again.
CIMG5275.JPG

put it on jack stands and cleaned it with Super-clean
CIMG5278.JPG

painted it up had the drums turned installed new brakes, seals, wheel cylinders and rubber lines.
CIMG5286.JPG

Here's Will adjusting the brakes. We added new shocks and stuffed it back under the front of the car in my driveway in the rain.
It's not on in this pic but I also replaced the steering stabilizer.
CIMG5295.JPG

Quite a difference
CIMG5277.JPG

Scored a new set of hubs at Schuck's on clearance for $60
CIMG5270.JPG

CIMG5450.JPG

CIMG5297.JPG

This thing drives way stiffer now
Turned out pretty good for a couple of farm boys!
 
Last edited:
OP
OP
V

Vintage Steel

Sr. Member
Joined
Dec 17, 2009
Messages
373
Loc.
Post Falls, ID
Took it to my friend Dennis Kenny's house to use his lift. Yarded out the transmission and transfer case.
CIMG5471.JPG

This just wont do. Also the rear main is leaking.
CIMG4851.JPG

Okay, out with it then
CIMG5516.JPG

Took it over to my buddy Dennis Green's house where we ripped it apart, checked it out, cleaned it up and reassembled it.
CIMG5520.JPG

Bearings looked good, cylinder walls still had hone marks in them. It had excellent compression, it held 42psi oil pressure at an idle when it was warmed up. Somebody obviously rebuilt this thing not very many miles ago, so we put in new gaskets, seals and a new timing chain in it and painted it up.
here's Dennis cleaning up the pan. Check out the slack in that timing chain.
CIMG5503.JPG

Dennis' son's girlfriend, Courtney painted up all the little parts as well as brushing POR-15 on the cross member, battery tray, clutch fork and bell crank
CIMG5534.JPG

This is how I left it
CIMG5539.JPG
 
Last edited:
OP
OP
V

Vintage Steel

Sr. Member
Joined
Dec 17, 2009
Messages
373
Loc.
Post Falls, ID
Detailed the engine compartment

I spent a couple hours scuffing the engine compartment and cowl with gray scotch bright. Then I masked and primed it all. shot it black with Some semi flat Krylon rust tough. the primer matched the paint so well I just shot some clear over it:cool:
I know balcked Out engine compartments aren't very "Ford" but I think it looks pretty good.(a heluva lot better than the old yellow)
Got to love the way they masked around the marker lights.
CIMG5550.JPG

Then I put on my safety glasses and coveralls and started wire brushing the belly of the beast and finished the day spraying some under coating.
CIMG5556.JPG

looks a little light in a couple spots.
 
Last edited:

farnorthdan

Full Member
Joined
Dec 15, 2009
Messages
344
Loc.
Eagle River, Alaska
Man, that looks great, you've been a little busy eh. Its kinda like eating chips/elephant, one bite at a time but you can't stop. Amazing how one thing leads to another.

I just recently finished similar overhaul on my 73' i got in December, with the exception of yanking the engine it seemed pretty strong still, replaced the water pump, it was making some funny noises and the fan blade had a little wobble to it.

The body on yours looks a little nicer than mine, still got some rust issues that will have to be delt with someday.

These are great little trucks that deserve all the hard work we put into them to keep them on the road, welcome to the brotherhood.


dan
 
OP
OP
V

Vintage Steel

Sr. Member
Joined
Dec 17, 2009
Messages
373
Loc.
Post Falls, ID
Motor re-installed

Dropped my motor back in.
CIMG5573.JPG

Got a new clutch ran out of time before I could get it bolted up
CIMG5583.JPG

Spent some time at the blast cabinet. That sure beats the hell out of sand paper!
CIMG5582.JPG

Need to get some manifold paint for these, before I put them back on.
CIMG5585.JPG

started bolting everything back on the motor. should have everything under the hood buttoned up tomorrow:cool:
CIMG5591.JPG
 
Last edited:
OP
OP
V

Vintage Steel

Sr. Member
Joined
Dec 17, 2009
Messages
373
Loc.
Post Falls, ID
Got it pretty much done under the hood. Took a little longer than I expected. Partially because I was working on the trans at the same time.
CIMG5640.JPG
 
Last edited:
Top