• Just a reminder that you won't be able to start new posts or reply to existings posts in the Archive forum.

    This is where all the old posts go so they can still be used for reference and searched.
  • Welcome to ClassicBroncos! - You are currently viewing the forums as a GUEST. To take advantage of all the site features, please take a moment to register. It's fast, simple and absolutely free. So please join our community today!
    If you have problems registering or can't log into your account, please contact Admin.

A Bronco Story - Rebuild

'69 Bronco

Full Member
Joined
Jan 18, 2009
Messages
161
Loc.
Southern California
Two and half years ago I joined this forum and told the story of my familys Bronco with the intent of starting the rebuild and posting the progress.

http://classicbroncos.com/forums/showthread.php?t=134316&highlight=bronco+story

Well better late then never I guess because my dad and I have finally made some progress.

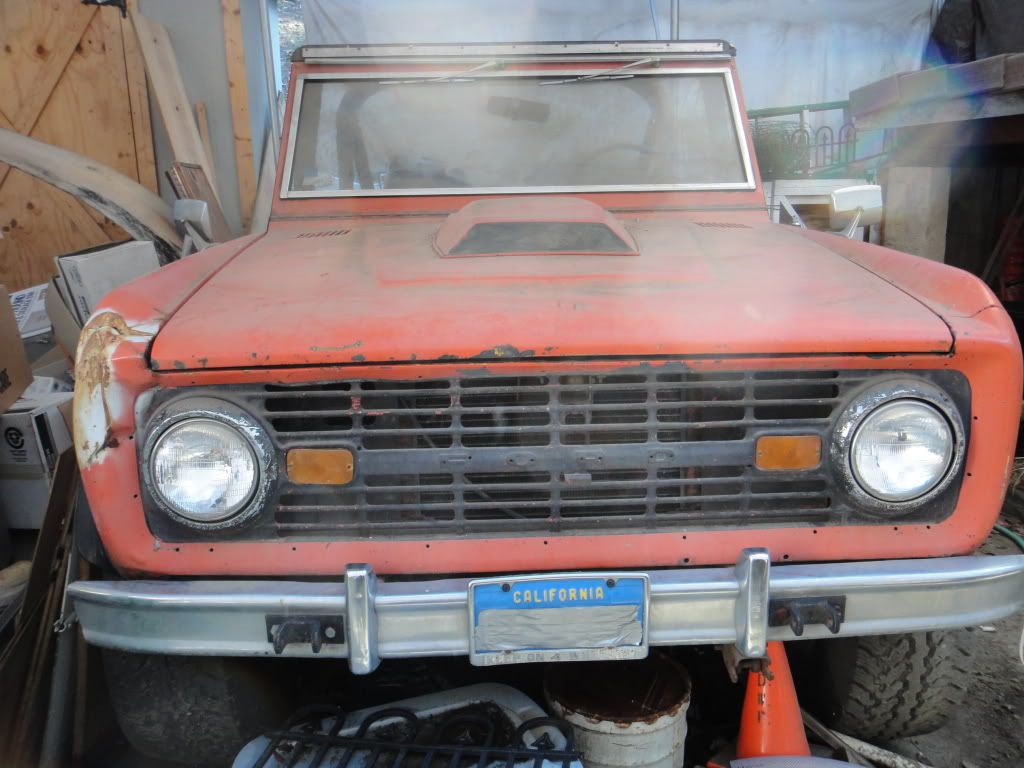
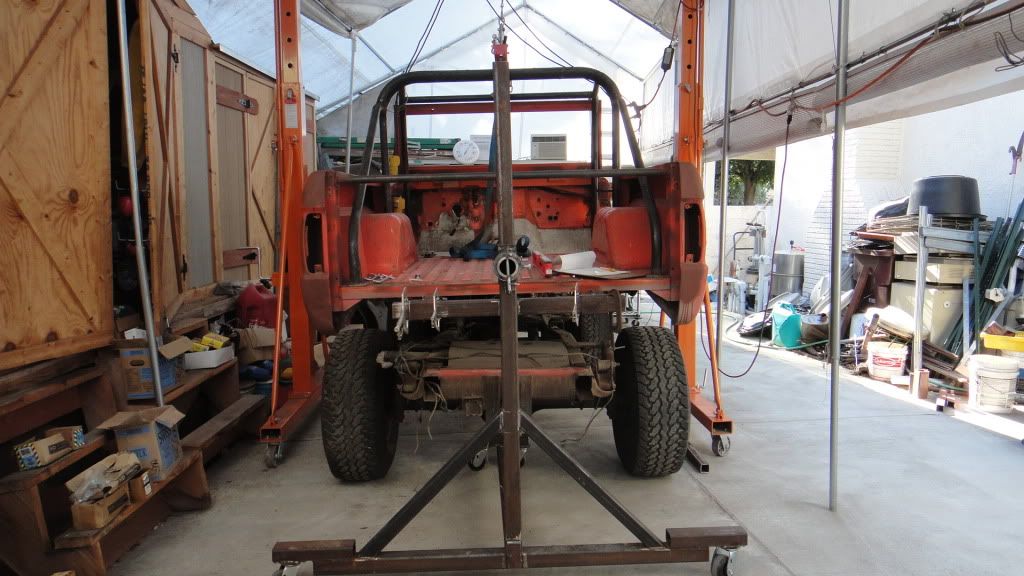
As it has been for the past 10+ years.


DSC00009.jpg


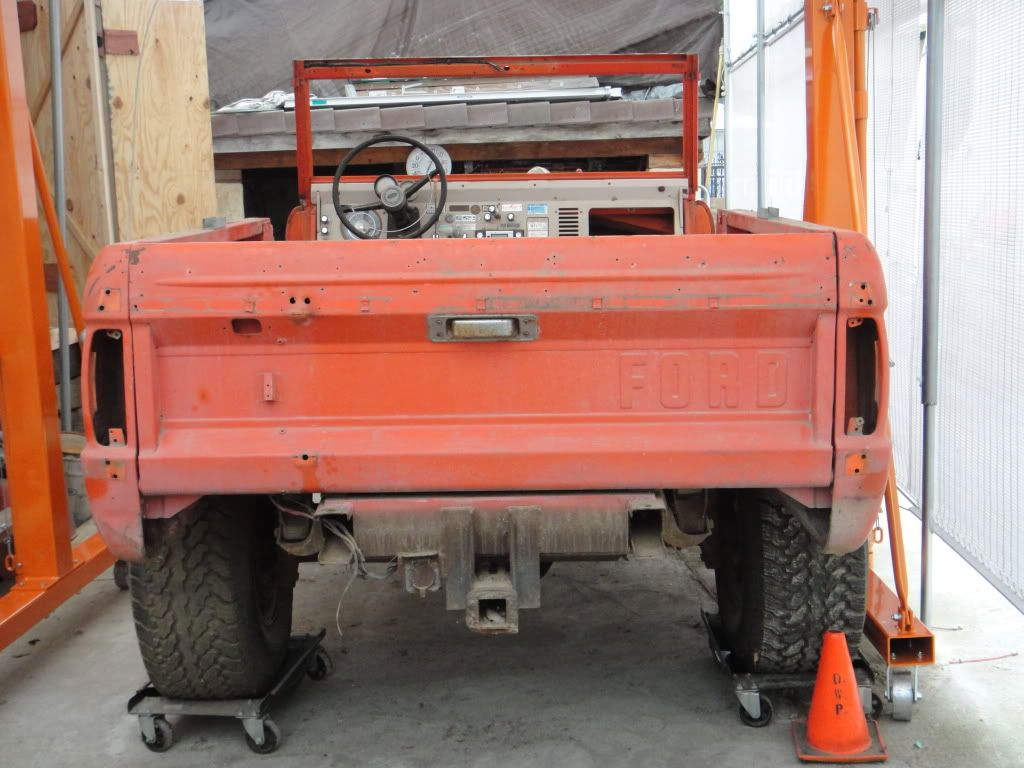
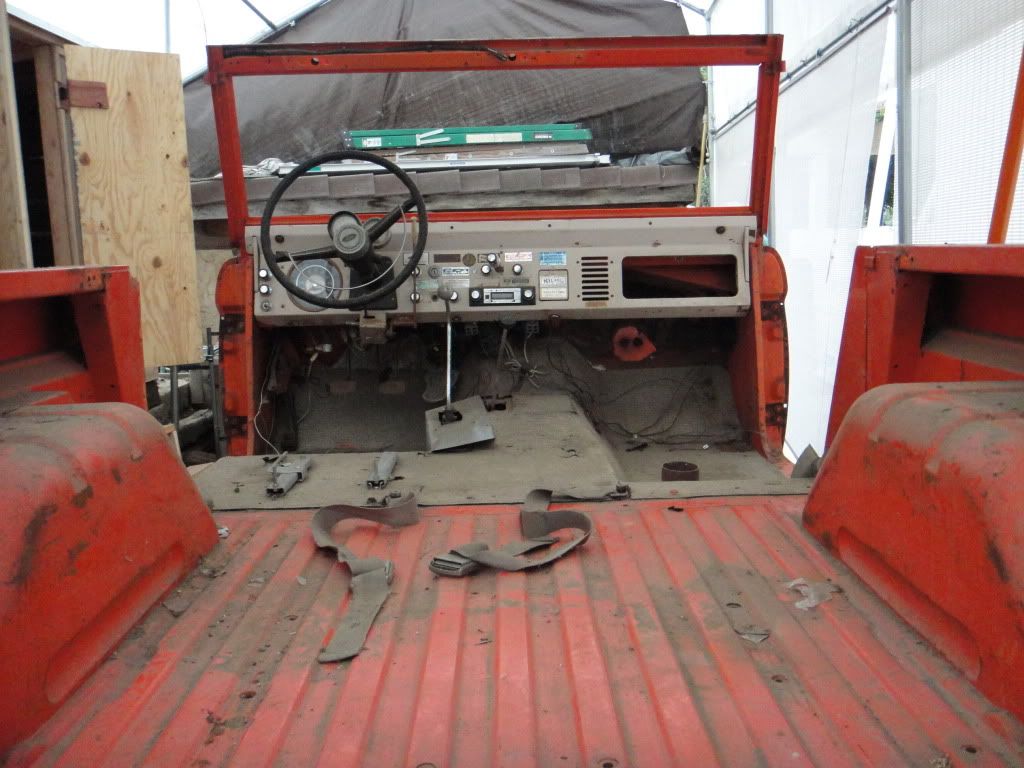
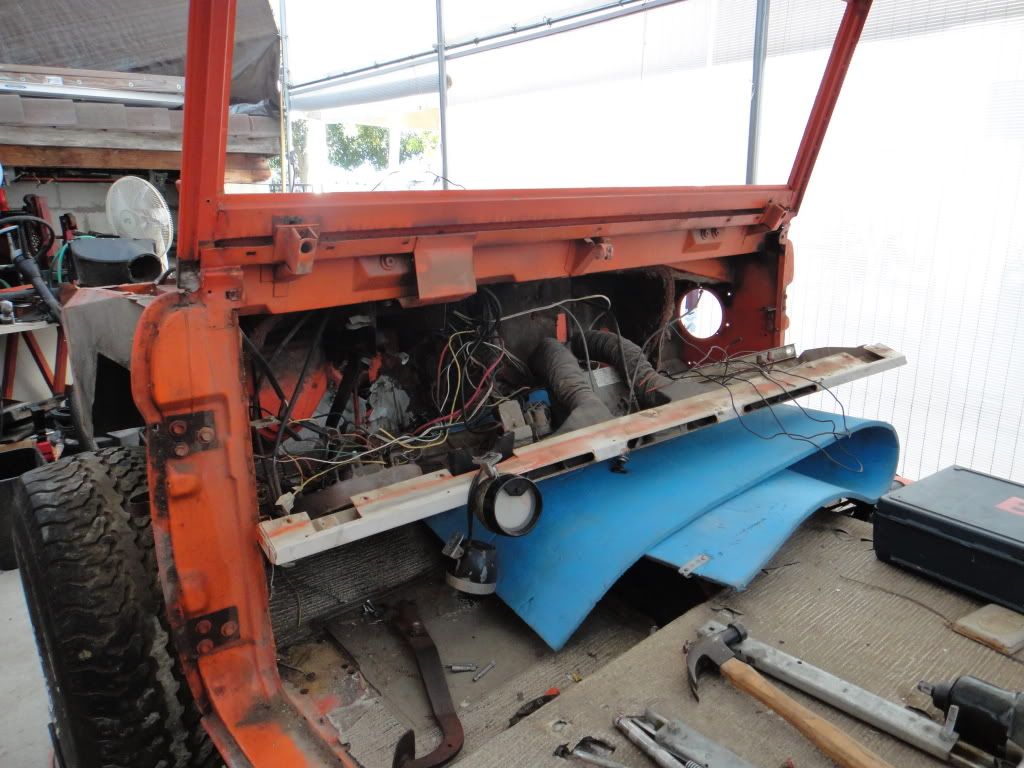
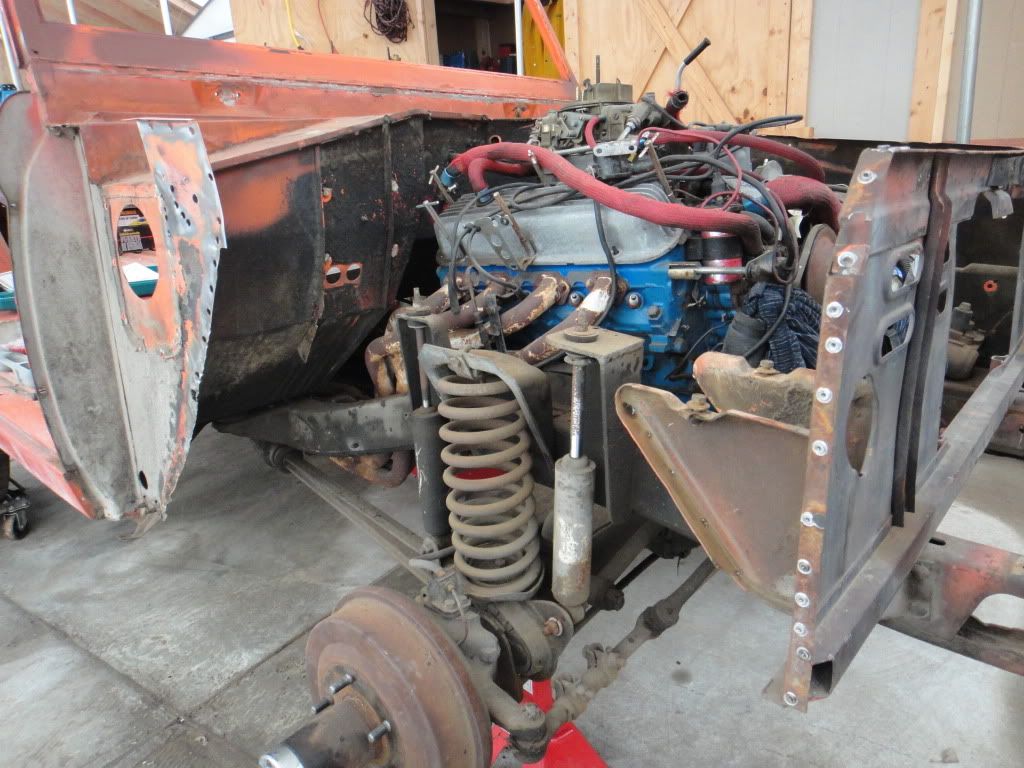
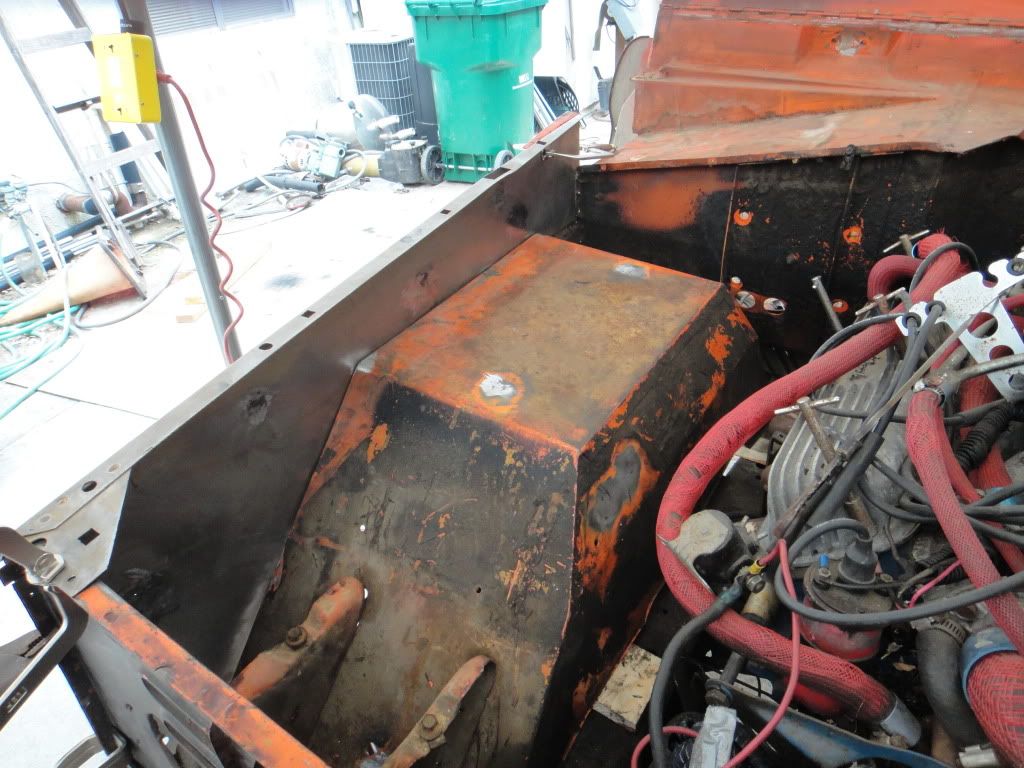
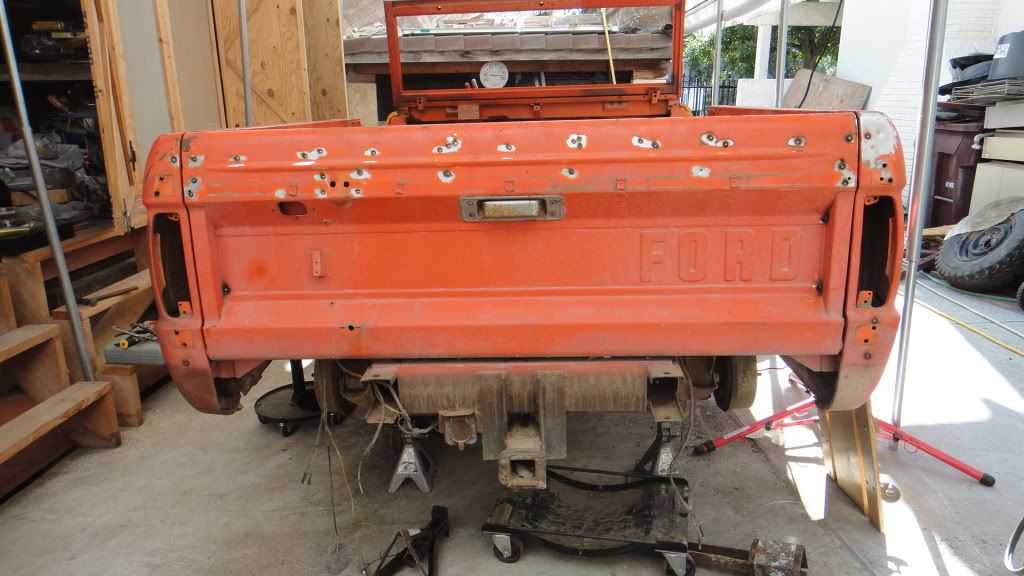
Starting the tear down.

DSC00070.jpg


DSC00072.jpg


DSC00083.jpg


DSC00082.jpg


DSC00084.jpg


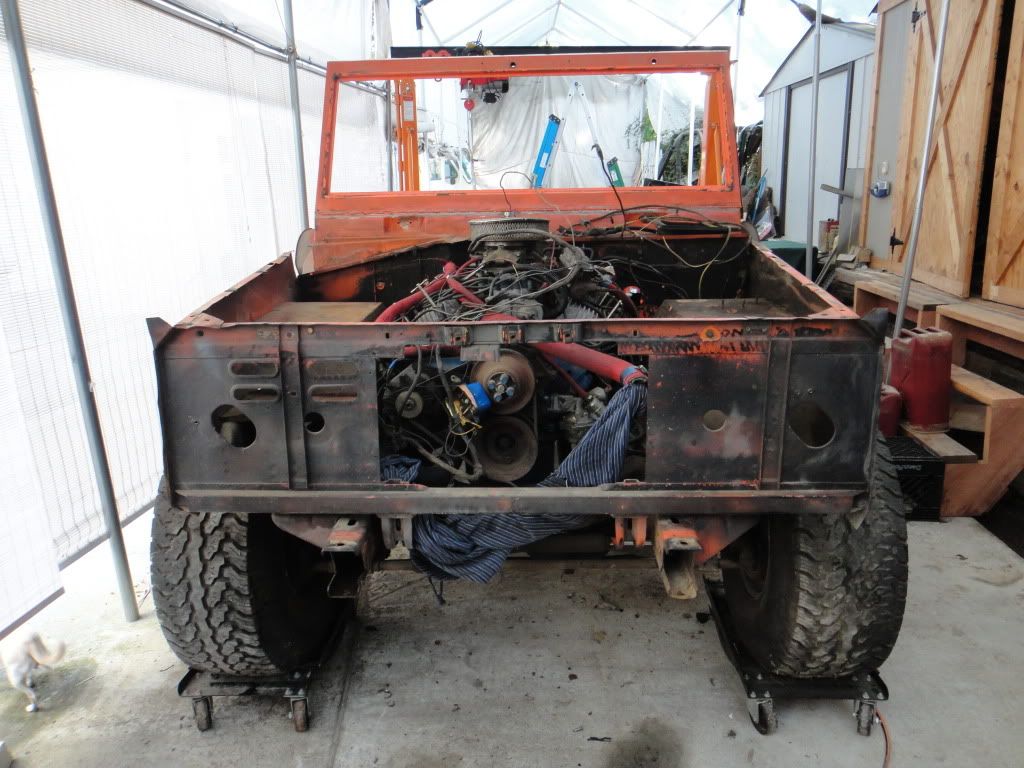
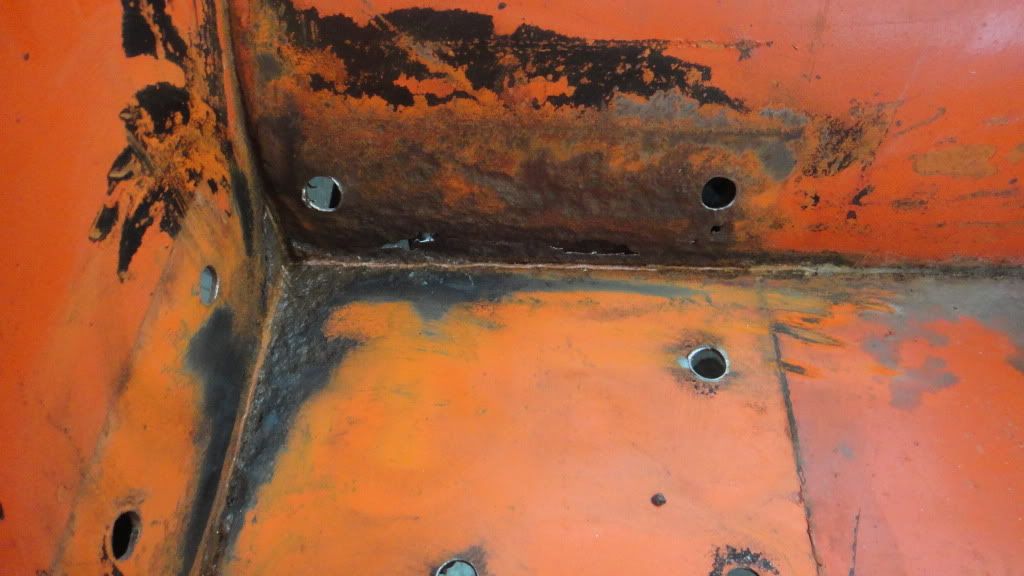
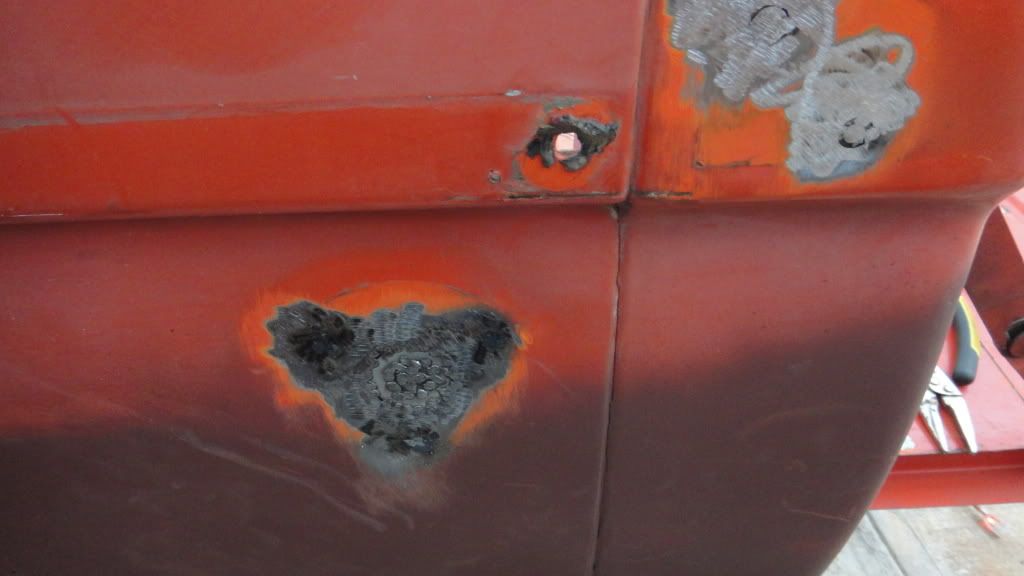
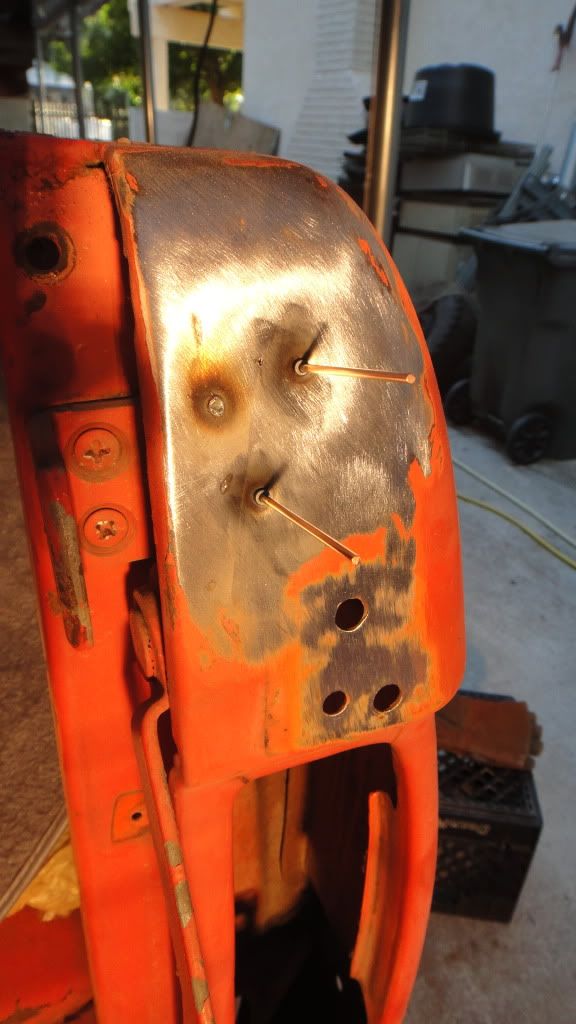
Damage to the right front inner skirt.

DSC00077.jpg


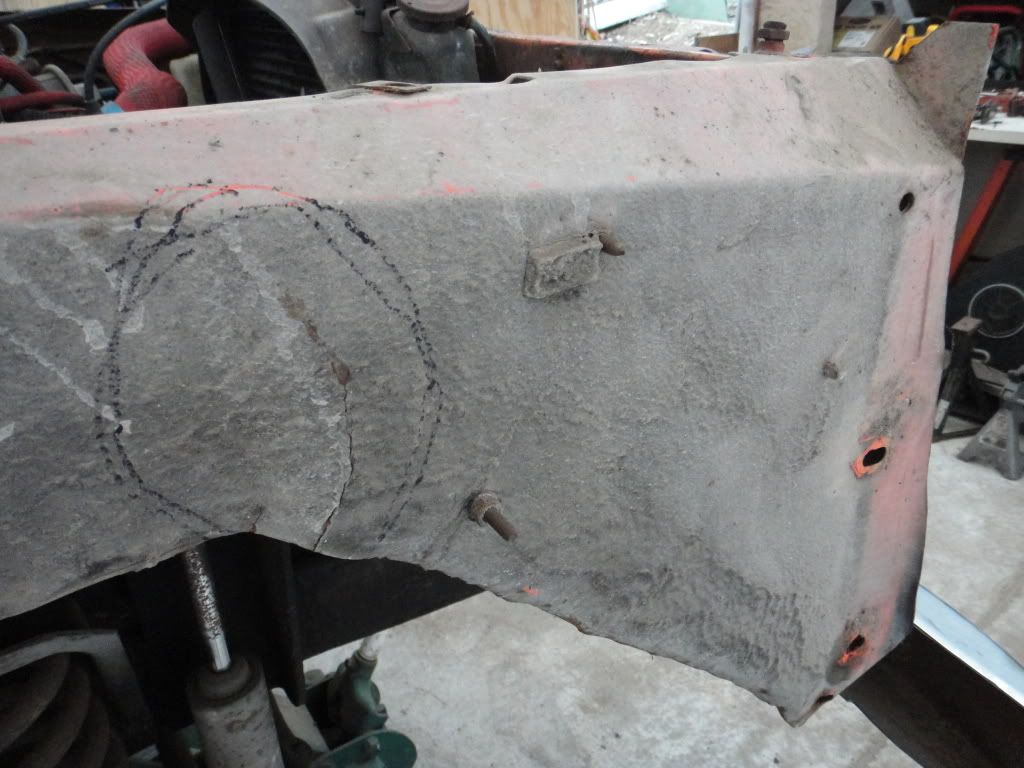
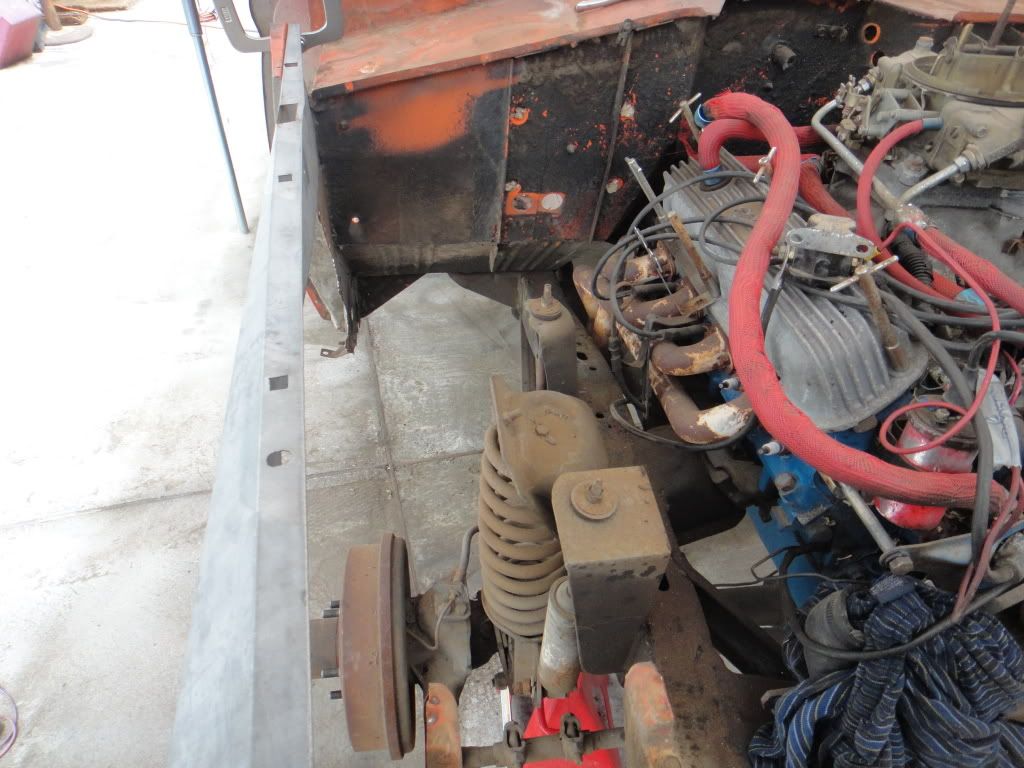
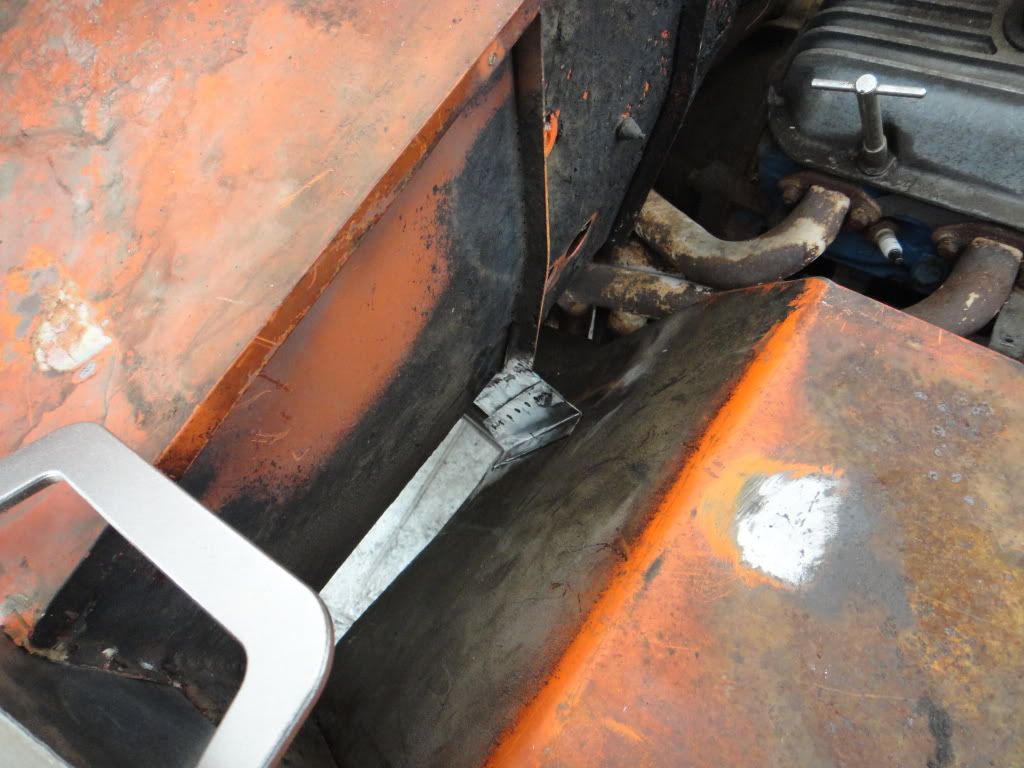
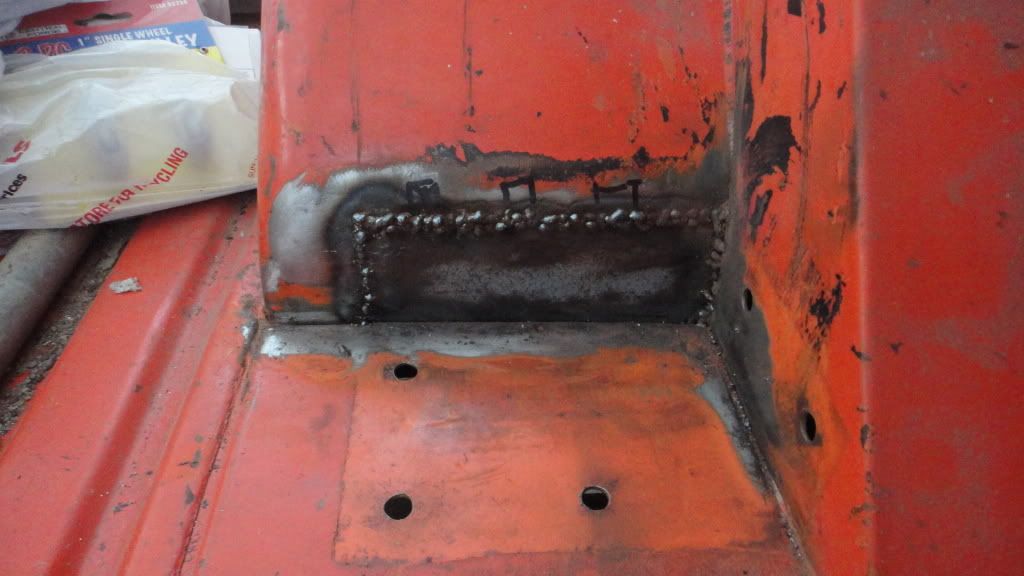
Damage to the core support.

DSC00078.jpg


DSC00106.jpg


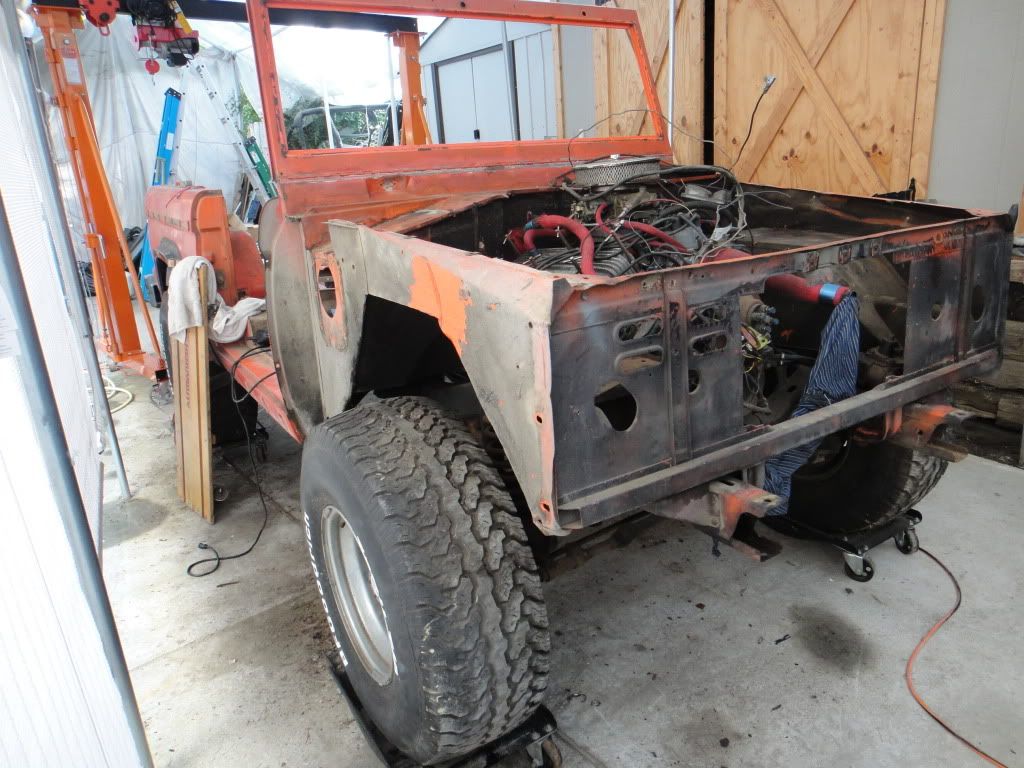
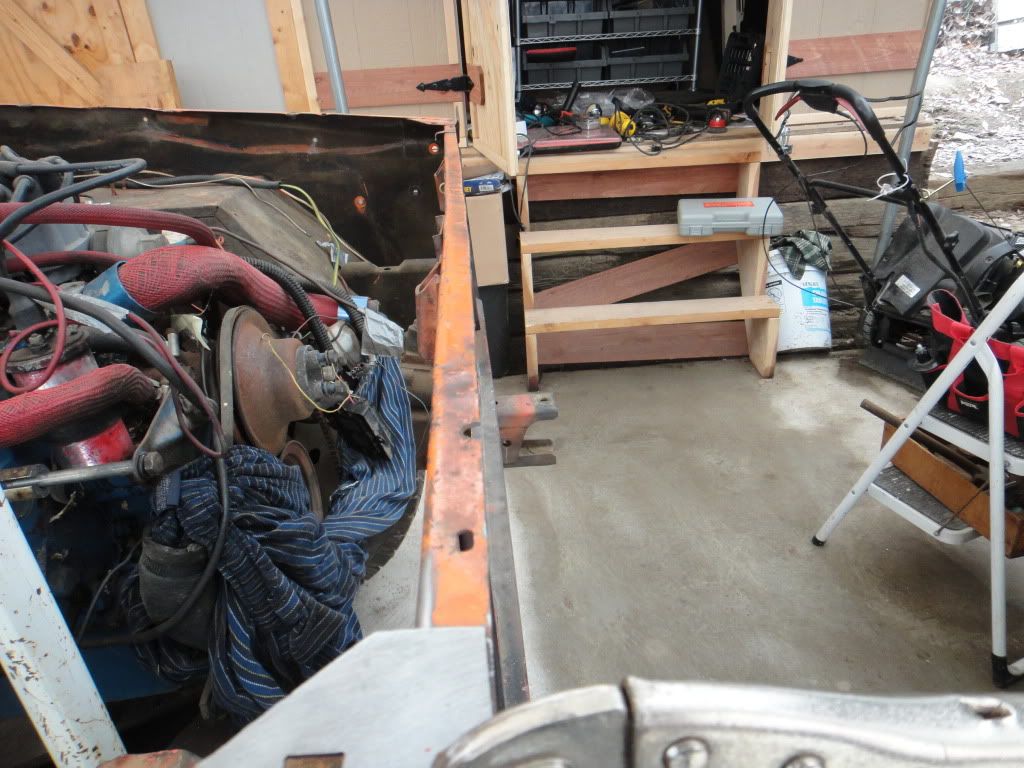
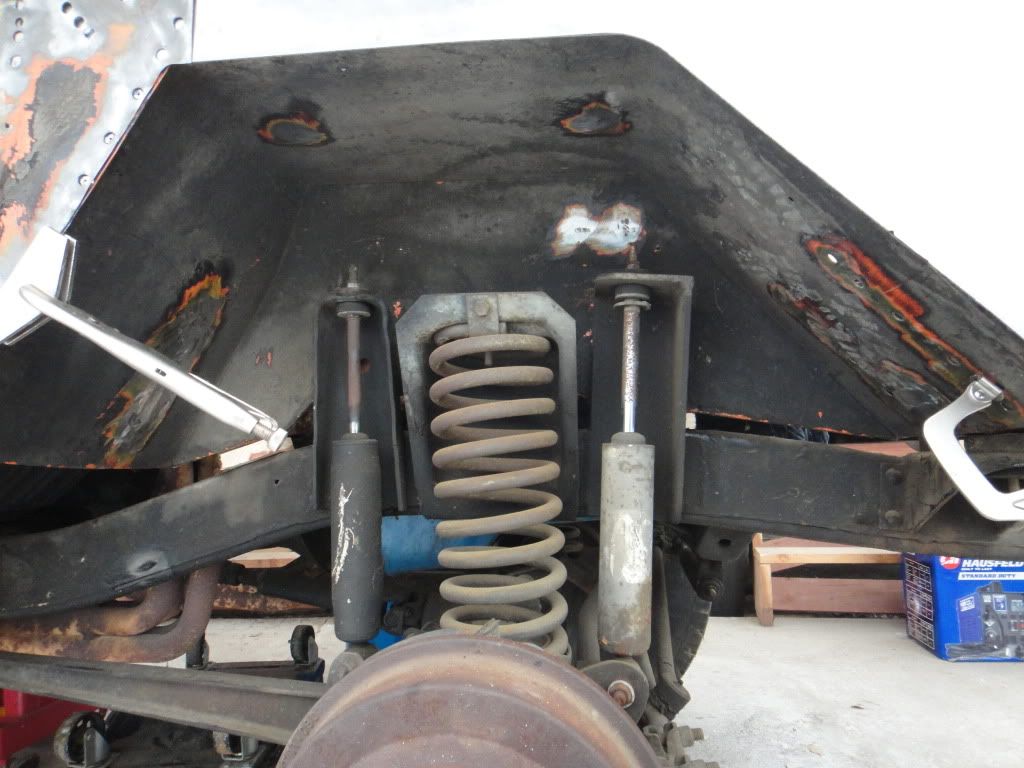
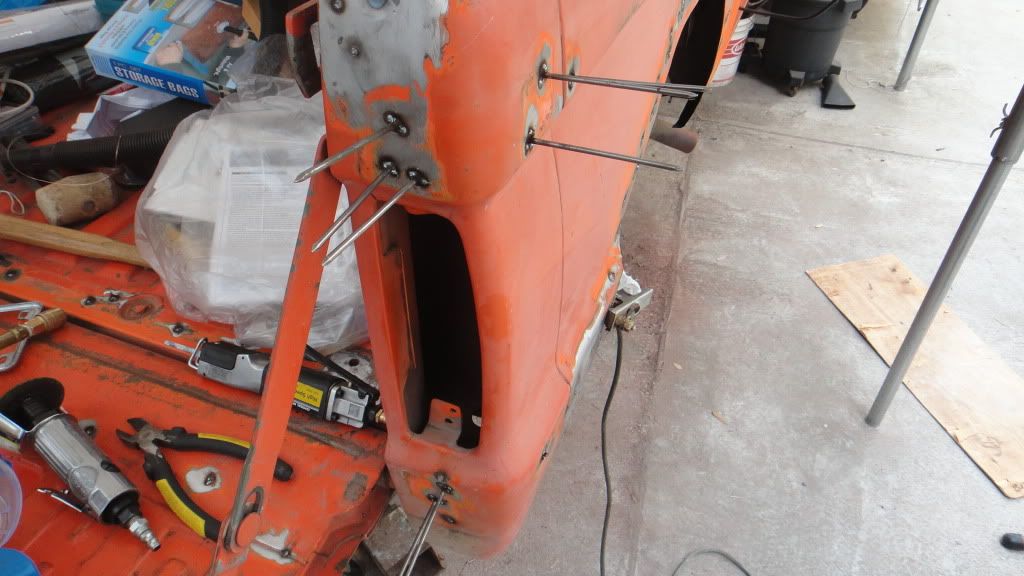
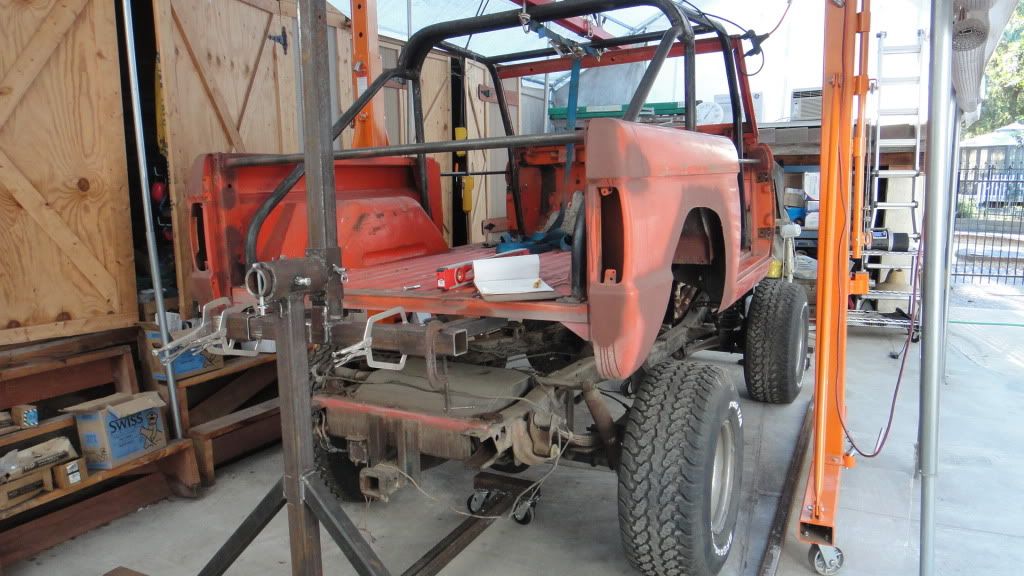
The wheel tub is tweaked as well, so we pulled it out.

DSC00104.jpg


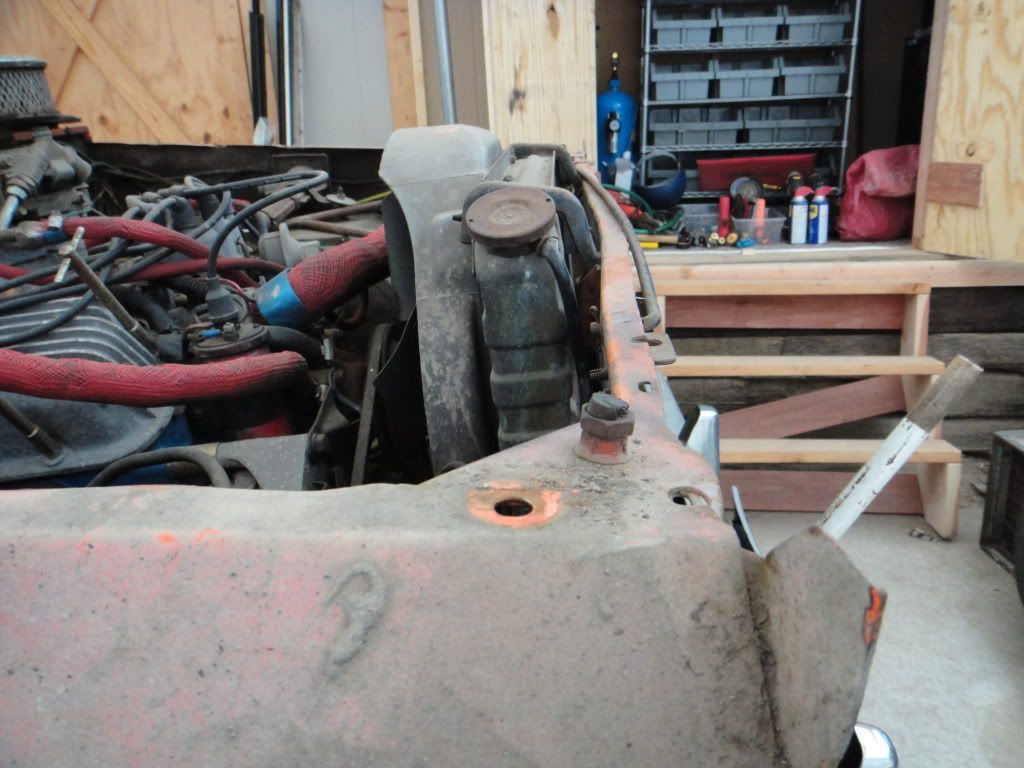
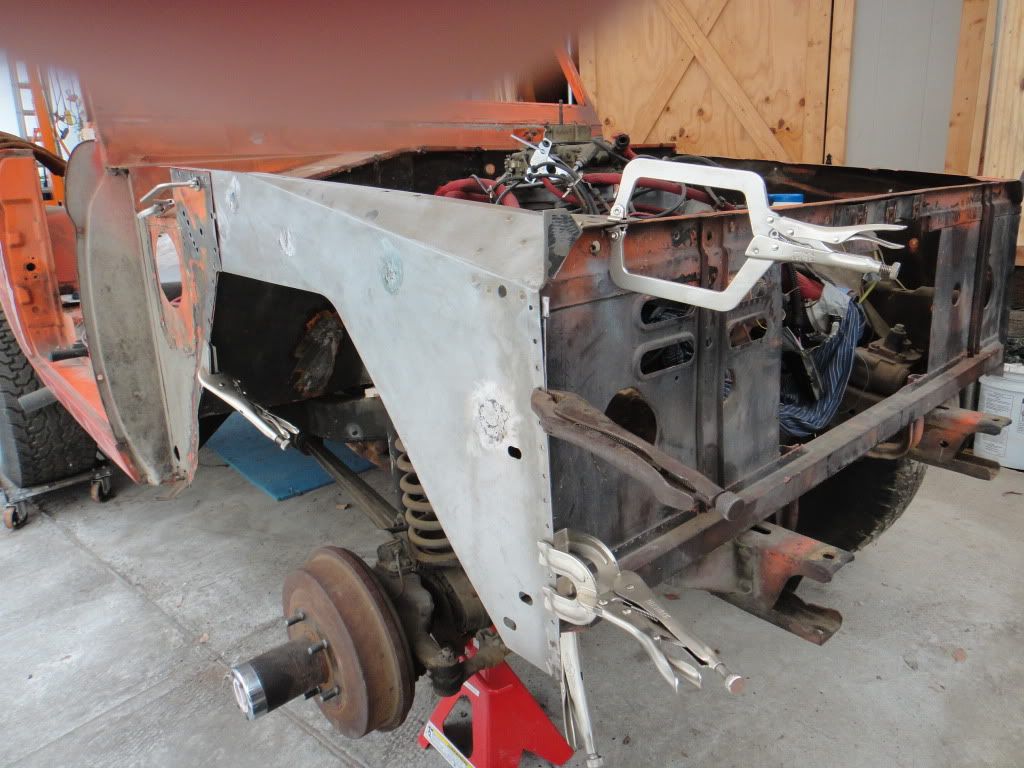
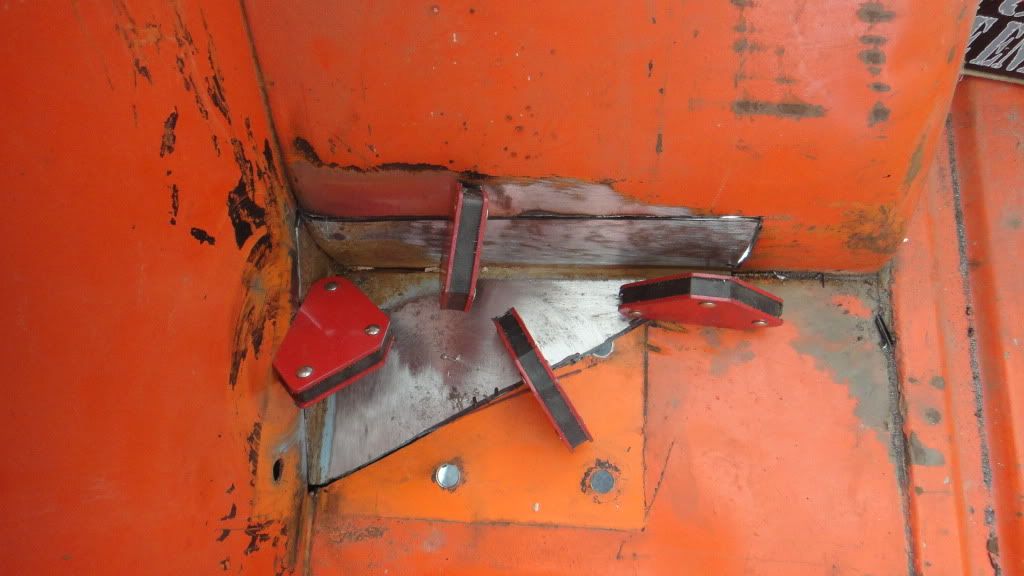
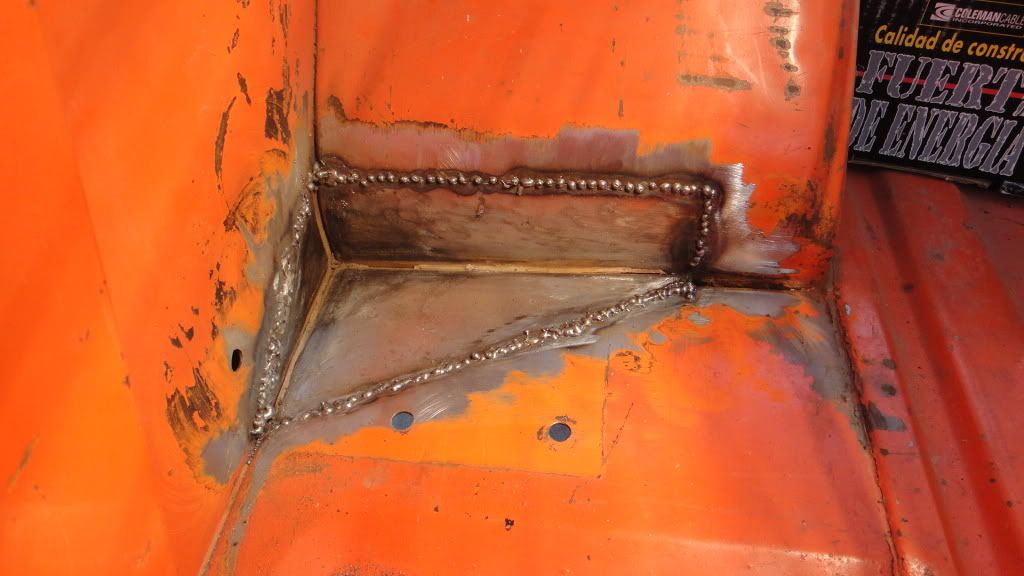
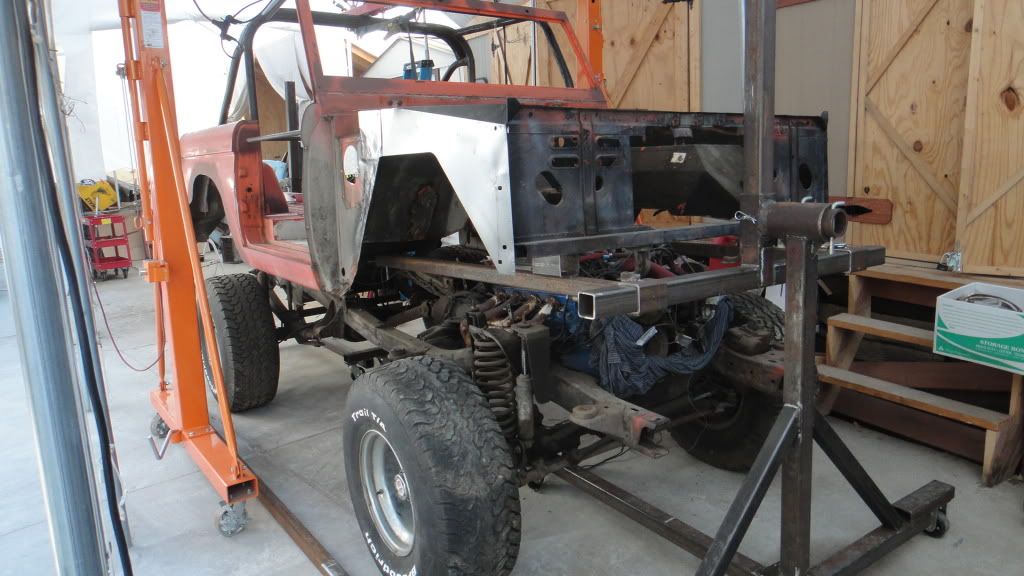
Core support looking better.

DSC00102.jpg


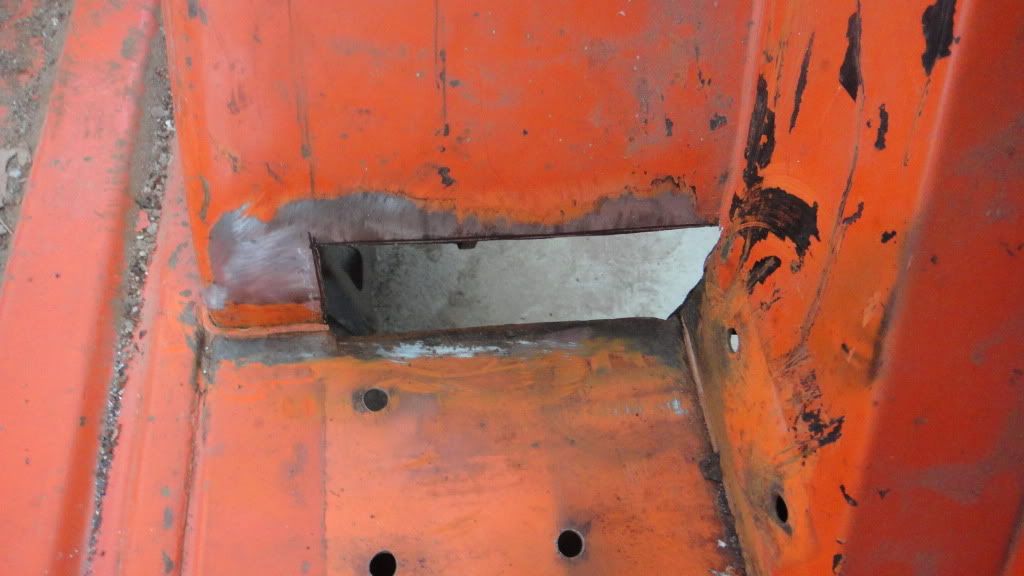
New inner skirt fitment check. We were able to save the tub with some hammer and dolly work.

DSC00154.jpg


DSC00155.jpg


DSC00156.jpg


DSC00157.jpg


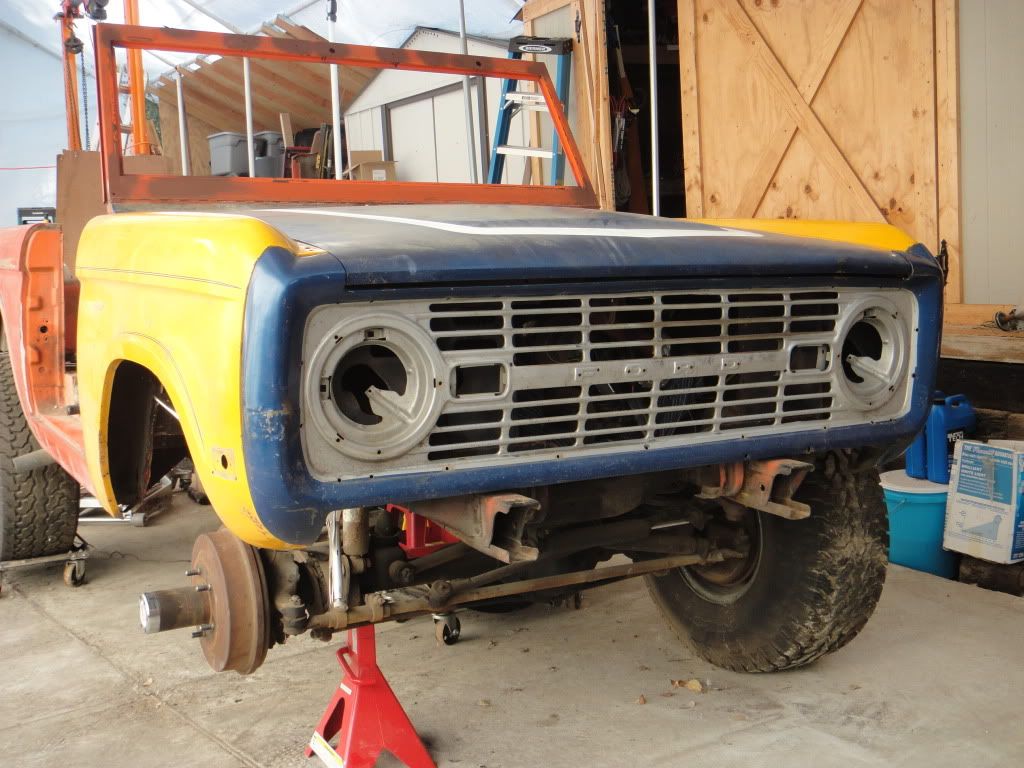
Mock up with new fenders, grill and hood.

DSC00162.jpg


Hopefully another two years don't go by before I post again.
 
Last edited:

Stutsmo

Contributor
Bronco Guru
Joined
Jan 24, 2009
Messages
2,549
Sometimes it just takes awhile to get started. Looks like you are making good progress!
 
OP
OP
6

'69 Bronco

Full Member
Joined
Jan 18, 2009
Messages
161
Loc.
Southern California
Rust areas behind the front seats under the rollbar mounts.

DSC00257.jpg


DSC00263.jpg


DSC00279.jpg


DSC00280.jpg


DSC00258.jpg


DSC00297.jpg


Welded up about 300 holes and set the tailgate gaps which were horrible, with one side rubbing and the other side wide. Much better now.

DSC00281.jpg


DSC00289-1.jpg


Old school whip antenna mount which had a huge hole, now gone.

DSC00296.jpg


DSC00288.jpg


My dad and I have about 400 total man hours in to it at this point........ I think we work really slowly. lol
 
OP
OP
6

'69 Bronco

Full Member
Joined
Jan 18, 2009
Messages
161
Loc.
Southern California
Thanks for the support Justbman.

The last 150 man hours have been spent making a rotisserie. I really underestimated the work involved but we finally got it done.

Now we can get back to actual work on the Bronco.


DSC00320.jpg


DSC00324.jpg


DSC00325.jpg


DSC00326.jpg
 

ILikeBond

Sr. Member
Joined
Jan 27, 2009
Messages
908
Nice, looking forward to following this build. What's the end goal or build plan?
 
OP
OP
6

'69 Bronco

Full Member
Joined
Jan 18, 2009
Messages
161
Loc.
Southern California
Well I wanted to put it back to how it looked when it was purchased from Charlie Erickson at Fairway. But my dad said it still was pretty much stock at that point and he really didn't want me to neuter his Bronco, lol. So we are going to rebuild it back to how it was in the early '70's in it's and our familys off roading heyday. We'll keep it period correct as much as possible with a few stealthy changes to clean up the lines a bit.
 
Last edited:

half cab

Contributor
Guru Bronco
Joined
Dec 8, 2010
Messages
16,306
Looking good and I do like the to see the father and son build threads.;D
 

lonesouth

Contributor
Bronco Guru
Joined
Dec 18, 2003
Messages
5,045
That's a lot of talent I will never posses. Good work, going to look great when you get it done!
 

Chief Master Sergeant

Retired U.S. Air Force
Joined
Nov 6, 2002
Messages
5,173
Question for you... Where you were filling the holes in the body, did you use large nails as a backing for the welds? Looks like 10 penny nails. I too need to weld up the holes around the body of my 67 and this looked like a great idea.
 
OP
OP
6

'69 Bronco

Full Member
Joined
Jan 18, 2009
Messages
161
Loc.
Southern California
Yup nails, an old school trick from the '50's.

Just make sure you use good ole American steel nails.

I don't use them for every hole but they just happened to fit the holes that the tire carrier left.
 

cipioxx

Jr. Member
Joined
Feb 28, 2011
Messages
124
Loc.
Philadelphia
You are doing some good work there. I wish I lived near you to get some help with mine. I will be following this thread closely.
 
OP
OP
6

'69 Bronco

Full Member
Joined
Jan 18, 2009
Messages
161
Loc.
Southern California
Appreciate the posts to keep us going on this build. The Bronco is at my dads house so it makes it a little harder to get work done.

Here you go Mattyq. Let me know if you need anything else and I do have a some plans for it around here somewhere.

You can tell the difference between my arc and mig welding. lol

DSC00336.jpg


DSC00333.jpg


DSC00334.jpg


DSC00332.jpg
 

Skiddy

Bronco Guru
Joined
Oct 8, 2003
Messages
11,557
nice build you got going on. why use mig on some and stick on the other?
 
OP
OP
6

'69 Bronco

Full Member
Joined
Jan 18, 2009
Messages
161
Loc.
Southern California
I only have a 110 mig so for the heavy wall tubes I had to use the old faithful 30 year old 220 arc which I'm not as practiced at. One of these days I'll step up to a 220 mig and a tig.
 

Skiddy

Bronco Guru
Joined
Oct 8, 2003
Messages
11,557
I only have a 110 mig so for the heavy wall tubes I had to use the old faithful 30 year old 220 arc which I'm not as practiced at. One of these days I'll step up to a 220 mig and a tig.

kind of what i thought:)
 
Top