4BTEB
Full Member
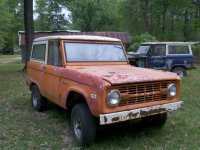
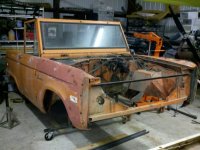
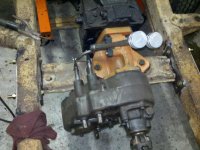
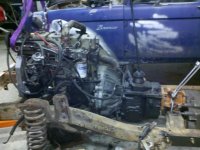
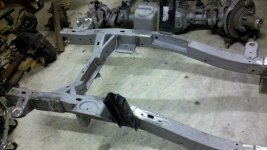
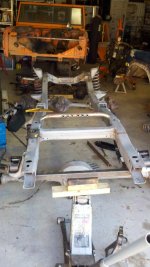
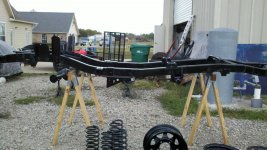
Someone mentioned they couldn't find a build thread on mine, so I am going to try to go back and gather pictures of the build. Here it is the day I picked it up.


Nice I like it. I think you should have left the long tranny shifter in there though for giggles!


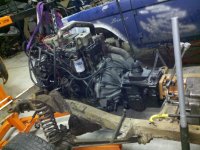
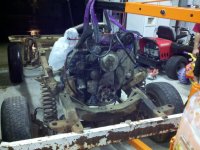
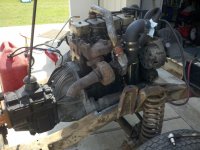
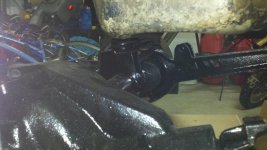
... I guess my motor set lower than yours did.. I Cut & notched a section in my oil pan to fit over the Pumkin.
... I guess my motor set lower than yours did.. I Cut & notched a section in my oil pan to fit over the Pumkin.