For those of you that want to refurbish your Stock Gauge cluster, or want to reset your odometer to reflect a motor rebuild or gauge swap. (Seeing as these Rigs are well over 25 years old, most states usually dont see mileage as an issue on sales and titles.....So when buying an old rig, Let the general condition be your guideline and not what shows on the Odometer. And if you ever sell your vehicle be sure to disclose any modifications you've done to the odometer reading.)
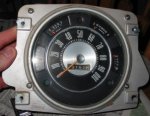
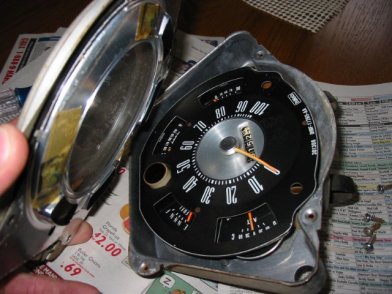
Stock cluster out of a 74 showing 75152 mi.
|

Remove 4 phillips screws.
|
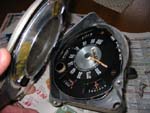
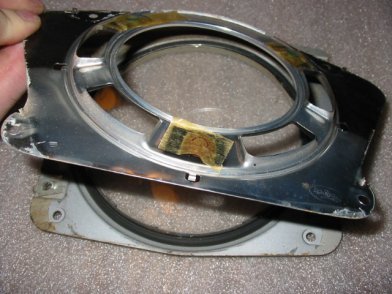
Seperate front cover with glass.
|

You will also have a intermediate cover.
|

On the back remove the 2 slotted screws.
|

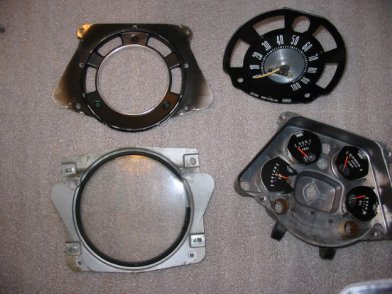
4 main pieces.
|


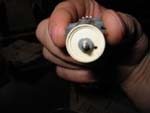
To remove odometer numbers this clip must be removed. Take a screwdriver and push the legs of the back of the clip off of the metal while with a second small screwdriver bending the front of the clip off of the odometer shaft.
|
Clip.
|

Now odometer can be removed.
|
I found this to be the best way
to hold the numbers.
|

Metal tabs lined up.
Another view.
|

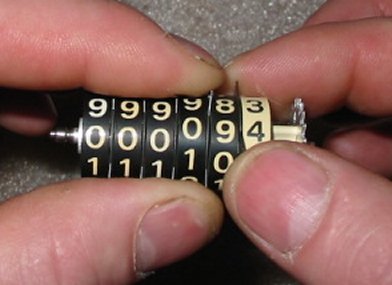
If you want to change the odometer (replacing to match old, or reset)
Hold the metal tabs in your left hand...
|

...while rotating the remainding tabs with the other hand...
|

...working left to right till you are where you want to be.
|

Check the plastic gears for good condition.
|

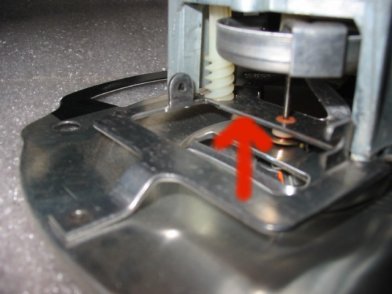
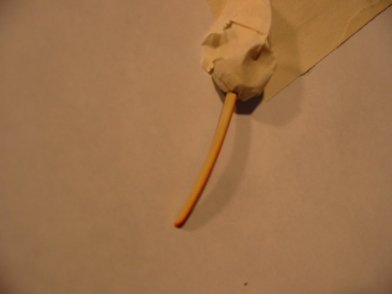
Insert a small screwdriver in the cable slot and turn to check for smooth operation.
Needle should move freely and return to zero.
|

Insert numbers back into unit.
|
Be careful to keep tabs lined up.
|
The tab notches must engage the metal edge (check all of them).
|
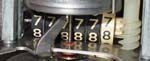
Notches along "8's".
|

Reinstall clip.
|

Check to see that you got it right.
|
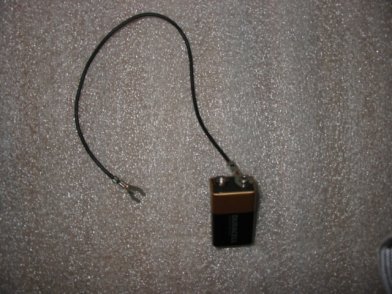
If your dealing with a used replacement cluster now is a good time to check the other gauges.
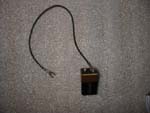
This is my gauge checking tool. 9v battery,some wire.
|

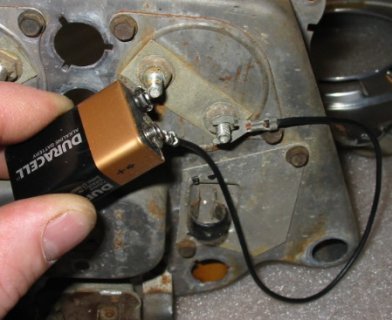
This setup will work on Fuel,oil,and temp. (The amp gauge will have to have a wire with current inserted into its loop)
Place wire on 1 post of gauge while touching the other post of battery to the remaining post of the gauge.
|

You should see movement.
|

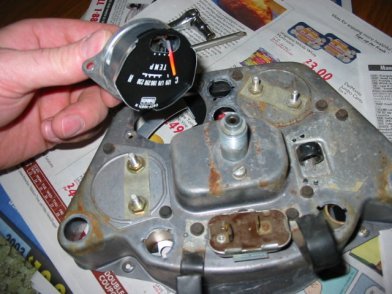
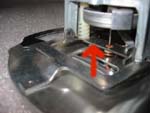
This is the Constant Voltage Unit
It supplys power to the gauges.
The right terminal is marked "IGN"
|

This is how I tested the unit
(note: I'm not an electrical engineer so my observations or method are not
necessarily science)
12V battery "pos +" to "IGN" terminal on C/V unit
12V test light to C/V unit case or ground.
other end of test light to battery "Neg -"
Opon completing the circuit the test light will light steady
for a few seconds then flicker or blink as the C/V unit regulates the power.
indicating a good unit.
|


The needles on the gauges were faded so I wanted to freshen them up, so I removed them.
They are held in place with (2) 1/4" screws each. Mask. (careful needles are fragile)
|

My spray booth.
|

I used florescent orange. Spray lightly. Dont use too much paint.(it might throw off readings)
|

Now is also a good time to freshen up the face plate.
I believe Argent paint would be the color you would want to match.
This one was good so I will use it as is. Ready for reassembly.
|

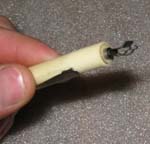
(dont forget the carboard tubes for the lights) Ready to put back in dash.
|
Tech article by