Tech article by 66horse
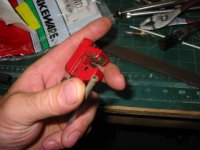
1. First cut your line.

2. Then I like to ream the ID of the tube with a punch or something to round out the ID of the tube.

3. Then i take a file and chamfer the edge of the tube 45* all around.
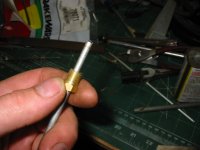
4. VERY IMPORTANT STEP ! Place your fitting on the tube. Yes I have forgotten this only to have to recut and reflare.
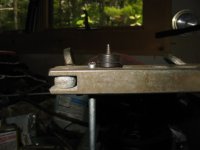
5. Place the tube in the flaring tool. Space the tube to the height of the ridge of the die.

6. Tighten the wingnut on the end first. (spraying the threads with lube is a good thing)

7. Then tighten the other wingnut. Tightening the nuts in this order puts better clamping force on the tube to keep it from slipping.
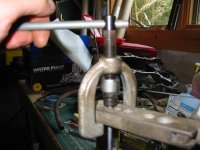
8. Now insert your die with the screw and do the first flare. (Again lube the screw for smoother work)

9. The first flare.
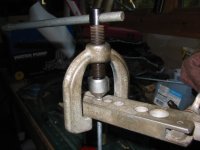
10. Now with the die removed, use the tool to make the second flare.
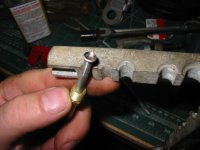
11. Remove tube from tool. Finished flare. It’s allways a good idea to blow the tube out after flaring to remove any debris that may have gotten into the tube.

1. First cut your line.

2. Then I like to ream the ID of the tube with a punch or something to round out the ID of the tube.

3. Then i take a file and chamfer the edge of the tube 45* all around.

4. VERY IMPORTANT STEP ! Place your fitting on the tube. Yes I have forgotten this only to have to recut and reflare.

5. Place the tube in the flaring tool. Space the tube to the height of the ridge of the die.

6. Tighten the wingnut on the end first. (spraying the threads with lube is a good thing)

7. Then tighten the other wingnut. Tightening the nuts in this order puts better clamping force on the tube to keep it from slipping.

8. Now insert your die with the screw and do the first flare. (Again lube the screw for smoother work)

9. The first flare.

10. Now with the die removed, use the tool to make the second flare.

11. Remove tube from tool. Finished flare. It’s allways a good idea to blow the tube out after flaring to remove any debris that may have gotten into the tube.


