Danny128
New Member
Hey guys,
I'm currently in the process of upgrading the alternator on my 1970 Bronco and have a few questions about the wiring.
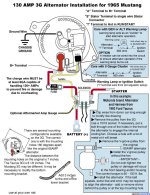
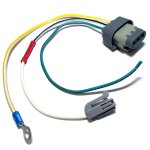
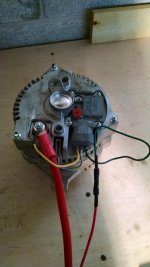
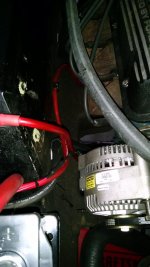
I'm following the wiring diagram below and am using a '95 Mustang 3G alternator with the wiring plug below. My current questions are:
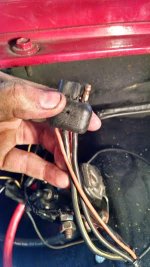
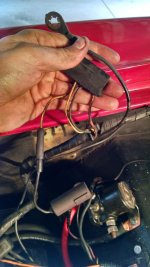
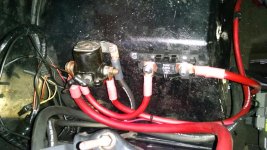
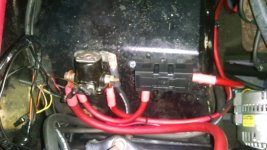
1) How do I go about finding which wire connects to the ammeter? I read that that I have to make sure to remove this and can add a voltmeter later.
2) Where do you all typically splice into for the switched power source that connects to the pigtail on the alternator?
3) Can I completely unplug and remove the voltage regulator?
I know these are probably pretty basic for some of you, but I just want to make sure I'm doing everything properly.
Thank you,
Danny
I'm currently in the process of upgrading the alternator on my 1970 Bronco and have a few questions about the wiring.
I'm following the wiring diagram below and am using a '95 Mustang 3G alternator with the wiring plug below. My current questions are:
1) How do I go about finding which wire connects to the ammeter? I read that that I have to make sure to remove this and can add a voltmeter later.
2) Where do you all typically splice into for the switched power source that connects to the pigtail on the alternator?
3) Can I completely unplug and remove the voltage regulator?
I know these are probably pretty basic for some of you, but I just want to make sure I'm doing everything properly.
Thank you,
Danny