Seattle66
Full Member
- Joined
- Dec 4, 2012
- Messages
- 223
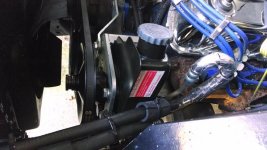
I am almost done with the installation of the my 4x4x2 powering steering setup. All I need to do is mount the pump and hook up all the lines. It should all be done tomorrow and I will post a final update.
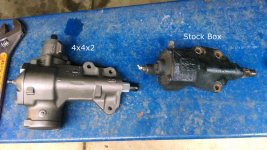
I went with the full kit from BC Broncos and the BC Broncos frame reinforcement kit. Overall the install hasn't been too bad, but definitely not a simple bolt on!
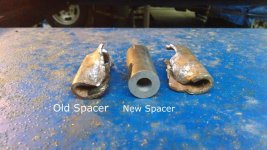
The hardest part of the entire the process so far was removing the old frame spacers and grinding the fitting the new heavier duty spacers that come with the reinforcement plate kit. There was no way I could do it with my bumper on, so I had to remove my front bumper, which was welded in multiple spots by the PO. Once the bumper was off, I had to use a real heavy steel bar, elbow grease, and collection of swear words to knock out the original spacers. Since the bottom of the frame is a piece that fits into the top and side sections, there is a lip that sticks up and runs along the bottom edges inside the frame. You have to grind a notch into the new spacers in order to get them to line up.
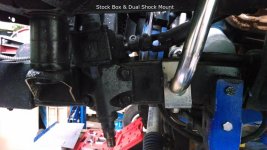
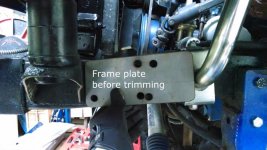
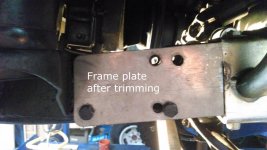
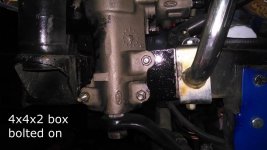
Unfortunately the reinforcement plate needed some cutting and fitting as well. This was because my dual shock hanger was in the way and the plate would not fit. It was easy enough to trim the plate and then drill the two additional mounting holes in the frame since the 4x4x2 box only uses one of the existing mounting holes. The other issue I ran into was that the upper mounting hole ended up being so close to the cross member that I could not get a nut on the bolt. Therefore I had to grind one flat edge of the bolt head down. This is why the box is mounted with the nuts out. The first hole lined up perfectly with the existing hole and the reinforcement plate holes lined up perfectly with the box, so I have no idea why my cross member was in the way. The cross member looks to be factory without any modifications. Trying to lay nice welds on the reinforcement plate can be difficult do to limited space. We just laid them a little heavy and then grind them down so they look nicer
Please ignore the bad paint job on the box and frame plate in the pictures. I cleaned everything up and only painted the areas that were not accessible when the box was mounted. Once I am done, I will go back and paint everything else properly. I am using a Black Rust-Oleum paint.
Here are some pics:


