|
I am closing in on the completion of my build up and after finally driving it I realized that the combination of short wheel base, locked rear end and coil-overs created too much body roll in tight turns.
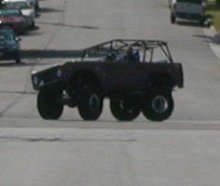
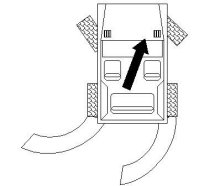
After some head scratching we came up with what we believe was causing my problems.
So I called Rock Equipment and ordered 2 of their sway bar kits. I got the 33” kit for the front and the 42” kit for the rear. I am running full size axles. I got the kits in 4 days nicely packed to prevent any rubbing or sliding of the parts inside. Got them home and opened it up and this was the kit.
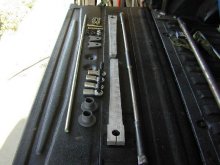
I ordered mine with the bushings for a weld on tube mount. For the front tube mount, I took two pcs of 1.5” x .120 x 4” and a single tube of 1.25” x .120 about 27” long. I drilled 2 holes in the 1.5 tubes about .750 from 1 end and slid the 1.25 tube inside of them. I welded up the holes and ground them flush.
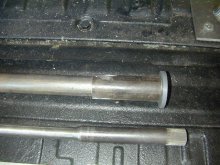
Once that was all done I found my locating spot on the frame and tacked the tube up in place. I assembled the sway bar and stroked it through the range of travel till I found the best length for the aluminum bars and the connecting rods. You need to drill and tap the hole in the aluminum bars for the hiem to bolt to. After that I pulled it all apart, welded it all in place, painted and reassembled it with a bit of grease on the sway bar. Took about 4 hours from start to finish to do the front one.
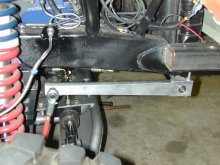
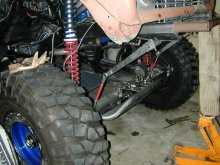
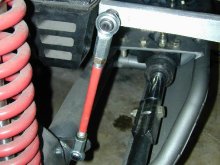
The rear one is going to be mounted in the bed due to the gas tank in back and the 4 link upper tubes in front so there will be more fab work to do here. If you are running the leaf springs you might be able to mount one on top of the frame in front of the axle. All in all this was a straightforward relatively easy project that could be done in a day or a weekend project and the results are pretty impressive. I am looking forward to some trail time to see if I need to disconnect them or if I can leave them on. The rears are now done and installed and it made a big difference in the overall feel of the bronco on the road. These are pictures of the way I had to mount the rears through the back of the fender well and also how I used the roll cage to mount this.
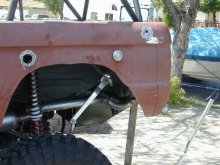
All said and done they work great and I still haven't disconnected them.
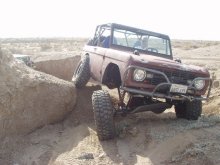
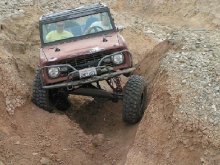
Tech article by Wade (wadensd)
|


