• Just a reminder that you won't be able to start new posts or reply to existings posts in the Archive forum.

    This is where all the old posts go so they can still be used for reference and searched.
  • Welcome to ClassicBroncos! - You are currently viewing the forums as a GUEST. To take advantage of all the site features, please take a moment to register. It's fast, simple and absolutely free. So please join our community today!
    If you have problems registering or can't log into your account, please contact Admin.

76 Luber Half Cab Build

BitchinPaint

New Member
Joined
Feb 15, 2013
Messages
46
Loc.
Iowa
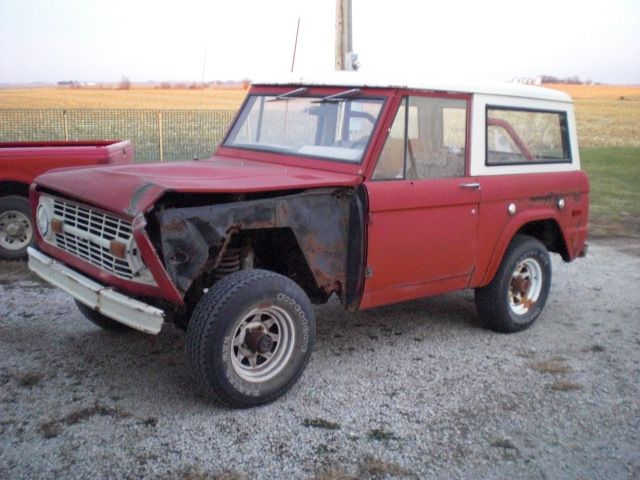
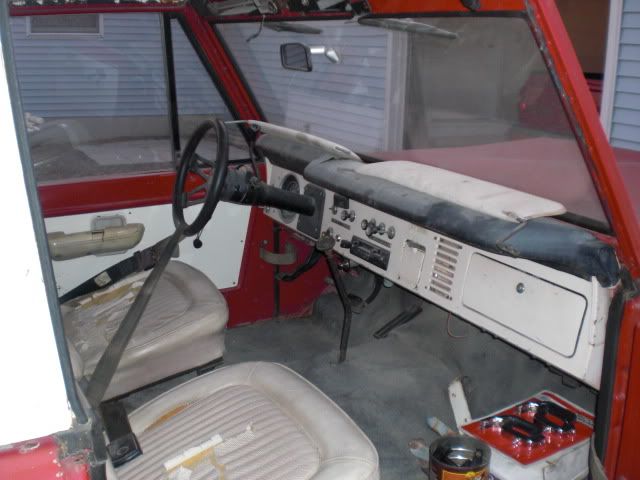
Here's a little project I've been working on and off for the last year and a half or so. I started out with a pretty rusty 1 owner 76. The tub had been patched up several times and was to the point it was pretty much beyond repair. Lucky for me the original owner had found a solid western tub that was included in the deal. Warning I like threads with LOTS of pics!!

Here's what I started with;
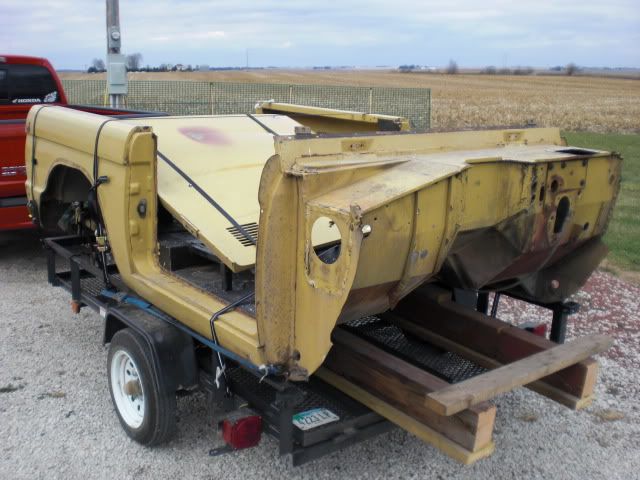
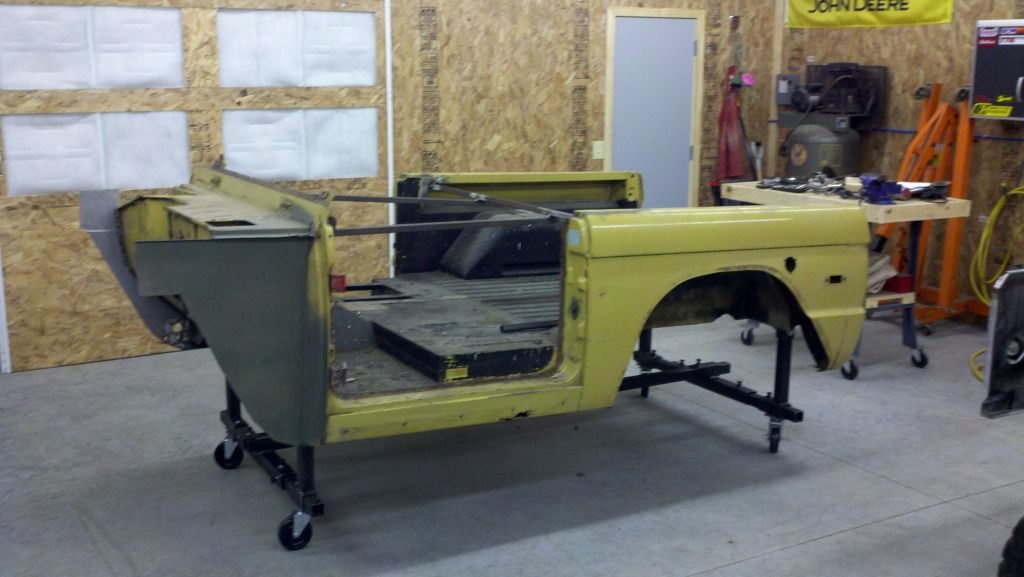
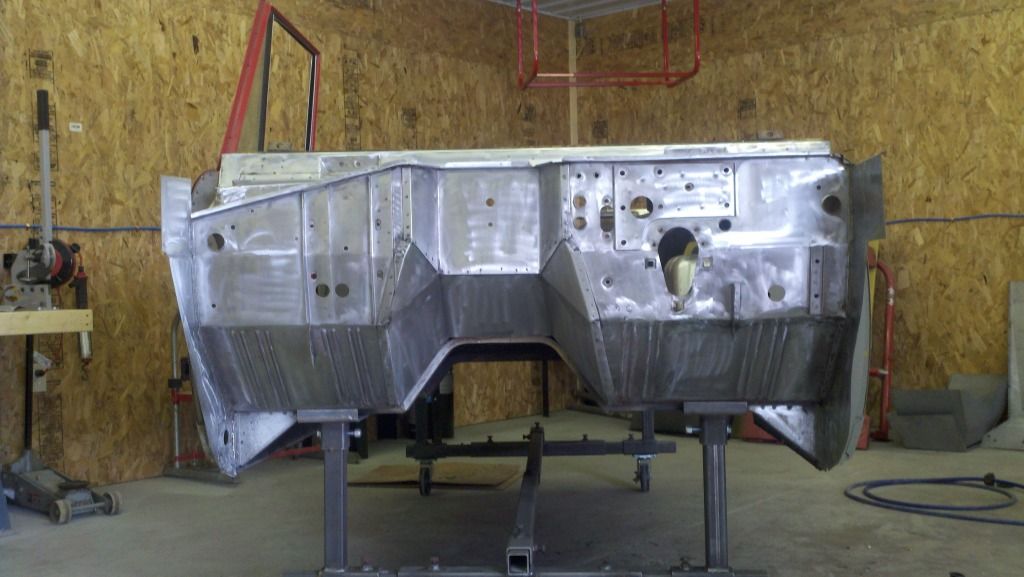
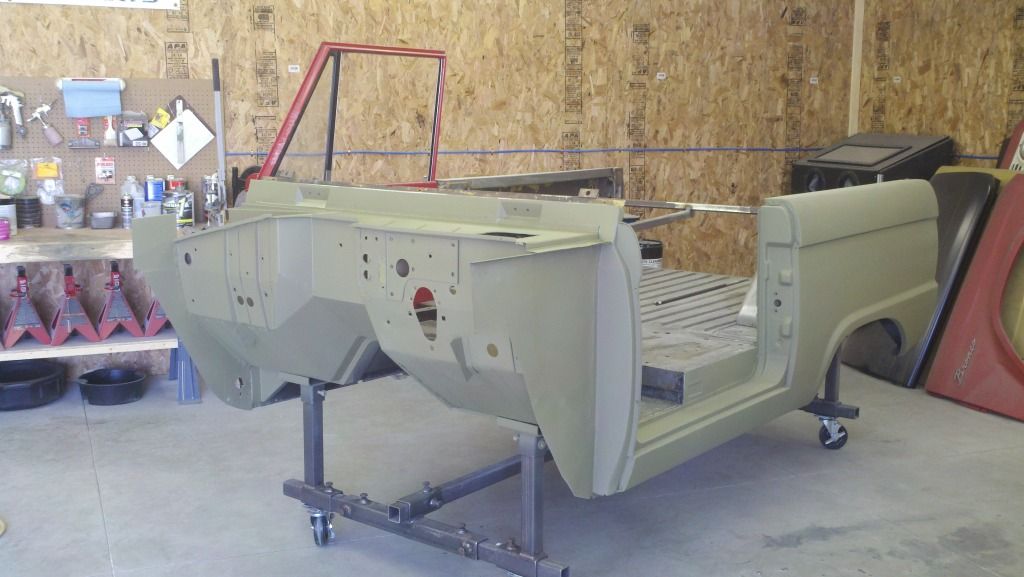


The replacement tub


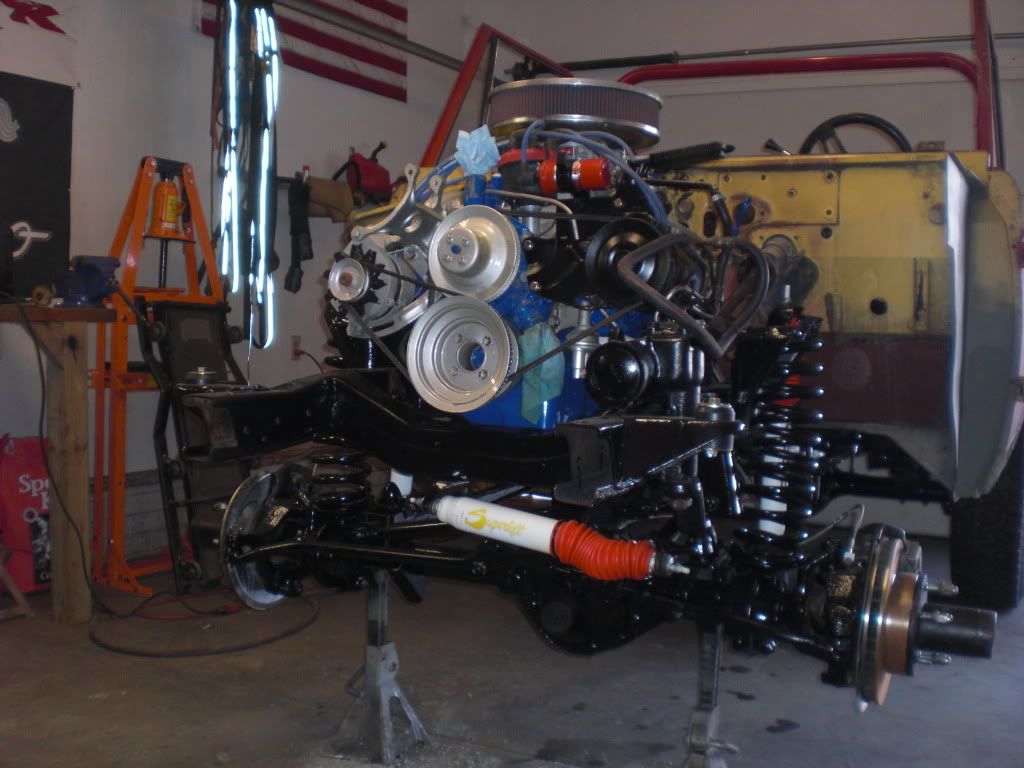
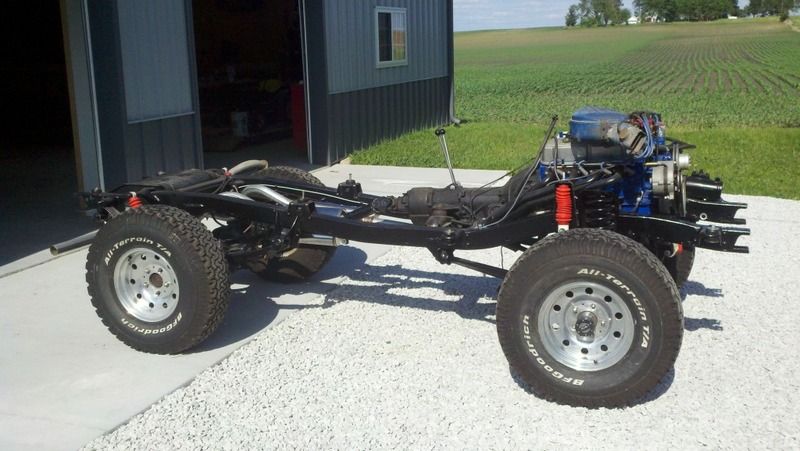
I pulled everything apart blasted the frame and all the suspension parts and painted them chassis black. All new brakes, rebuilt the tranny and put in a fresh 302. Installed a superlift 3 1/2 inch suspension lift


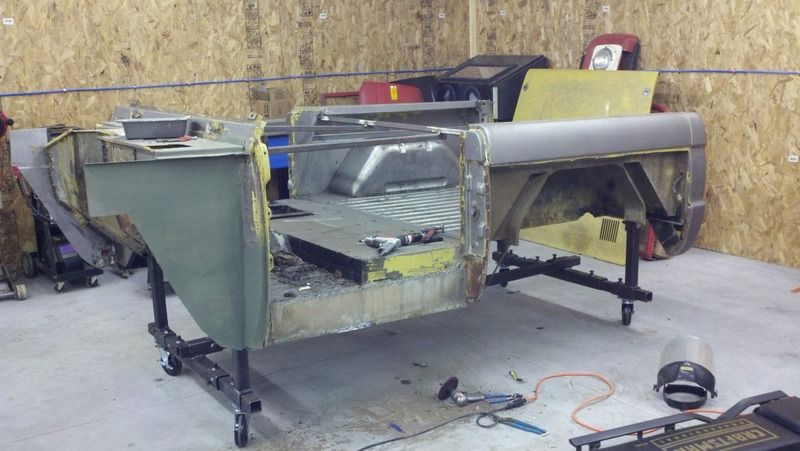
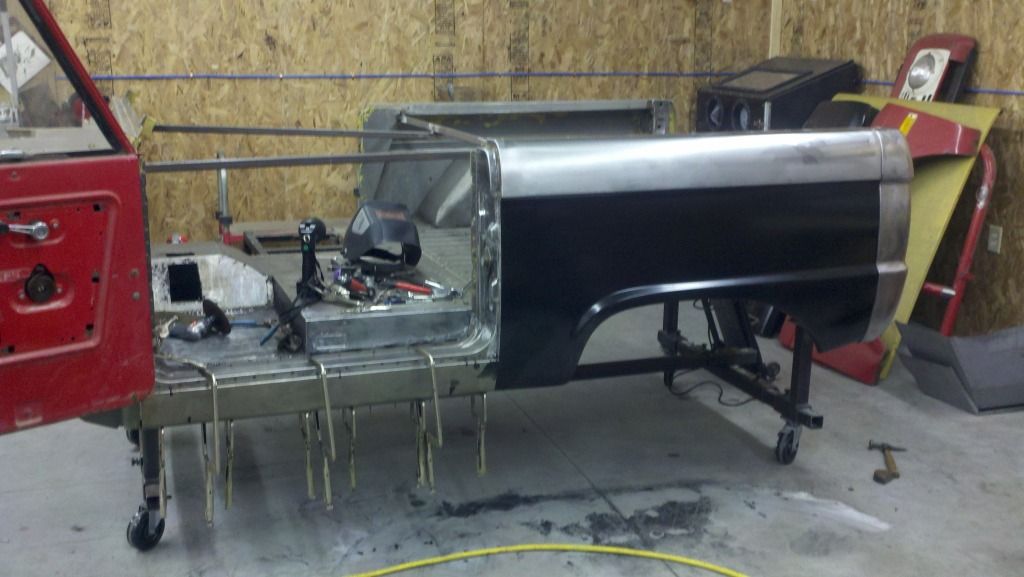
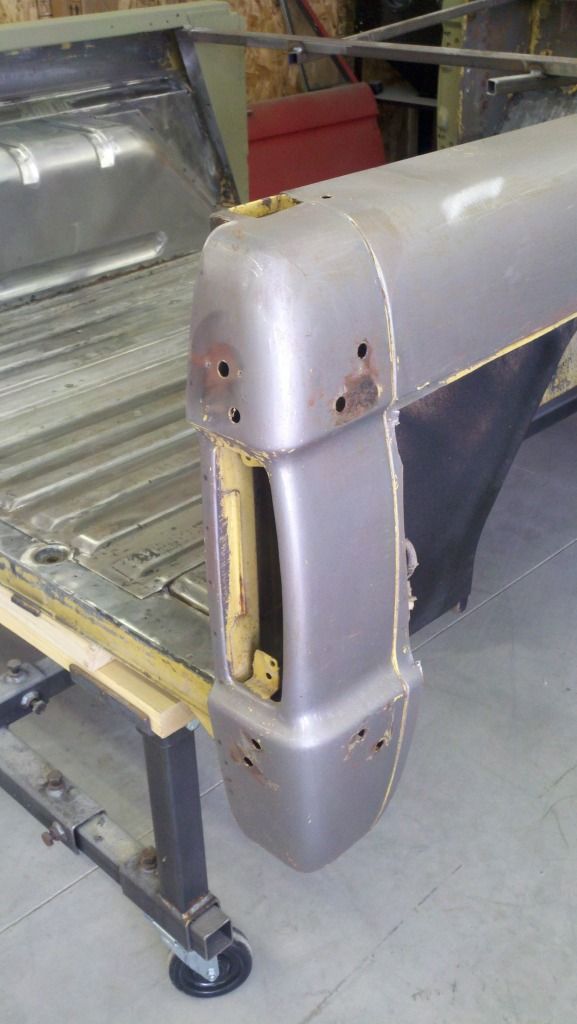
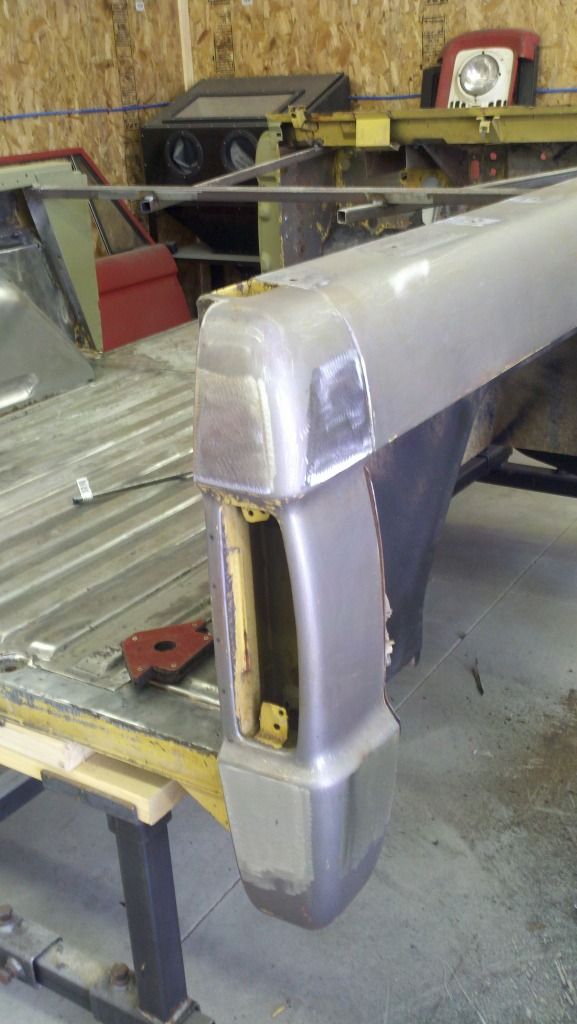
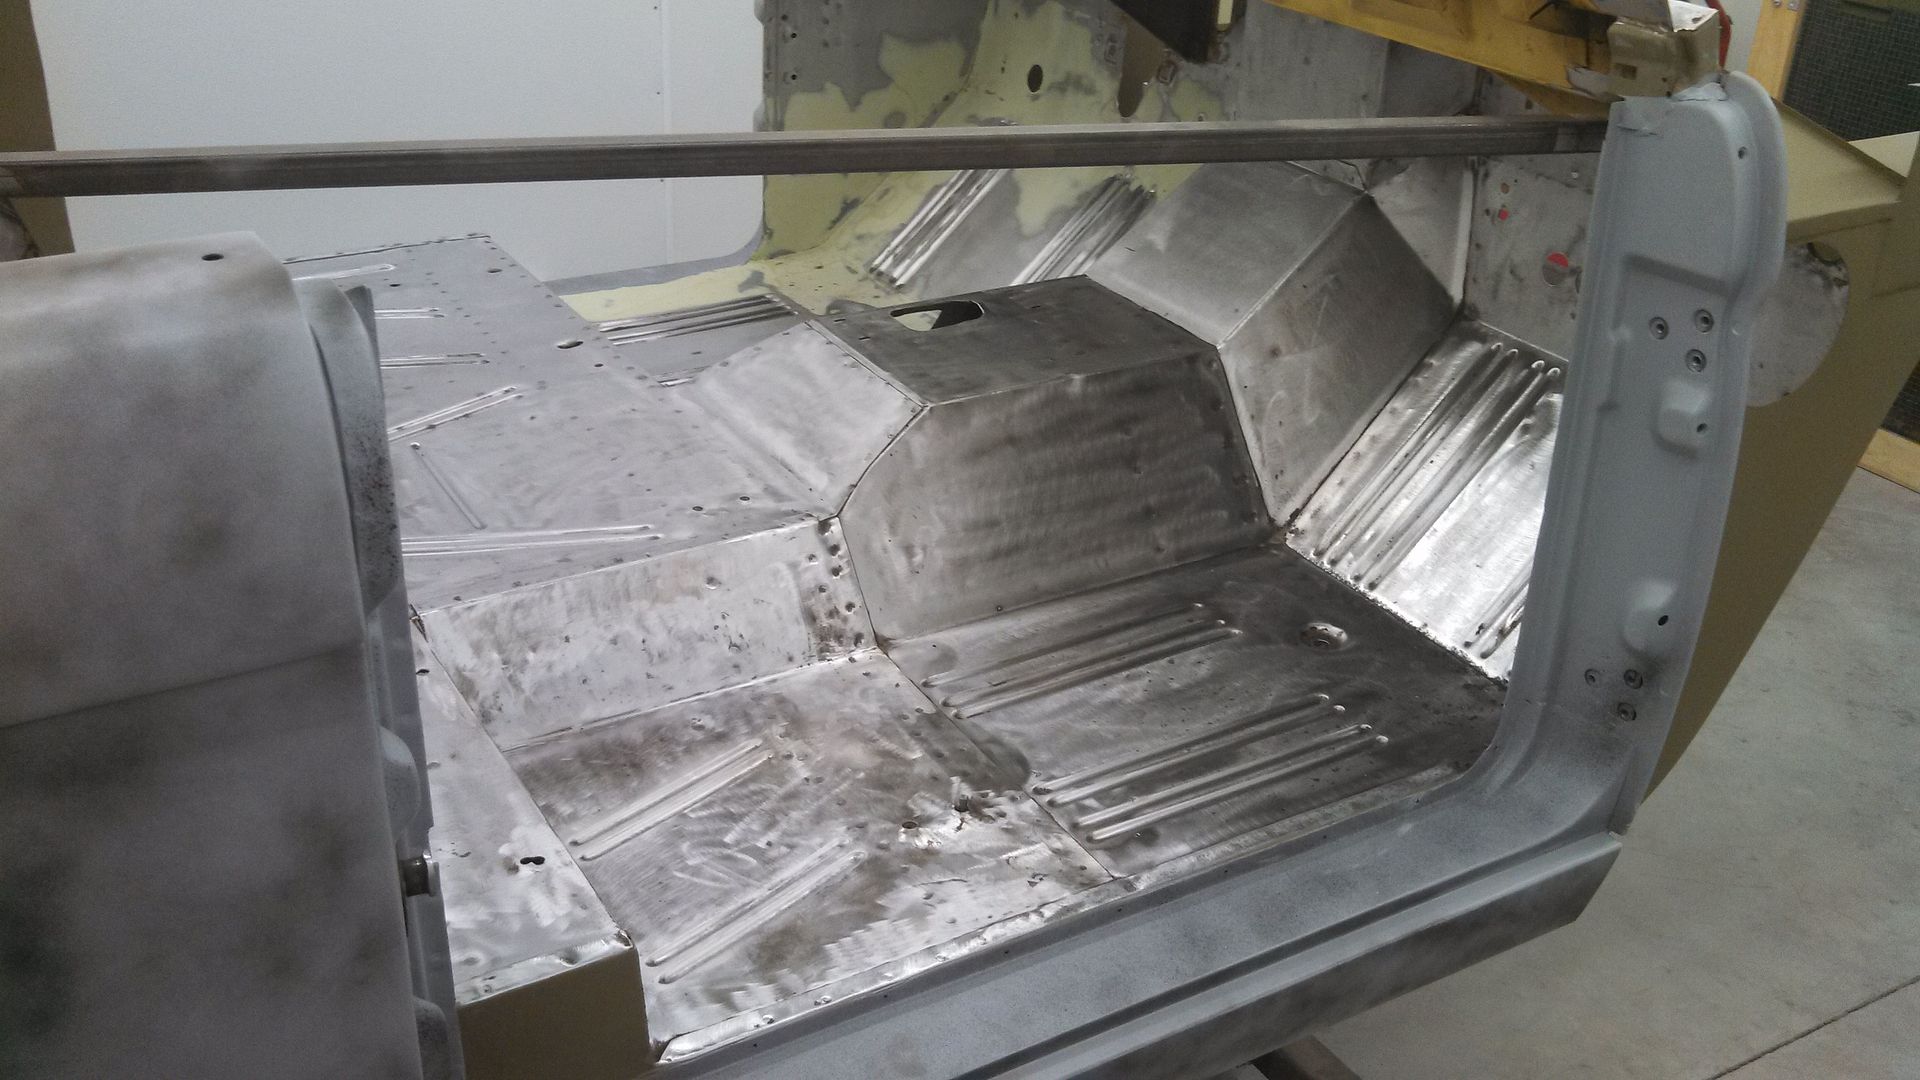
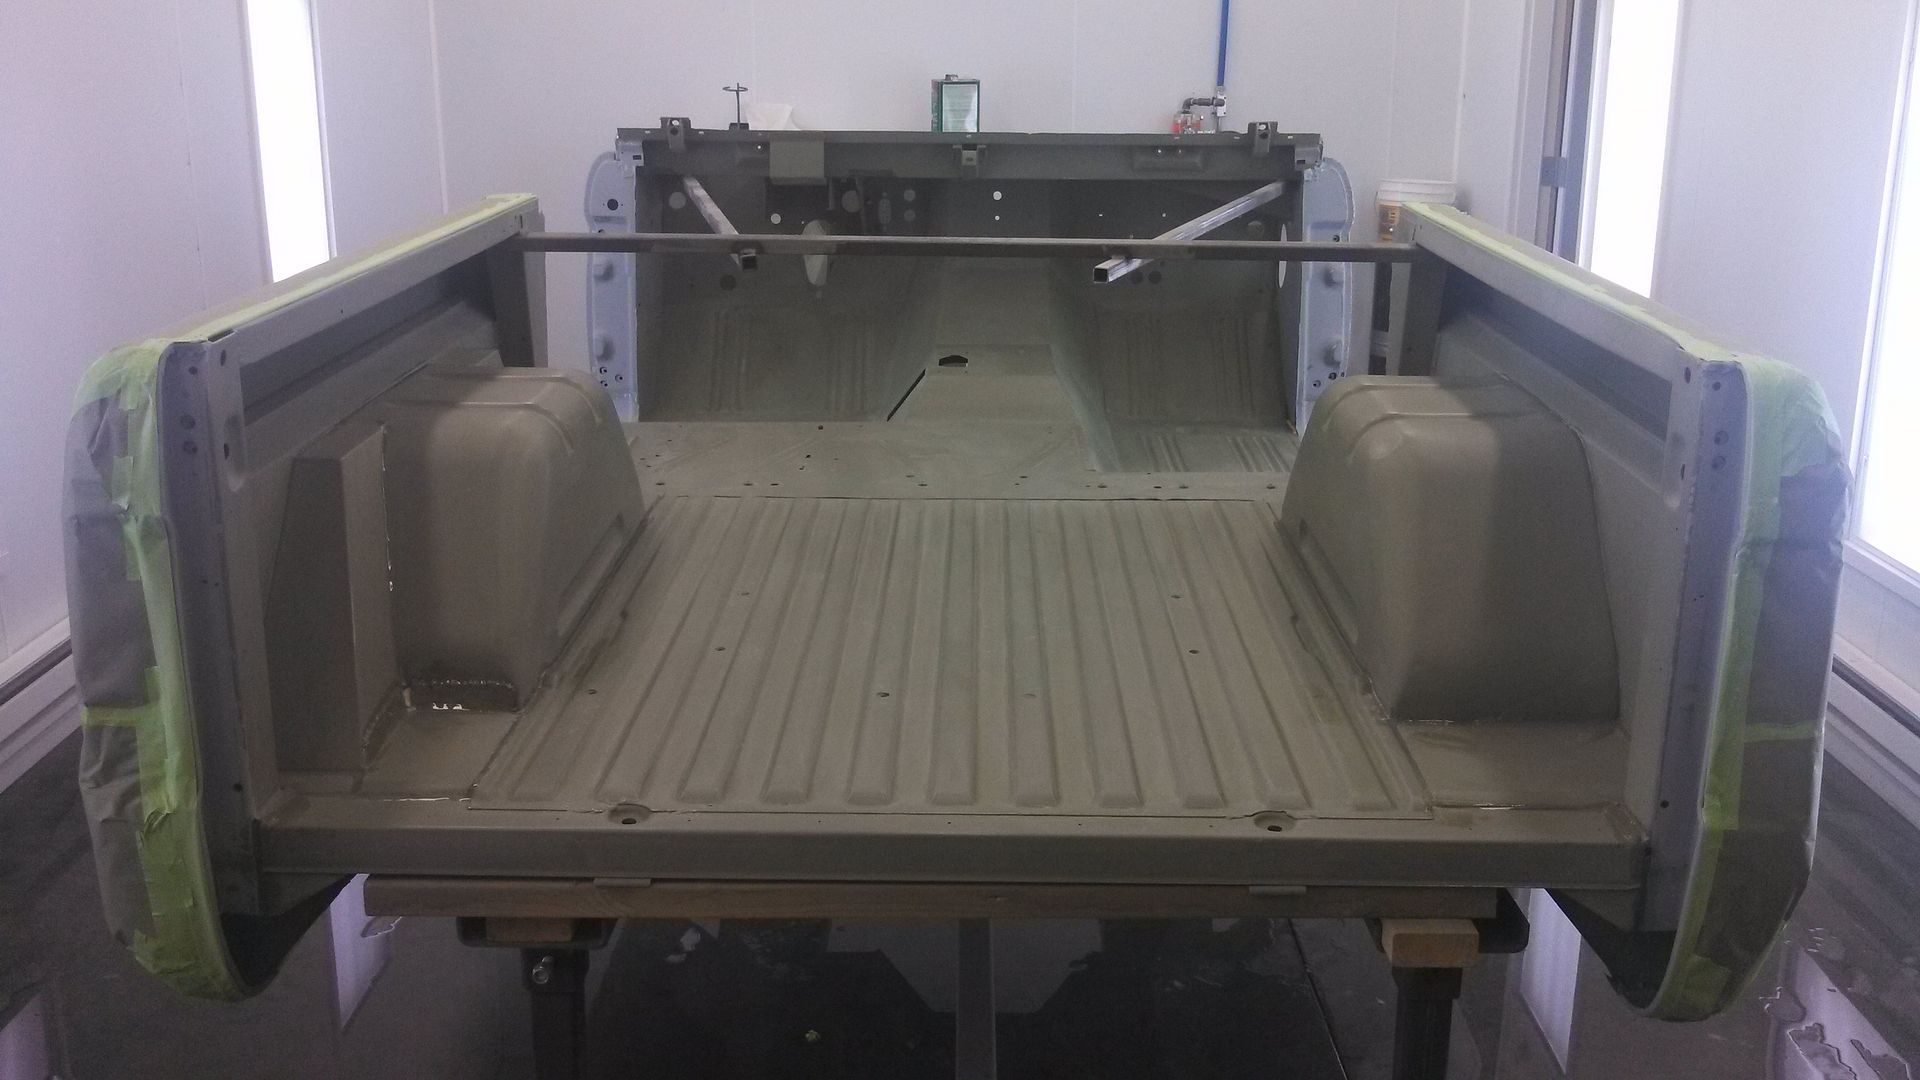
After that I was ready to start on the body. I wanted to go back uncut so I had to replace the lower quarters and there was a couple soft spots in the rockers so I replaced them also.
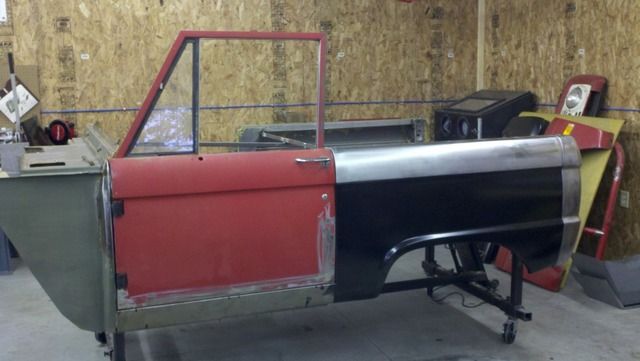
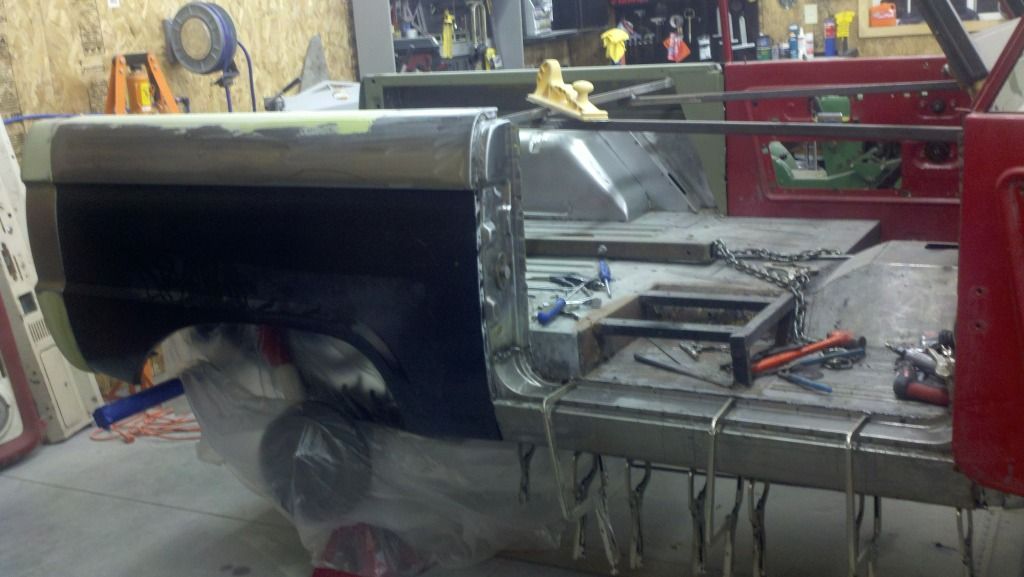


Last edited:
OP
OP
BitchinPaint

BitchinPaint

New Member
Joined
Feb 15, 2013
Messages
46
Loc.
Iowa
After I had the tub squared away I set it back on the frame.


Everything from the firewall forward including the kick panels was brand new


The door bottoms had rust in them so I ended up putting in an inner door bottom patch panel and new outer skins on both doors


OP
OP
BitchinPaint

BitchinPaint

New Member
Joined
Feb 15, 2013
Messages
46
Loc.
Iowa
The tailgate ened up being the only part that didn't have to have any rust reapair only because it had been replaced before.


Parts in build primer


Panel fitment


OP
OP
BitchinPaint

BitchinPaint

New Member
Joined
Feb 15, 2013
Messages
46
Loc.
Iowa
At this point everything was blocked and primed again. Then the fun began I was ready to start painting. I started with the tub


Then the inside of the doors


OP
OP
BitchinPaint

BitchinPaint

New Member
Joined
Feb 15, 2013
Messages
46
Loc.
Iowa
Time for Paint!! I used House of Kolor products. The colors are TruBlue Pearl and Platinum Pearl


Sealer applied


Silver base on and masked for two tone


Both colors on getting ready for clear


4 coats of clear


Color sanded and ready to buff


fordfan

Contributor
Bronco Guru
Joined
Sep 13, 2009
Messages
3,507
Impressive! I like the way you built the doors!
 

Bronconewby

Jr. Member
Joined
Sep 3, 2010
Messages
67
Loc.
Carthage
Very Nice! What are the tire size, wheel size and wheel back space? The colors look great together.
 
Last edited:

nick1975bronco

Jr. Member
Joined
Feb 17, 2013
Messages
81
wow looks great post pics when your done, i like the blue engine bay makes everything under the hood pop.
 

Rox Crusher

Bronco Guru
Joined
Dec 13, 2008
Messages
2,772
WOW

I am really impressed with the early pics of your work, especially the paint.

Can't wait to see the final results.
 
OP
OP
BitchinPaint

BitchinPaint

New Member
Joined
Feb 15, 2013
Messages
46
Loc.
Iowa
The bronco is about finished now. Just painted and installed the top this last weekend. Last big item left is to do the seats, install the center console and button up a few loose ends and she'll be done.


Top