bluwave
Newbie
Hi everyone,
I've been following this forum for a few years, and I would to say I truly appreciate the wealth of knowledge that this community shares. Honestly, I couldn't have tackled a tenth of this project without the threads on this forum. I purchased my 1967 EB almost 2 years ago without really knowing the ins and outs of old broncos. I've always owned boats and land rovers, so I've had my fair share of time behind a wrench. That said, there was definitely a little bit of a learning curve. This bronco had a lot of work done to it already, but I wanted to repair the shortcuts taken by the previous owner. The dash was my first big project or so I thought.
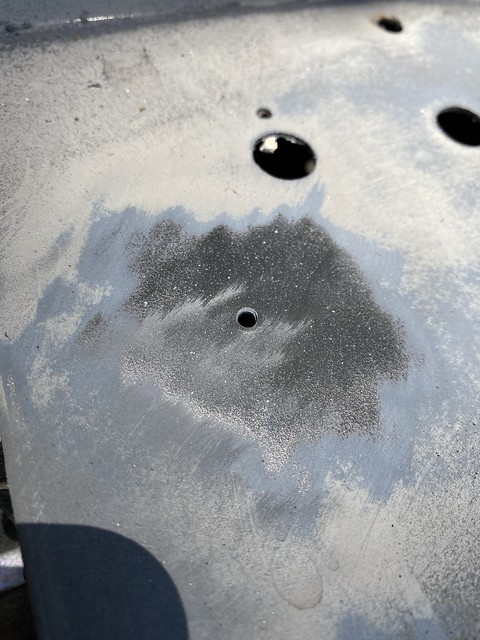
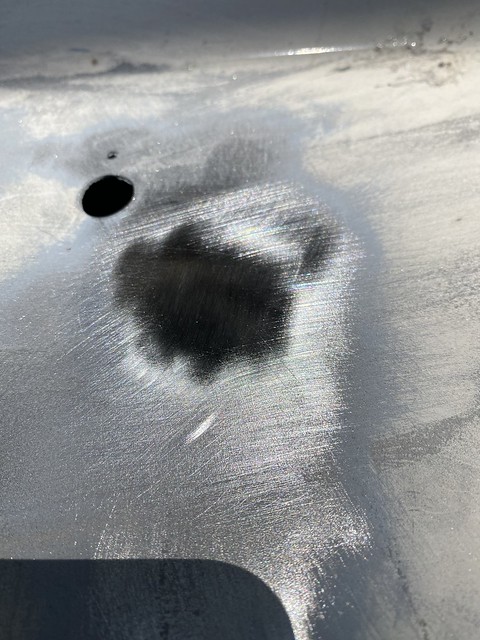
Here are some shots of how the dash looked like originally. I knew the original dash was probably shot if they used a steel sheet to cover it up.


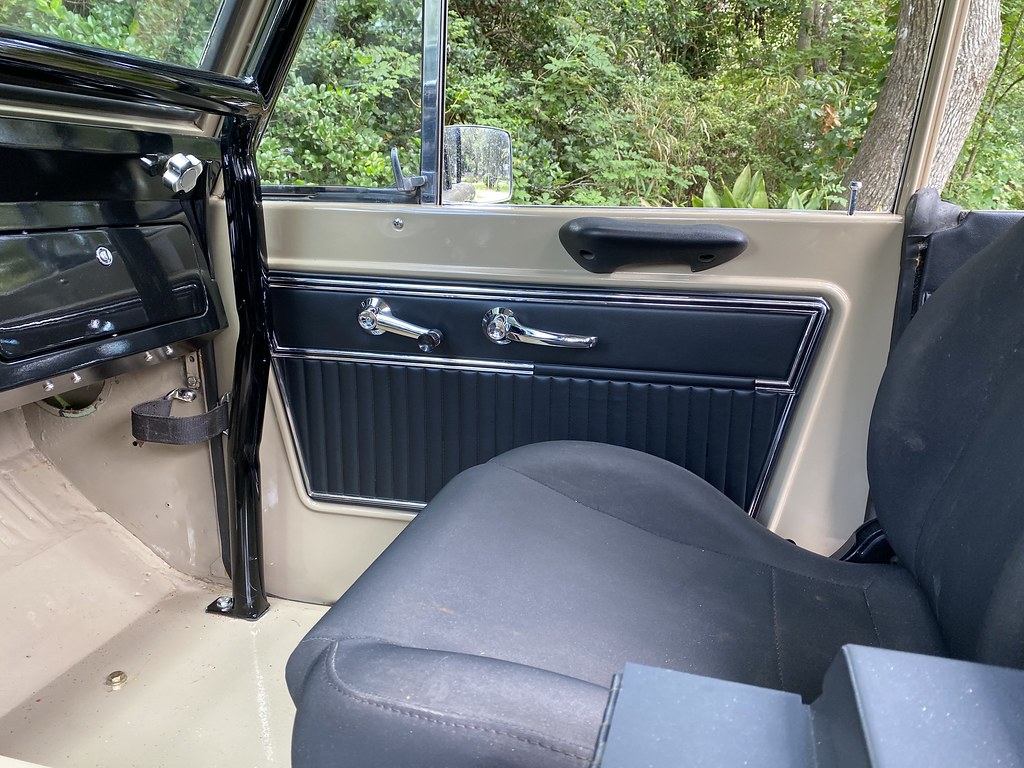
First step was removing the cover, and as I suspected, the original dash was in pretty rough shape. Also, I flipped the diamond plate door panels around and painted them black. I'm not a huge fan of diamond plate.

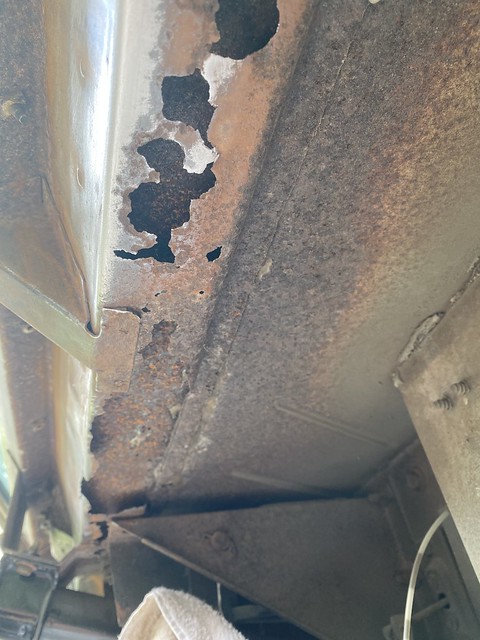
After removing aftermarket insultation, I found that the windshield cowling support was completely shot.
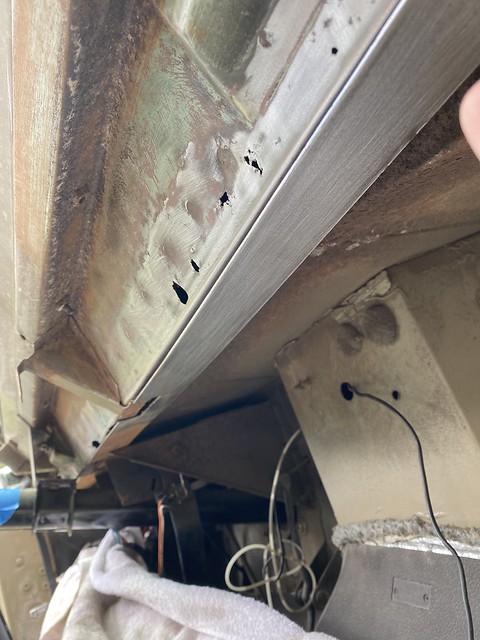
I don't really think this was a safety issue, but something I wanted to fix while I had the roll cage off and dash apart. I cut a 2" piece of 16ga steel 48" the length of the cowling and sanded everything down.
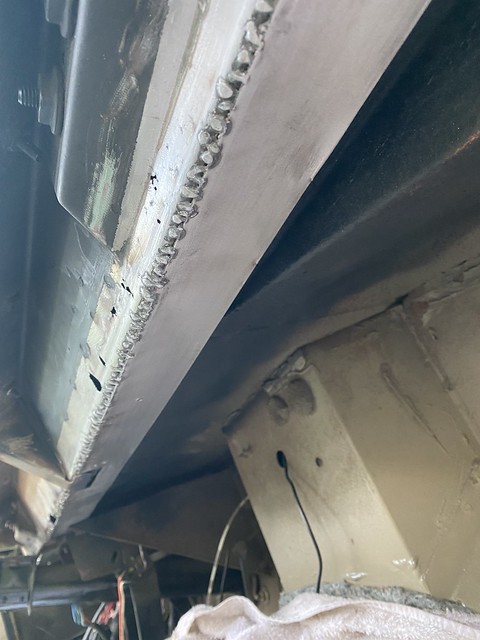
This was my first time welding.... I knew the material was pretty thin so I decided to make a lot of tack welds instead of running a long bead.
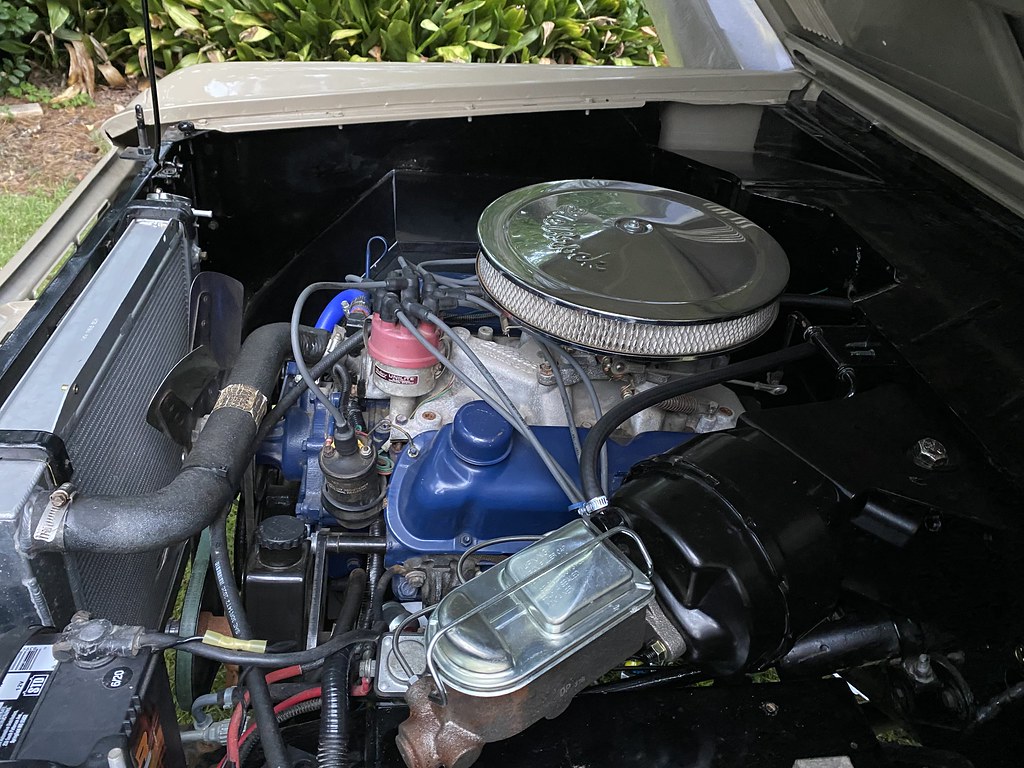
At this point I opened pandora's box, so I decided to rewire the truck.

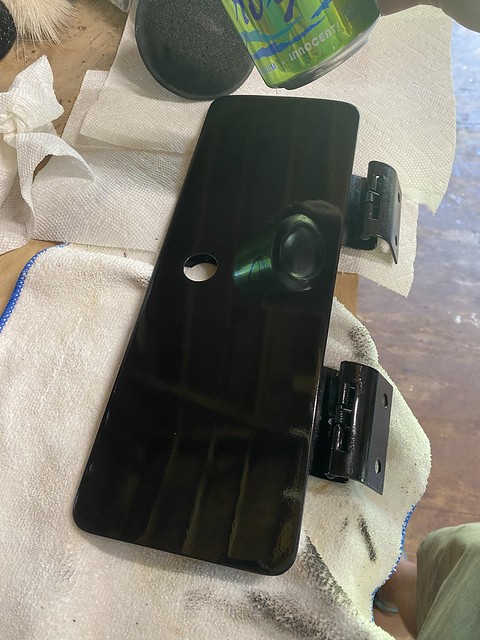
I purchased a donor dash on ebay and welded the holes shut. I like to look of the clean original dash.
Added some primer.

I had pretty good results with the 2k clear from amazon

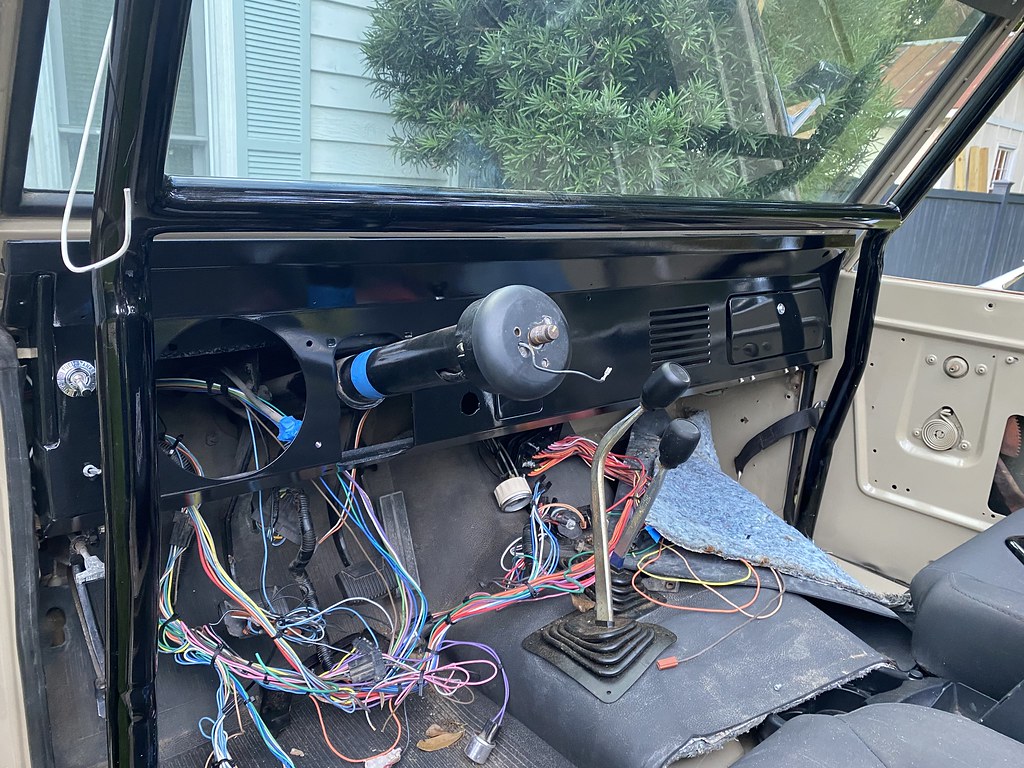
Time to install the new dash.

I think I talked myself into painting the floor with tint-able Raptor liner so I removed the rubber floor cover.

The gauges work after rewiring the truck")

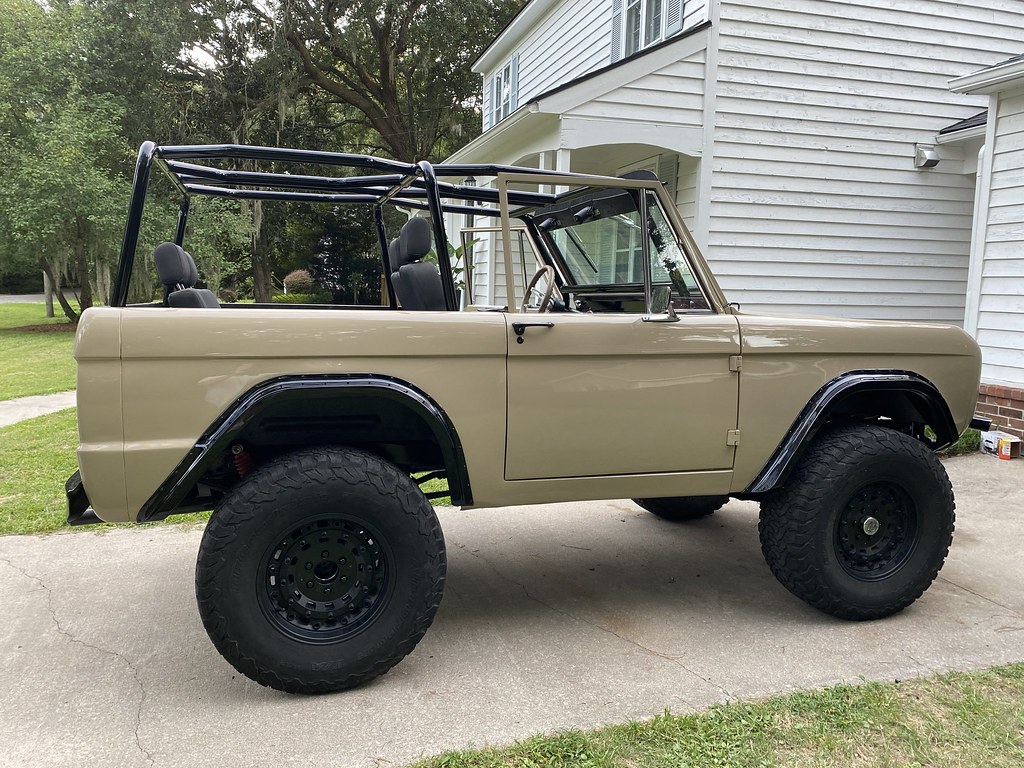
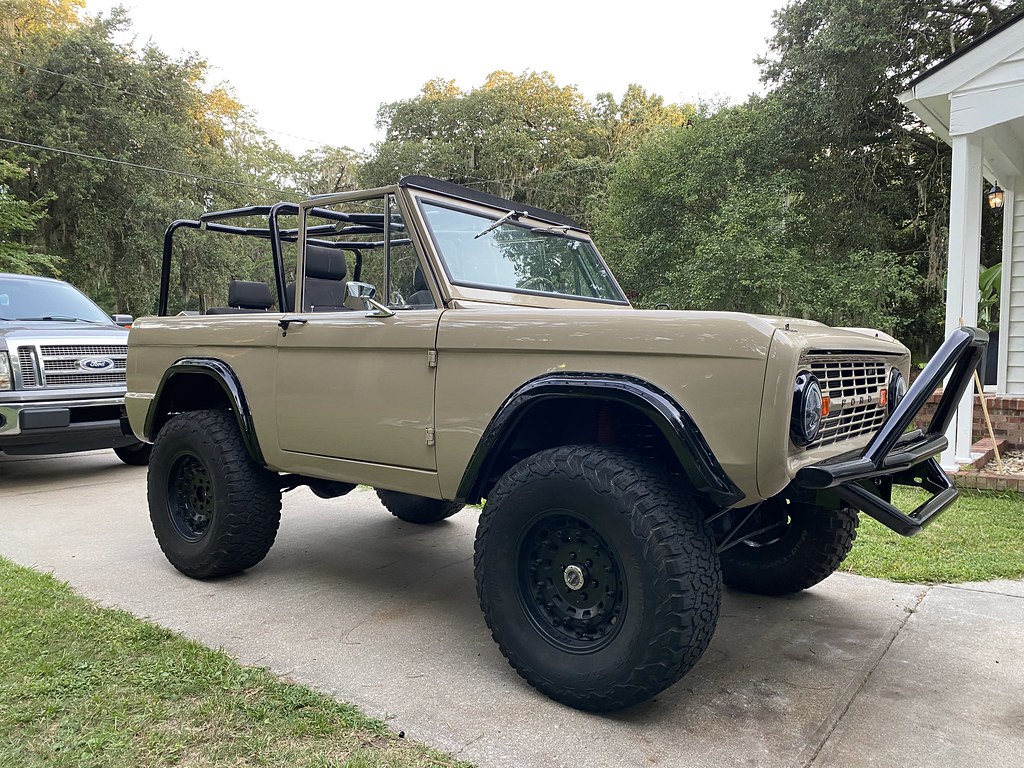
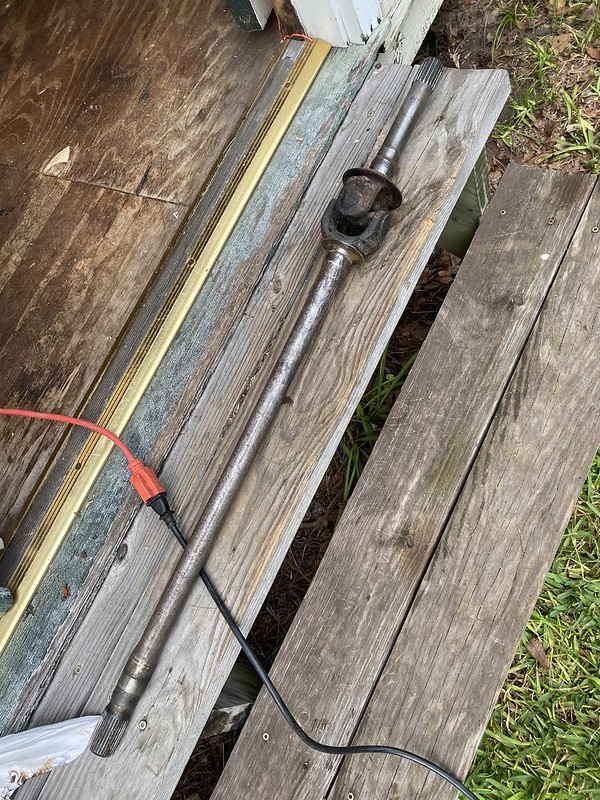
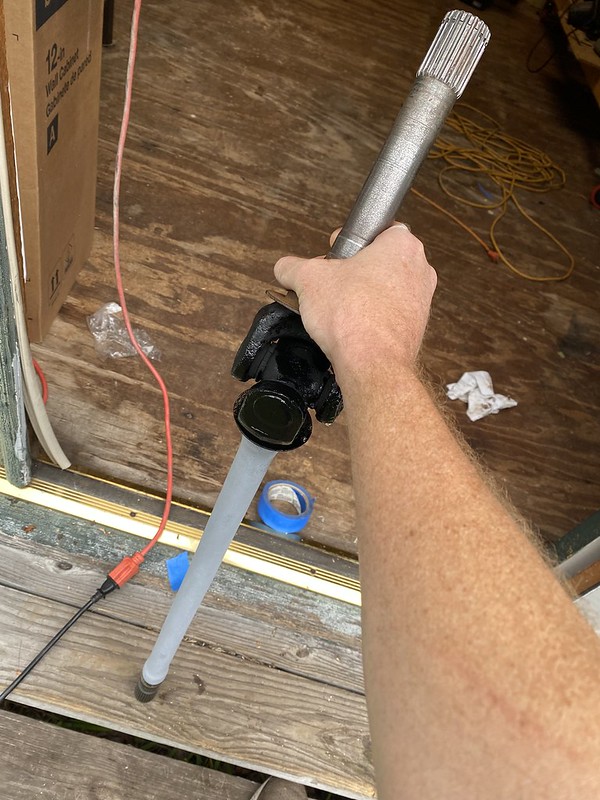
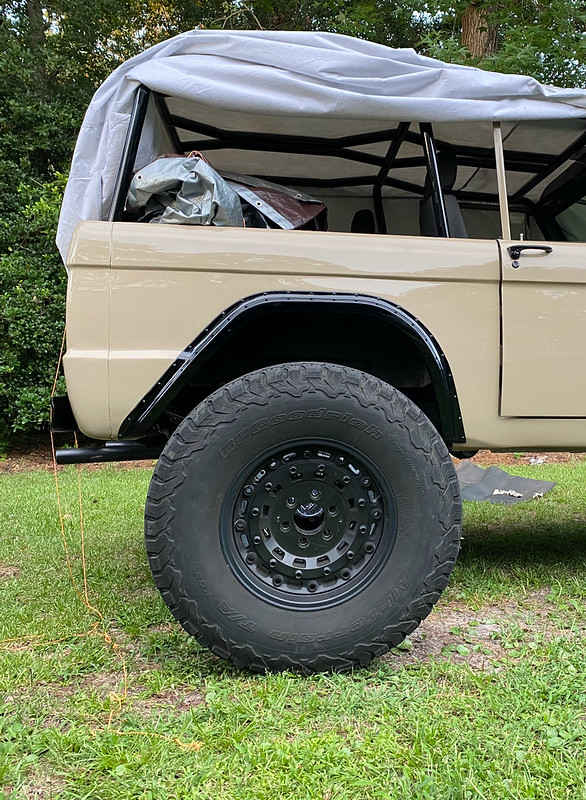
This truck has a few original parts, so I want to replace some steering components and add disc brakes. During the planning phase, I noticed the 15's that came with the truck wouldn't work with Tom's disc brake kit, so I picked up some 17's on the FB marketplace for a decent price.

Black Rhino Arsenal 17's
My supervisor. More to come.

I've been following this forum for a few years, and I would to say I truly appreciate the wealth of knowledge that this community shares. Honestly, I couldn't have tackled a tenth of this project without the threads on this forum. I purchased my 1967 EB almost 2 years ago without really knowing the ins and outs of old broncos. I've always owned boats and land rovers, so I've had my fair share of time behind a wrench. That said, there was definitely a little bit of a learning curve. This bronco had a lot of work done to it already, but I wanted to repair the shortcuts taken by the previous owner. The dash was my first big project or so I thought.
Here are some shots of how the dash looked like originally. I knew the original dash was probably shot if they used a steel sheet to cover it up.
First step was removing the cover, and as I suspected, the original dash was in pretty rough shape. Also, I flipped the diamond plate door panels around and painted them black. I'm not a huge fan of diamond plate.
After removing aftermarket insultation, I found that the windshield cowling support was completely shot.
I don't really think this was a safety issue, but something I wanted to fix while I had the roll cage off and dash apart. I cut a 2" piece of 16ga steel 48" the length of the cowling and sanded everything down.
This was my first time welding.... I knew the material was pretty thin so I decided to make a lot of tack welds instead of running a long bead.
At this point I opened pandora's box, so I decided to rewire the truck.
I purchased a donor dash on ebay and welded the holes shut. I like to look of the clean original dash.
Added some primer.
I had pretty good results with the 2k clear from amazon
Time to install the new dash.
I think I talked myself into painting the floor with tint-able Raptor liner so I removed the rubber floor cover.
The gauges work after rewiring the truck
This truck has a few original parts, so I want to replace some steering components and add disc brakes. During the planning phase, I noticed the 15's that came with the truck wouldn't work with Tom's disc brake kit, so I picked up some 17's on the FB marketplace for a decent price.
Black Rhino Arsenal 17's
My supervisor. More to come.
Last edited: