• Just a reminder that you won't be able to start new posts or reply to existings posts in the Archive forum.

    This is where all the old posts go so they can still be used for reference and searched.
  • Welcome to ClassicBroncos! - You are currently viewing the forums as a GUEST. To take advantage of all the site features, please take a moment to register. It's fast, simple and absolutely free. So please join our community today!
    If you have problems registering or can't log into your account, please contact Admin.

Bronco II driveline swap

OffRoadOhio.com

New Member
Joined
Oct 30, 2005
Messages
28
Loc.
Roseville, Ohio
After two years of very rough treatment I have decided to retire the stock Bronco II drivetrain in my 85. The 2.8 is on its last leg, and the Dana 28, is fianally falling apart from being welded and running 33's.

Here is what is going in.
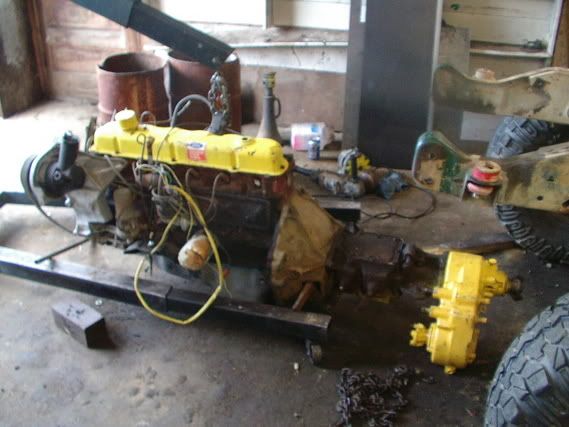
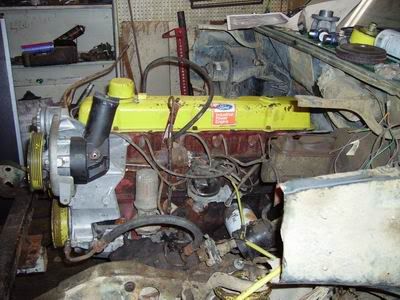
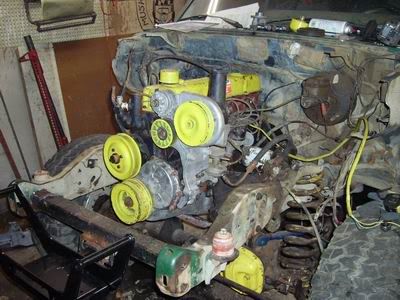
240ci inline 6 cylinder
RAN 3speed Manual
Dana 20 (twinstick)
Locked High Pinion 30 from Jeep Cherokee

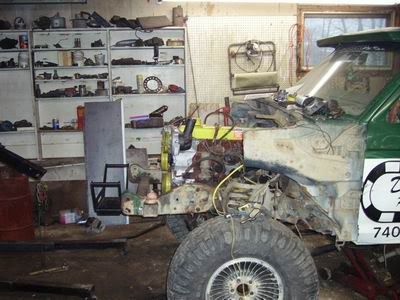
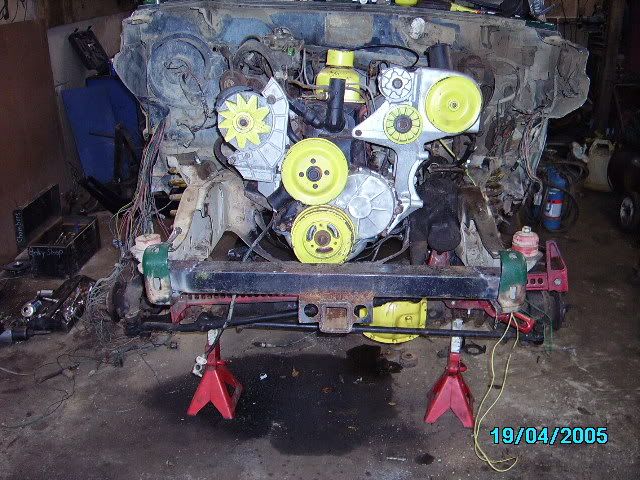
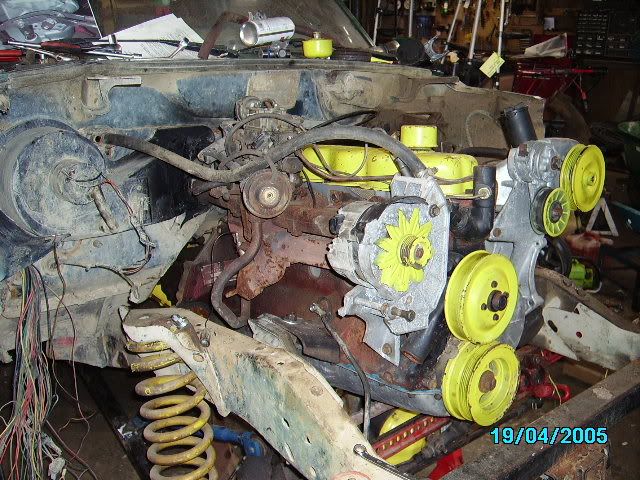
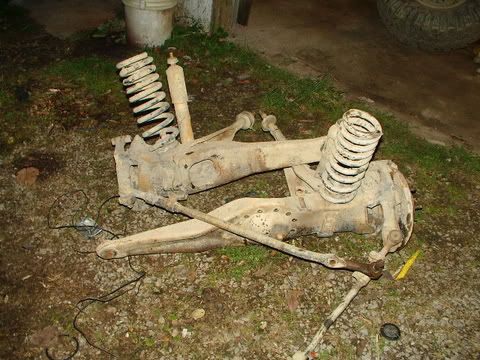
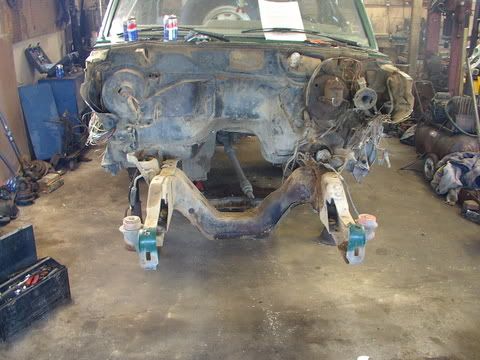
So last friday I pulled it in the garage to begin work. In just under two hours I had the Dana 28 completely removed.
Picture025.jpg


Picture024.jpg


Last Saturday the g/f came out to help and wrench on her BII's.
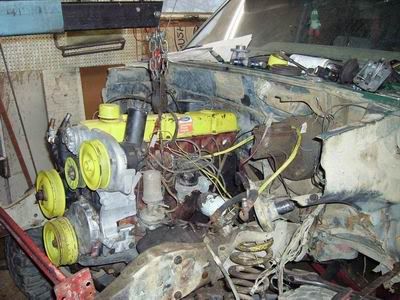
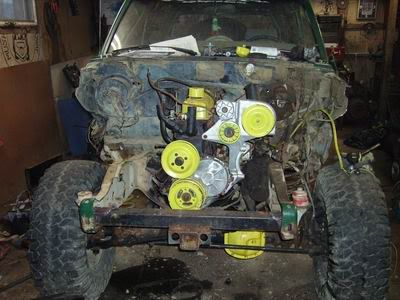
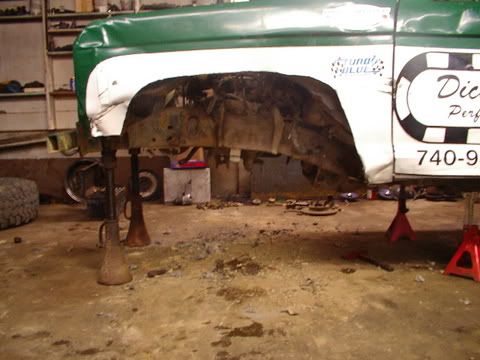
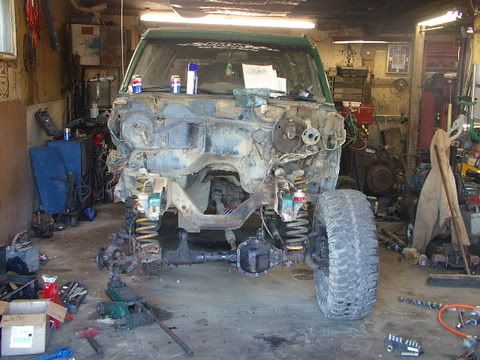
We managed to cut the nose off of, unhook the engine wiring, remove the front bumper and reinstall the hatch glass
2005-11-12023.jpg


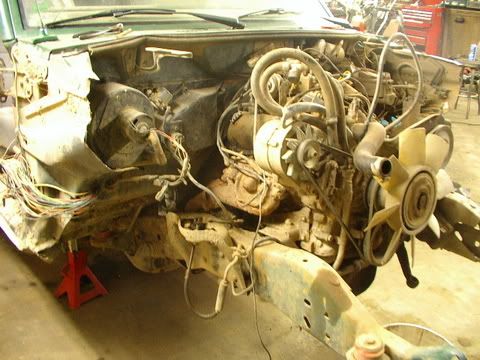
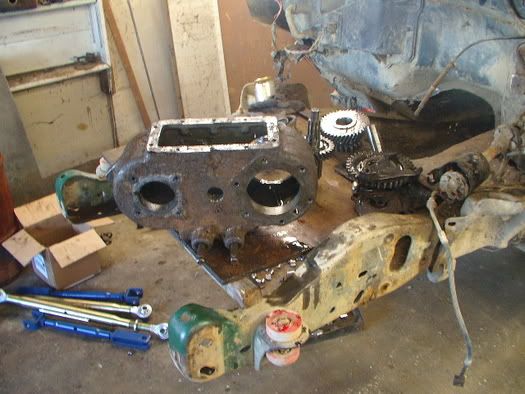
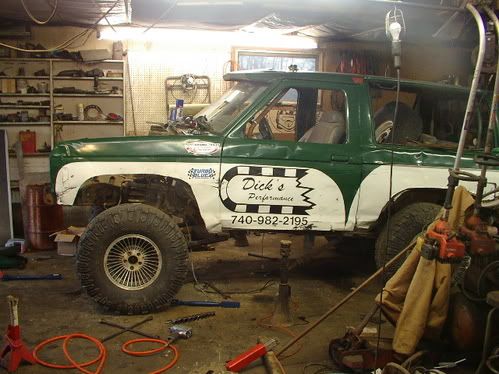
Last Sunday we managed to get my old engine pulled, and remove al lthe good left overs, carb, alt, ps pump, etc...dropped the tranny and tcase aswell. Also got the old Sponsor stickers removed from the rear glass and added a HUGE www.OffRoadOhio.com sticker

2005-11-14003.jpg


2005-11-14001.jpg


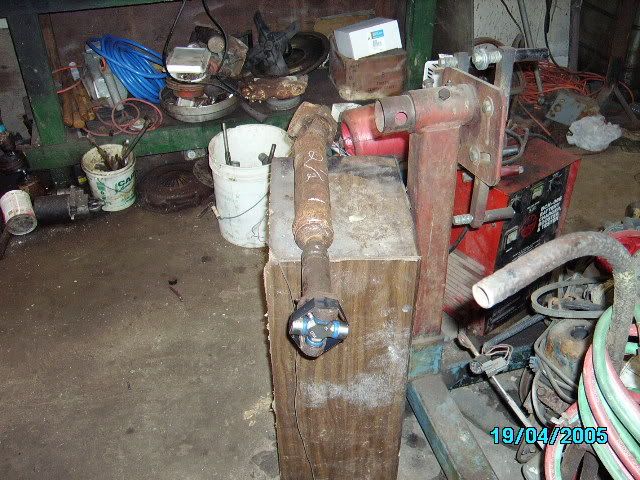
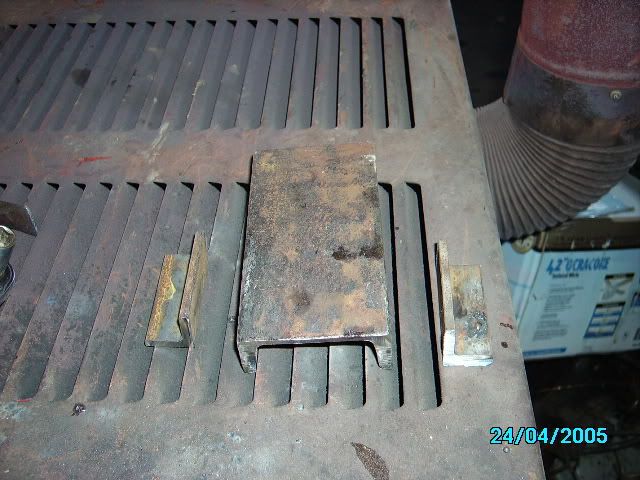
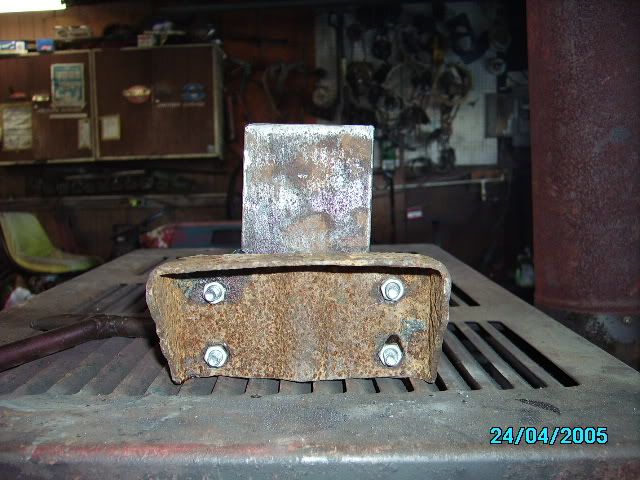
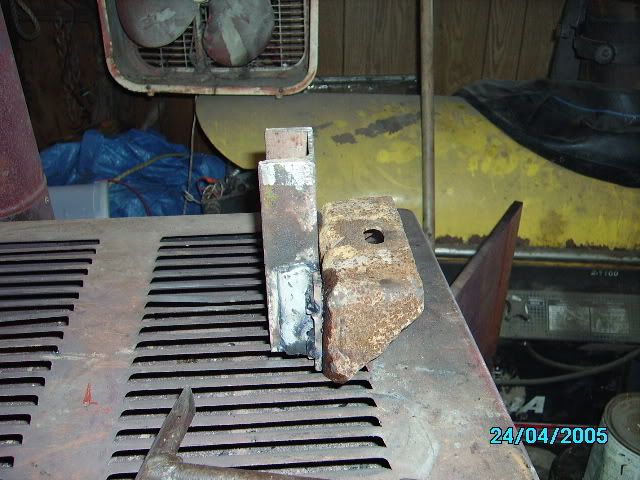
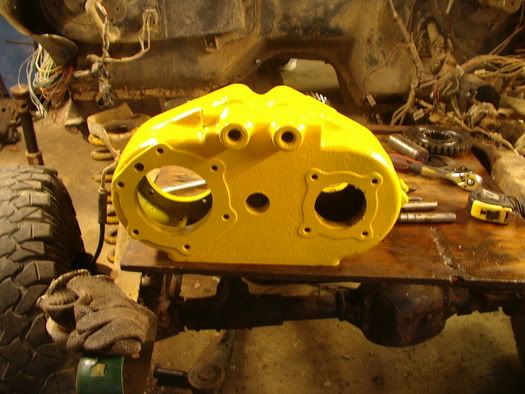
This week ive been mostly waiting on parts but I've got the 4.10's new seals, locker and new joints in the d30, and got the tcase gutted, for a seal/bearing replacment, and of course to grind the shift rails to twin stick it.

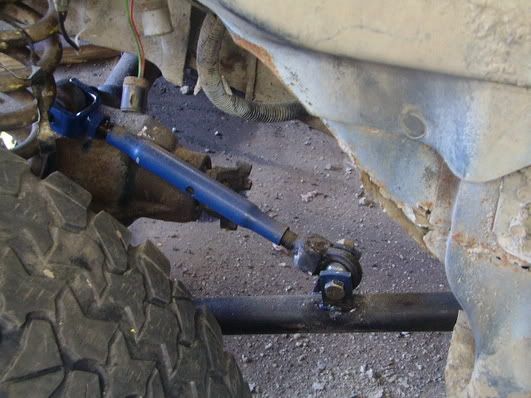
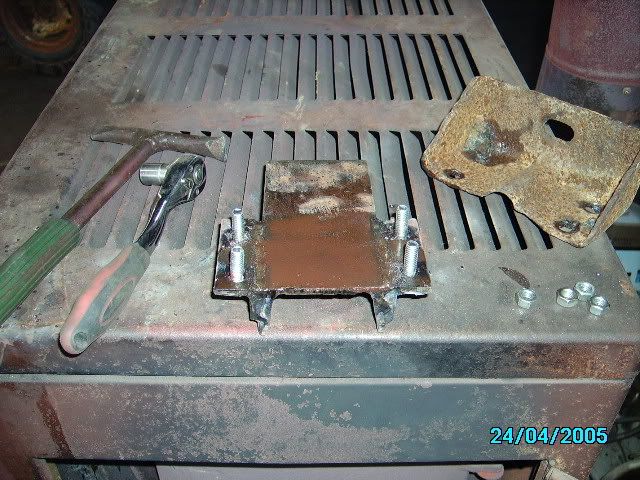
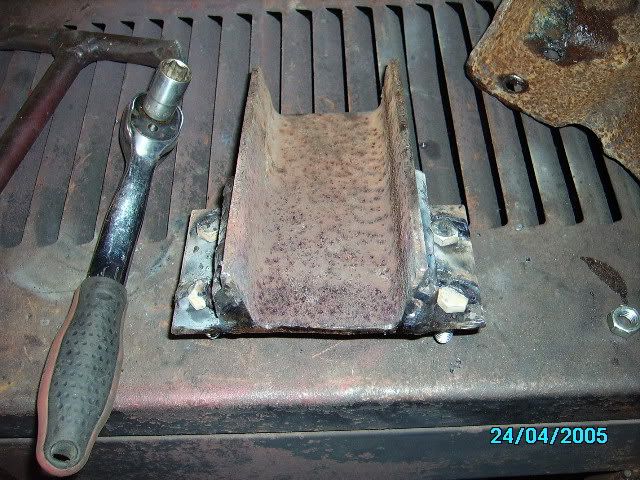
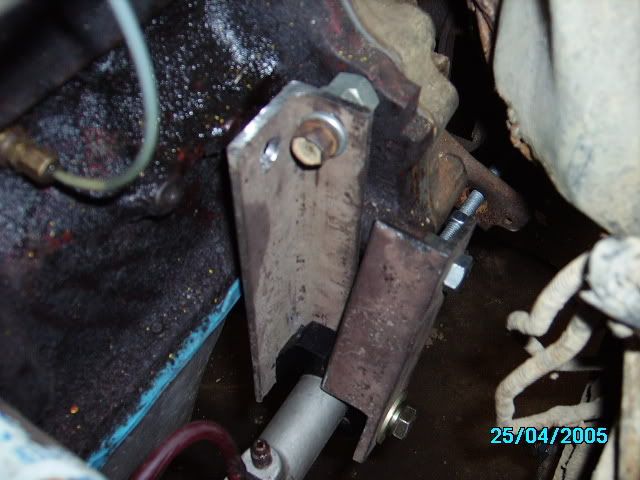
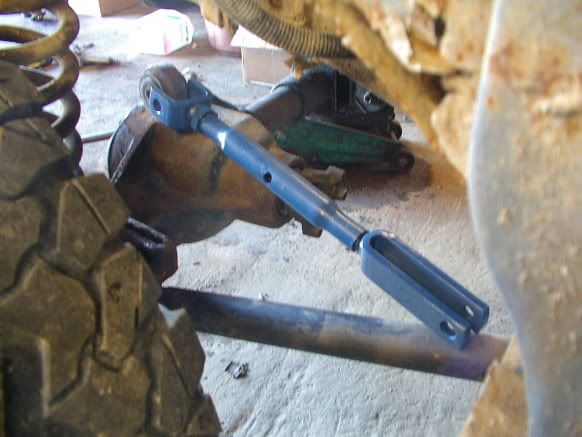
Also went and got the stuff for the "long arm" style arms im building for it.

First went and bought two top links and lift forks from Tractor supply.... then realized I had my buddies old 4link setup from the back of his bII so I stole the top arms to use as my bottoms, and kept the lift forks for the upper link.

The 4link arms I have work perfect to sit it just behind the body mount ( 6 inches longer than stock BII radius arm) and the lift forks fir the top link mount perfect and angle it exactly right to bolt to the lower arm where i needs to be to clean frame and such.

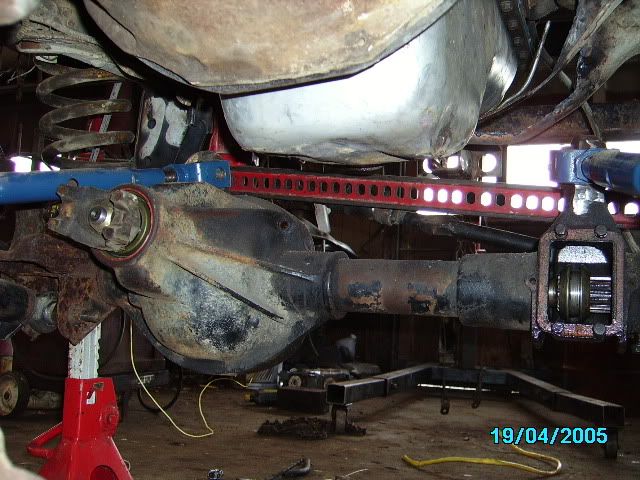
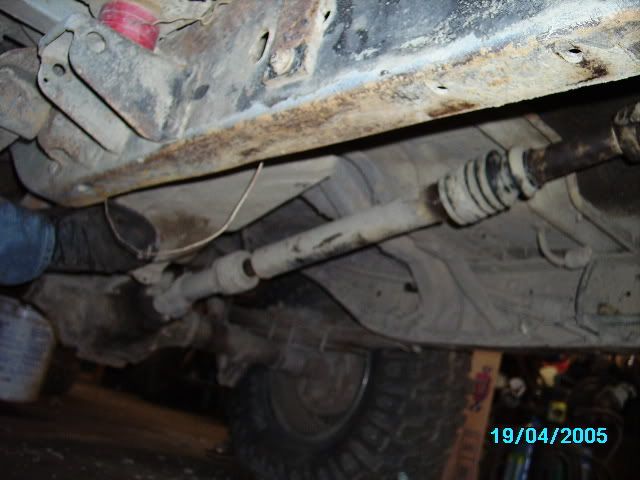
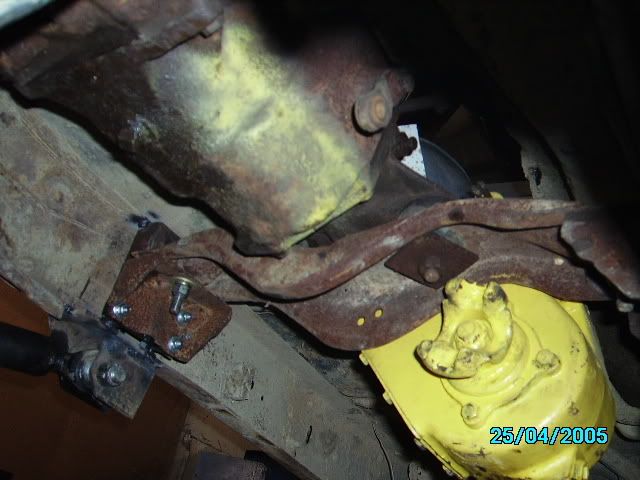
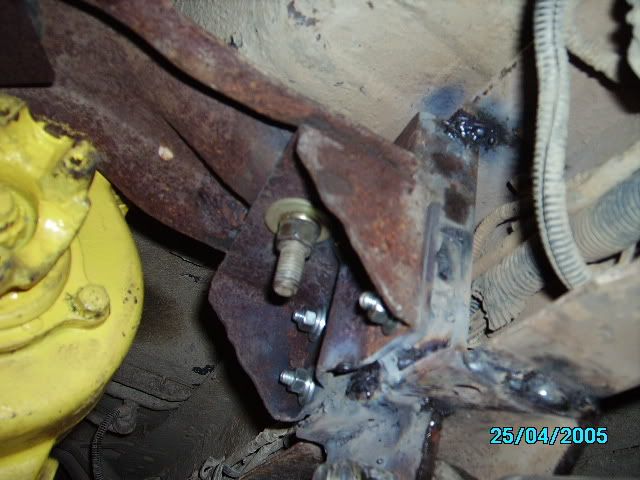
gonna start mounting the axle tommorrow once I get the RIVETED on cross member out of the way...


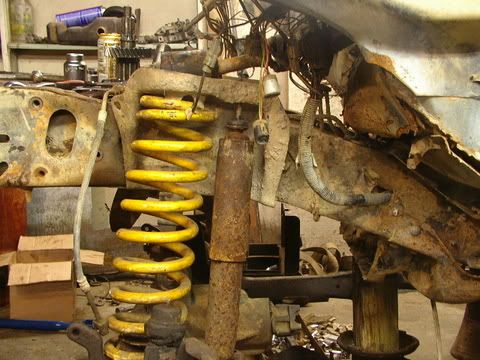
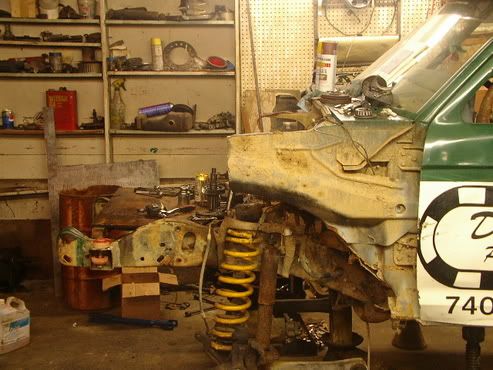
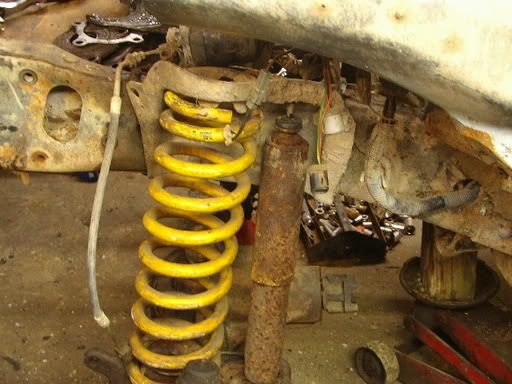
The one issue I need to figure out.... leanin backwards coil springs.... I centered my axle under the cross member to elimnate cutting it, and make u pfor some winch overhang (yes it gets a winch too) Now I know them leaning wont hurt them but it bothers me, cuase I want em straight, so it comes down to moving either the axle buckets or frame buckets..... not sure which I wanna do yet.... axle looks like PITA. Obviously none of my links are hooked up yet and these photos are of axle "test fits"

2005-11-19008.jpg


2005-11-19009.jpg


2005-11-19007.jpg


2005-11-19002.jpg

gutted tcase
 
OP
OP
O

OffRoadOhio.com

New Member
Joined
Oct 30, 2005
Messages
28
Loc.
Roseville, Ohio
Today:

got the axle pretty well mounted except for shocks, coil retainers, and I need to get hiems for the upper part of the y links. Then its engine time.

2005-11-20004.jpg


2005-11-20005.jpg

The uncompleted Y link, the long fork will be repalced with a hiem and mounted to the lower arm

2005-11-20009.jpg

Of course there isnt an engine but right now I have 9c inches of clearance as opposed to the 3 I had with TTB. I figure with engine wieght it should ride with somewhere around 6-9 inches of clearance.

2005-11-20010.jpg

Oh so pretty
 

SaddleUp

Bronco Guru
Joined
May 23, 2004
Messages
9,655
Loc.
Vancouver, WA
You will still get more interest in a Bronco II forum. The closest analogy I can make would be for me to go to a F350 forum and expect them to get excited about me putting a 5.8 from an F350 in my Early Bronco. I doubt I would get much of a reception there and it's pretty unlikely that anyone there would get excited about it. Don't get me wrong, I'm not passing judgment on what you are doing. I'm just saying that a lot more people will be interested there than there will be here. It's doubtful that anyone else here is going to run out and buy a Bronco II so they take their Early Bronco drivetrain and put it under it and many here would even consider doing so sacreligeous.
 

mlogan24

Bronco Guru
Joined
Jun 14, 2001
Messages
1,380
On the flip side he is doing it with what many of us consider to be throw-away parts-3 spd. manual, D30, inline-6. True, I'm not real interested in BII sheetmetal, but I always love a thread with pics ;D

BTW-Why not run a 5.0 or a 300 inline 6?
 
Last edited:
OP
OP
O

OffRoadOhio.com

New Member
Joined
Oct 30, 2005
Messages
28
Loc.
Roseville, Ohio
240 is fiarly fresh and ready to roll.... I have no 300, and my 302 needs rebuilt and isnt as torquey.... so.... theres where the 240 I have from my New Holland Combine (stock with a bigger cam) comes in..... as said no one really wants stock 3peed.... I had it laying from an EB i bought for 35bucks... aswell as the d20... the 30 isnt EB 30 buts its still throw away, picked it up FREE.... and its an xj 30 with 297 (44 size) joints... it'll hold the torque and tire size no problem...

little odds n ends is all I have to buy..... although it may be sacreligious here... the eb my few EB parts came from was going to scrap and I saved everything usable.... (Taxx saw pics of it... lord it was GONE!)

This is why I have a pretty capable trail rig, and havent seen $1500 invested i nit yet.... even my winch is dual purpose... was on a hualer I bought... and now is reciever mounted to go from BII, back to hualer... Yes I am tightwad.... hate to spend cash...

Now updates...


Well... I got a few more parts in. Couldnt the hiem I needed for the upper arms so I took the fork from the tractor arm (blue) and bought weld on hiems from Tractor Supply, I cut the fork and welded the hiem in. I then used the pemaining part of the fork (with bolt holes) to use to mount the hiem to the lower arm. And got it bolted in.... so its set up with a hiemed "long arm" kit like I wanted. Also bought some j hooks while at TSC and strapped the coils inplace.

2005-11-28004.jpg


This completes the axle swap minus shocks and brake lines.

Also got the tranny tcase and engine bolted together... but when I got ready to sit it in... without a body lift its simply to tall... with a cage I cant go with a BL, so the cross member has to go. I'll replace it once I get the engine in ... waiting for funds to fill the torches now. I did manage to get a measurment while the engine was CRAMMED in... and it only dropped 2 inches.... so I should still have 7 inches of clearance versus the 3 I had with TTB.... until they sag anyhow...

2005-11-28002.jpg
 
OP
OP
O

OffRoadOhio.com

New Member
Joined
Oct 30, 2005
Messages
28
Loc.
Roseville, Ohio
I now have the engine installed for the most part.

Due to the size of the oil pan I it was either install a body lift or cut the engine cross member out, so I removed the crossmember, to make the engine sit low enough to clear the firewall...(with a body lift no crossmember mods are needed). I still need to cut a spot out of the heater box to clear the intake. I'll then seal the box off with a piece of aluminum cut to fit pop riveted to the box and sealed with silicone. Due to the left motor mount sitting farther forward on the engine than the right, I did have to redrill the hole on the frame and move the stock 2.8 mount forward. The passanger side needed no mods. With the cross member cut the frame is alot weaker up front, and wants to roll together, I used my hi lift to keep the frame from sucking in, and once the engine was bolted in it held its self.

I will of course be replacing the crossmember with some flat steel formed to reseamble the factory x-member.

I also added my front reciever for the winch. This proved much eaiser with the crossmember being gone, as I simply cut the square tubing to 1/16th of an inch over the measurment of the frame inside the rails. and used the hi lift to spread the rails enough to get it put in at an angle, and then set in straight where it needed to be. then released the jack and used it as a clamp and sucked the rails in to hold the reciever tight as I welded.

Here are the photos....
Resizeof2005-12-04002.jpg


Resizeof2005-12-04004.jpg


Resizeof2005-12-04005.jpg


Resizeof2005-12-04007.jpg


Resizeof2005-12-04006.jpg
 
OP
OP
O

OffRoadOhio.com

New Member
Joined
Oct 30, 2005
Messages
28
Loc.
Roseville, Ohio
More work today.

Got the heater box modified to make the 240 intake fit. Heated it with the torch and remolded it.
got the front reciever welded in and braced.
Test fitted the stock EB front driveshaft, it needs shortened 2 1/2 inches, also rebuilt the double cardan joint and repalced the front ujoint. The rear drive shaft I built last year, to do away with the double cardan, bolted right up to the rear.
Built a trac bar mount for the frame aswell still need to build a trac bar.

A few more simple things and the body will be ready to bolt back together.

2005-12-11010.jpg


2005-12-11009.jpg


2005-12-11008.jpg


2005-12-11007.jpg


2005-12-11004.jpg


2005-12-11002.jpg

(yes thats a hi light holding the axle in place until I get the trac bar built)
 
OP
OP
O

OffRoadOhio.com

New Member
Joined
Oct 30, 2005
Messages
28
Loc.
Roseville, Ohio
Didnt get alot done Friday becuase it was time consuming work, but I did build mounts to use the factory EB cross member with the BII frame, and have everything totaly removable.
And I did get a chance to hear the engine run..... :ladys: I wont have a chance to do anywork on it today becuase of a Christmas Party but tommorrow I will be building a mount for the external slave cylinder, so that my Manual bell will work with my Hydraulic Clutch system. After that, all htats left is to shorten the front driveshaft, build a trac bar, bolt the body on and install the front brakes.

Here are the photos of my cross member brackets. The pieces of channel are welded directly into the frame rails, sort of "boxing" it off.. I can unbolt the Early bronco mount from the channel, and unbolt the crossmember from the mount to allow the cross member to drop striaght down, unlike the Bronco II crossmember which bolts to the top of the low lips on the frame rail.

I strarted out with a 6 foot piece of scrap channel, and a 6 foot piece of angle iron. I then measured and found the lips on the frame rails to be 6 inches apart, so I cut two 6 inch sections of channel. The EB bracket is 3 inches, and the holes wound up sitting 1/2 an inch on either side of the channel. So I used the angle and cut four, 3 inch sections to weld on the side of the channel as "extensions" to drill holes in and boult the EB bracket to. After a test fit I saw how much of a pita it would be to try to get a wrench on the bolts so I welded the heads down to the angle.... (Hopefully, they never brake off, when I remove them) Yeah my welds arent the greatest, but I think they are decent, for never using a arc welder until this project. I've always used wire, and let my dad do the stick..... I wanna do ALL work on my own on this one so, those are the best they are getting for now....lol
These mounts double to both mount the tranny cross member, and tie the frame together to keep it from bending where the Arms mount. The tranny crossmember, is in the same place on the frame as the arms mount. Only the arms are on the bottom, and the cross member is about an inch below the top.

2005-12-17006.jpg


2005-12-17001.jpg


2005-12-17002.jpg


2005-12-17003.jpg


2005-12-17004.jpg


2005-12-17005.jpg
 
OP
OP
O

OffRoadOhio.com

New Member
Joined
Oct 30, 2005
Messages
28
Loc.
Roseville, Ohio
The completed CrossMember mounts

2005-12-18003.jpg


2005-12-18004.jpg


Got the slave cylinder mounted today. I used a 1 1/4 inch Stock Car Ballast mount (which is basicly a clamp, with bolt holes to be mounted by) then cut, heated, and bent angle iron to bolt to a couple holes I found in the engine....
I know the "sapcers" are ghetto, but those are just for measuring purpose

2005-12-18007.jpg


I did manage to melt my clutch line so that needs replaced now.......

Myers Machine shop from Lexington Kentucky, is going to build the trac bar for me, and then I'll be underway!
 
Top