OP
OP
- Joined
- Jun 29, 2015
- Messages
- 865


I am subscribed.
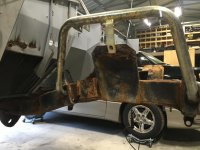
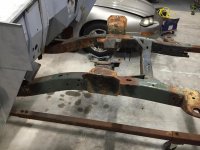
Did you media blast it on the frame or remove it, blast it and then set it back on the frame?
")
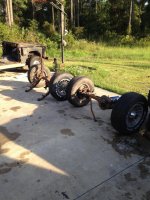
I hope you're keeping those hurricane wheels...those are too cool!
Deadlines are good, they keep you motivated... im hoping to be done with mine by August and by done I mean driveable and road ready
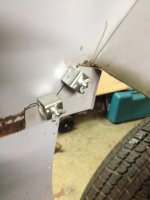
I only used in one spot and that was on my kick panels and to tell you the truth, if you know how to weld its much easier because once you have your panel fit with sheet metal screws you just remove a screw and fill it. The panel bond you have to remove your panel once its fit, make sure its clean, apply the panel bond, then re-screw everything back together, wait for it to dry, then unscrew the screws and fill the holes in with more panel bond or filler. I would only recommend it if you have zero to none welding skills, its definitely more time consuming then just welding it together!
Thanks,
I was thinking about using it in a couple of places that are harder to weld, well places I have to lay under it and weld, but I will just weld everywhere now. What's a few burns when you get an awesome Bronco in the end;D
Chuck
Wait til ya' get it off the frame and flip it over....welding upside down hurts!!!%)%)%)