• Welcome to ClassicBroncos! - You are currently viewing the forums as a GUEST. To take advantage of all the site features, please take a moment to register. It's fast, simple and absolutely free. So please join our community today!
    If you have problems registering or can't log into your account, please contact Admin.

hardtop support bows

mjramacher

Full Member
Joined
Jul 29, 2012
Messages
301
while im trying to figure out my brakes I have been working my hard top over my support bows are sagging down quite a bit the front a little more than the rear I drilled the front out and re formed it to the shape of the top. My question is would it be alright to weld the support bow to the top starting from the middle and working my way out and then welding in the ends last would this eliminate most of the tin can sounds. I have read over a couple of threads about this but haven't cam across anybody welding them to the top. opinions please.
 

BRONCROB

Bronco Guru
Joined
Nov 24, 2010
Messages
1,613
Loc.
WISNER LA.
I would not weld them to the top at all,other than the ends.I overbowed mine and put some pretty thick camper tape on them before rewelding.They have to be able to expand and retract with the temp. so don't weld them to the top shin.My ¢02
 
OP
OP
M

mjramacher

Full Member
Joined
Jul 29, 2012
Messages
301
I am redoing the whole top inside and out fresh new paint so not worried about making a mess of the outside.
 
OP
OP
M

mjramacher

Full Member
Joined
Jul 29, 2012
Messages
301
I would not weld them to the top at all,other than the ends.I overbowed mine and put some pretty thick camper tape on them before rewelding.They have to be able to expand and retract with the temp. so don't weld them to the top shin.My ¢02

I would think that by welding the bows to the roof it would be about the same temp and that they would expand together I might be wrong I usually am just wondering if anyone has done this before.
 

BRONCROB

Bronco Guru
Joined
Nov 24, 2010
Messages
1,613
Loc.
WISNER LA.
Havent done it myself but my method worked awesome with no problems so far.There was a reason ford didn't weld that or the hoods.You may want to look at some of the panel adhesive or something like that with some give to it.Bronco frames and bodies flex a pretty good bit on and off road so the top and hood need to flex along with it.
 

half cab

Contributor
Guru Bronco
Joined
Dec 8, 2010
Messages
16,306
Probably warp the thin top.

I put a 2x4 n a hydraulic jack under mine and jacked the bow up tight to the top the put my headliner back in with the new trim piece where the two section of the headliners meet n hasn't caned in four yrs now!
 

Whoaa

Bronco Guru
Joined
Sep 26, 2014
Messages
1,059
Liquid nail will work fine without destroying the top skin of the roof.

^....like magic. Welding on the top skin itself will destroy it.

.... However there is room and plenty to weld to on the outside edges, AFTER, you have the new ribs made and fitted. I made new ribs, fitted them in place, then glued them solid w/ liquid nails, and welded the very outside edges where the flange is about 3/16" thick rimming the top. The actual lenght of the weld is about 1/2", but keep in mind the new ribs fit *inside* the rim, so the natural pressure from gravity acutally makes the new ribs tighter to the top skin -or actually the top skin becomes tighter to the rib, and there is NEVER any weight on the top skin. All of the weight bearing is hung on the rim/flange, so the weight bears down on the sides across and driectly above the sides of the bed. And of course the magic is in the glue -liquid nails.

I ended up with 6 ribs total. I choose to saddle both sides of the original ribs w/ new ribs that I made -specifically because I didn't want to take a chance to warp/bend/tweak the top skin. So I just added a couple of ribs on both sides of the factory ribs. I made my ribs from 1/2" sqaure stock.
Then, because I also wanted a well insulated top, and a quality headliner, and didn't want to take a chance that the top might tin-can pop in the future, I added one more rib near the back, and another one closer to the front.

Look closely at the base of the ribs before the top was painted. The yellowish pookey squishing out is the luiquid nails. I literally have a lifetime of expericne welding, my expericne told me to NOT weld on that top skin. My top skin is in perfect condition, no waves, no tweaks, no ripples, and no bondo!


Last edited:

TN1776

Bronco Guru
Joined
Oct 24, 2006
Messages
2,632
Don't try welding them to the skin, its not going to work the way you think it will. I had a junk top that I played with a little, if you do not warp the top with the heat from welding, you will end up pulling the top out of shape. Just my $.02.
 

navalbronco66

Full Member
Joined
Sep 22, 2013
Messages
270
Whoaa, awesome work on that top.

Few questions for Whoaa or anyone else, why liquid nails? 3M makes a panel adhesive, I would think a product for automotive use would be better. Maybe I'm just over thinking and Liquid nails is fine?

Also did you clamp down the support bows when you glued them down with Liquid Nails?

Did you have to shape the square tubing to fit the curve of the top?

What type of insulation did you use on the hard top and what did you glue it down with?
 

Whoaa

Bronco Guru
Joined
Sep 26, 2014
Messages
1,059
Whoaa, awesome work on that top.

Few questions for Whoaa or anyone else, why liquid nails? 3M makes a panel adhesive, I would think a product for automotive use would be better. Maybe I'm just over thinking and Liquid nails is fine?

Also did you clamp down the support bows when you glued them down with Liquid Nails?

Did you have to shape the square tubing to fit the curve of the top?

What type of insulation did you use on the hard top and what did you glue it down with?

Thank you sir.

I'm sure some type of automotive adhesive would work great. Although I'm not sure about "better". I didn't get to crazy about researching some special type of glue, I just used liquid nails because I know it works great.

No clamping required to contour and fit the top. However they do have to be made w/ the proper radius to match the top. When making them it was a trial -and- -fit proccess until I got them to fit perfect. I did some quick measurments to find how much crown was in the bow (top skin), and then bent the new ribs to where they looked close, then welded some ends on them at about a 40* angle to fit inside the rim around the top. I made mine to have a slight pressure fit, in other words -when I layed the ribs in place on their side, and then turned them 90* to sit proper there was a slight amount of pressure..like a friction fit. I'd estimate that mine have a very modest 2-3 lbs of pressure "holding" them in place as a pressure fit.

And, BTW...I don't have a full fabrication shop anymore. I have a basic garage for lawnmowers, and I don't have a pipe bender.
To make the radius bends in the square tubing I measured out some quandrants on the tube and marked it, center, then a quarter lenght, ect. Shove the tubing into the end of my trailer hitch reciver and pulled w/ my hand until I seen it bend, moved to the next mark, rinse-n-repeat. Make some bends, and then ck the radius to the top contour. Pole-barn technology, LOL. It might sound like a big task, but really it only took about 15 minutes to make all of the new ribs w/ the proper radius.

During the process I thought about lowering the headliner and screwing it to the flat lip all the way around the top, but the top is already low to start with and dropping the headliner another 2" wouldn't leave enough head room for sitting in the front seats.

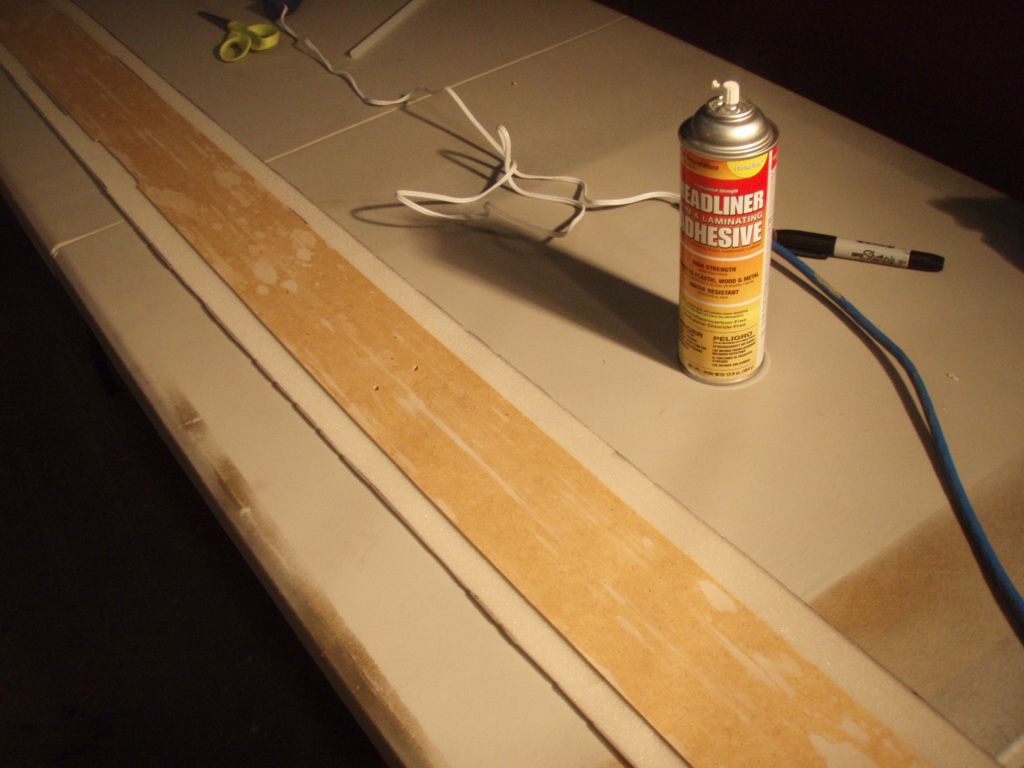
I used some 1/2" semi-rigid foam insulation board -bought at Home Depot. I cut slit's in the foam board as relief cuts so it would contour to the proper radius. I used luiquid nails to the glue the insulation to the top skin, mainly just because I already had it handy sitting there in a caulking gun.
After this wonderful insulation was in place I realized that I still had another 3/16" - 1/4" that I *could" fill w/ more insulation if I choose to. Another trip to Home Depot. Cruising through the store w/ an open mind and looking for some type of insulation that was flexible and a maximum of 1/4" thick I struck gold on the hot water heater isle. I bought some bubble-type of insulation. When I got back to my shop I realized the caulk gun was empty, so I used a hot glue gun to stick the bubble insulation to the foam board.

My requirments when choosing insulation and headliner material were: water resistent / water proof, mold & mildew resistent/proof, lightweight & strong.

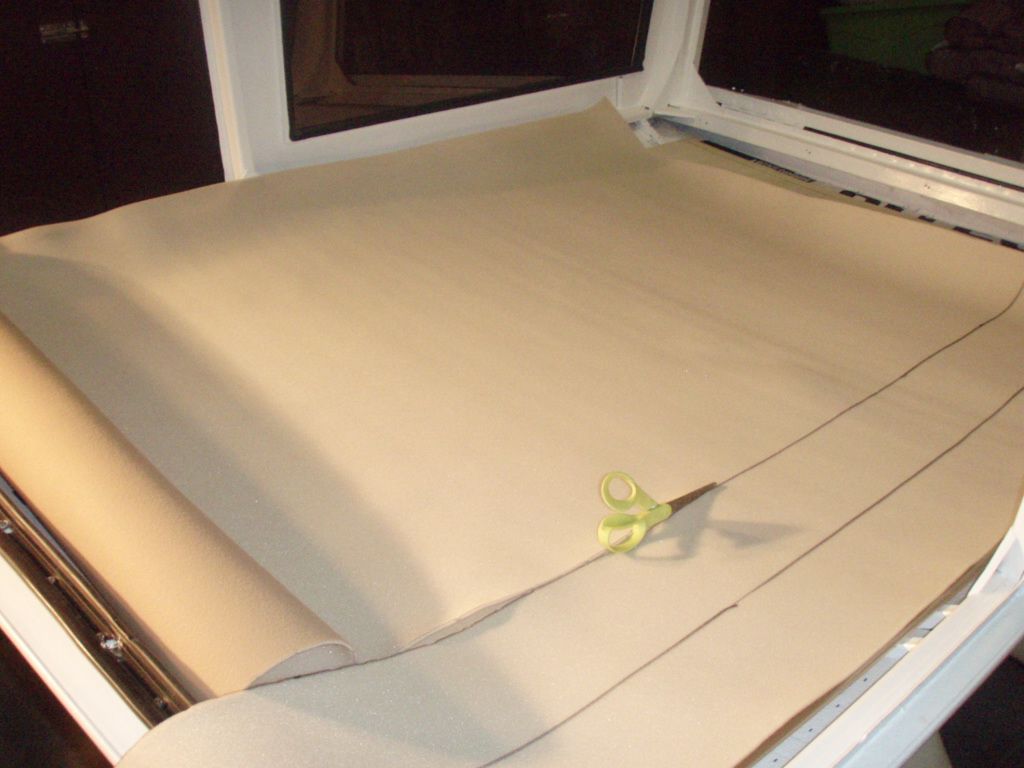
And then finally, bought some paneling board, wraped the panel board with headliner material and made a new headliner. Now the top is very, VERY insulated -for heat, cold, and sound.


I used real healiner material, which is really thin foam about 1/8" thick, plus a very thain layer of colored fabric.


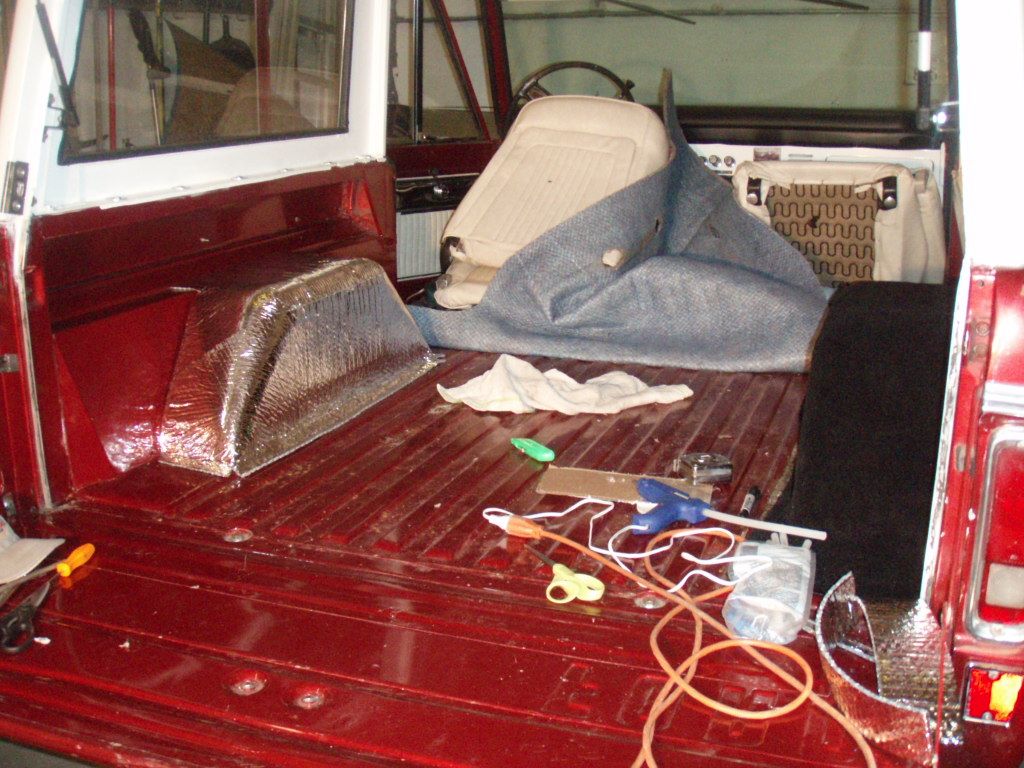
I used some left over bubble insulation to wrap my inner fenders before tha carpet went on...much quieter

 
Last edited:

allenfahey

Bronco Guru
Joined
Mar 18, 2004
Messages
2,672
There is also a automotive expanding foam you can use. Same type of tube as the panel adhesive. It's used in the void between the intrusion bar and door skins and roof panels. It's also used as a sound deadener in pillars and rockers in some cars.
 
OP
OP
M

mjramacher

Full Member
Joined
Jul 29, 2012
Messages
301
Thanks guys I think I will try some panel adhesive or foam I just didn't want to have to run into town for this when I have a welder being this is my first bronco I want to make sure before I do something I regret later the top being something I don't want to screw up to bad because I'm painting it a mat black and that will show every little Imperfection. I have some fusor for door skins I used about ten years ago it's still new in the package it's a two part system ,Allen have you used this ever I would think that it might work.
 

allenfahey

Bronco Guru
Joined
Mar 18, 2004
Messages
2,672
Lord Fusor is good but I'm not sure I would use 10 year old adhesive. Every once in a while the supplier sends old adhesives or seam sealer by mistake and it's bad. I'm sure your tube will be bad as well. When it goes bad it is discolored or very thick and won't mix in the mixing tube. At least you will know it right away if it's bad.

Are you doing the painting of the matte black in the garage? If so you better have it spotless and good exhaust. There's no buffing a matte finish and black shows everything.
 
OP
OP
M

mjramacher

Full Member
Joined
Jul 29, 2012
Messages
301
I'm just going to run into town and get some new panel bond I need some more seam sealer anyways. Yes I will be painting in my garage I have done a few mat black and gray and they are always a big pain in the ass.
 
Top