


2monkeyboys
Sr. Member
- Joined
- Mar 23, 2004
- Messages
- 649
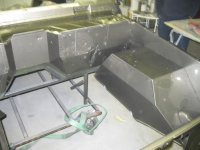
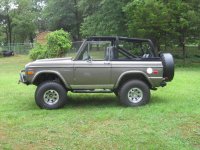
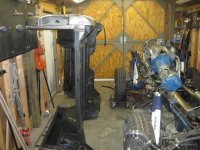
engine bay
i painted the engine bay the same color looks a lot better then black
i painted the engine bay the same color looks a lot better then black
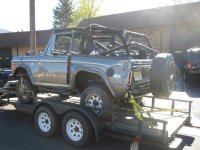
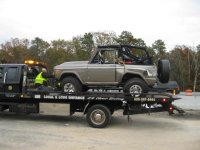
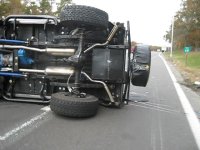
Attachments
-
 Picture 228.jpg179.8 KB · Views: 122
 -
 Picture 244.jpg139.2 KB · Views: 128
 -
 Picture 237.jpg76 KB · Views: 91
 -
 Picture 236.jpg79.4 KB · Views: 108
 -
 Picture 235.jpg75.2 KB · Views: 112
 -
 Picture 234.jpg73.5 KB · Views: 109
 -
 Picture 233.jpg74.4 KB · Views: 106
 -
 Picture 232.jpg92.2 KB · Views: 113
 -
 IMG_0052.JPG96.8 KB · Views: 107
 -
 55e.jpg135.5 KB · Views: 104


") .
.
