• Welcome to ClassicBroncos! - You are currently viewing the forums as a GUEST. To take advantage of all the site features, please take a moment to register. It's fast, simple and absolutely free. So please join our community today!
    If you have problems registering or can't log into your account, please contact Admin.

Moving front axle forward 1 inch

JSmall

Bronco Guru
Joined
Feb 18, 2004
Messages
3,223
I'm about ready to start all of my suspension mods and want to make sure I've thought of everything before I tear into it. I'm installing...

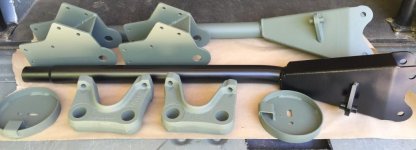
Duff radius arms and HD lower coil buckets
Elite Bronco's radius arm brackets
WH 3.5" coils
Ruffstuff track-bar, Shock towers and 1 ton steering
Ballistic Fab Adjustable coil buckets

Basically I'm replacing all the parts on the front end. Is it as simple as moving the frame brackets forward 1 inch when I'm installing them? Do I need to worry about anything else?

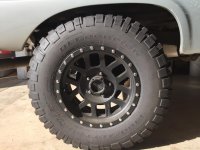
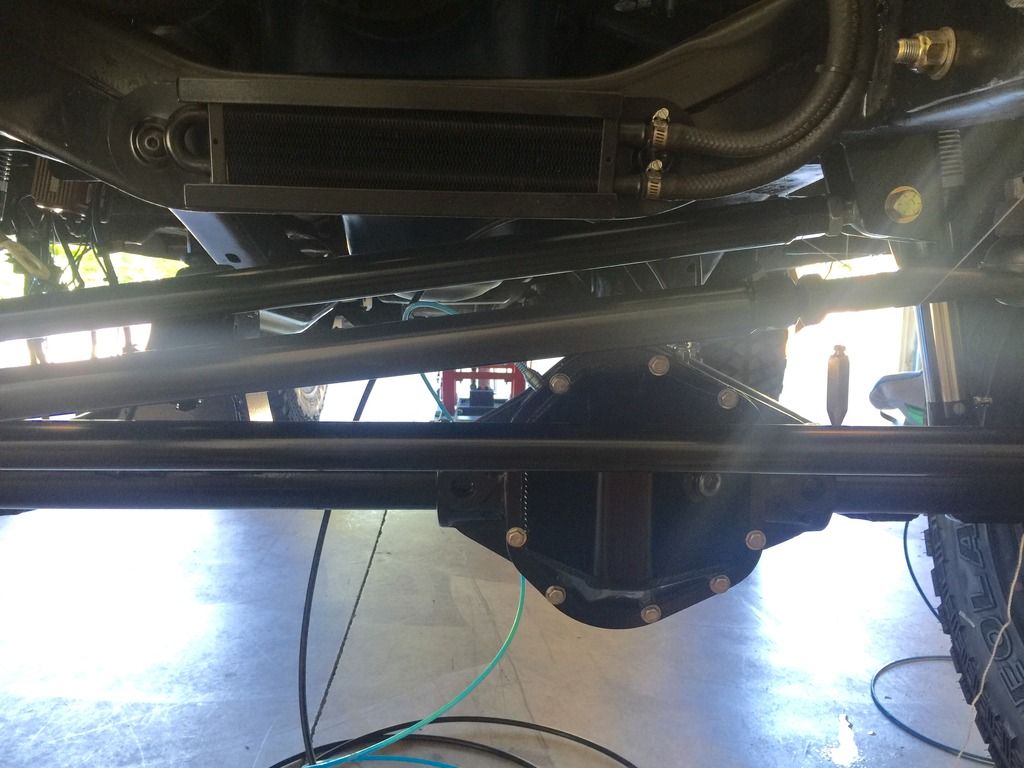
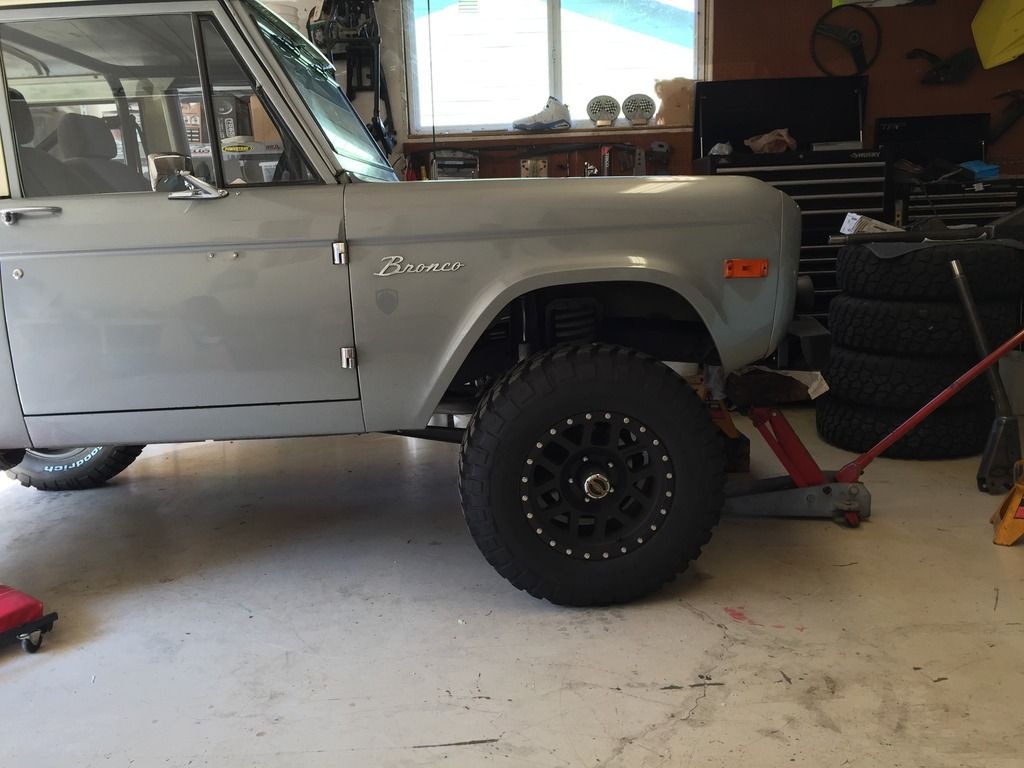
Here is how it sits now
CAD89ABA-BE41-423B-A292-79B58A572367_zpsssqtutez.jpg


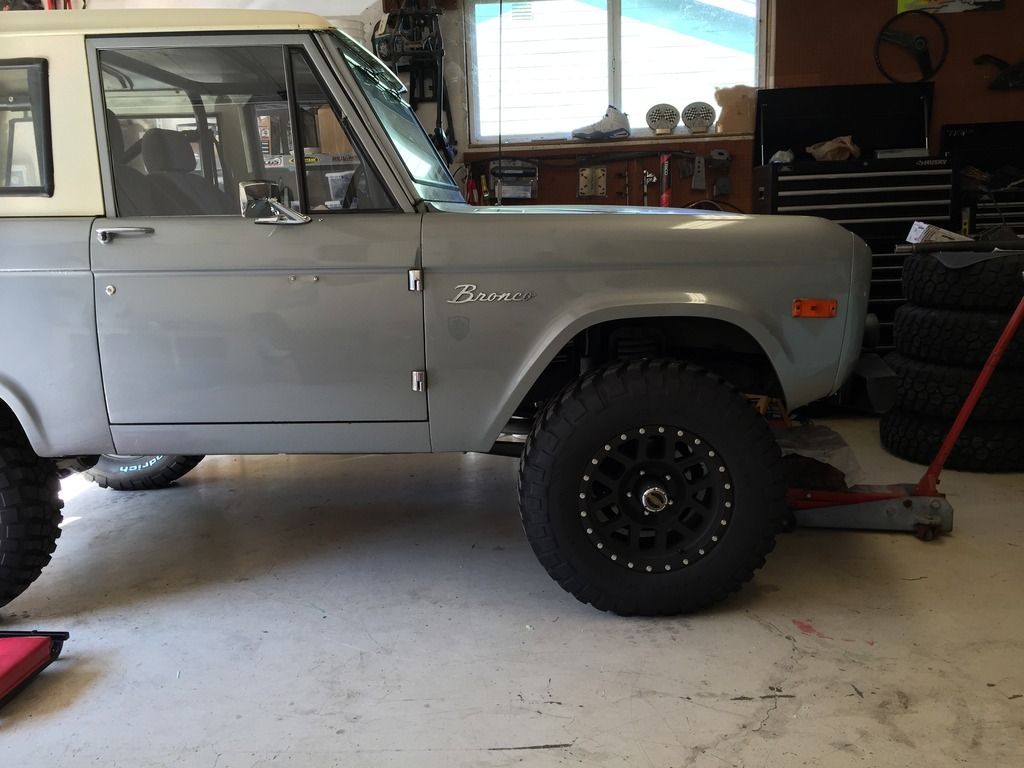
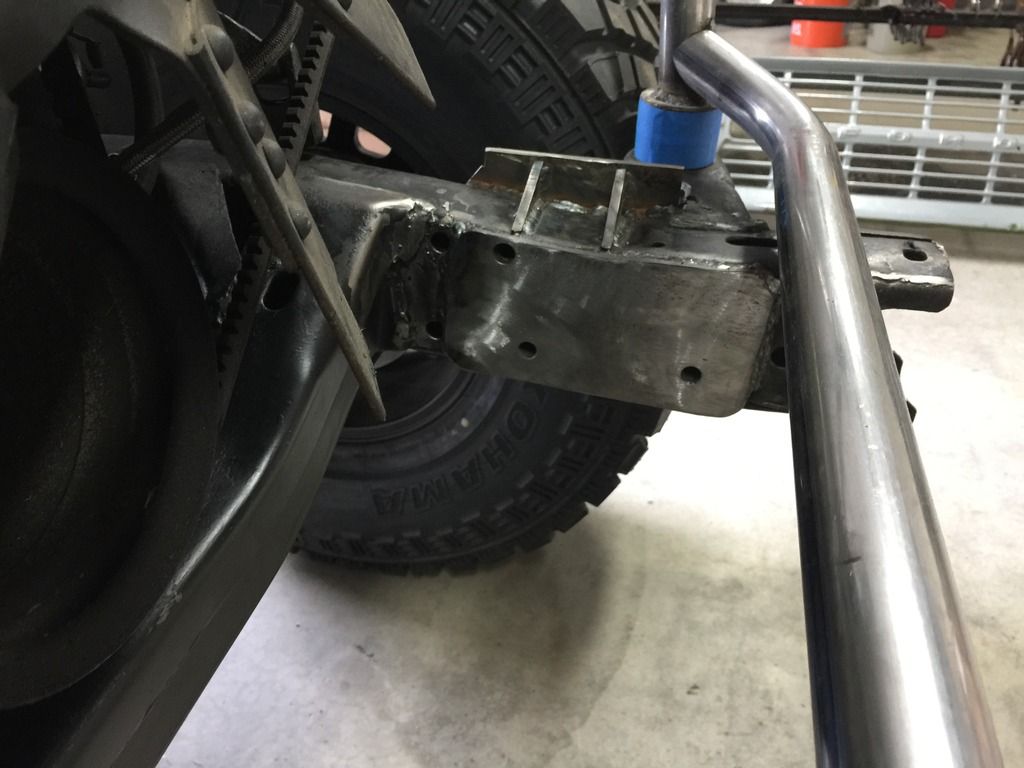
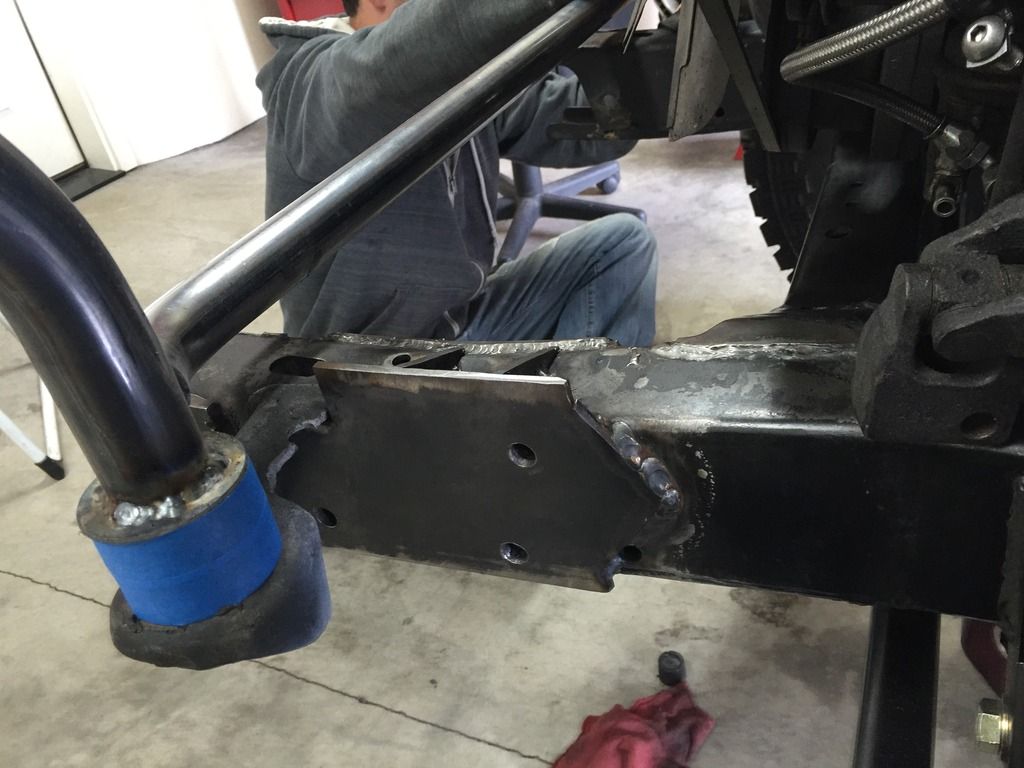
And this is how it sits with 10.5" between the frame and axle. It looks like the axle has been pushed to the rear with this amount of lift so I would like to take care of it now.
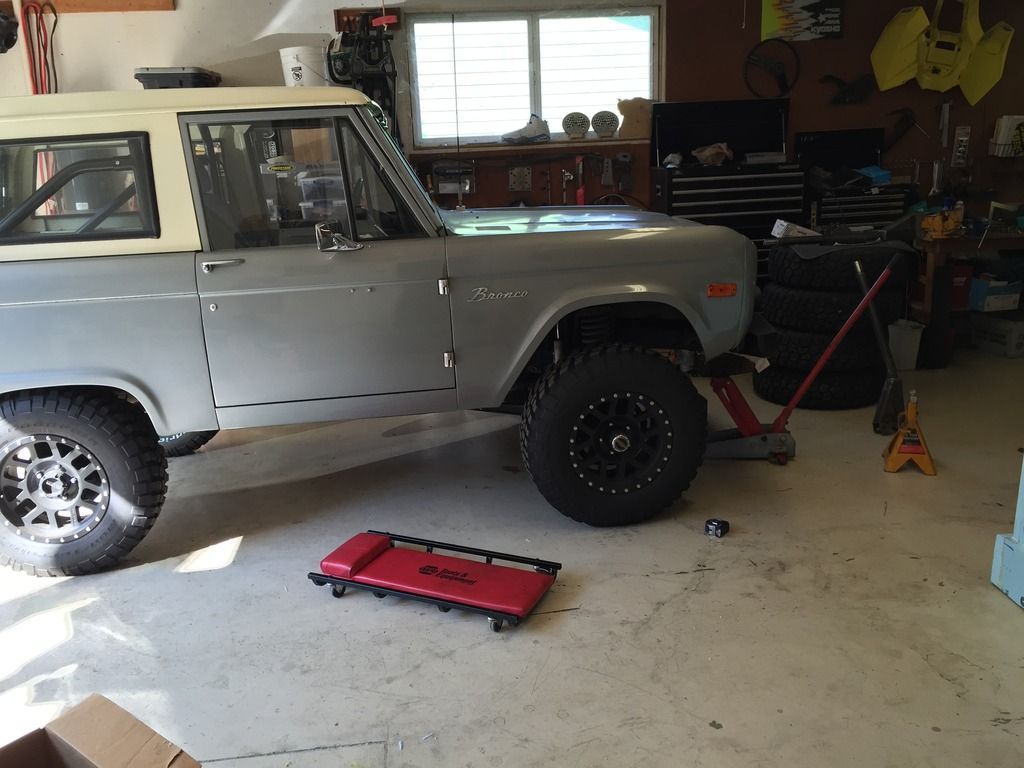
5BEA8D14-D175-4B6A-94ED-BAFF266820E5_zpszgzi9drw.jpg

A9FC54CA-2E71-4A39-A9E5-EB5C8E7584A2_zps2uq4dopr.jpg
 

SHX669

Bronco Guru
Joined
Jan 9, 2009
Messages
1,997
Garage floor is too clean - and no parts lying on floor to trip over - only issues i see.
Sorry Jaromy - couldn't resist - LOL
Hope it goes well -
Stan
 

JefeAZ

Bronco Guru
Joined
Aug 23, 2011
Messages
3,038
Loc.
Tucson
Somewhat on topic but are you or have you moved the rear axle back? Does it rub as is? Looks close!
 
OP
OP
JSmall

JSmall

Bronco Guru
Joined
Feb 18, 2004
Messages
3,223
Garage floor is too clean - and no parts lying on floor to trip over - only issues i see.
Sorry Jaromy - couldn't resist - LOL
Hope it goes well -
Stan

The garage floor is actually cluttered right now Stan :) I need more room!!
 
OP
OP
JSmall

JSmall

Bronco Guru
Joined
Feb 18, 2004
Messages
3,223
Somewhat on topic but are you or have you moved the rear axle back? Does it rub as is? Looks close!

My rear axle has been pushed to the rear 1 inch. No rubbing issues with the stiff suspension that's in it now.
 
OP
OP
JSmall

JSmall

Bronco Guru
Joined
Feb 18, 2004
Messages
3,223
Better angle
 

Attachments

  • image.jpg
    image.jpg
    95.2 KB · Views: 92

Apogee

Contributor
Bronco Guru
Joined
Nov 26, 2005
Messages
6,051
I pushed my front axle forward 1.5" when I installed my CAGE long arms with no issues. The track bar and steering seemed to be the limiting factors in my case, so unless I moved the steering box as well, that was as far as I could go. I didn't move my spring towers to match, but will if I choose to go aftermarket when I swap in the F150 axles.
 
OP
OP
JSmall

JSmall

Bronco Guru
Joined
Feb 18, 2004
Messages
3,223
I pushed my front axle forward 1.5" when I installed my CAGE long arms with no issues. The track bar and steering seemed to be the limiting factors in my case, so unless I moved the steering box as well, that was as far as I could go. I didn't move my spring towers to match, but will if I choose to go aftermarket when I swap in the F150 axles.

Thanks! That's what I figured, but I wanted to make sure. I can relocate the coil towers when I install the new ones and I have new mounts for the track bar as well. I don't need to go forward much, just enough to make it look centered again.
 

Slednut10

Contributor
Guru? That's funny!
Joined
Sep 26, 2013
Messages
2,394
With the Duff long arms there should be less arc so it shouldn't move back as much. You might want to mock it up first with the long arms and see what it does.
 
OP
OP
JSmall

JSmall

Bronco Guru
Joined
Feb 18, 2004
Messages
3,223
With the Duff long arms there should be less arc so it shouldn't move back as much. You might want to mock it up first with the long arms and see what it does.

Probably not a bad idea. Thanks
 
OP
OP
JSmall

JSmall

Bronco Guru
Joined
Feb 18, 2004
Messages
3,223
Your stance looks perfect! What are you hoping to gain by moving it 1 inch further?

It's a visual thing for me. I don't like the look of the tire not centered in the wheel well. I will mock it up before I make my decision.

Painting will be done soon. I will powdercoat everything when I tear the Bronco down for bodywork.
 

Attachments

  • image.jpg
    image.jpg
    46.2 KB · Views: 99

klpilot

New Member
Joined
Jan 4, 2009
Messages
8
How did it turn out moving the axle forward 1"?

I am just about install the 5.5 Monster and would also like to move the axle forward 1". I already installed the steering box, welded on the shock hoops, and welded on the duff drop bracket for the track bar. So I don't want to make any other changes other than the radius arm brackets forward 1".
 

Hopstr

Contributor
Jr. Member
Joined
Feb 26, 2012
Messages
145
I moved my front forward 1.5" with my JD long arm install. While I was waiting on my order from JD, I got bored and was thinking about the geometry a lot so I cut out everything(shock towers, shock hoops, track bar mount, steering box) and moved it all forward to match. It all lines up nicely now without my springs being bent back. Happy with how it turned out. Not sure you want to tear that far into yours though.
 
OP
OP
JSmall

JSmall

Bronco Guru
Joined
Feb 18, 2004
Messages
3,223
How did it turn out moving the axle forward 1"?

I am just about install the 5.5 Monster and would also like to move the axle forward 1". I already installed the steering box, welded on the shock hoops, and welded on the duff drop bracket for the track bar. So I don't want to make any other changes other than the radius arm brackets forward 1".

I ended up moving it a few inches forward. I decided to run a 3 link in the front so I moved my steering box forward while I was doing the fab work.

BD207290-E75A-4EC5-9A8B-664F8A432AD2_zpstttyvqf8.jpg


9671E2BF-2CA4-4C4D-B539-2230E7B1CDE1_zpsqujznb0k.jpg


EB8DAD1D-BB69-4735-9C09-B770874081FE_zpsdlebyujh.jpg


I put everything where it needed to be to get my angles perfect...even if it required cutting and welding for clearance

DE57D10A-3921-43A8-98BD-CB47F6D56CE0_zpstmrduypw.jpg
 
Last edited:
Top