ArmyCOL
Sr. Member
- Joined
- Feb 7, 2007
- Messages
- 404
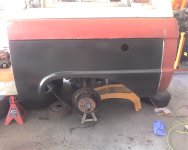
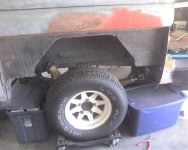
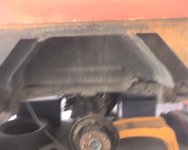
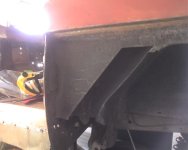
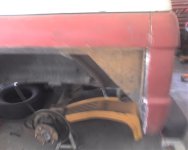
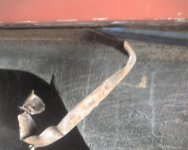
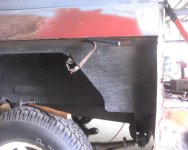
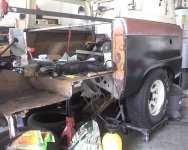
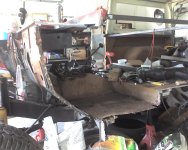
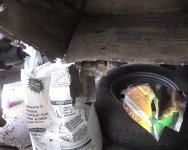
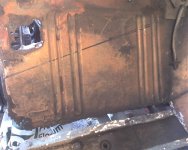
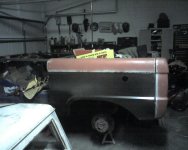
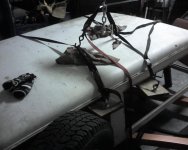
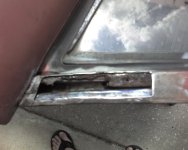
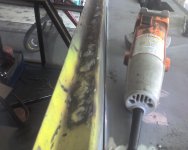
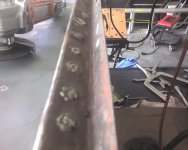
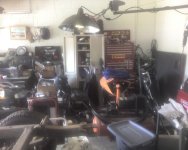
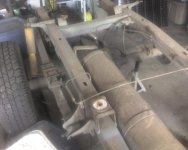
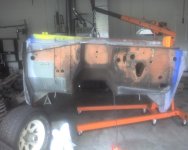
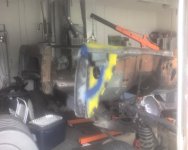
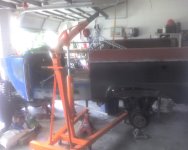
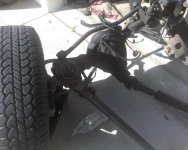
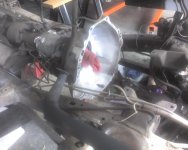
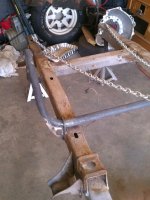
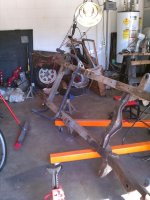
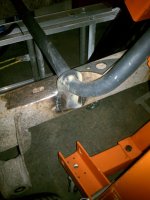
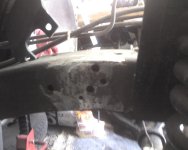
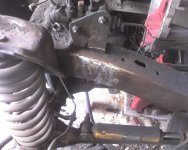
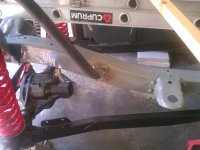
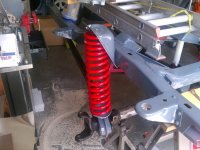
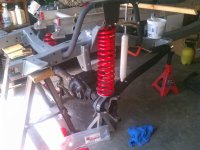
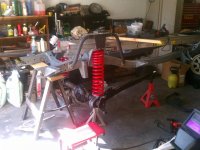
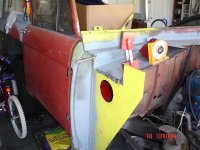
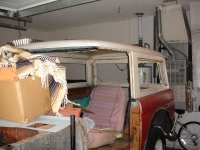
Here are some of the pictures I have taken of the build and rebuild. As I go along I will continue to add pictures to this thread.
Attachments
-
 Door Post Tab.jpg63.1 KB · Views: 115
 -
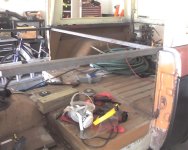 Photo_091308_003.jpg95.9 KB · Views: 121
 -
 Photo_011908_002.jpg129.9 KB · Views: 142
 -
 Photo_011208_005.jpg82.6 KB · Views: 133
 -
 Photo_011208_002.jpg67.5 KB · Views: 136
 -
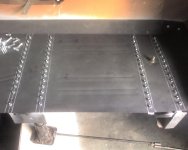 Photo_011208_001.jpg70 KB · Views: 158
 -
 Kick Panel.jpg113.6 KB · Views: 133
 -
 DSC00077.jpg128.9 KB · Views: 118