RedLeg0811
Full Member
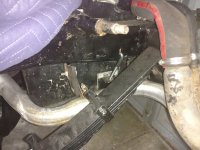
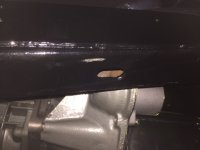
Hi All,
I have a NWMP Aux tank that I want to mount, but I am not wild about the front carriage bolts going through the floor right by my feet. In my mind it just seems like a crappy spot.
Has anyone else mounted their Aftermarket Aux tank differently then running the bolts through the floor?
Thanks
Martin
I have a NWMP Aux tank that I want to mount, but I am not wild about the front carriage bolts going through the floor right by my feet. In my mind it just seems like a crappy spot.
Has anyone else mounted their Aftermarket Aux tank differently then running the bolts through the floor?
Thanks
Martin