• Welcome to ClassicBroncos! - You are currently viewing the forums as a GUEST. To take advantage of all the site features, please take a moment to register. It's fast, simple and absolutely free. So please join our community today!
    If you have problems registering or can't log into your account, please contact Admin.

Money Pit - Phase III

OP
OP
KyleQ

KyleQ

Bronco Guru
Joined
Apr 24, 2008
Messages
5,480
Got a little bit more done today - picked up my final seal and decided it was time to fit my beat up hood.

I'm happy with how it turned out-
20160523_151611_zpsas8idxqx.jpg


20160524_004247_zpsjymqe6qt.jpg


I've got a little more fitting to do and then I'm got to come up with a quick and dirty mounting system. Driveshaft stuff tomorrow-
 
OP
OP
KyleQ

KyleQ

Bronco Guru
Joined
Apr 24, 2008
Messages
5,480
Drive shaft fit great and took whatever I threw at it, not liking the small amount of vibration I'm getting from the angles being off, something to fix down the line.

Turned out nice though-
20160524_132927_zps4d4uqo3s.jpg

20160524_160412_zps7dtxbgzy.jpg


Dresser was fun but I was quite the depth finder and one hole resulted in me bending the shift tower on the NP435 :(
20160528_093411_zpsxryd6zcw.jpg


Nothing was broken and after I was towed back to camp I was able to take it apart and bend the fork back so it was loud, but functional.

It was my son's first wheeling event and even though he was too young to ride he did get to hang out in the Bronco.
20160528_130349_zpsggawgo5x.jpg
20160528_125959_zpsqd3xgldo.jpg


Due to spending quite some time in the mud I decided to tear the entire axle down and this was the first time I found water in the axle since the rebuild - toasted a Superjoint too :-X
20160621_185446_zps7cziq1ox.jpg


To cheer myself up I picked up my Twisted Demon C4 I had built - should hold up to ~800HP. The green C6 is another friend's transmission going in his 460 swapped 4th gen FSB.
20160622_205737_zpssbph0g2f.jpg
20160622_205755_zpsngodhwhu.jpg


Picked up some goodies for the motor swap too!
20160602_131209_zpsee8hcamz.jpg
20160602_131431_zpstnvezqod.jpg
 

Prizefighter

Bronco Guru
Joined
Feb 24, 2010
Messages
1,192
I saw you on a new BSF Recovery video posted three weeks ago when you got stuck in the mud!

Why did you choose a C4 over a C6? It looks like the one you had built will certainly handle the power. I have a mildly built 351W and I'm going to run a C4/D20 behind it for now then upgrade as I need.
 
OP
OP
KyleQ

KyleQ

Bronco Guru
Joined
Apr 24, 2008
Messages
5,480
I saw you on a new BSF Recovery video posted three weeks ago when you got stuck in the mud!

Why did you choose a C4 over a C6? It looks like the one you had built will certainly handle the power. I have a mildly built 351W and I'm going to run a C4/D20 behind it for now then upgrade as I need.

The 28 spline input on my Atlas - if I would have known what I was going to do from the get go I would have gotten a 31 spline input and built a C6. Starting with the C4 and Atlas and going 4 speed and then back to the C4 I won't have to change anything, nothing changes length and I know it all fits.

I spoke with my guys @ ECGS and I'm going to replace one SuperJoint and rebuild the other... and start saving for RCV's.

I got the entire front end gutted right now waiting for parts - first time I've had water intrusion all year, but I did spend hours with the front end a few FEET under water. :-X


I'm not going to wheel the truck with the 4 speed anymore - its just noisy and unreliable at this point.
 
OP
OP
KyleQ

KyleQ

Bronco Guru
Joined
Apr 24, 2008
Messages
5,480
More goodies arrived in the mail -
20160708_113824_zpshxfhcfjc.jpg


Drove the Bronco around without front axle shafts and wow does it steer nice - its been years since I drove it without the front end free... hmmm - air locker? :D
20160706_181818_zpswkt3qsvn.jpg
 
OP
OP
KyleQ

KyleQ

Bronco Guru
Joined
Apr 24, 2008
Messages
5,480
I punted and ordered the other u-joint because I was mostly there anyway, so I'll have a complete brand new set of Super Joints in the axles.

More trans swap goodies are showing up -

This Derale 13960 cooler is nuts - serious beef, I can't wait to plumb everything up. I'm going to try and stick it upside down on the floor behind the transfer case - I'll have to make some sort of a guard in case I somehow break a 1410 joint and send the drive shaft flying.
1470345272360_zps91qkdsak.jpg


Also got this guy - if you have EVER used one of these things you are immediately sold.
20160818_155047_zpsh7ua0cba.jpg


I'm going to have to make a center console to mount it into and probably switch over to cable shifters on the Atlas - despite the WAY too high pricetag on those things... serious ouch. :mad:
 
Last edited:

5001craig

Contributor
Bronco Guru
Joined
Nov 3, 2013
Messages
1,180
Awesome thread Kyle. I check it all the time.

I went with a 15875 out back and a similar shifter. I like them both. The make a park safety switch for those shifters in case you want one. Cable shifters are awesome. Thinking about something similar to your cooler for my engine oil on the pass fender in the engine compartment. Want something that won't get hot no matter what.

_mv2b7jhTGCQCOvcMqN8ZuvQedgnnxYSybtjvoaMthTIRtqHRvdXGUD1JgzUHeyDAYLQ5TNjaRrXv6nLGuuc0Bb3OzTxXTqosujAcsnSO2nj3wteGv5eqcGDzn0VDeFHmcrvDNJ22o3pz8U7iPCdmWwOTM0LzLMn_pKknDbSWmR7gJr_OjNvRJXk3hgREZUOqB0NFQ6Stmsb1MHmv3YI0CQ97cYbTV6cLsOgLk5j4oXo7ntUabadyyju9PZilIU-z-Oqr2iAmxYavXn-ntGjntdKKwi5zOEhz7GiBvHRv7Fdeh42ZLNfYpGwDArSyH8yOQGBNUorAb_pRrrw-x3plV7T9ywxkrIYpQuiV5D4VNtETKvf089bMv_s_FkEtJ8c0GY_b9AeW1cDFKgqwzV4An5GnCCZQfGJTcAlxQ_bRsLCWRj-9PR6EgsXtR7y5msFKR98XblbUNysz5uWA-CX6lg8giLJSTQ9kDIRJwnYHnb0q2mQnNCyKw1rmwYpt6pOsOqrDmKrAXlJJtppfFH7j-_6hQDn5P2V8fdsxPttP0n8uwphn6GPhVdh2r1IVjlw4pIgz7vynSYaqazTAguNI143HTLszdCj=w556-h985-no


DbEQE45jqrnMYvSN3ssaLP00WpJIIl39KUEJhTRjckpwYMtMTmF_RKCPv-GYLcbp1Am0LJGJfDxZTuYx_dbOHRH5RBRmVoyrzYNFQ6VTiOeU5uJ7h52GR4TQi30ok8_WZnqMA6jjkto0MbkcoDH5xVaYBxl_JX8J8C7ZnptmkYYn6If5B3T4VQxZpOi_WqZ2EbVk07XAB4Fl7r04r869DseL2yQ7Ey8ow59ygLhsk1RboiIWneTNOxzwwuPLJcytz50obBAsZ0RN9TS47w-OXk5YBV7hGKVQcplkfLPM0-r-b6EAkryTh0rxs4vAjQwDTt9GQ70aLu_vL6QqYnX7LTa6jt3JeuQUftuItqZhQdYxglsSK1GBi8ra2qwLt55-cMqEP3CQHhSa_K8pHFZ66qnMBCjIm1eZs_rooUT8RQWKsLe_NMVbK4J_MLeMFKO7pcEdPmme1L6VtbLWu_nPePz6JxpRb5nYA41DPtpNUWDl3dbtJDPDGeCF7ObjUsOr6dEEVaSaUg0nv7otQJmyoTDI0X87a64-F75FjFCmvBIRK6FpPS664gcMLnqNsPeQqzLc2WCcTVB6HeyEpeQLJOAkfeTS39b6=w1753-h985-no


pYDMnY_aeDLIXgviFRL_Z_l1QGTSyq7RpGlZBggwtOAskSZFnI5Gy2YqpQXCFM9S8CZP7Z_5HU1EABhtEAytOAhAoIv4lIgS56fpoweGOnos8S8B7TfmthbKbMcGLfal5M3XBpoWko3KodAh3U4x6mdHCMvXWcTrIrNb176Zn0yXFTZ571fyYkd6TC3hDUq3bsHlFrm1KWjPQ216ubUEg53lfdn7Wk6MiPudREA6dHPR-AneQW7gqjX4vxrr9A77ln1mXOX7wg4JbdFxgcAeKju-VWQFX4CUdMiDPBiYoPJa0LP69TTQE6VsI6JhN7DEZDRkLzlHAzKwQev_SKYAgWZ8oQ-ss5m8GI9_TVB5_N5gkpyVHbkwGImb82GGnbe7qdSu6uc8LarFy1zJMorlGEt-eS0OUQ9UFigKVrimjrAcDcSVTOyeegg5_OHR62K0HYsWe7KlVl2O9CSfsn31ODktHUgNYIWh0-83pVptyJdyZvBceNmEZLUh0Ih1oMzR-INtwwG3-mj95DuTIajCewp69RyBNfr6qU5gBOASu4K5r3XTR2UP3lUK-68RkCM6wvn48ZQamzp-QsBau2ilP4g1_nbi8GAR=w1753-h985-no
 
OP
OP
KyleQ

KyleQ

Bronco Guru
Joined
Apr 24, 2008
Messages
5,480
Thanks - I also got the neutral safety switch so I can hook up my remote start to it. I found some ancient Cheetah setup that uses dip switches to change settings - should be fun for the winter.
 
OP
OP
KyleQ

KyleQ

Bronco Guru
Joined
Apr 24, 2008
Messages
5,480
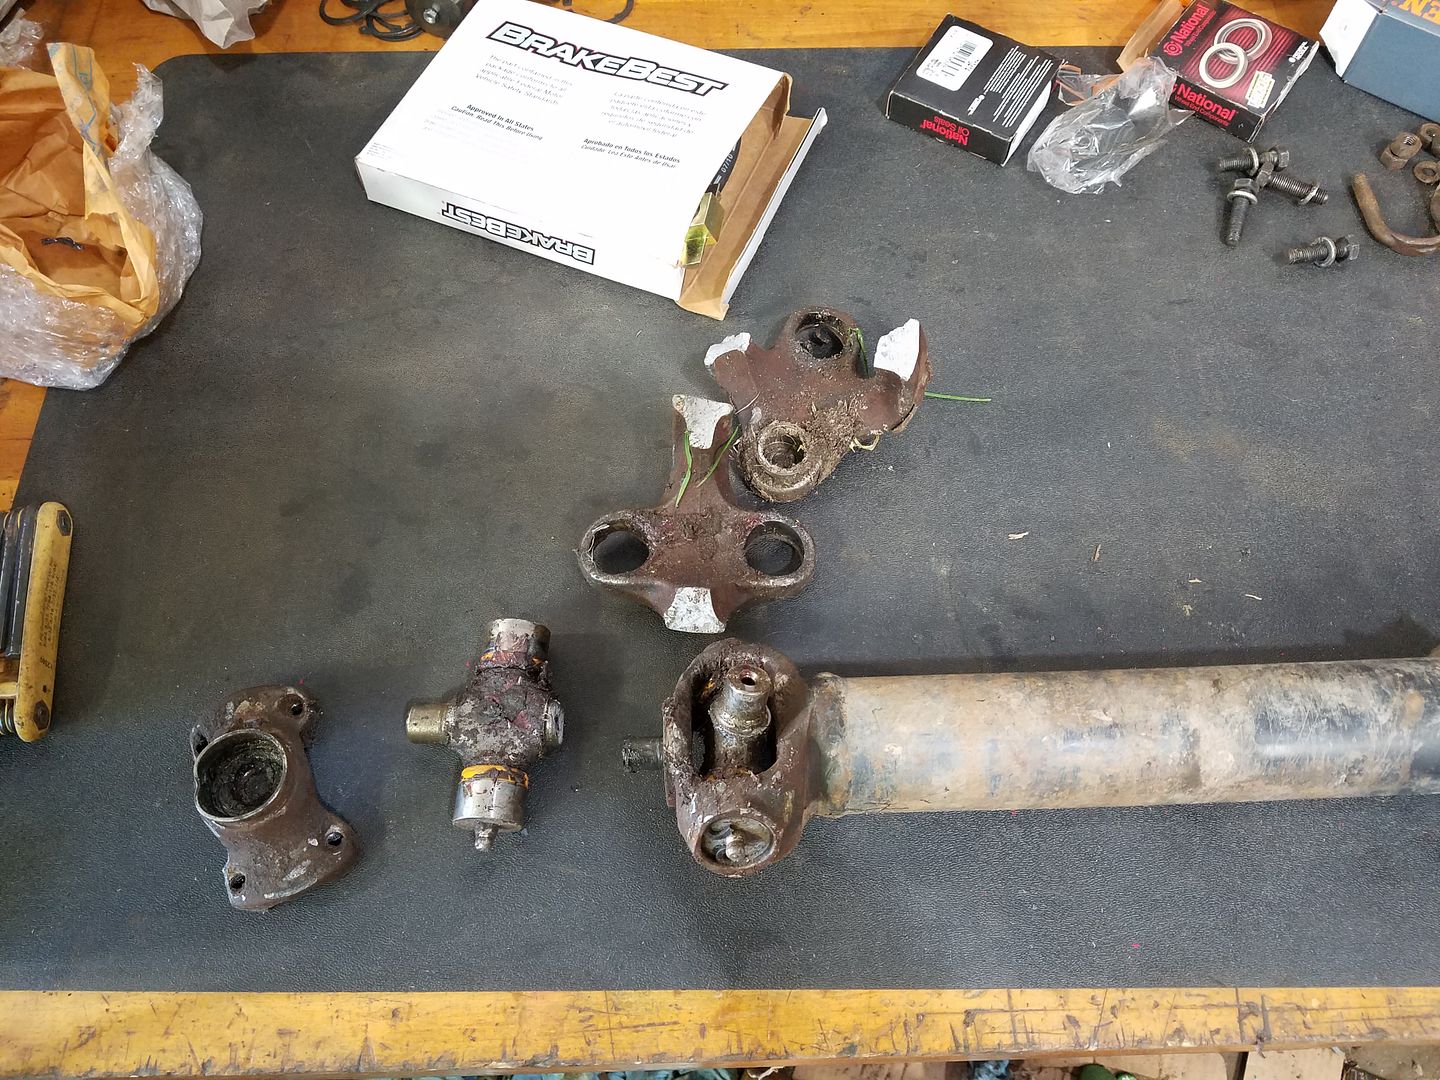
Update time - so I put the new joints in and went out for a weekend only to get squealing half way through the first day, only seemed to do it driving in FWD, but I knew it was already too late. %)

20160917_152535_zpsa4kesr79.jpg


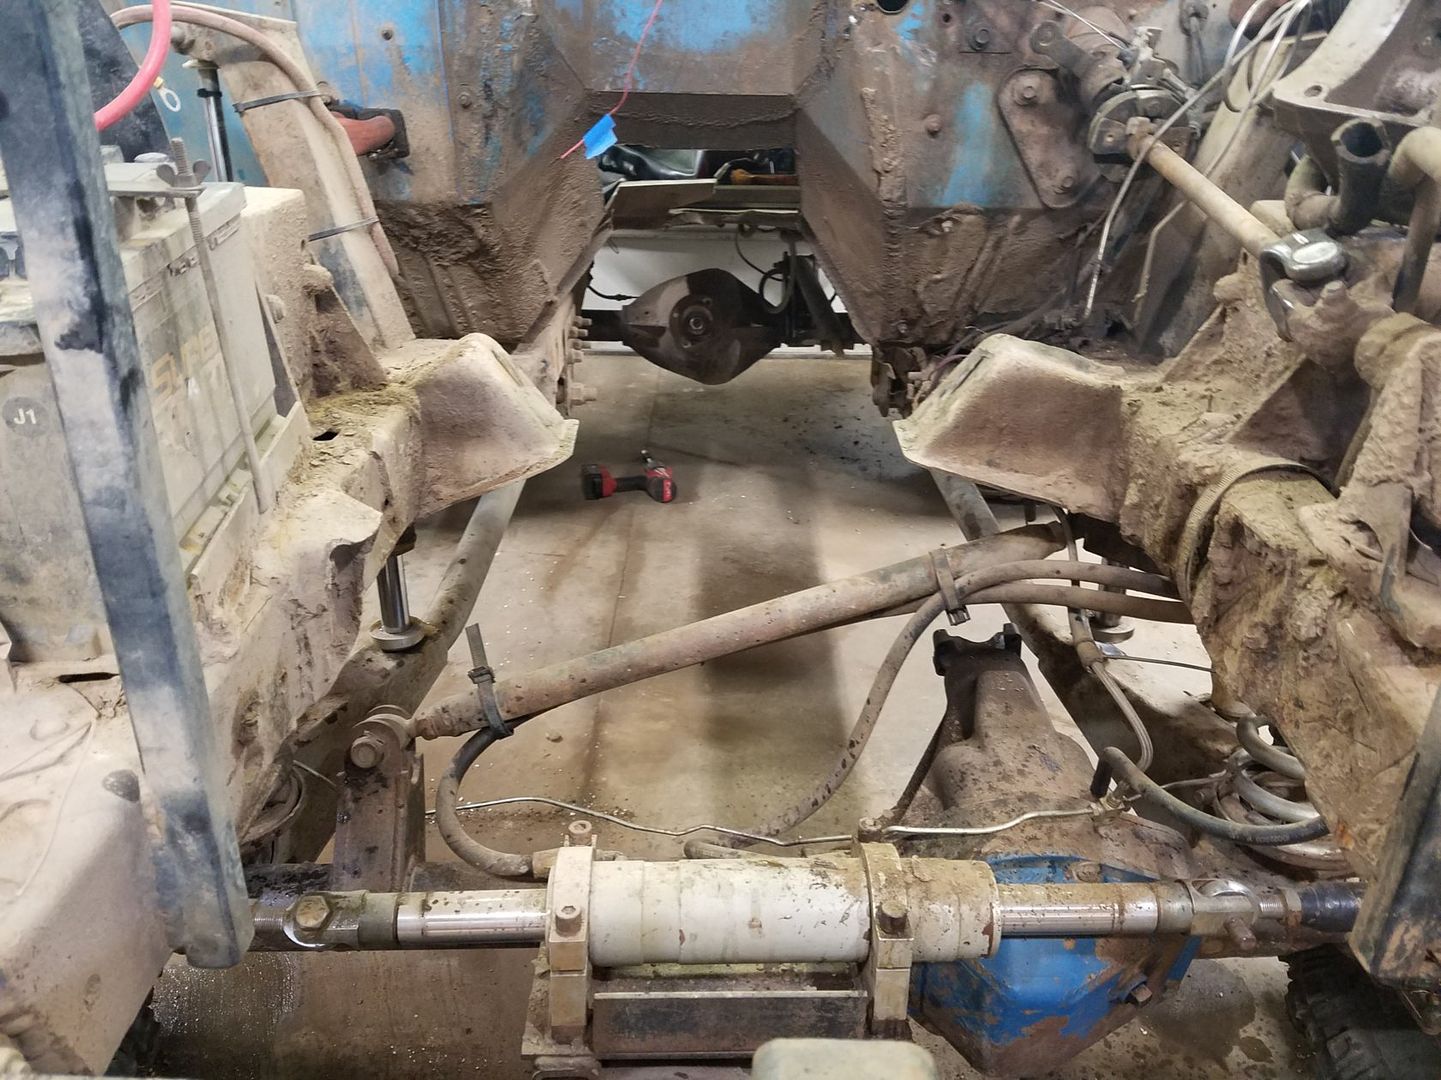
At this point I took the other side apart and found slightly less damage, but too much for one trail ride - emailed the vendor.

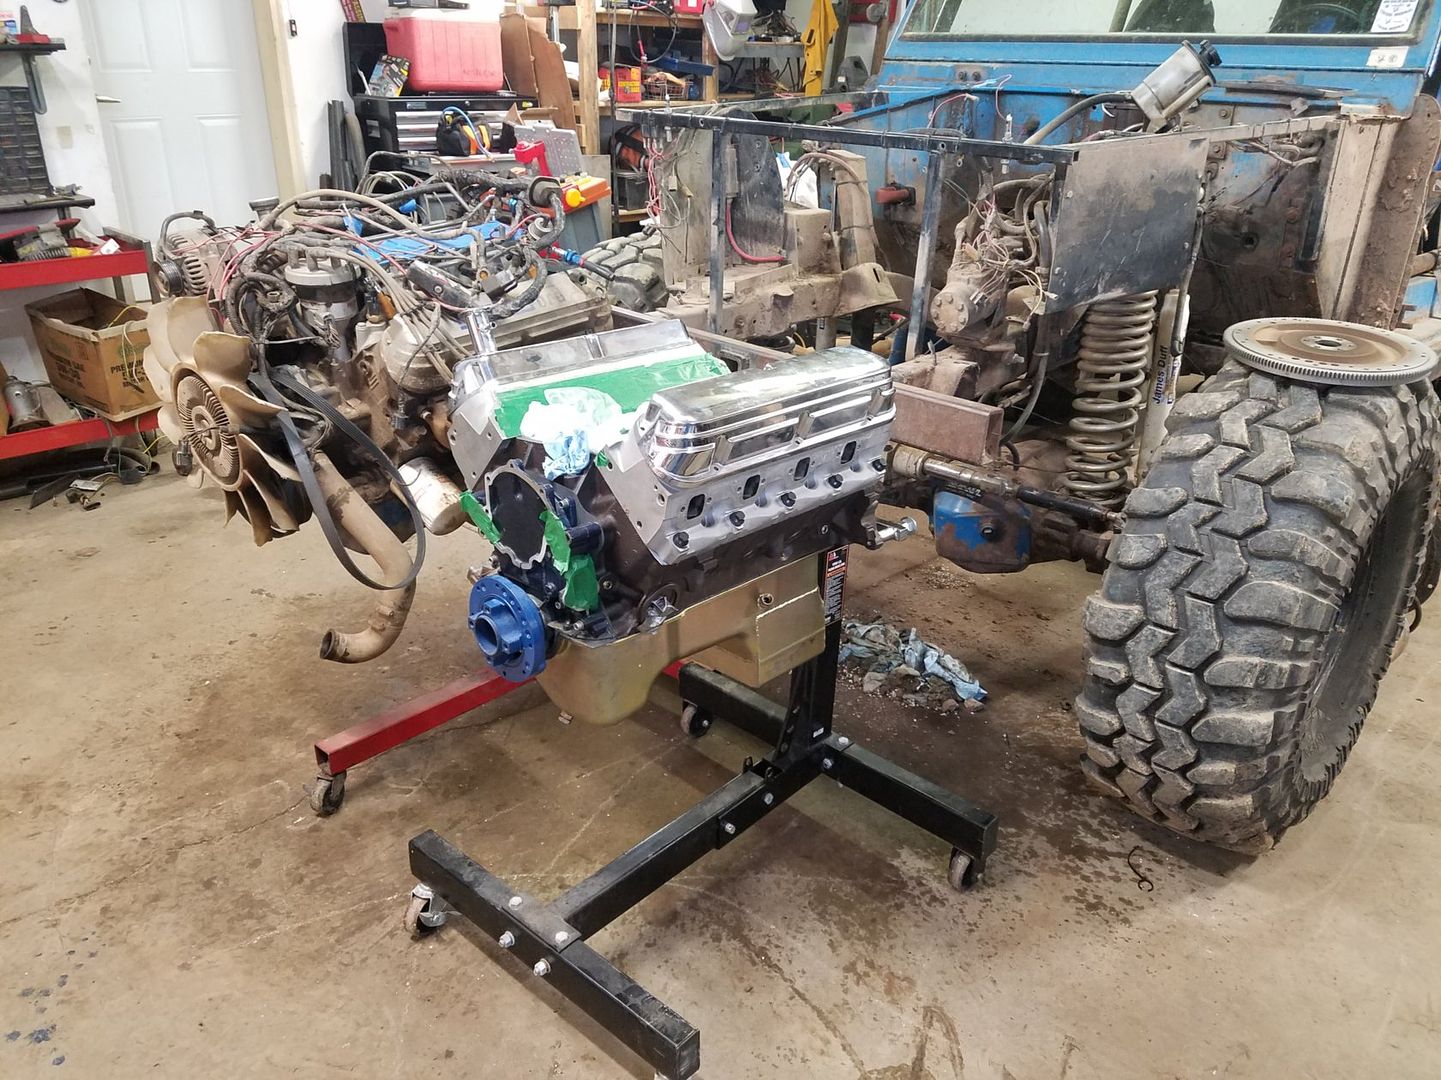
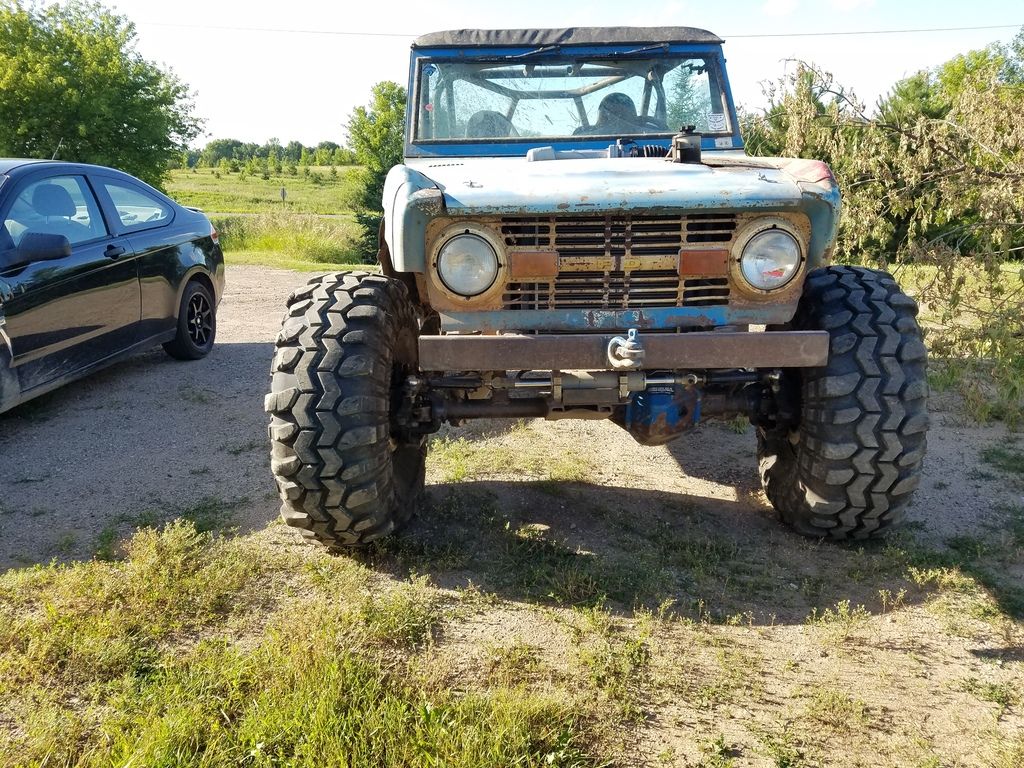
About this time I decided to sell a car that I had no time for and I knew what to do -

20160920_091129_zpsiocdcfcp.jpg


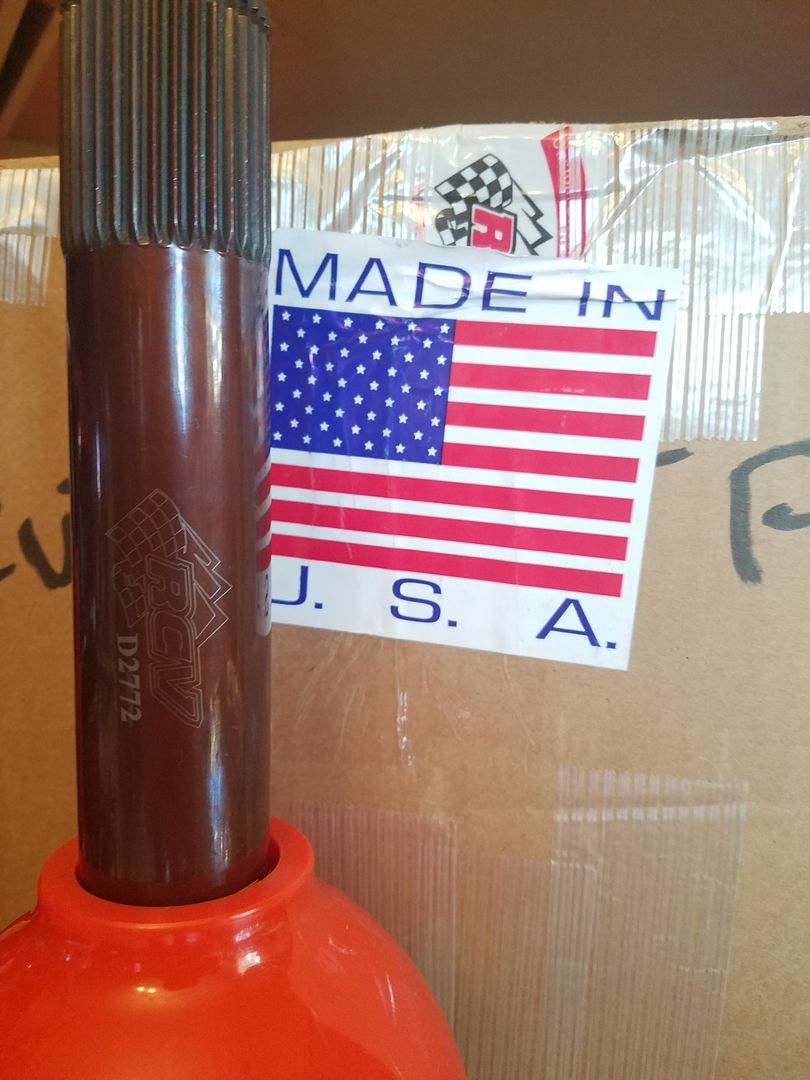
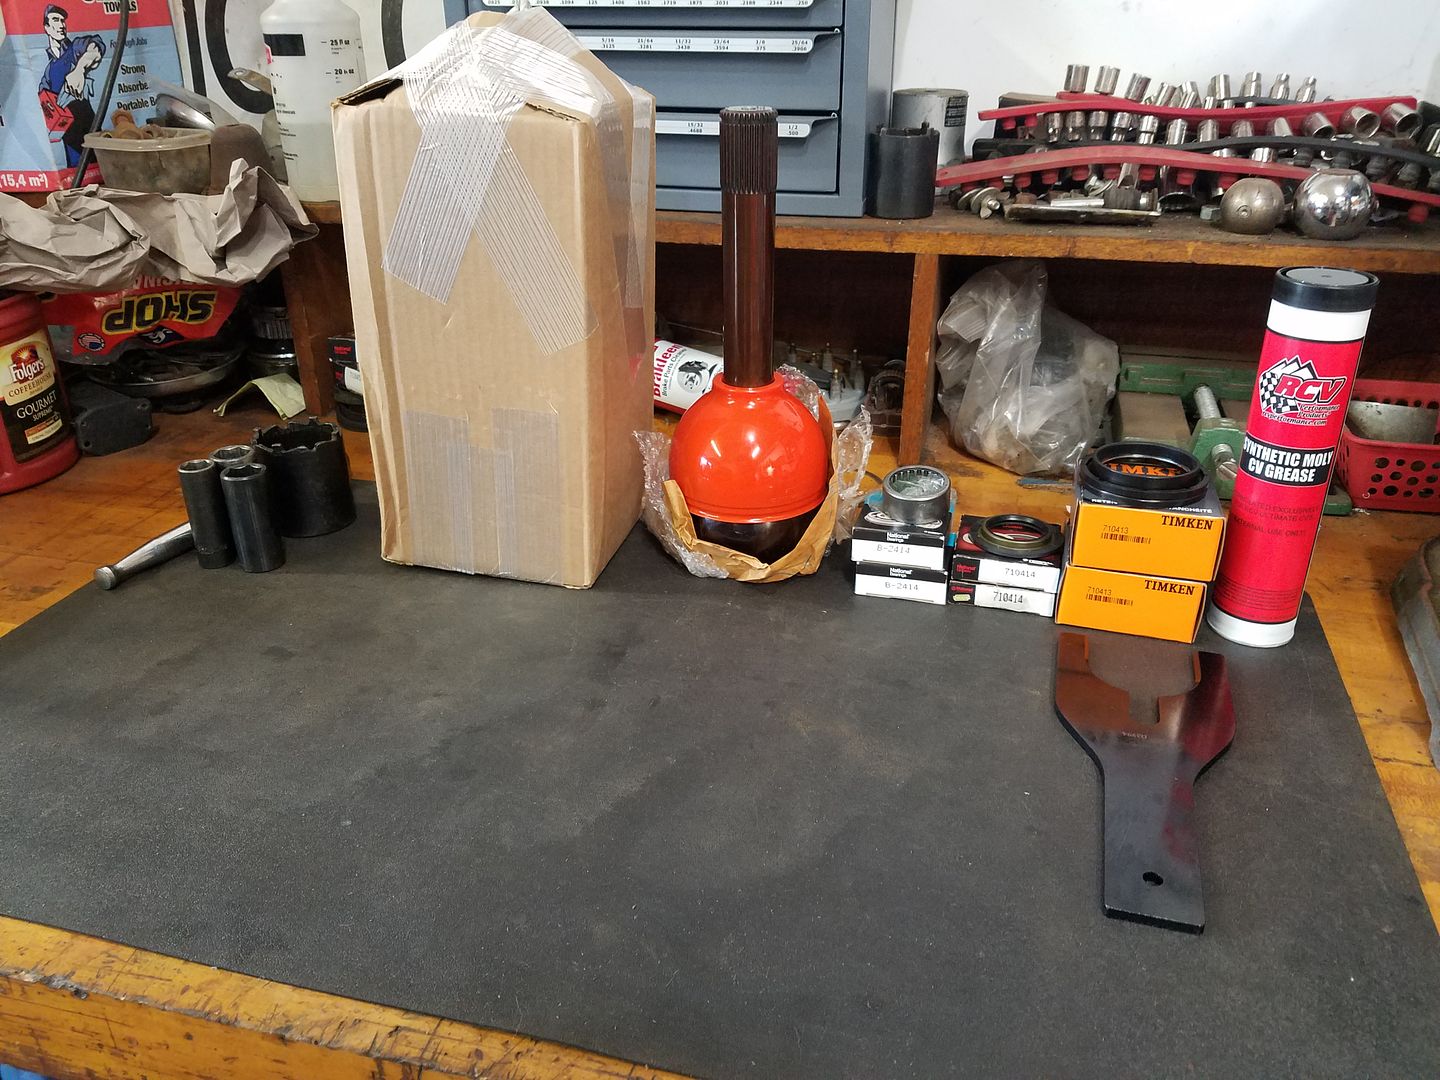
I got ahold of Mr. Duff and he was able to make RCV's happen -

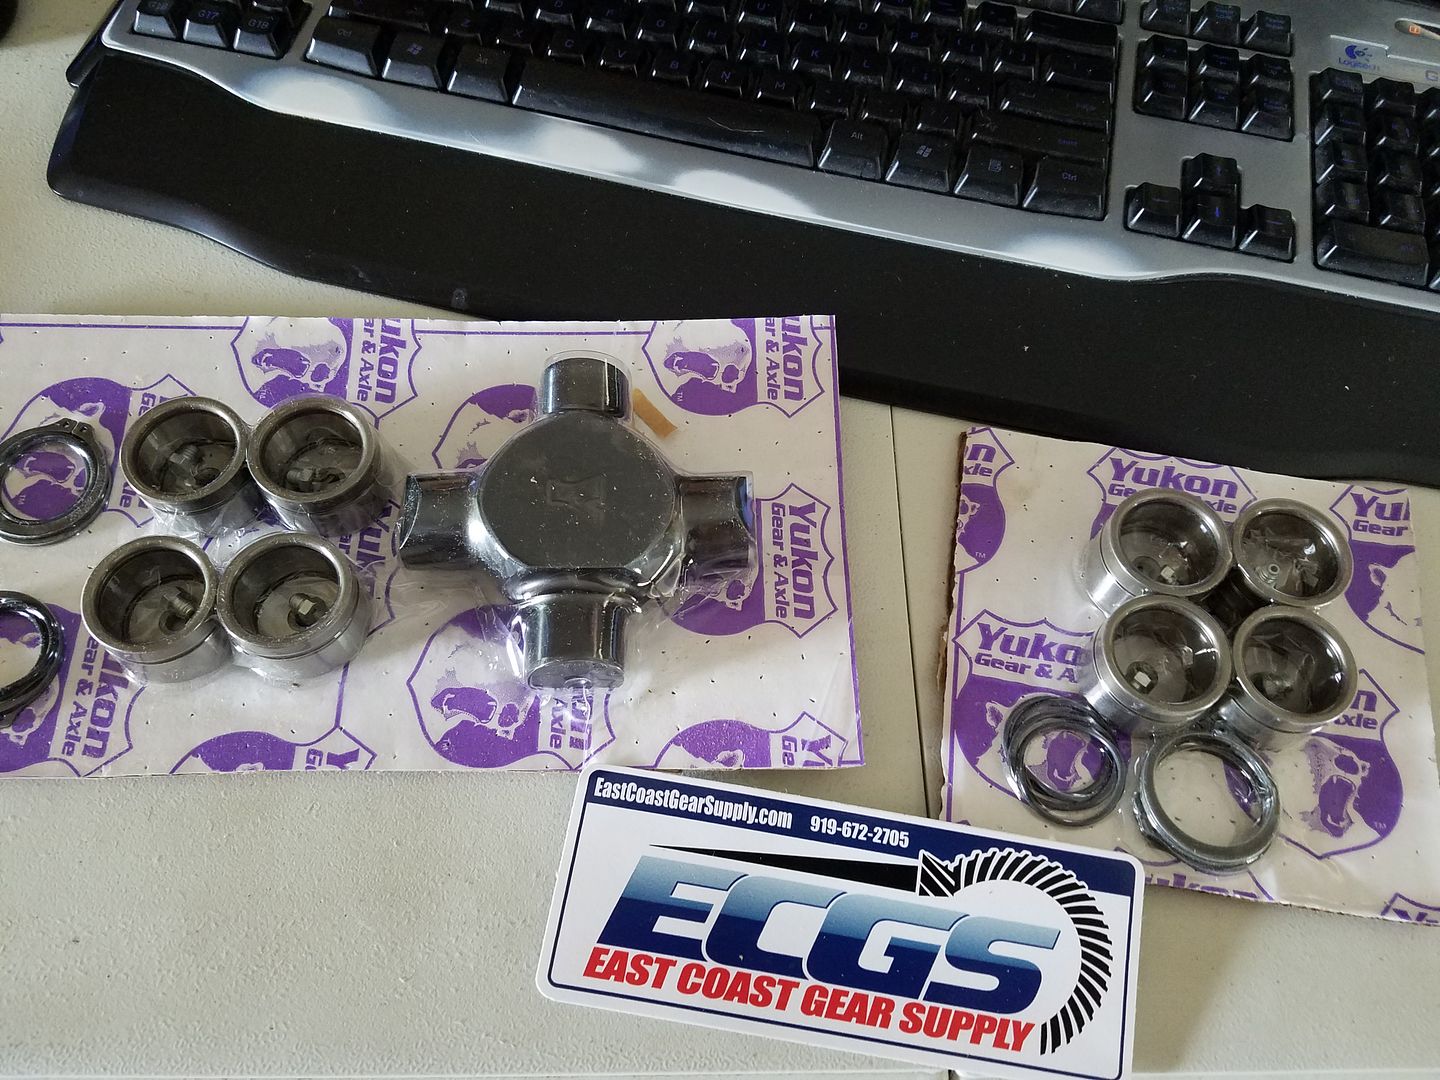
Wanting to avoid damage from the Longfield spindle bushings I'm doing a little seal experimentation and going back to a spindle bearing.

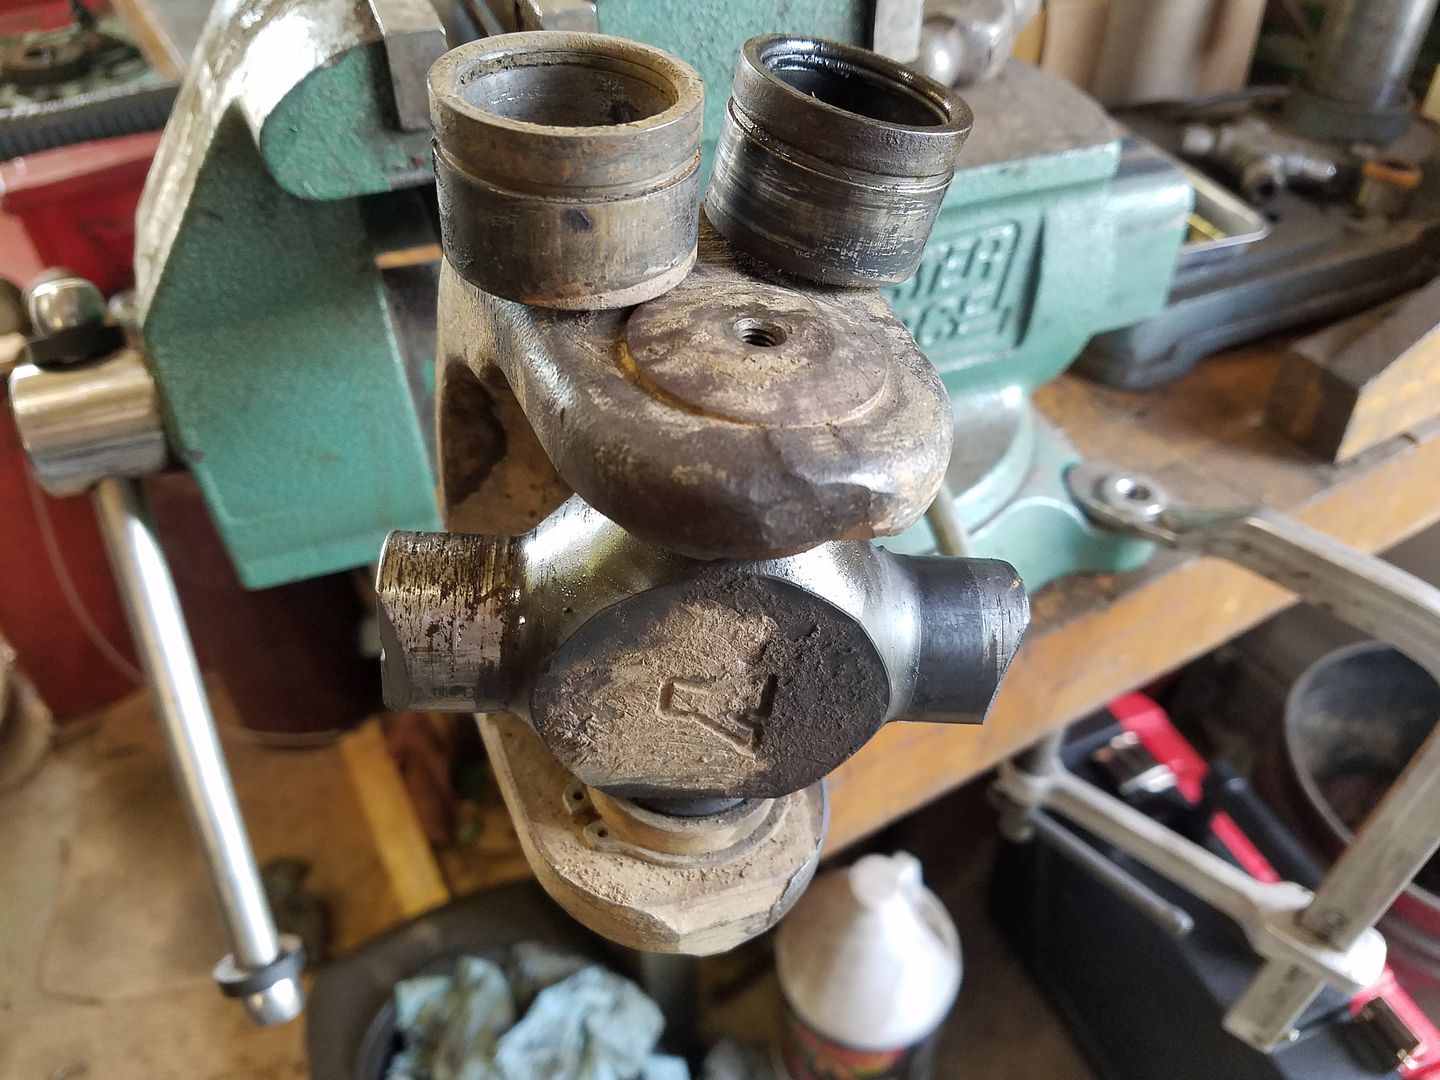
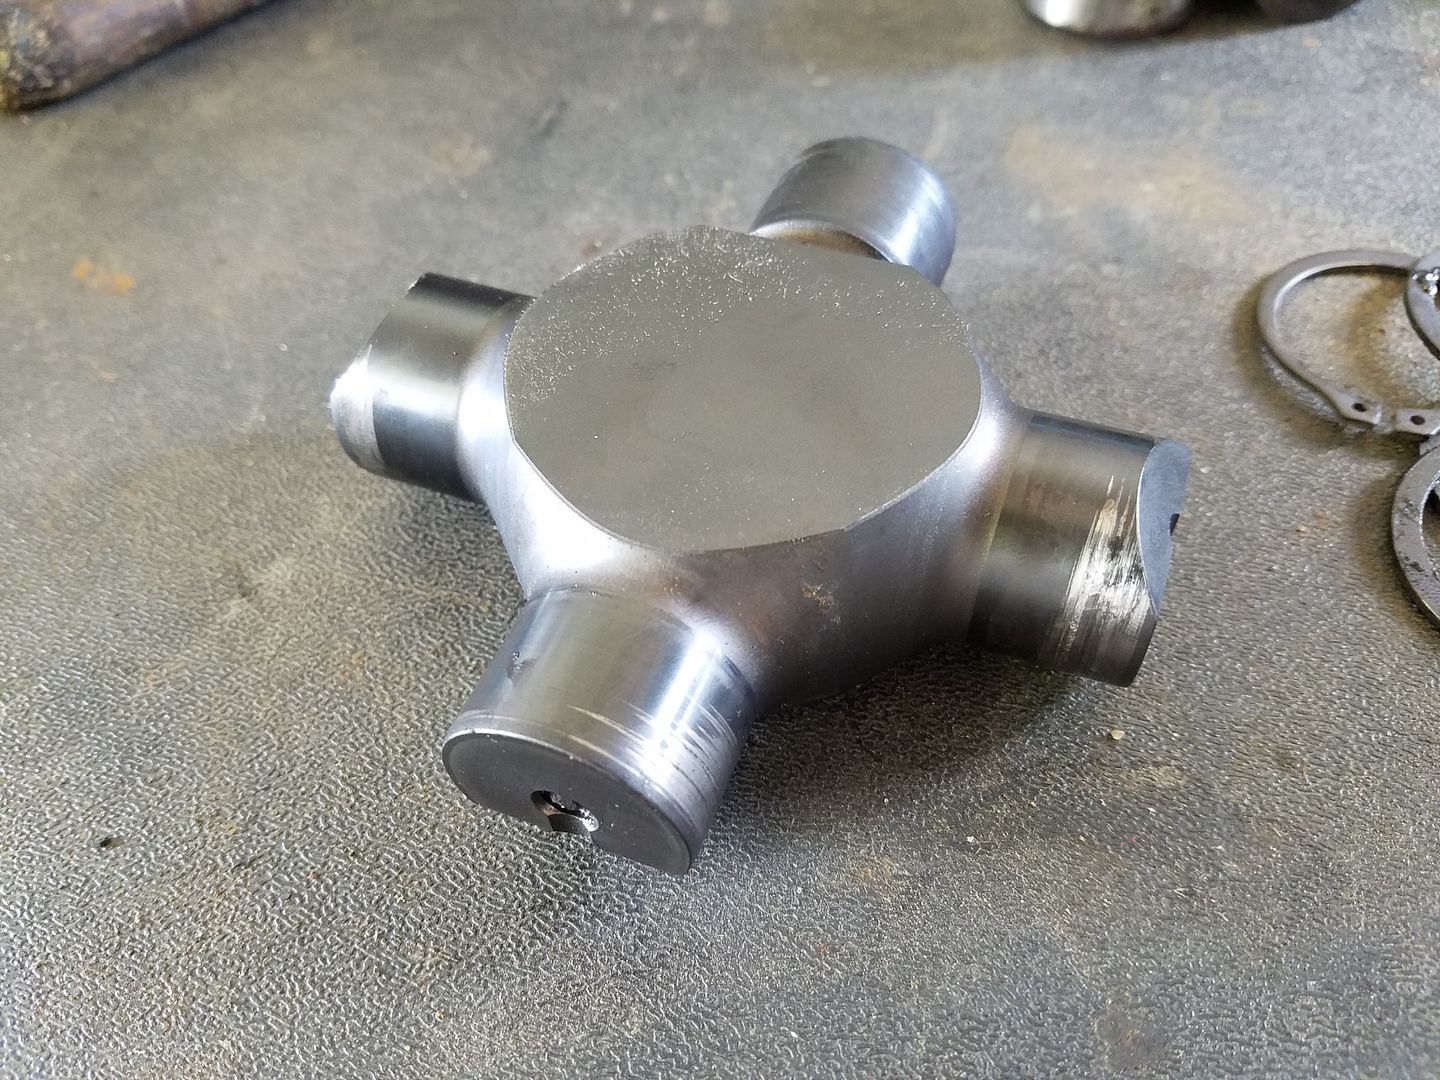
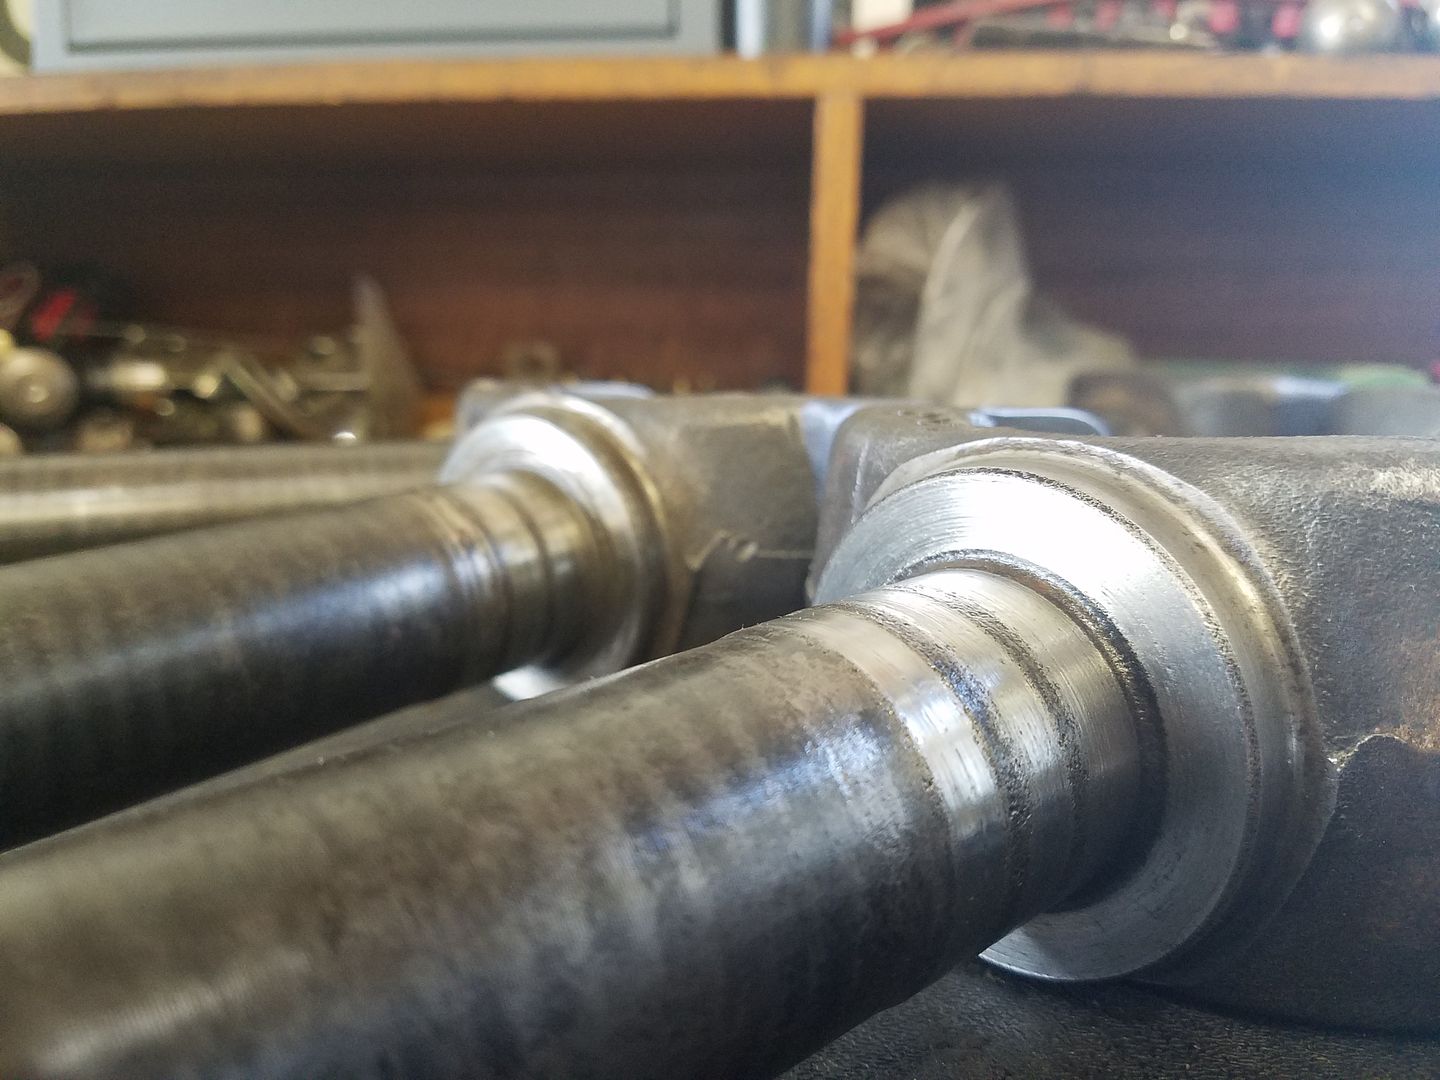
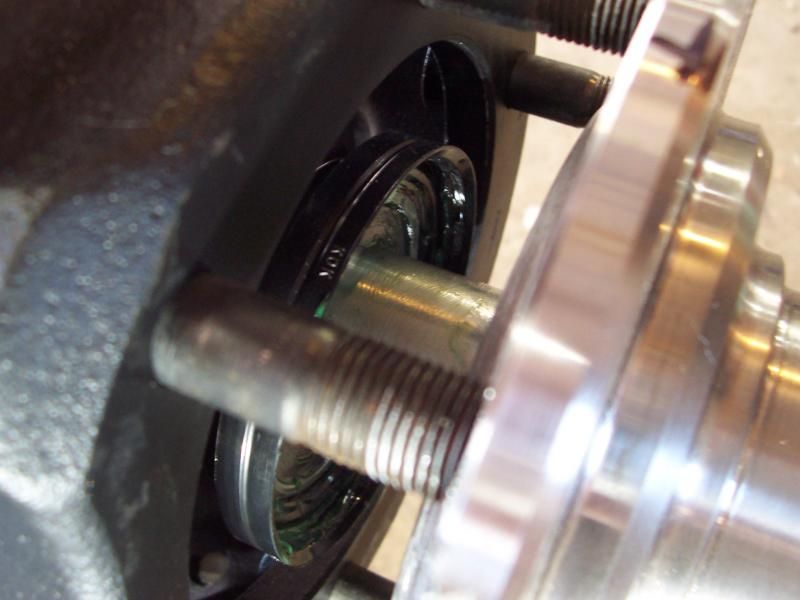
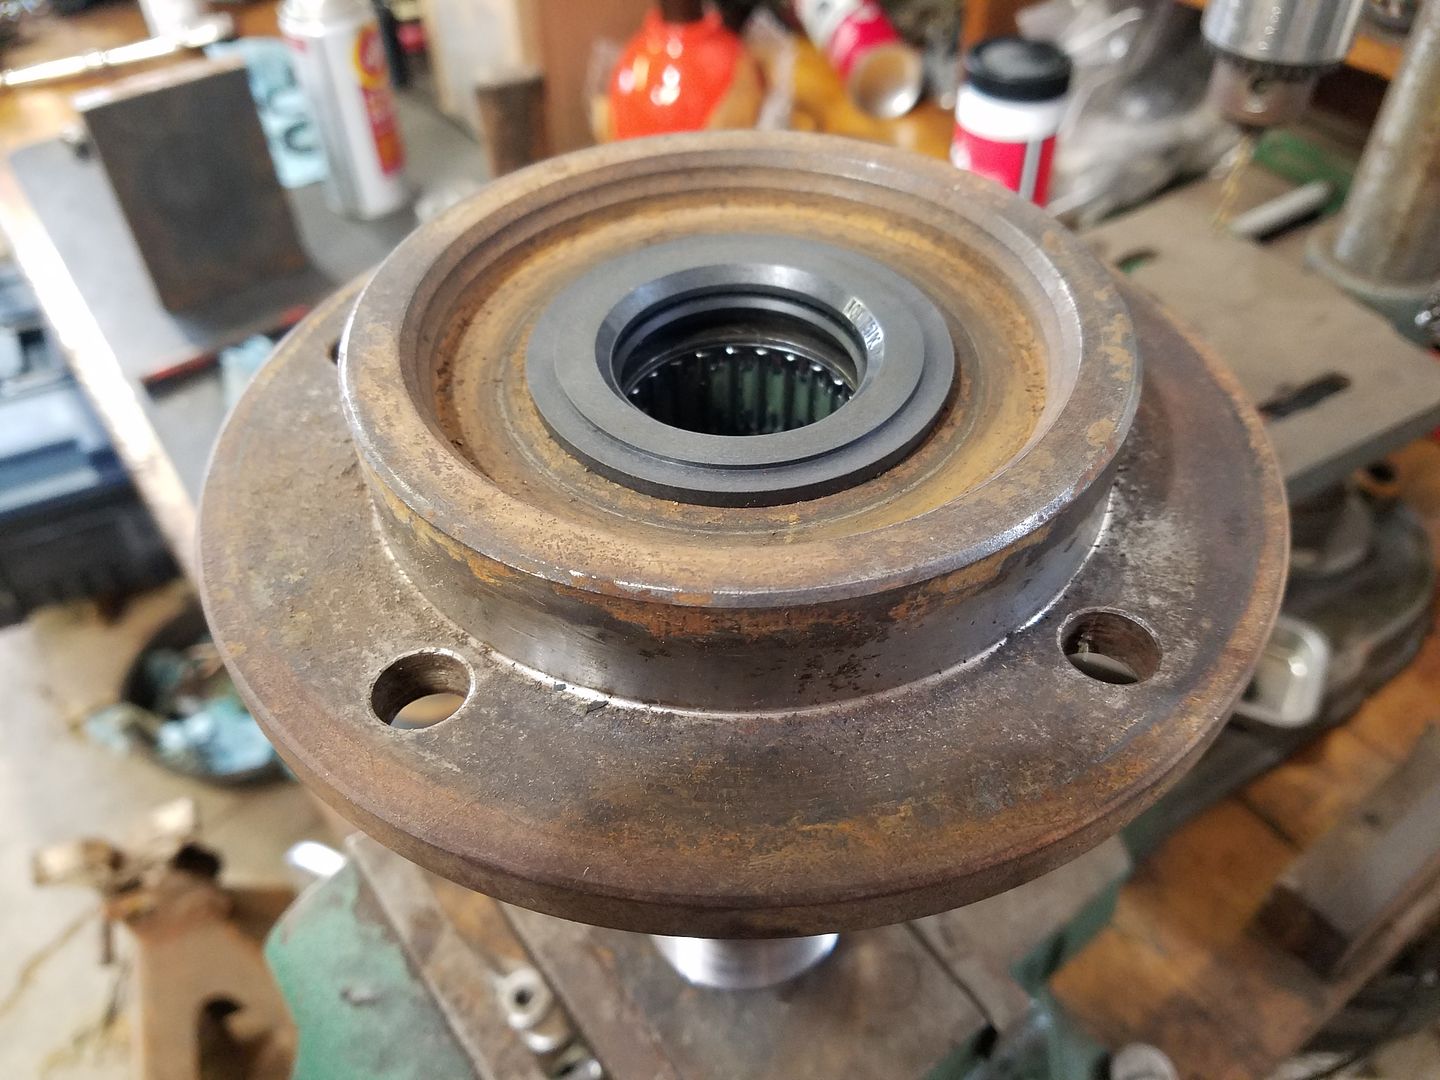
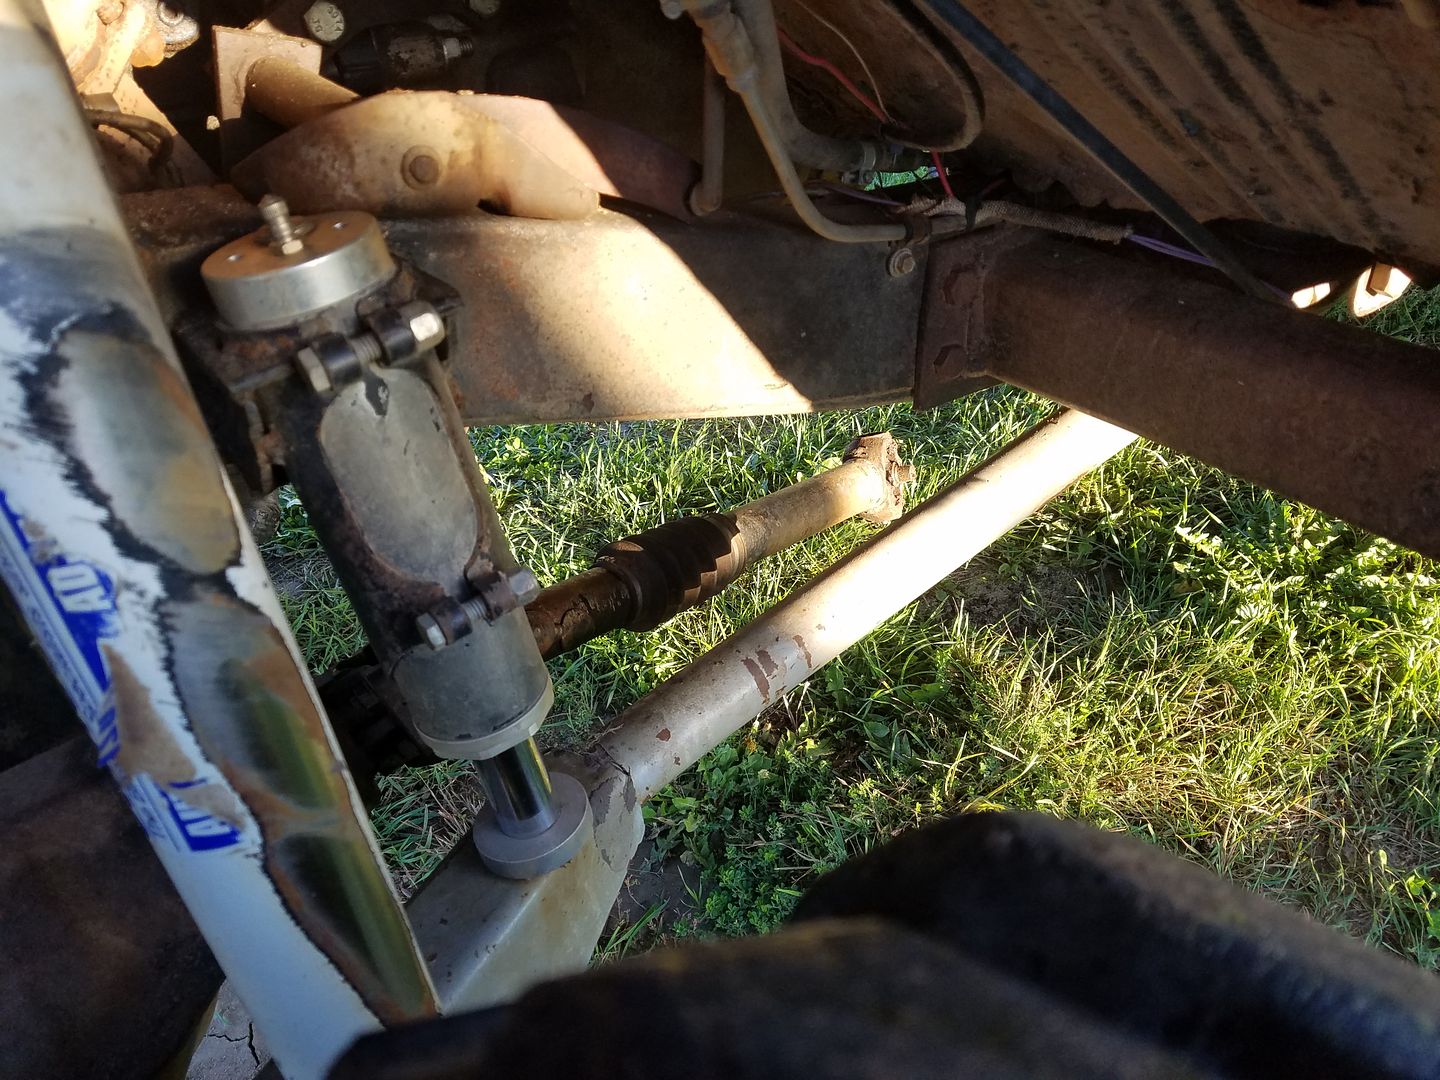
This is what I'm talking about- it looks like the bushings wore the shafts eveywhere the bushing touched, you can even see it on the shoulder of the yoke.
20160920_165015_zpsyebpvoaq.jpg

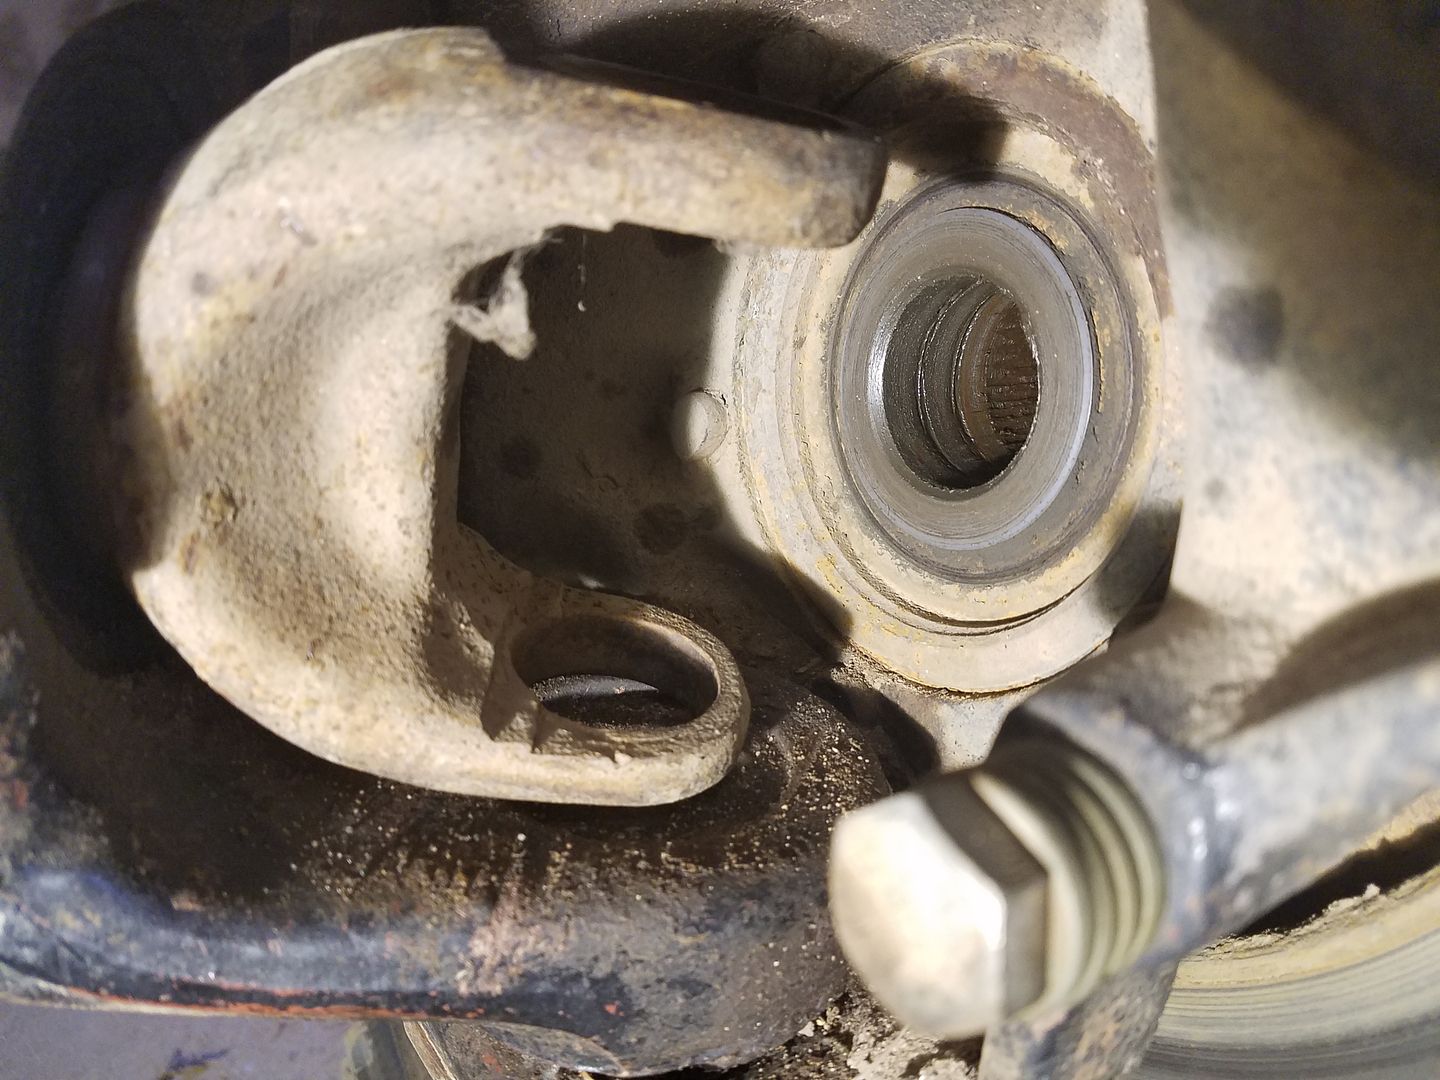
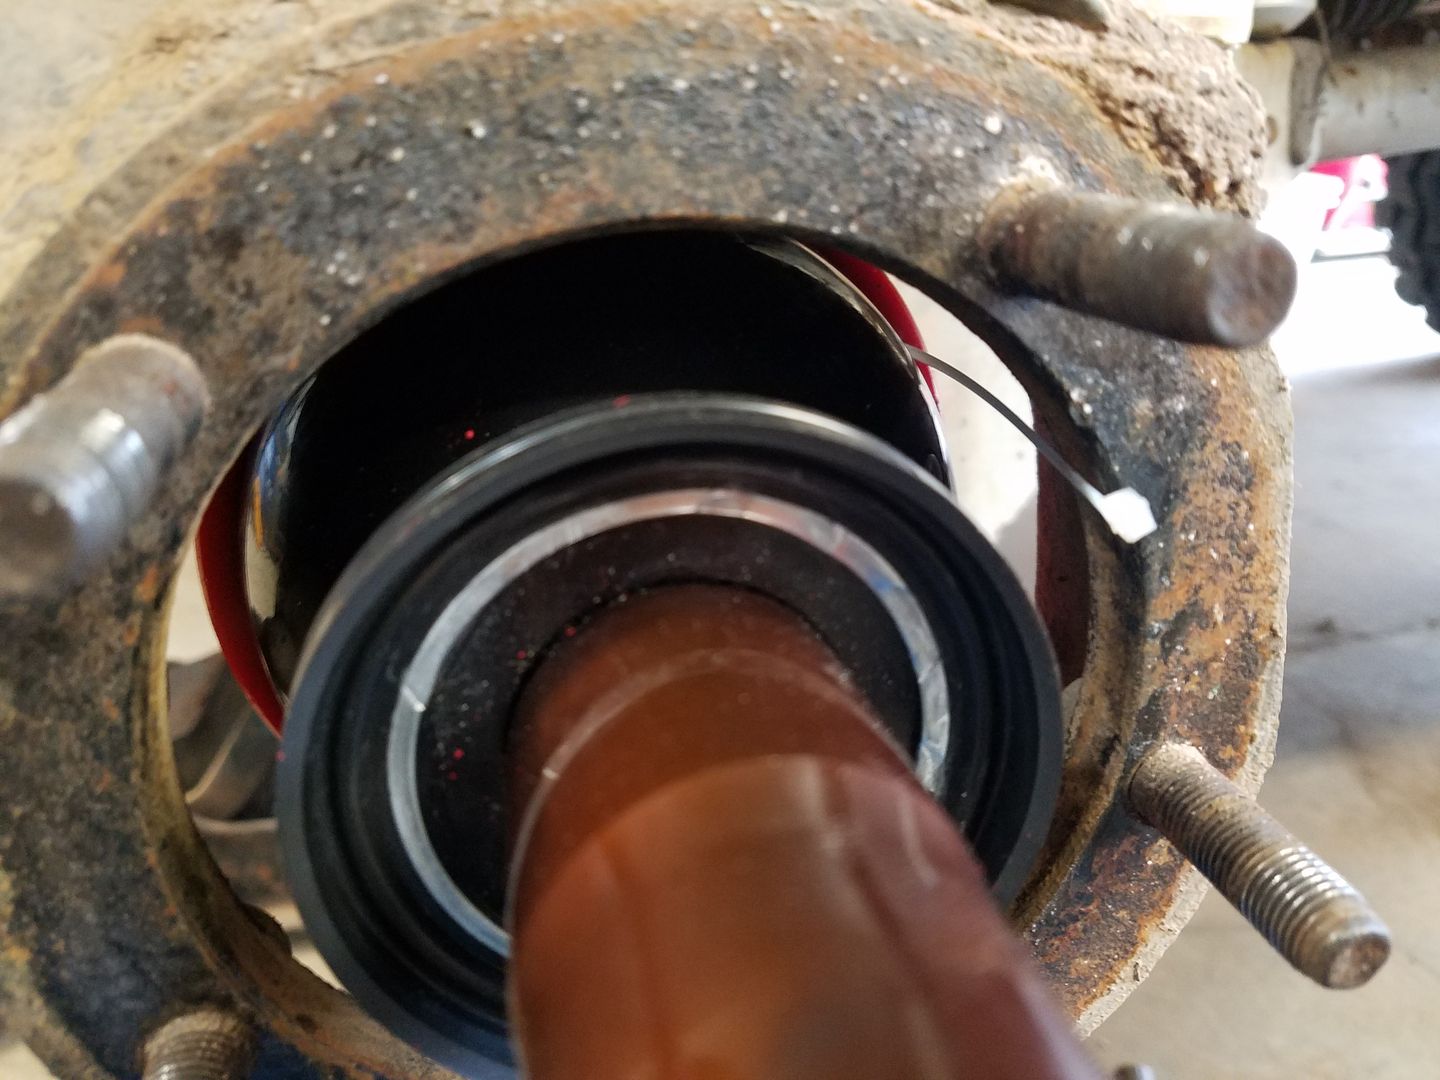
Here you can see the bushing - don't mind the broken stocker shaft, its just there to keep the oil from going everywhere when I moved the truck.
20160920_170558_zpsq1hlvtsi.jpg


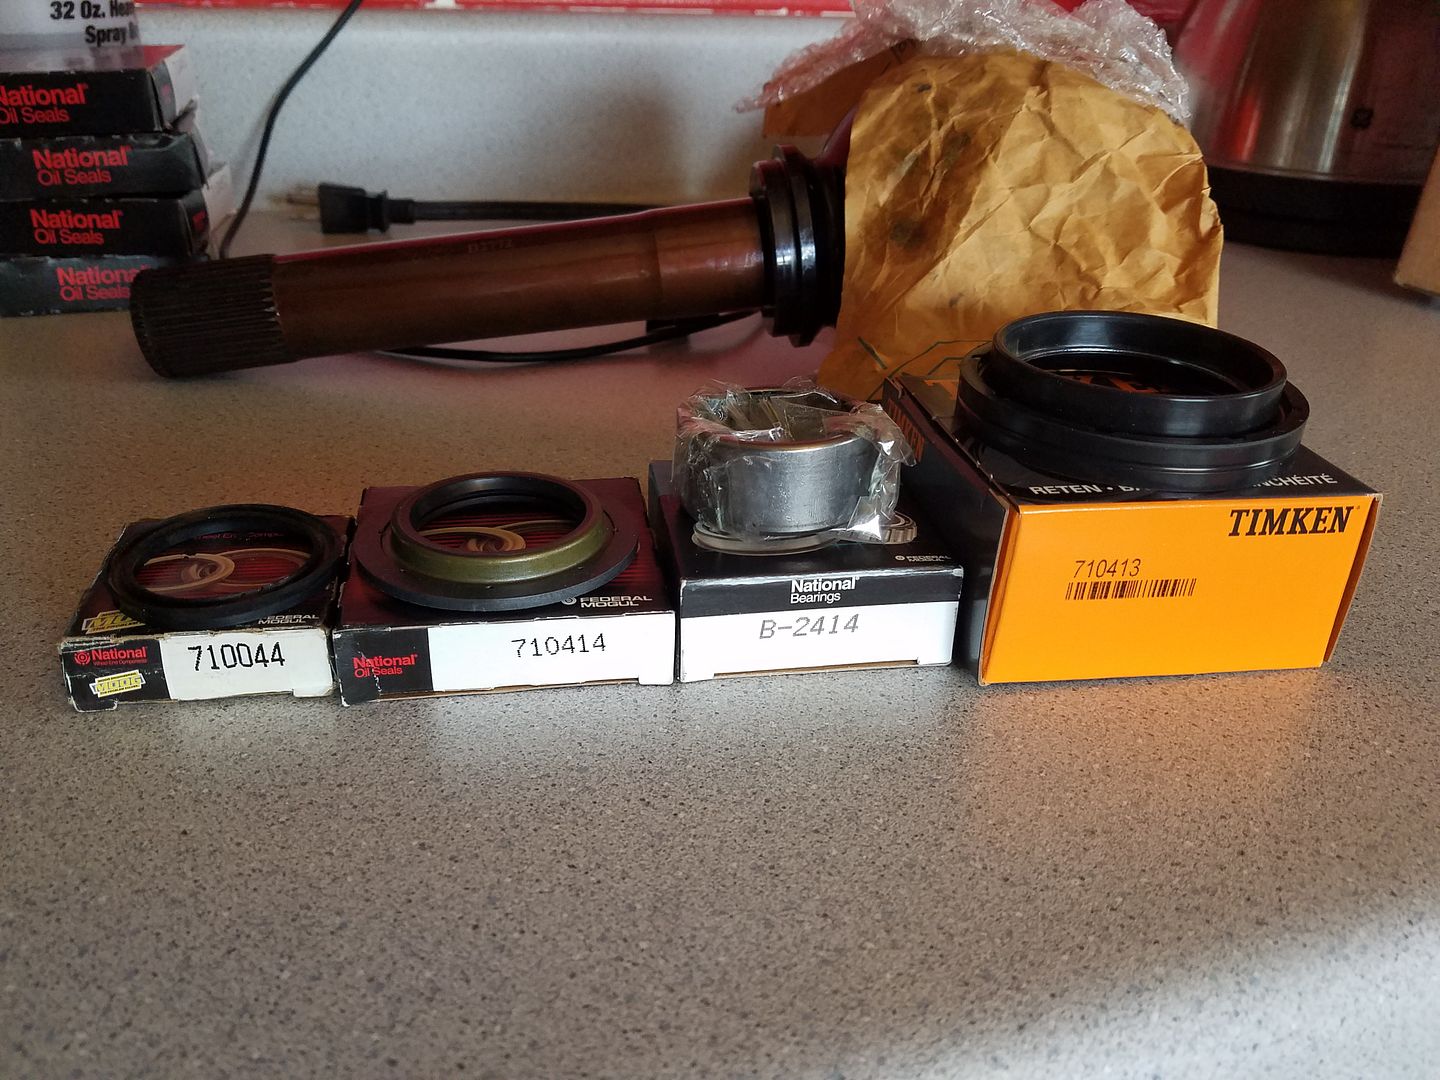
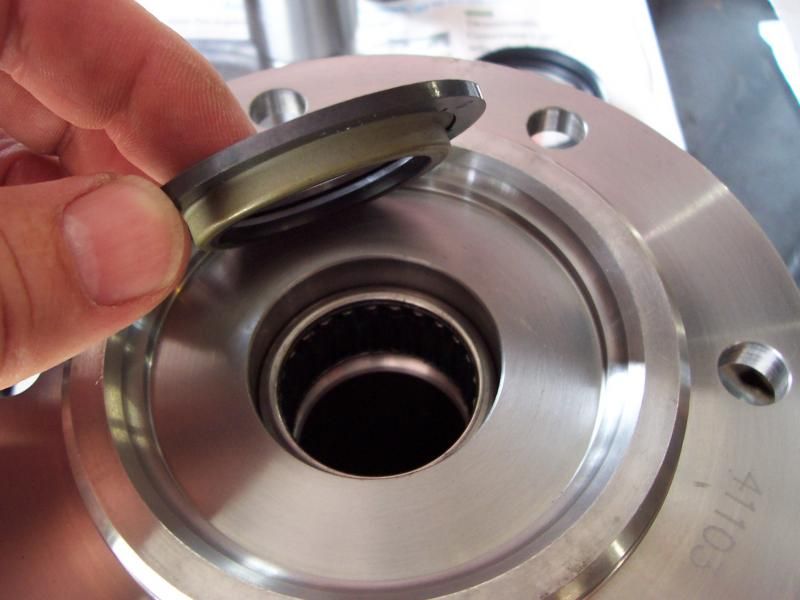
I did some digging and found that a newer Superduty style seal should fit on the older style axles and provide far better sealing than that single v seal I've been running for years. Here is what I'm going to try-

Seals_zpsvo8svckb.jpg


I've never had a plastic thrush washer in my axle (#58) so I'm not sure what that would change, but I think I can skip the 710044 seal as I'm going to run the newer 710414 and 710413 seal combo.
Bearings%20and%20seals.jpg

Image courtesy of Billavista

I don't think that seal will do anything due to seeing those seals sold as an overpriced kit - buy them from Rock Auto at a far cheaper price.
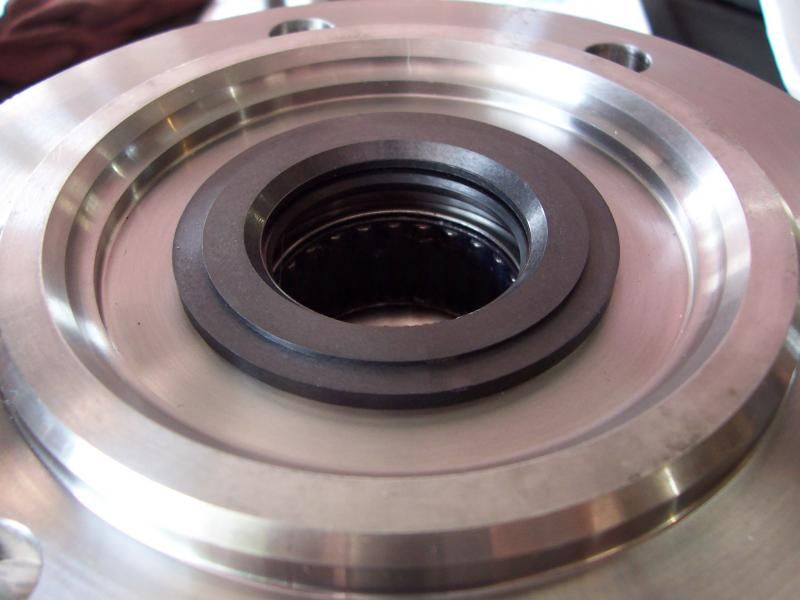
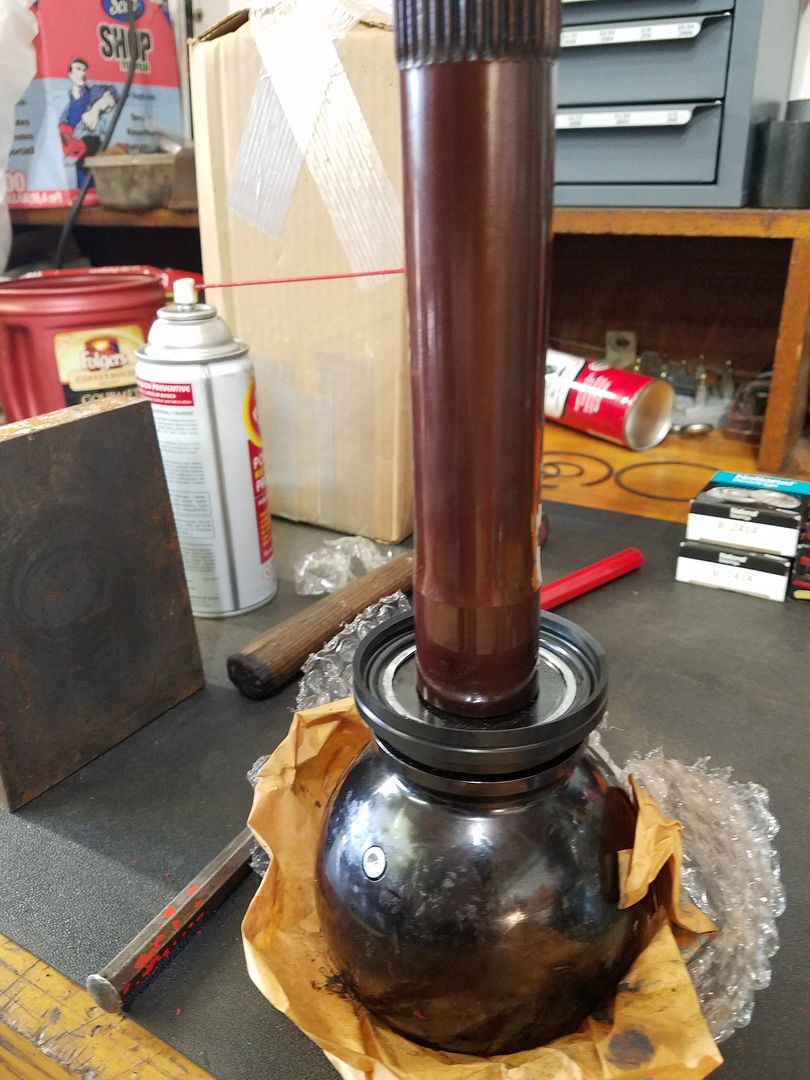
This is how the newer stuff goes together - I'm not sure how the old single lip seal and that bushing kept water out of my bearings, but it worked great. This new setup should last quite some time.

Spindle%201_zps6aiefjwk.jpg

Spindle%202_zpsmaxoxmg7.jpg

Spindle%203_zpswt5kgl1z.jpg


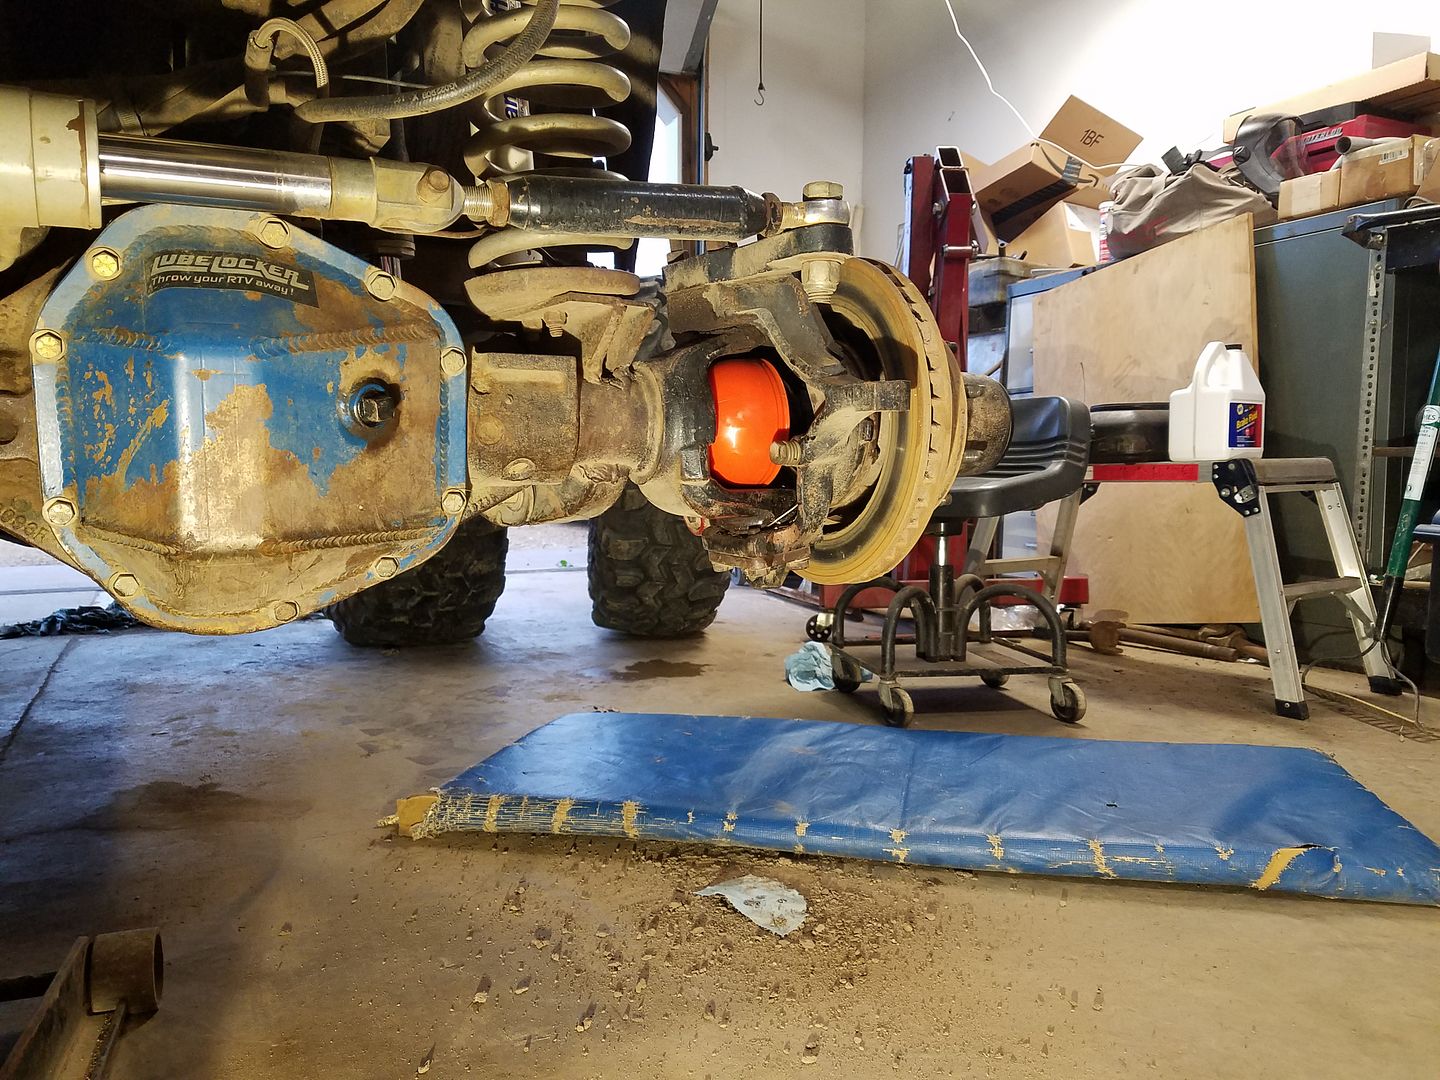
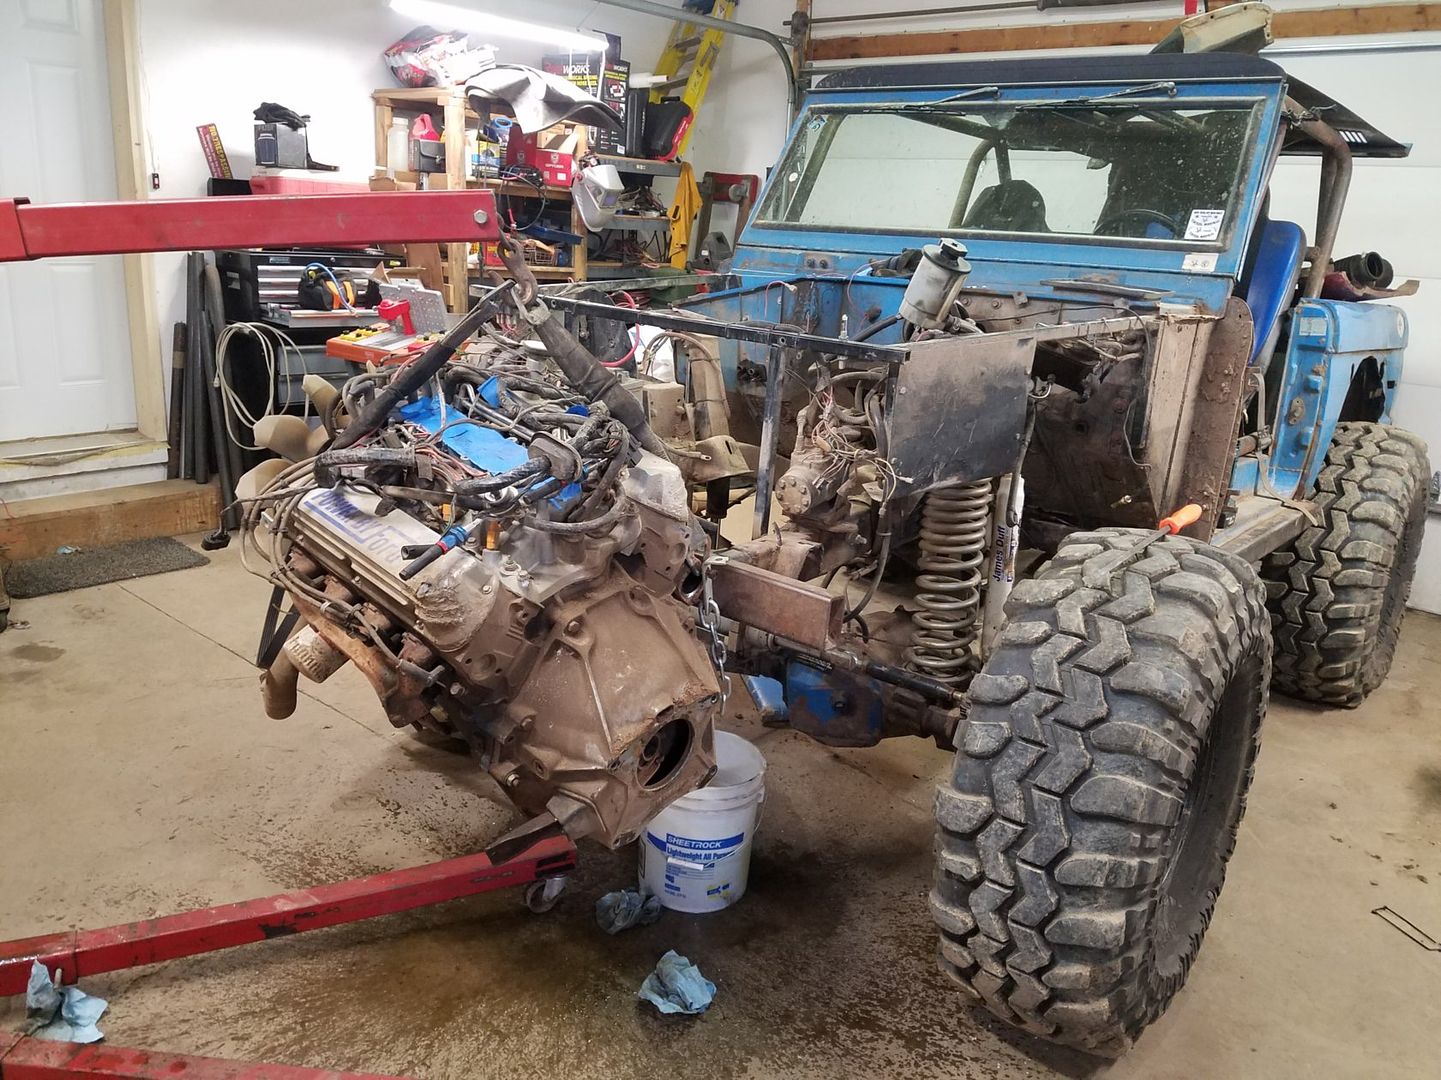
Tear down starts this afternoon - wheeling starts on Friday.
 
OP
OP
KyleQ

KyleQ

Bronco Guru
Joined
Apr 24, 2008
Messages
5,480
Laid out all of the parts-
20160928_165537_zpslhcbtf3p.jpg


I pounded in the spindle bearing in with the spindle bushing - worked great, tapped the outer seal in and filled the gap with some red and tacky grease.
20160928_171959_zps4buunh0u.jpg


This part sucked - I had to trim off some of the rubber on the inside so the seal would sit flat.
20160928_173151_zps1olfzcqc.jpg


I read this trick online and man it makes the difference - the zip tie allows the air to burp out and lets the bell fit all the way on the boot.
20160928_173438_zpstr9itxgv.jpg


I ran into a snag with the Mad4WD outer axle seals and the RCV boot because the seal sat flush to the outer C of the axle but the RCV boots sit inside the C about 3/4" and it was preventing everything from sliding in far enough. Some quick tapping and I was in business-

20160928_184204_zpsuoavgofr.jpg


On to the next side - the first spindle nut is a bit tough to tighten and you can't have the socket all the way on the ratchet, maybe a washer under the first nut would help.
 
OP
OP
KyleQ

KyleQ

Bronco Guru
Joined
Apr 24, 2008
Messages
5,480
Like I figured the other side went together much faster - took it out for a spin and it was nice and smooth, might need to look at relocating the shocks to the top of the arm to get some more steering out of it.

Oh it's good to see those orange boots in there :)
RCV_zpsrrgube3u.jpg


Squeaking in front dig still remains - I guess the front drive shaft comes out tomorrow...
 
OP
OP
KyleQ

KyleQ

Bronco Guru
Joined
Apr 24, 2008
Messages
5,480
Yeah - I didn't even make it from the barn to the garage on that Thursday...
20160929_180727_zpsdd83xso2.jpg


Whoops - there was my squeak!
20160929_183103_zpsrbton1f8.jpg


Tom Woods is going to warranty the shaft- great companies stand behind their products.

Plenty of room here for a 1410 flange ;D
20160929_191411_zpsxyg0nq7k.jpg


The weekend was a success - I was somewhat worried about the front drive shaft so I didn't play too hard. Steering was very smooth and I can't wait to beat on the truck harder.
20161001_151918_zpsw7bksmsw.jpg
20161001_163453_zpsheumrioi.jpg


Great campfires at night - we collected wood on the trails and had 7'+ fires each night.
20161001_202525_zpswxi5vsck.jpg


While I was doing some cleaning I'm doing some before and after shots with my old HD shackles as I'm going to be switching over to some Heavy Duty Boomerang shackles from migs

20161002_140107_zps3osgqtue.jpg

20161002_140116_zpsv4rj0kbb.jpg

You can see the shackle is bottoming out and the bolt is doing a number to the hanger...
 
OP
OP
KyleQ

KyleQ

Bronco Guru
Joined
Apr 24, 2008
Messages
5,480
Not much has changed - went on some winter wheeling trips, got some more body damage and killed some hills some buggies couldn't :D

https://youtu.be/SUm43yp3yvw

Been collecting parts for some time and tonight my father and I started what I'll call Phase III.

I got all the wiring ready to come out and the driveshafts, t-case, trans and exhaust came off. Tomorrow AM we yank the motor out -

Bronoc_zpst4fodqey.jpg


Bronco%20Parts_zpsgl1x22sw.jpg


Bronco%20exhaust_zpsnbd2jqds.jpg
 
OP
OP
KyleQ

KyleQ

Bronco Guru
Joined
Apr 24, 2008
Messages
5,480
More progress today -

I got the old engine out - pulled all of the wiring with it.

engine%20out_zpsbkvbc5ci.jpg


I've got a bit of power washing to do tomorrow...
hole%201_zpst3uhihaf.jpg


I've had this 351W sitting in the basement for going on 6 years now!
engines%202_zpsxj6muxqo.jpg


It looks like I'm going to re-wire everything up front to clean things up a bit more and probably re-run some brake lines while I'm at it too.
 
OP
OP
KyleQ

KyleQ

Bronco Guru
Joined
Apr 24, 2008
Messages
5,480
Jumping right in there! :cool:

Do you run a drop track bar bracket?

No - its all hand made stuff on that side. The track bar basically sits under the right under the frame rail on a custom bracket.
 

5001craig

Contributor
Bronco Guru
Joined
Nov 3, 2013
Messages
1,180
Would like to see some pics of your frame bracket Kyle.

I'm having trouble keeping my track bar out of the oil pan so I will be dropping it with a bracket. I have a Duff drop bracket that came with my suspension kit but I'm not sure if I want to drop it that far or not.
 
Top