• Welcome to ClassicBroncos! - You are currently viewing the forums as a GUEST. To take advantage of all the site features, please take a moment to register. It's fast, simple and absolutely free. So please join our community today!
    If you have problems registering or can't log into your account, please contact Admin.

Money Pit - Phase III

OP
OP
KyleQ

KyleQ

Bronco Guru
Joined
Apr 24, 2008
Messages
5,480
Well I've gotten a bit further since I posted last - I was taking out the seat belts and I noticed that it was the same size as the windshield bolts... I've never tried folding it down in fear of what I might find or if it wouldn't want to fold back up. I took the plunge and pulled the bolts and it flipped down perfectly. No rust! I cleaned it out and coated it with Fluid Film to keep it nice.
20150423_212158_zpses33mep7.jpg


The windshield sits directly on the TPS - metal on plastic. I'll have to build a hell of a hood scoop as I'd love to be able to wheel with it down.
20150423_212148_zpsu1macjfu.jpg


I've been prepping the floor and frame mounts for a rock slider and a cage tie in on the passenger side. Today I finished the rock slider -

20150516_184342_zpsmlrudyqm.jpg


It should hold just over three gallons of air ;D

Tonight was the second attempt of building a roll cage as last Friday was a total disaster. We built a bender in 2008ish and it took until now for us to find we had bought the wrong die for the bender :mad:

Luckily our local Bronco club is awesome and within an hour of finding out I had a bender lined up and picked it up on the way home from work - I am forever in your debt Kurt, thanks a TON!

Here is the star of the show -
20150517_005519_zpsbbqbv8l2.jpg


So I leaned the A pillar back to the angle of the windshield and leaned the B pillar back the same angle to maintain the flow and also give room for my giant suspension seats.

20150517_005106_zpshmfy8cni.jpg


The hoop heights will be within 1/8" of each other -
20150517_004844_zpswtvfomlv.jpg


I've got this final small hoop that will go on the back-
20150517_004905_zpsxj6m4rxd.jpg


Here is some super ghetto paint awesomeness showing how it sits and how the rear kickers will work.
cage%20pass%20rear_zpsyfdqnghc.jpg


The A and B pillars will be connected with a tube at the apex of the bends on either side. I'm going to then run a X across the middle and obviously the floor bars on the bottom. I'll have plenty of room for my seat bar and the dual kickers should make it super strong. All of my cage to frame tie ins are backed to the frame with 1/4" plate and I'll solid mount the foot to the frame with the 2" 1/8 wall tubing.

I should be done bending now - super easy cage. I'm hoping to get my armor on by Thursday.


I got a set of the rear gaurds from PNW Broncos and a set of those quarter pounders. I an going to tie them into the cage in two places but remain bolted to the truck when the cage comes out.
20150508_191243_zpsf6xe95kk.jpg


FOUR days left! :eek:
 
OP
OP
KyleQ

KyleQ

Bronco Guru
Joined
Apr 24, 2008
Messages
5,480
Today I got the slider mounted and bolted to the cage foot. I moved to the driver side and used a plasma cutter, grinder, cut off wheel and some cursing to get that side how I wanted it. The existing slider made it much more difficult to work in the area -

While I was waiting for paint to dry I ran and got the digital angle finder from my father's place and started figuring out the correct length of tubing needed to achieve a level hoop height. It took longer than I would have thought - but this is my first cage, so I'm learning as I go.

20150517_233540_zpsjwzritjr.jpg


Naturally the seat went in and I found a comfortable position - a 2x4 feels really good under the front legs. It's going to be fun mounting these nearly on the floor - its only time.

20150518_002150_zpsd1gqtzrp.jpg
20150518_002227_zpsqcowxdw4.jpg


I'm liking how the angles are turning out - my seat bar is going to fit without a bend. It's funny how much room I have behind the seats now - that old junker seat I had was huge!

Tomorrow I hope to have most of the cage tacked together so so I can pull it for final welding so I can have it ready for paint by Wed AM. It's a tall order, I've got some appointments to make and some errands to run - I might need to forget my plans of being loaded up and waiting at the gate Thursday night...
 
OP
OP
KyleQ

KyleQ

Bronco Guru
Joined
Apr 24, 2008
Messages
5,480
Well last night the reinforcements arrived and we made some serious progress -

20150520_233203_zpsfmindfku.jpg


20150520_233142_zpsn6zuftmm.jpg


20150520_232746_zpsnhvcwyle.jpg


Today I've got to finish welding everything, fab up some seat mounts and put in the seat bar so I can get the harness stuff ready.
 
OP
OP
KyleQ

KyleQ

Bronco Guru
Joined
Apr 24, 2008
Messages
5,480
Well yesterday didn't go as planned - the batteries int he Excursion finally gave up the ghost and everything seemed to take twice as long to finish. I went a got my new trailer tires, some crap for the Bronco and two new batteries for the Excursion and got back to welding.

I finished before my wife got home and I needed her so I could see where the seats would go, so I swapped tires on my trailer and put the new batteries in the Excursion. The batteries I pulled are only three years old but constantly pull 2-4 amps from my charger.... junk.

I lucked out and where I've bee mocking things up she liked - so I adjusted the seat bar, checked angles and got to welding.

I decided to sleep after I got my seat fully mounted - I'm running 1x2x1/8 rec tubing for my seat mounts. I don't want the seats to get any higher so I plasma cut a slot in them for the tabs to sit down, test fit the seat and then welded them in. I've got enough room for tools and the seat remains low to the floor.

Pics to come - the sun is up again... I will be wheeling TODAY!
 

Prizefighter

Bronco Guru
Joined
Feb 24, 2010
Messages
1,192
Kyle, is this included in the long arm kit? I'm a little confused because Duff and Cage's description reads like axle wedges are required and a front C cap. I would like to set my D60 up like you did.
DSCI0211.jpg
 
OP
OP
KyleQ

KyleQ

Bronco Guru
Joined
Apr 24, 2008
Messages
5,480
It looks like James Duff stopped selling them - if you are after those brackets they can be found HERE

I put angle iron on the top to ensure the coil cup would sit flat - so far so good.
 
OP
OP
KyleQ

KyleQ

Bronco Guru
Joined
Apr 24, 2008
Messages
5,480
I'm still putting together the little stuff I got - here is some of the pics my wife got from Sat.

Loaded up and ready to go-

Dresser Memorial 2015
by Angie Quitter, on Flickr

Did a little rock crawling- click to watch

Dresser Memorial 2015
by Angie Quitter, on
Flickr

..and way too much mud!

Dresser Memorial 2015
by Angie Quitter, on Flickr

Things got deep - took three trucks hooked together to get me out of that mess...

20150523_140700_zpssbfybyhz.jpg


More to come - here is Matt playing with his 6.0/TH400/Atlas 4 Speed Jeep
 
OP
OP
KyleQ

KyleQ

Bronco Guru
Joined
Apr 24, 2008
Messages
5,480
It was really thick - it was up to the bottom of my grill and I couldn't move backwards, so they pulled me through it. I didn't hammer down and toss mud everywhere, trying to stay clean got my dirty enough....
 
OP
OP
KyleQ

KyleQ

Bronco Guru
Joined
Apr 24, 2008
Messages
5,480
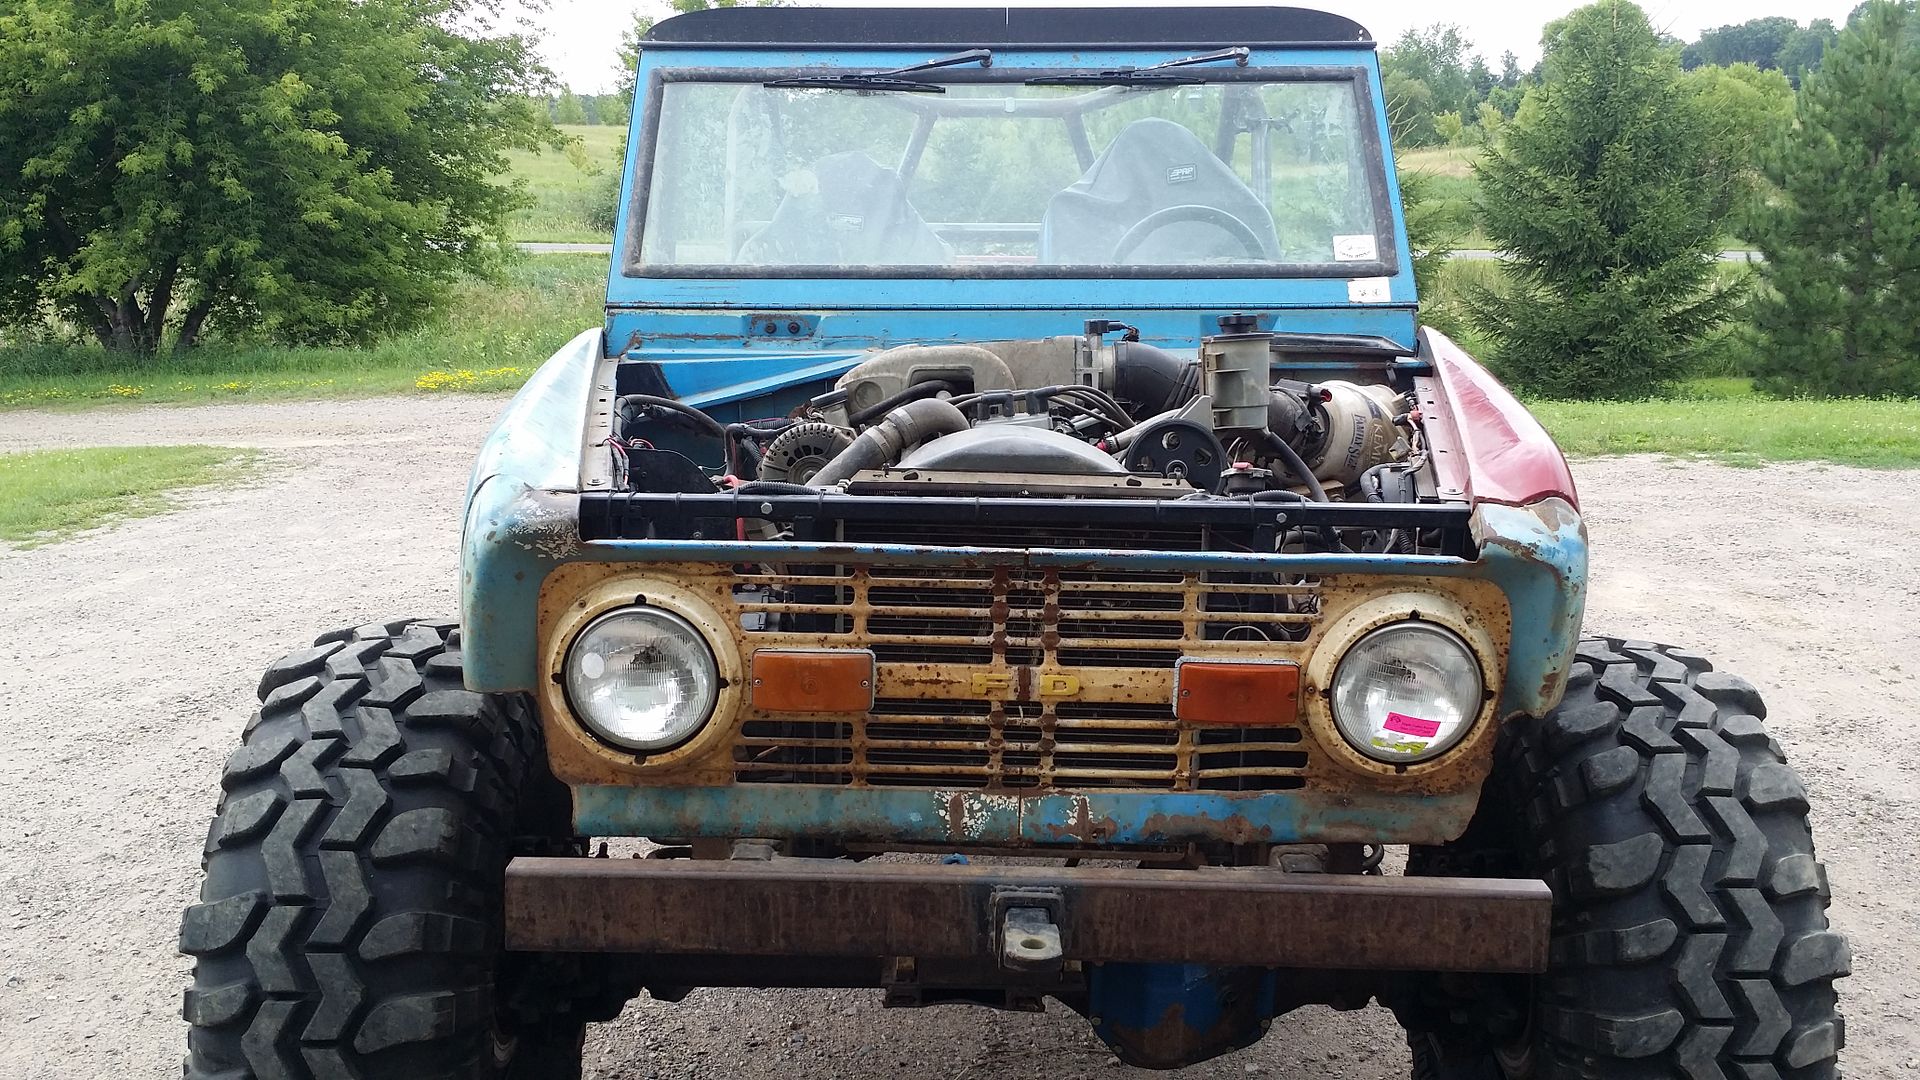
Well, thanks to EFI Guy I've got a bunch of work going on-

I've been piling up parts for awhile and I finally jumped on it and had him burn a chip so I could get the most out of my parts.

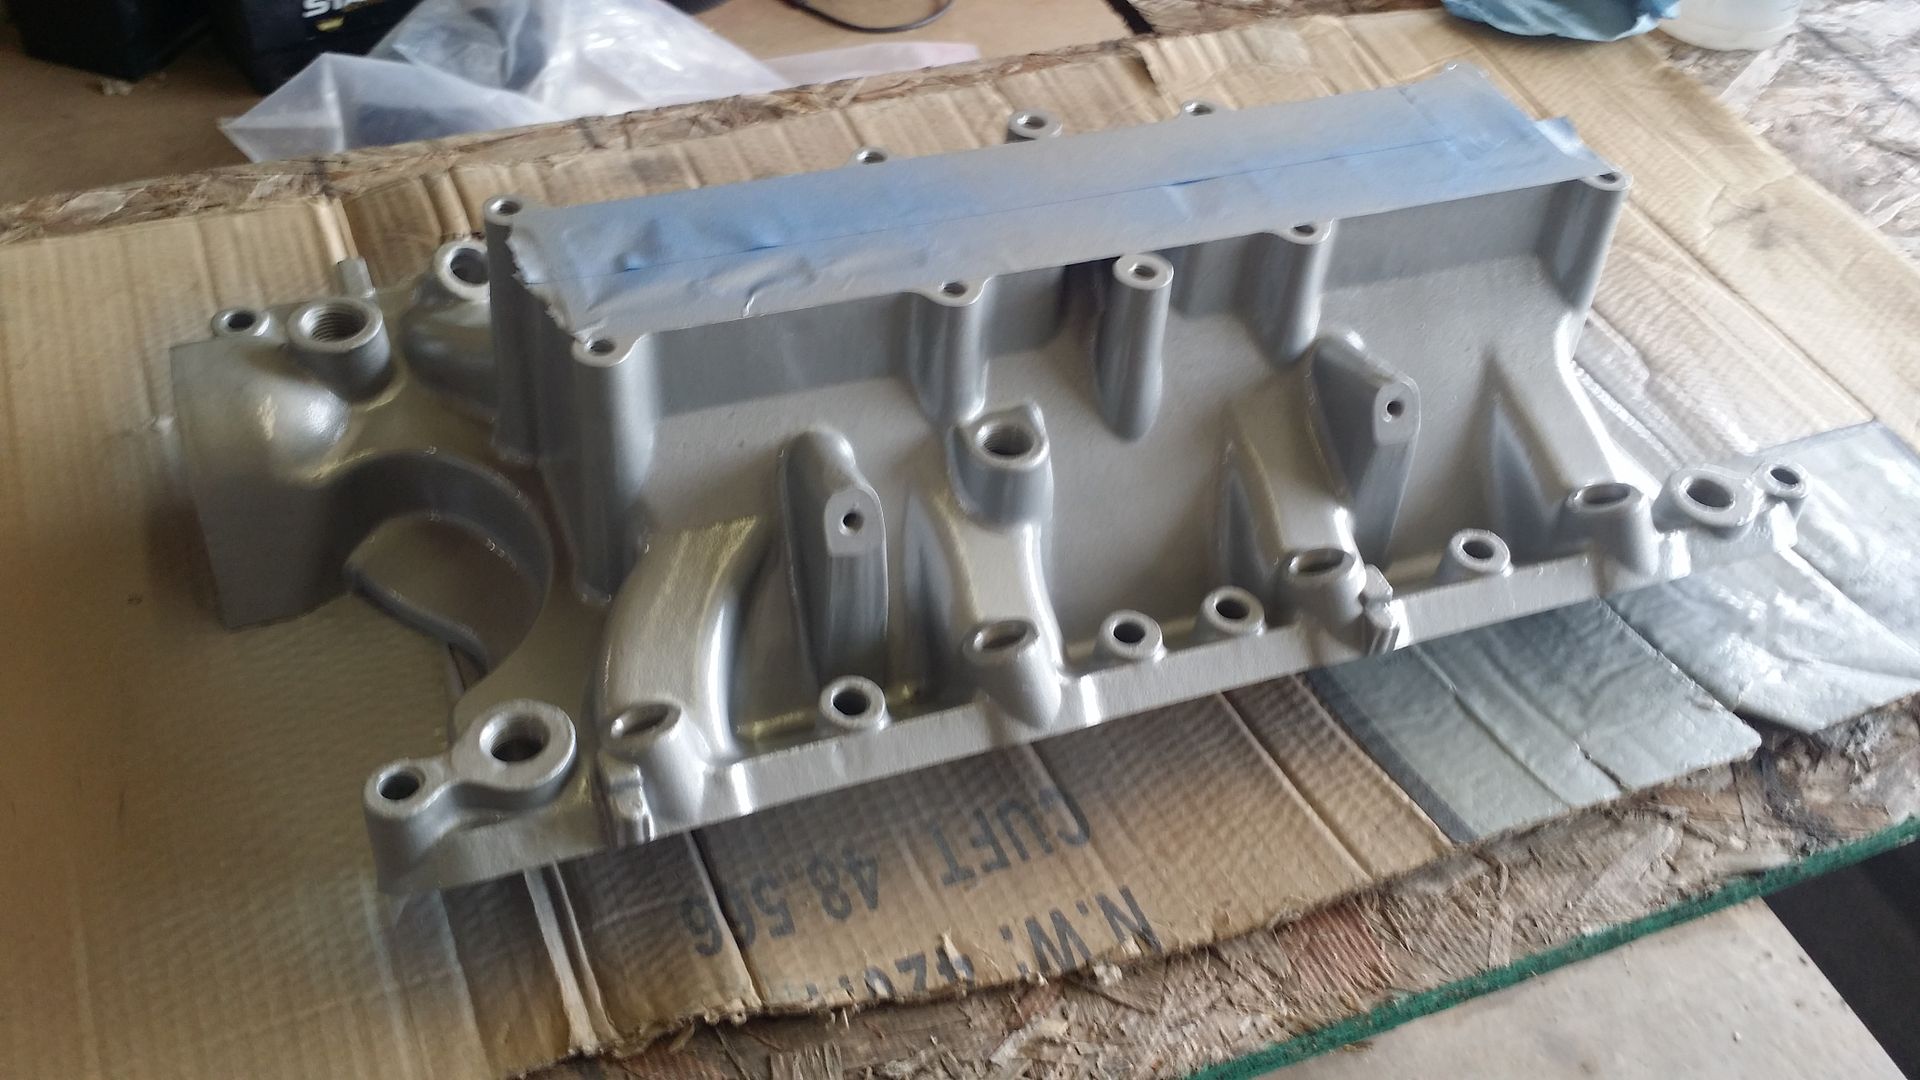
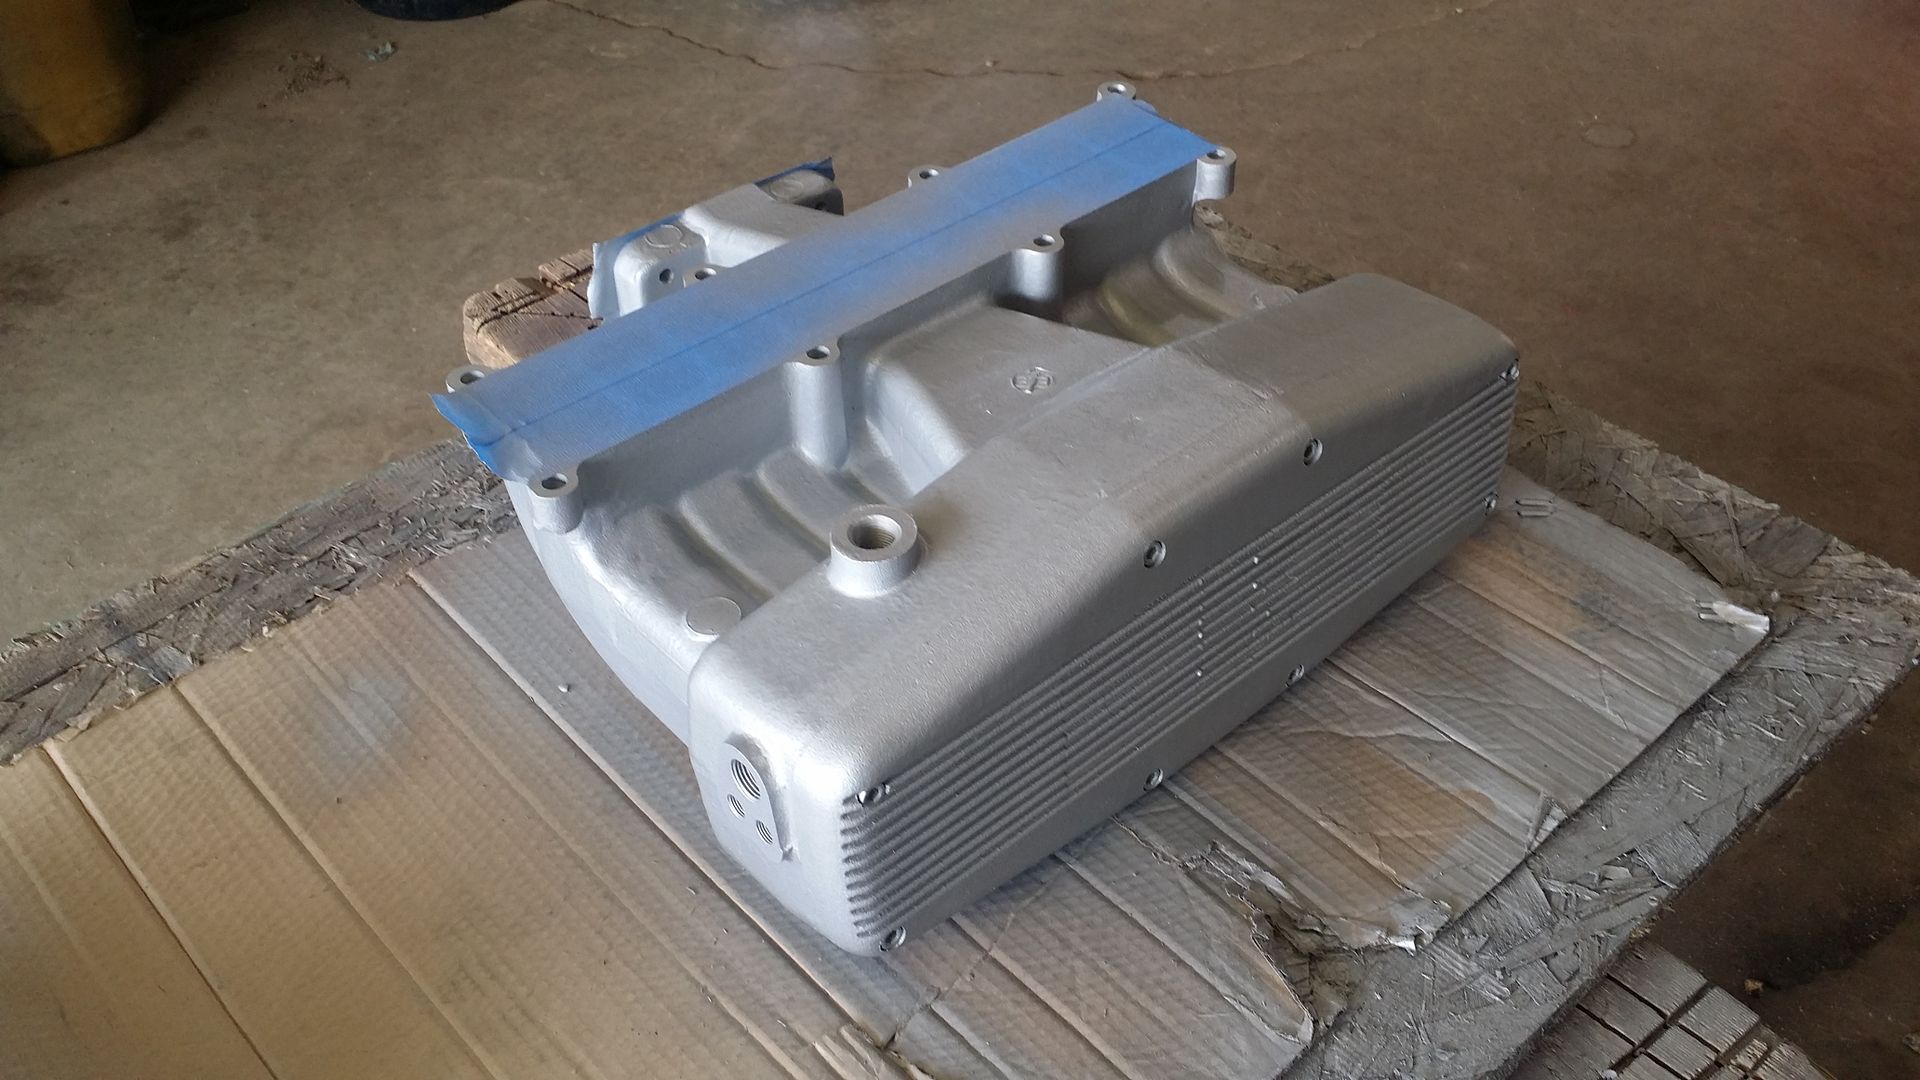
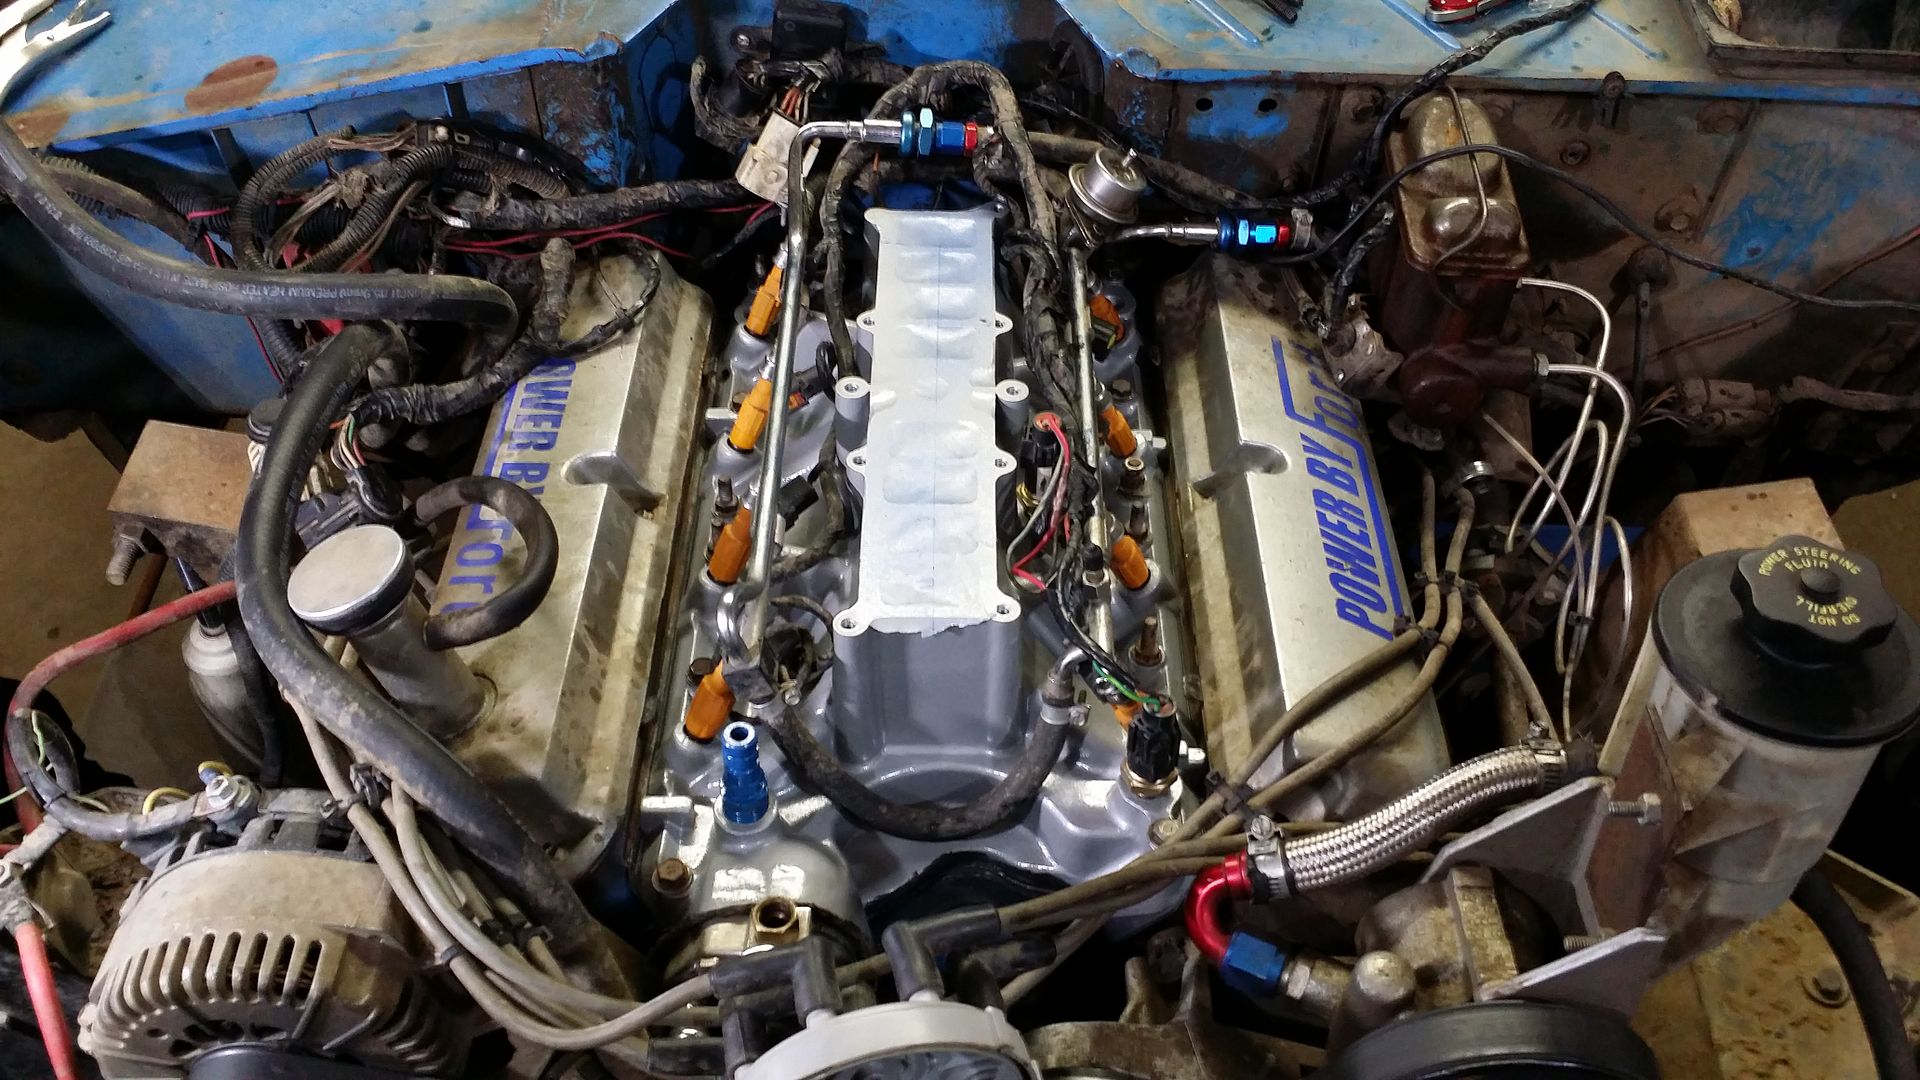
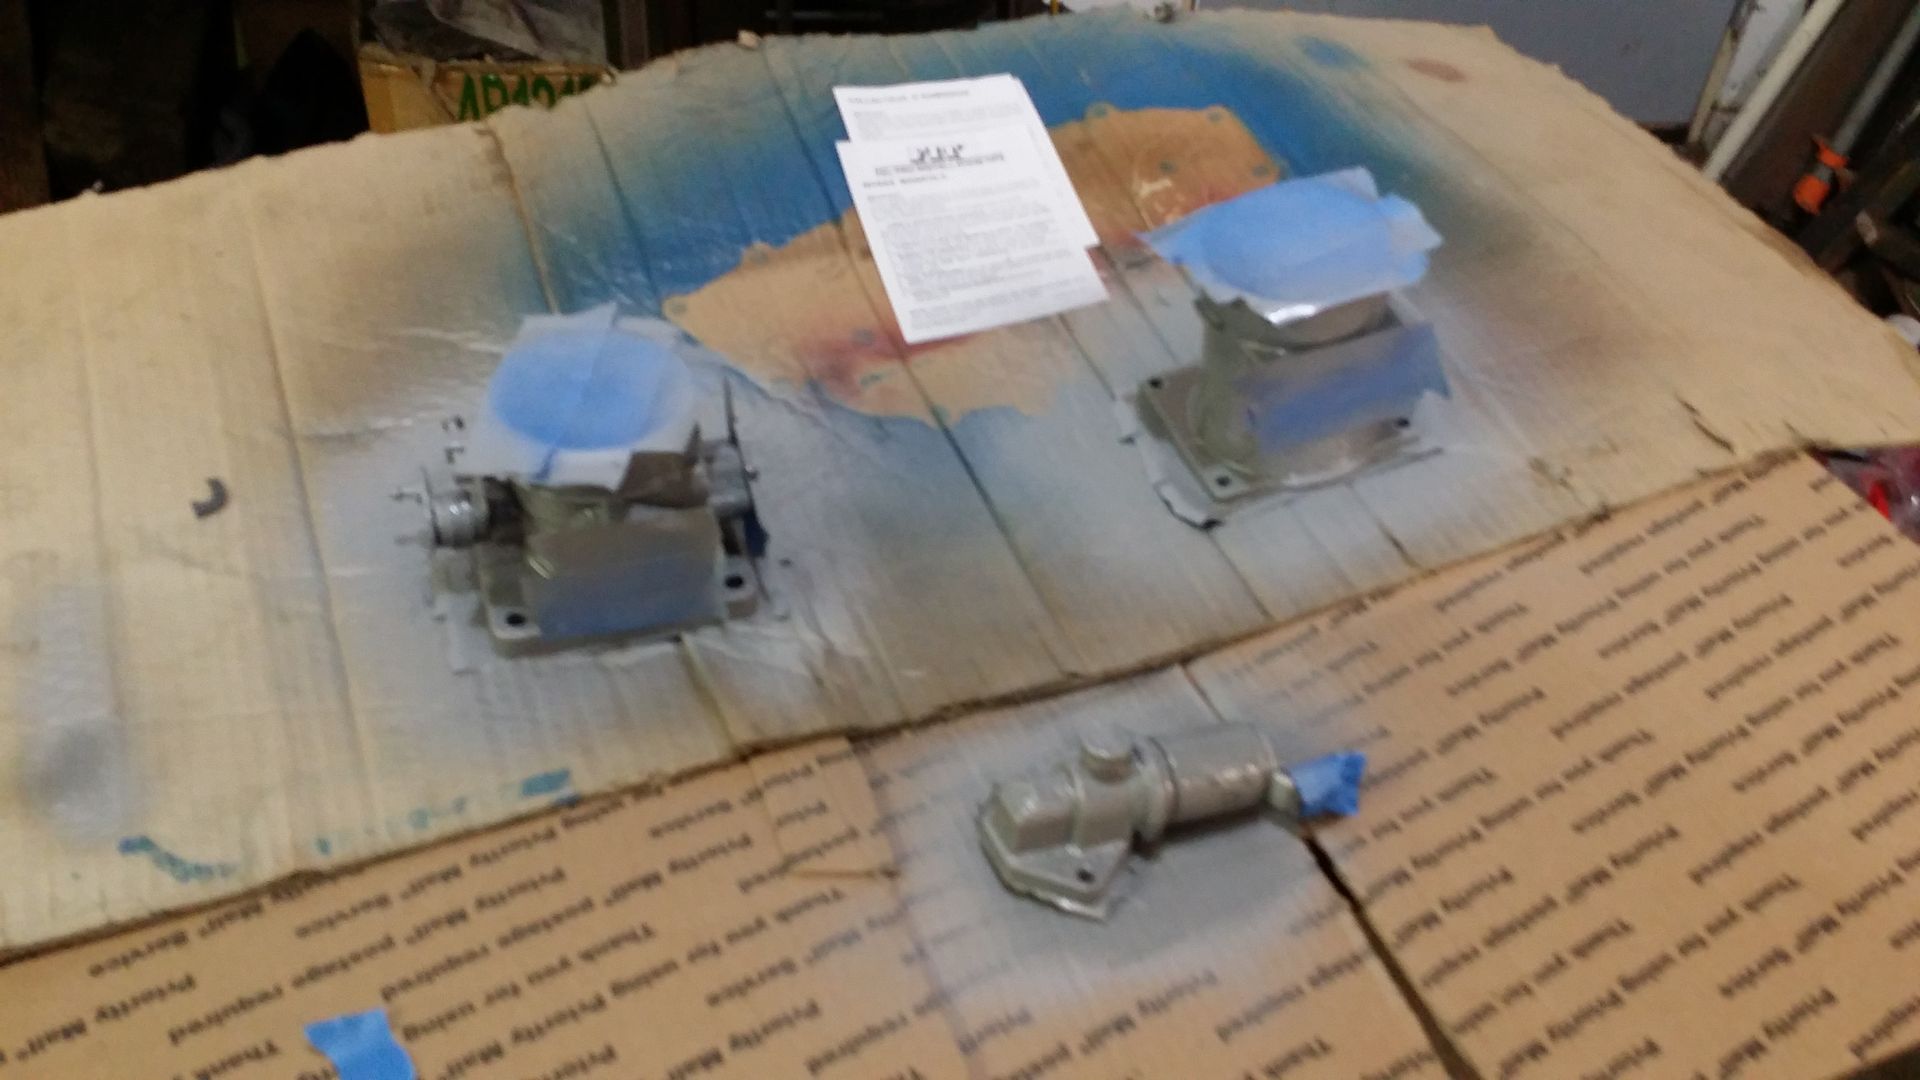
I tossed a coat of paint and clear on my Chinese speed parts (no clear on upper in this pic)

20150711_143346_zpst7zfi9je.jpg
20150711_143405_zpsfieywjqp.jpg


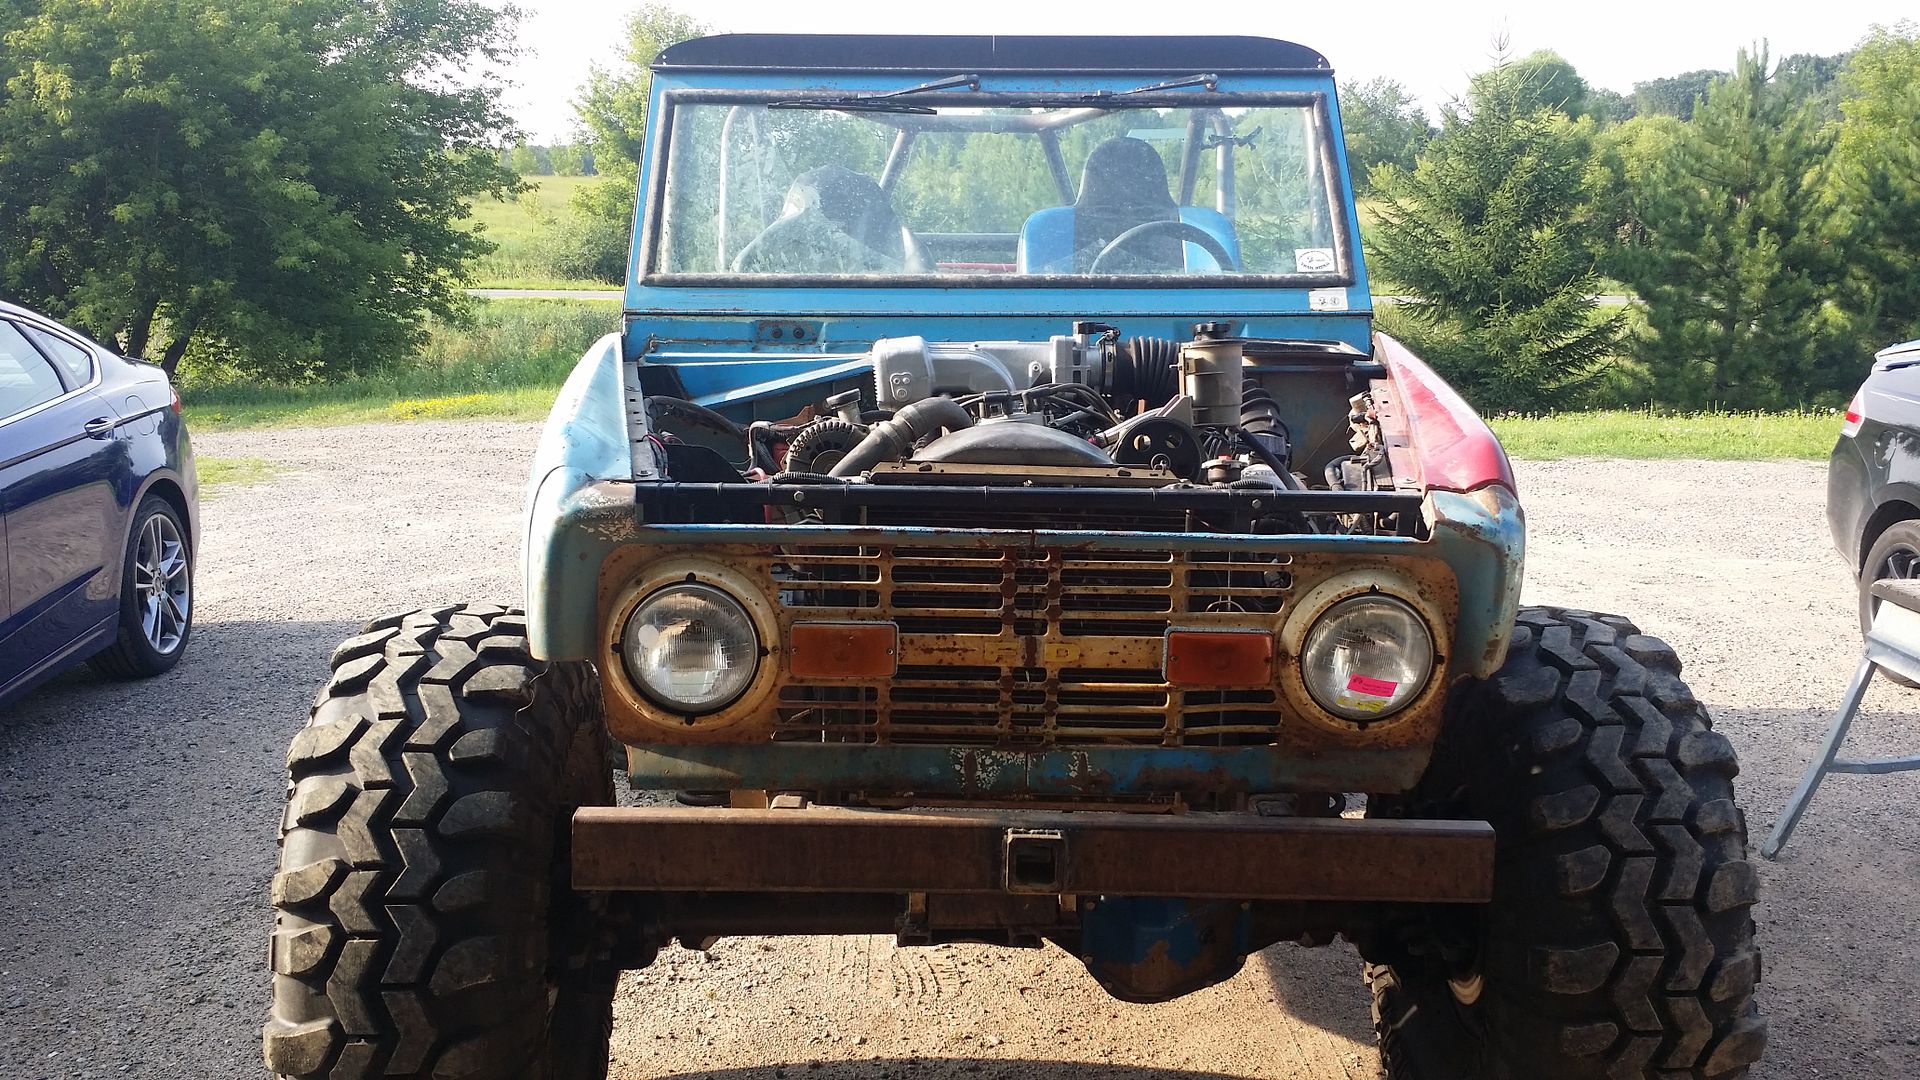
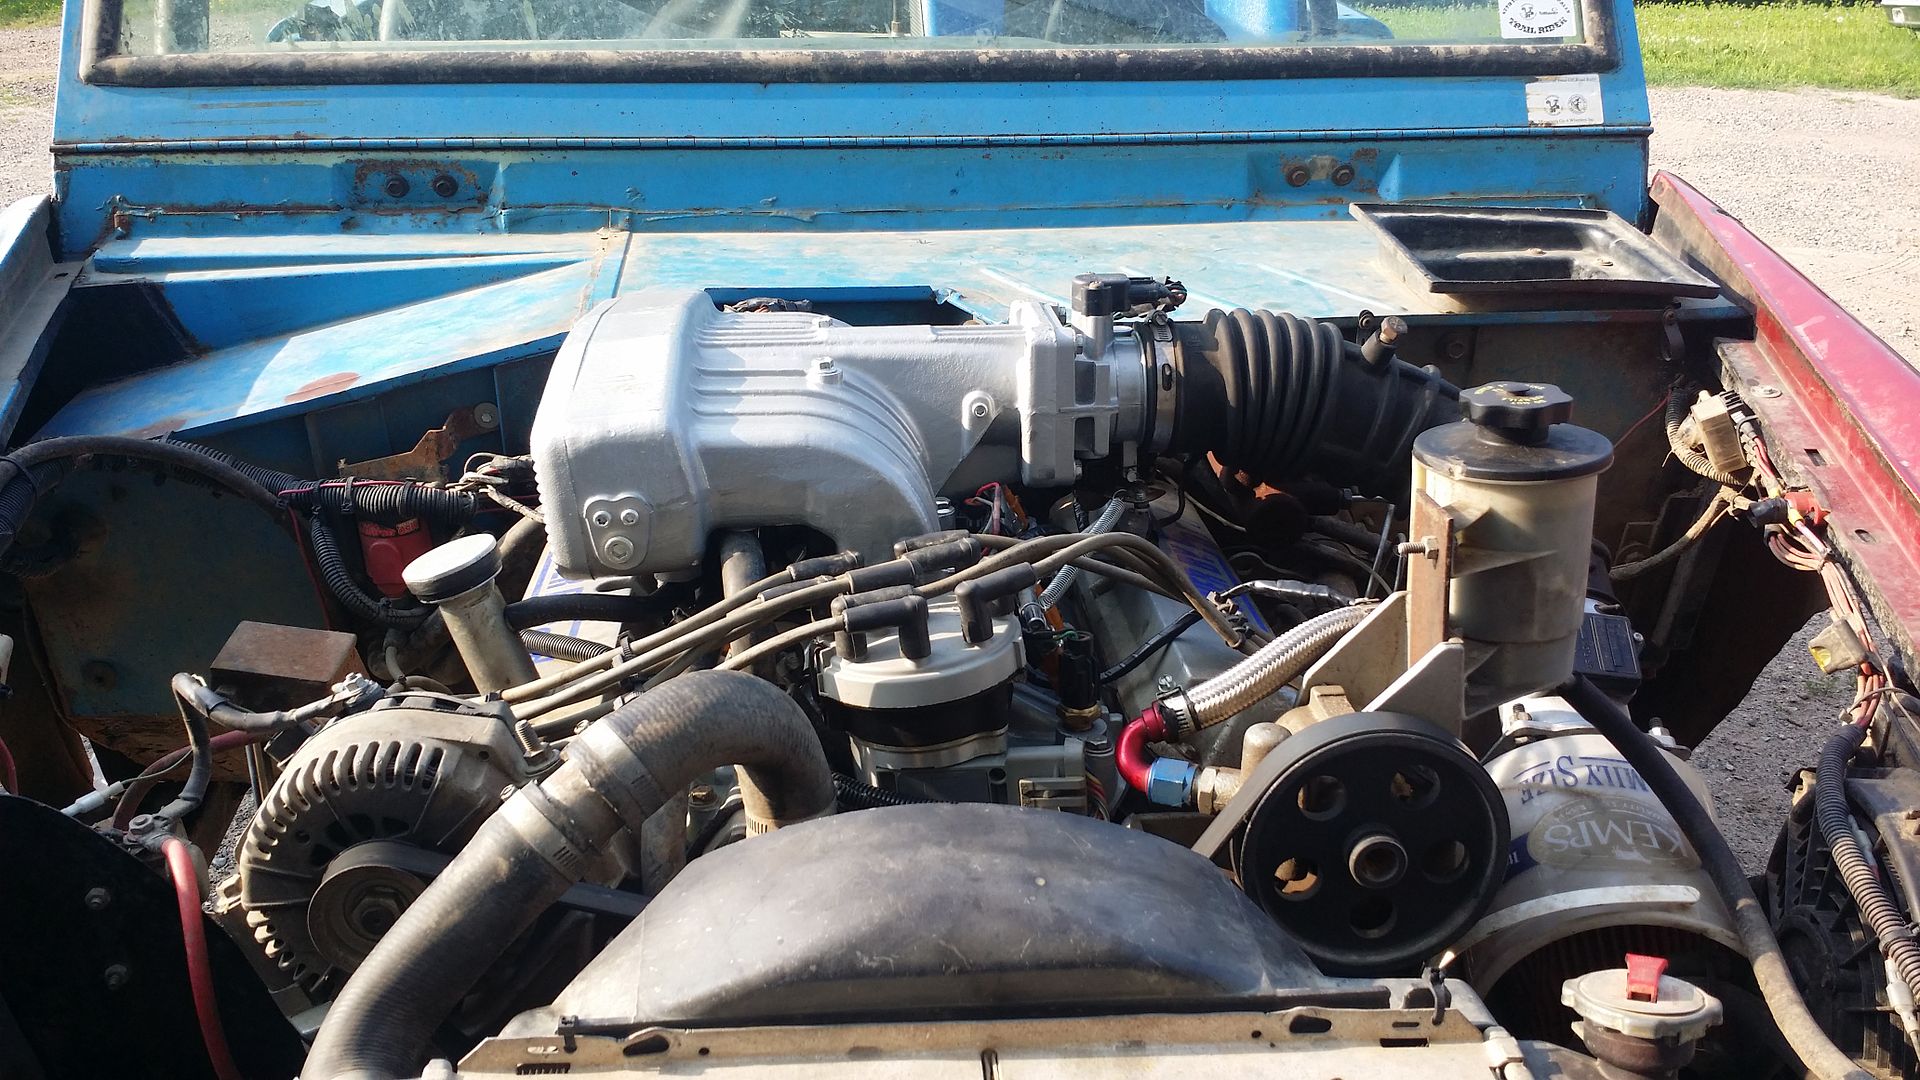
I tossed the computer in the Bronco and drove it up to the house - runs completely different, starts and gets to idle much faster now. It loops a little, but I've got the MAF unplugged as I need to switch over to the Explorer MAF we tuned for. To be expected - motor is cold.

[youtube]LOk0H-MUgIk[/youtube]

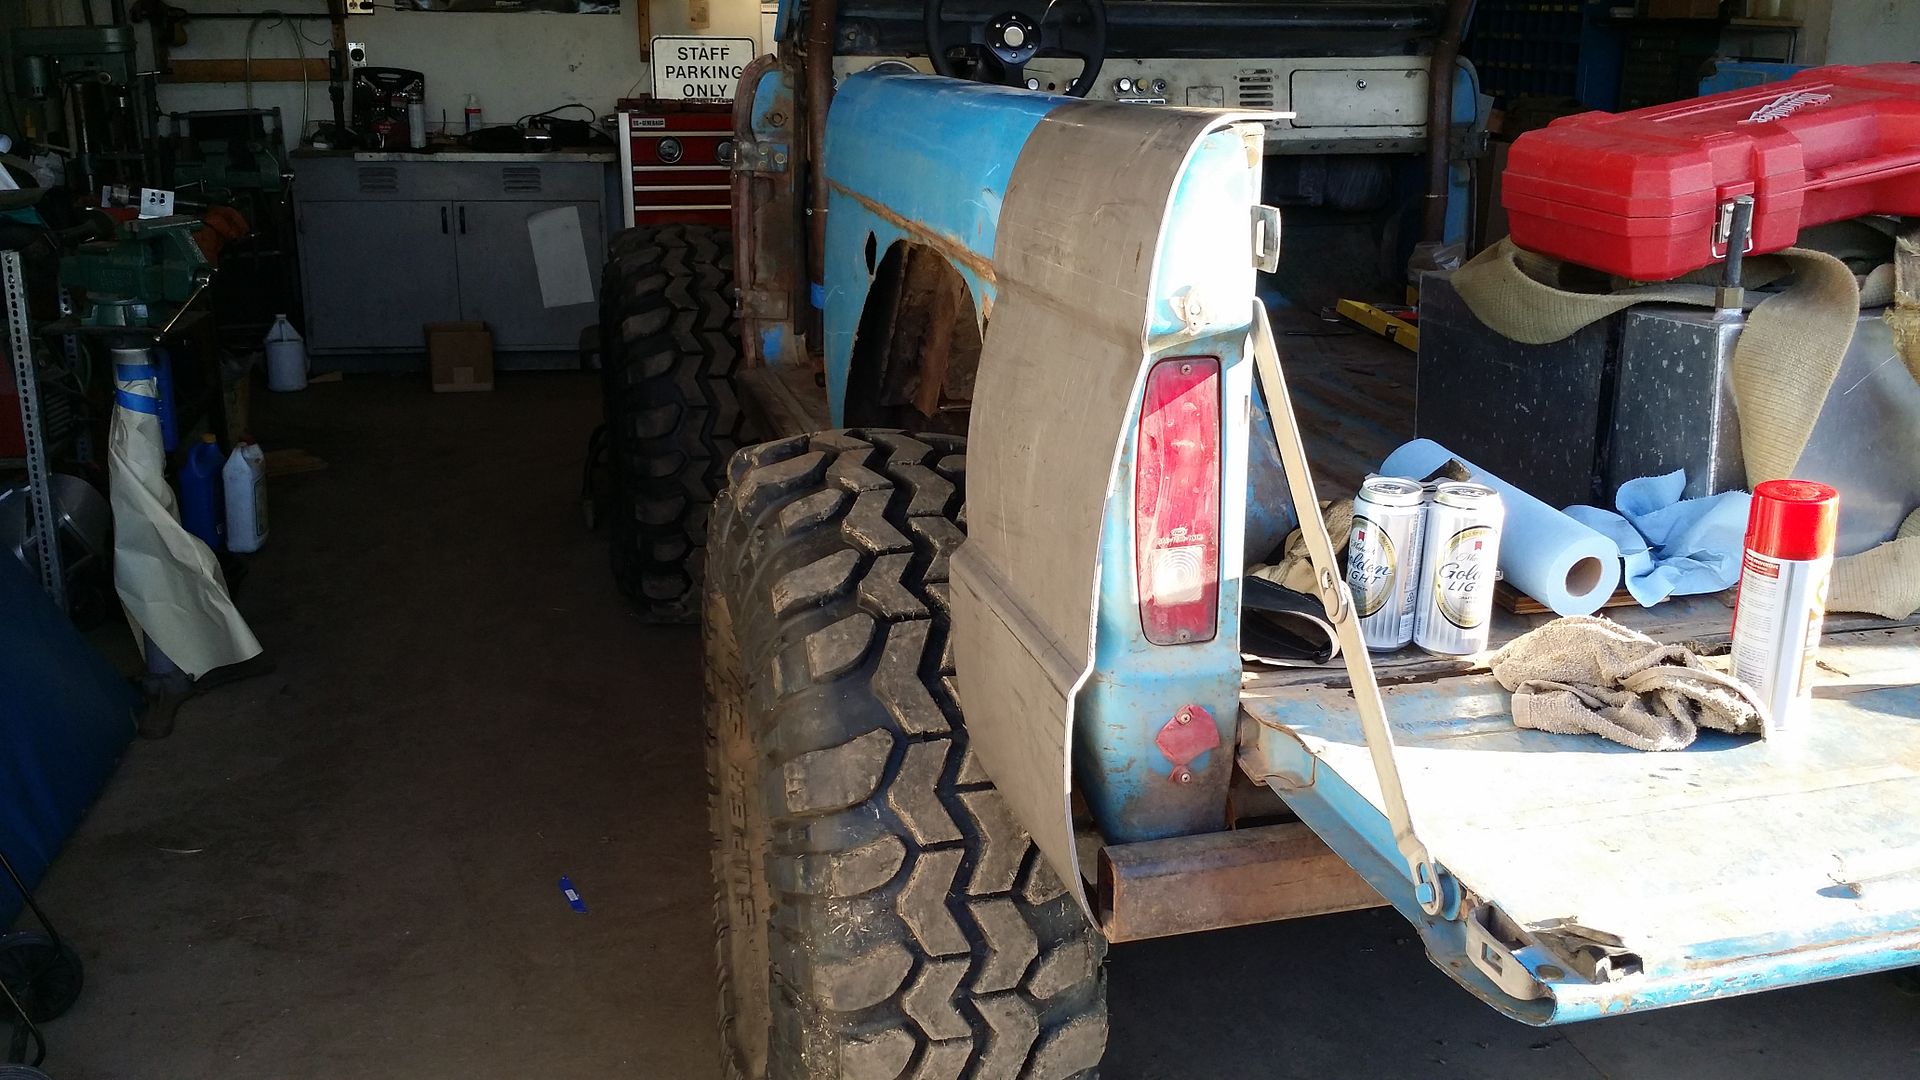
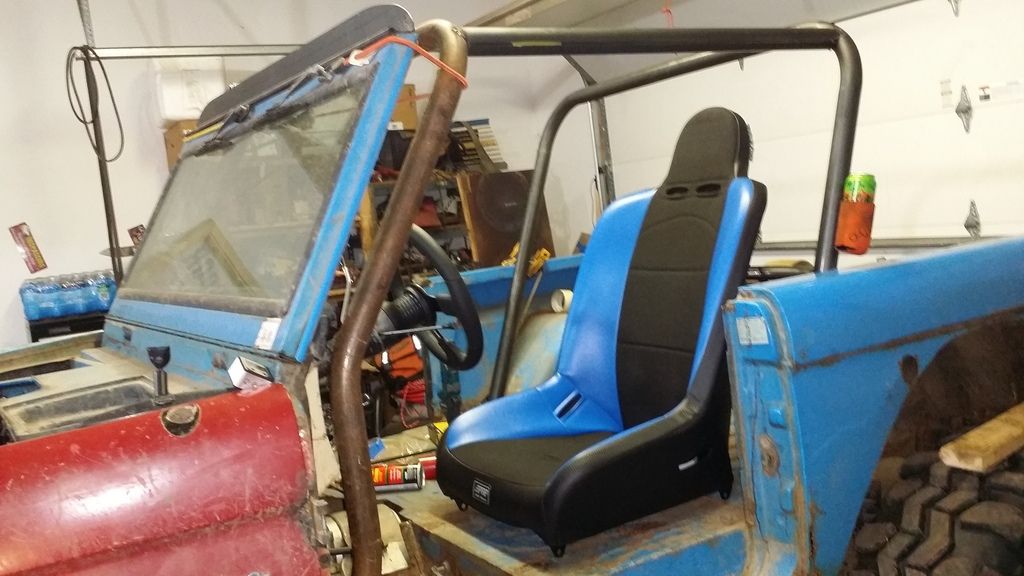
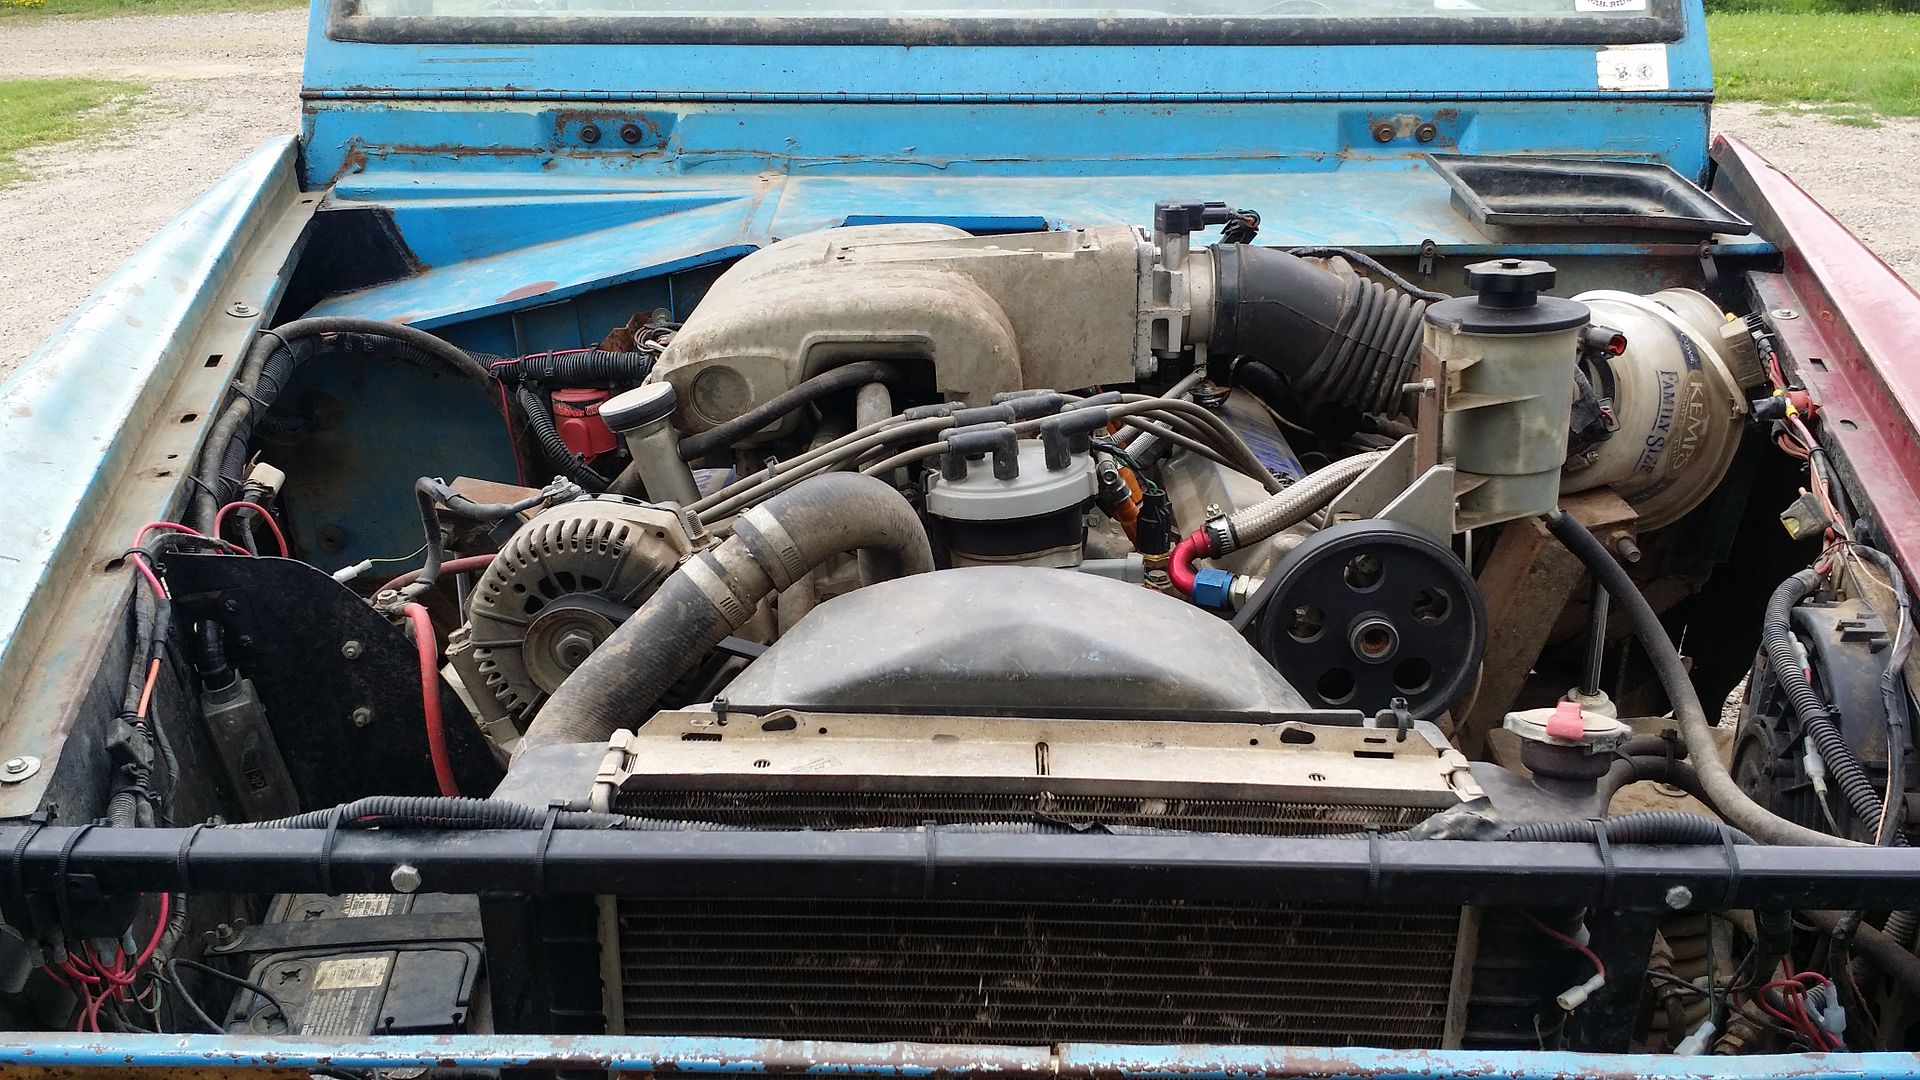
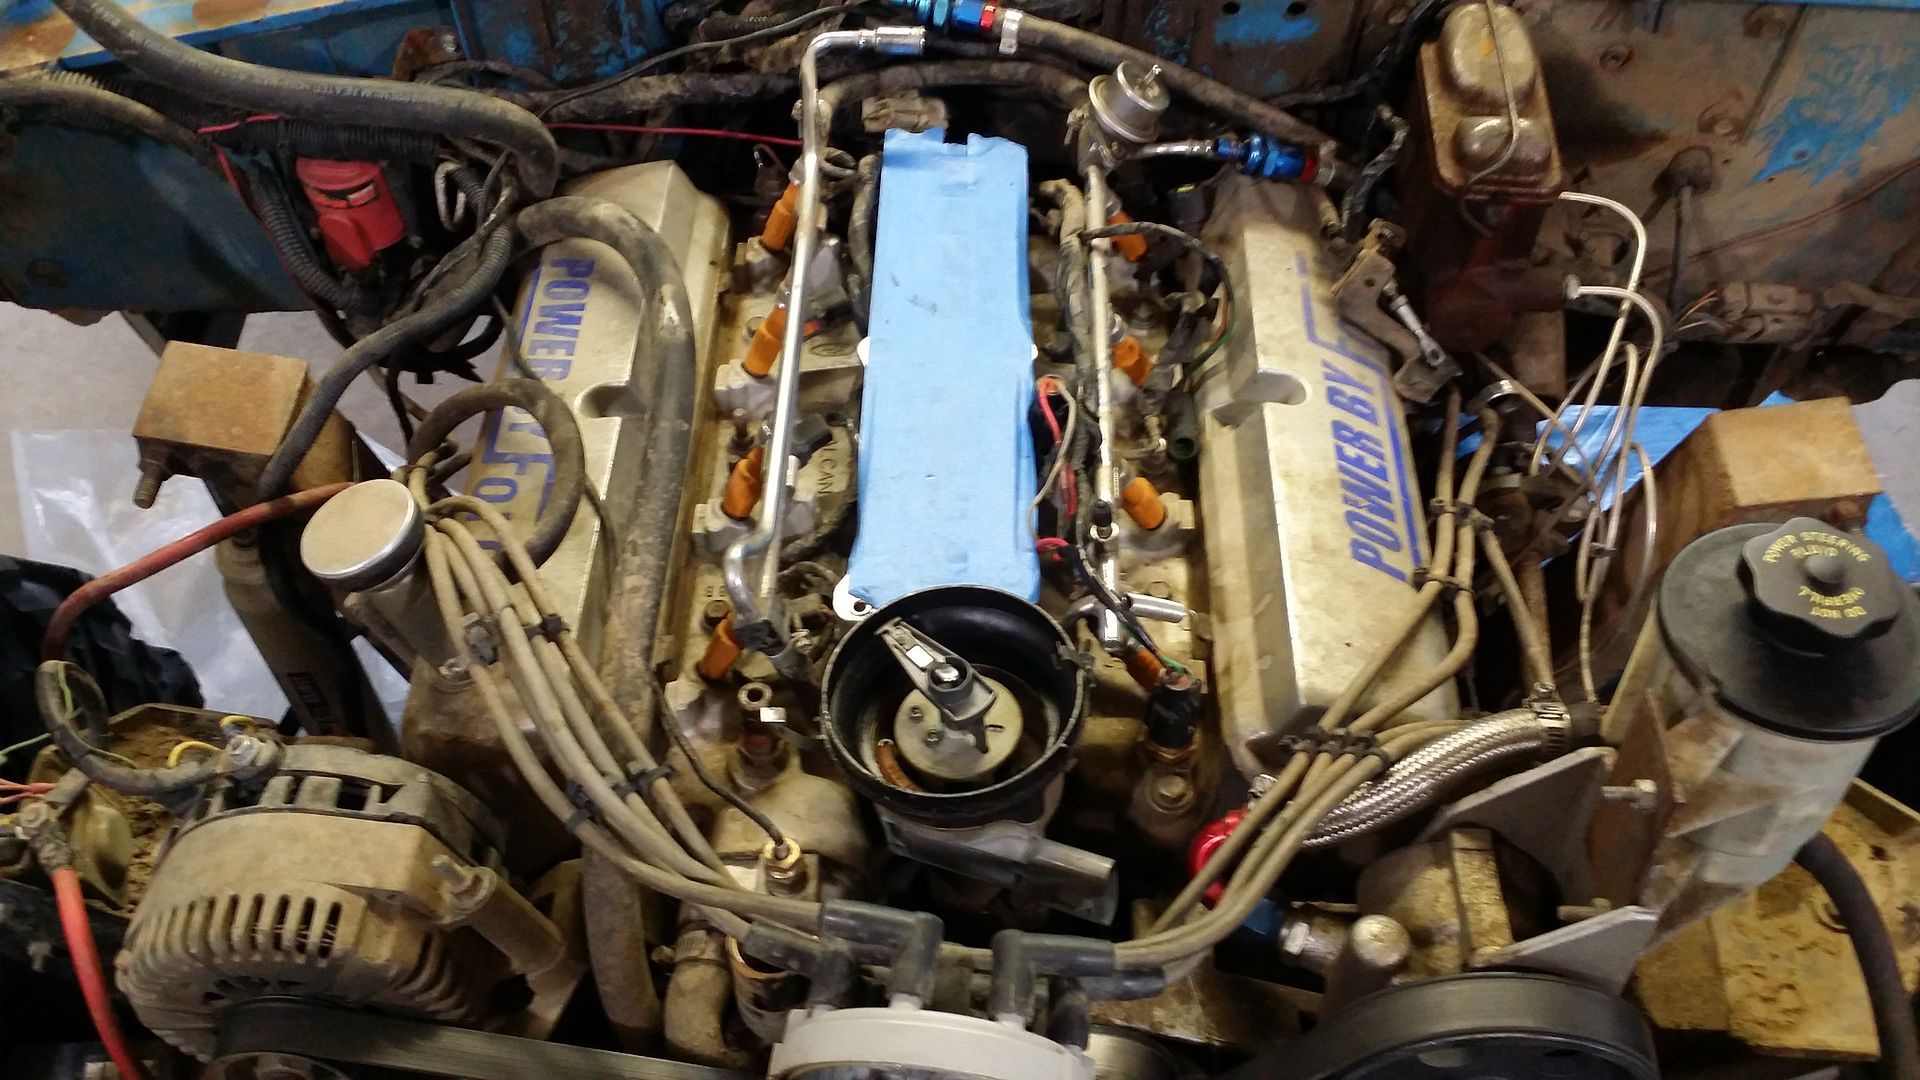
Last pics of this setup-
20150711_163344_zpsfzv6mpge.jpg
20150711_163352_zpsmicuci12.jpg


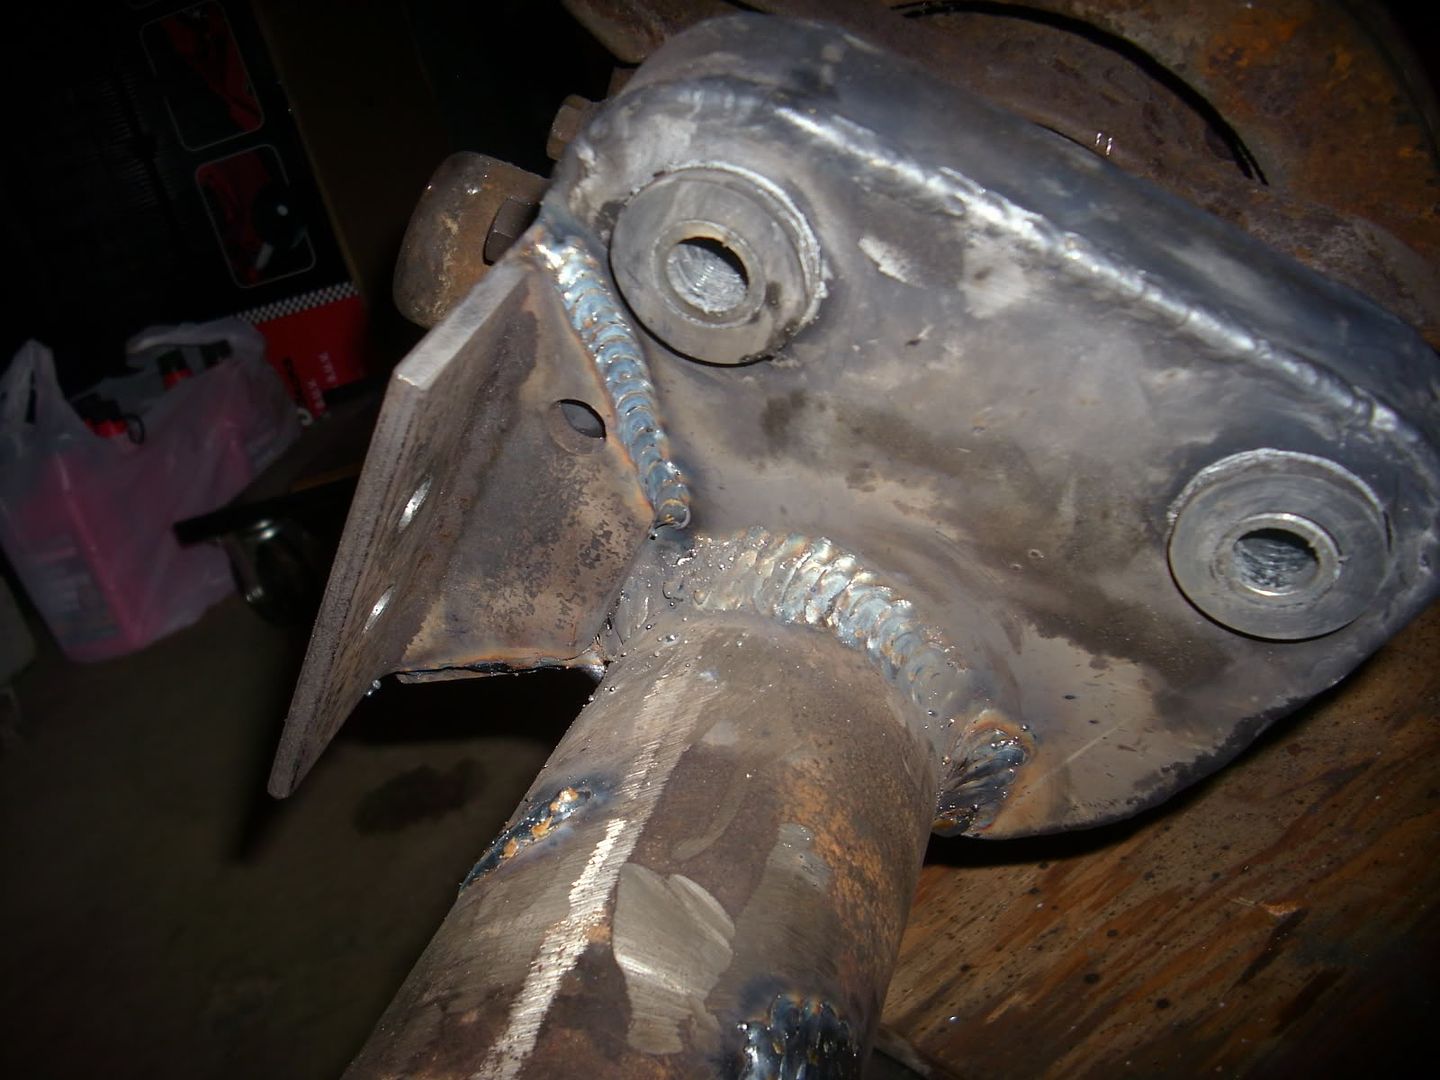
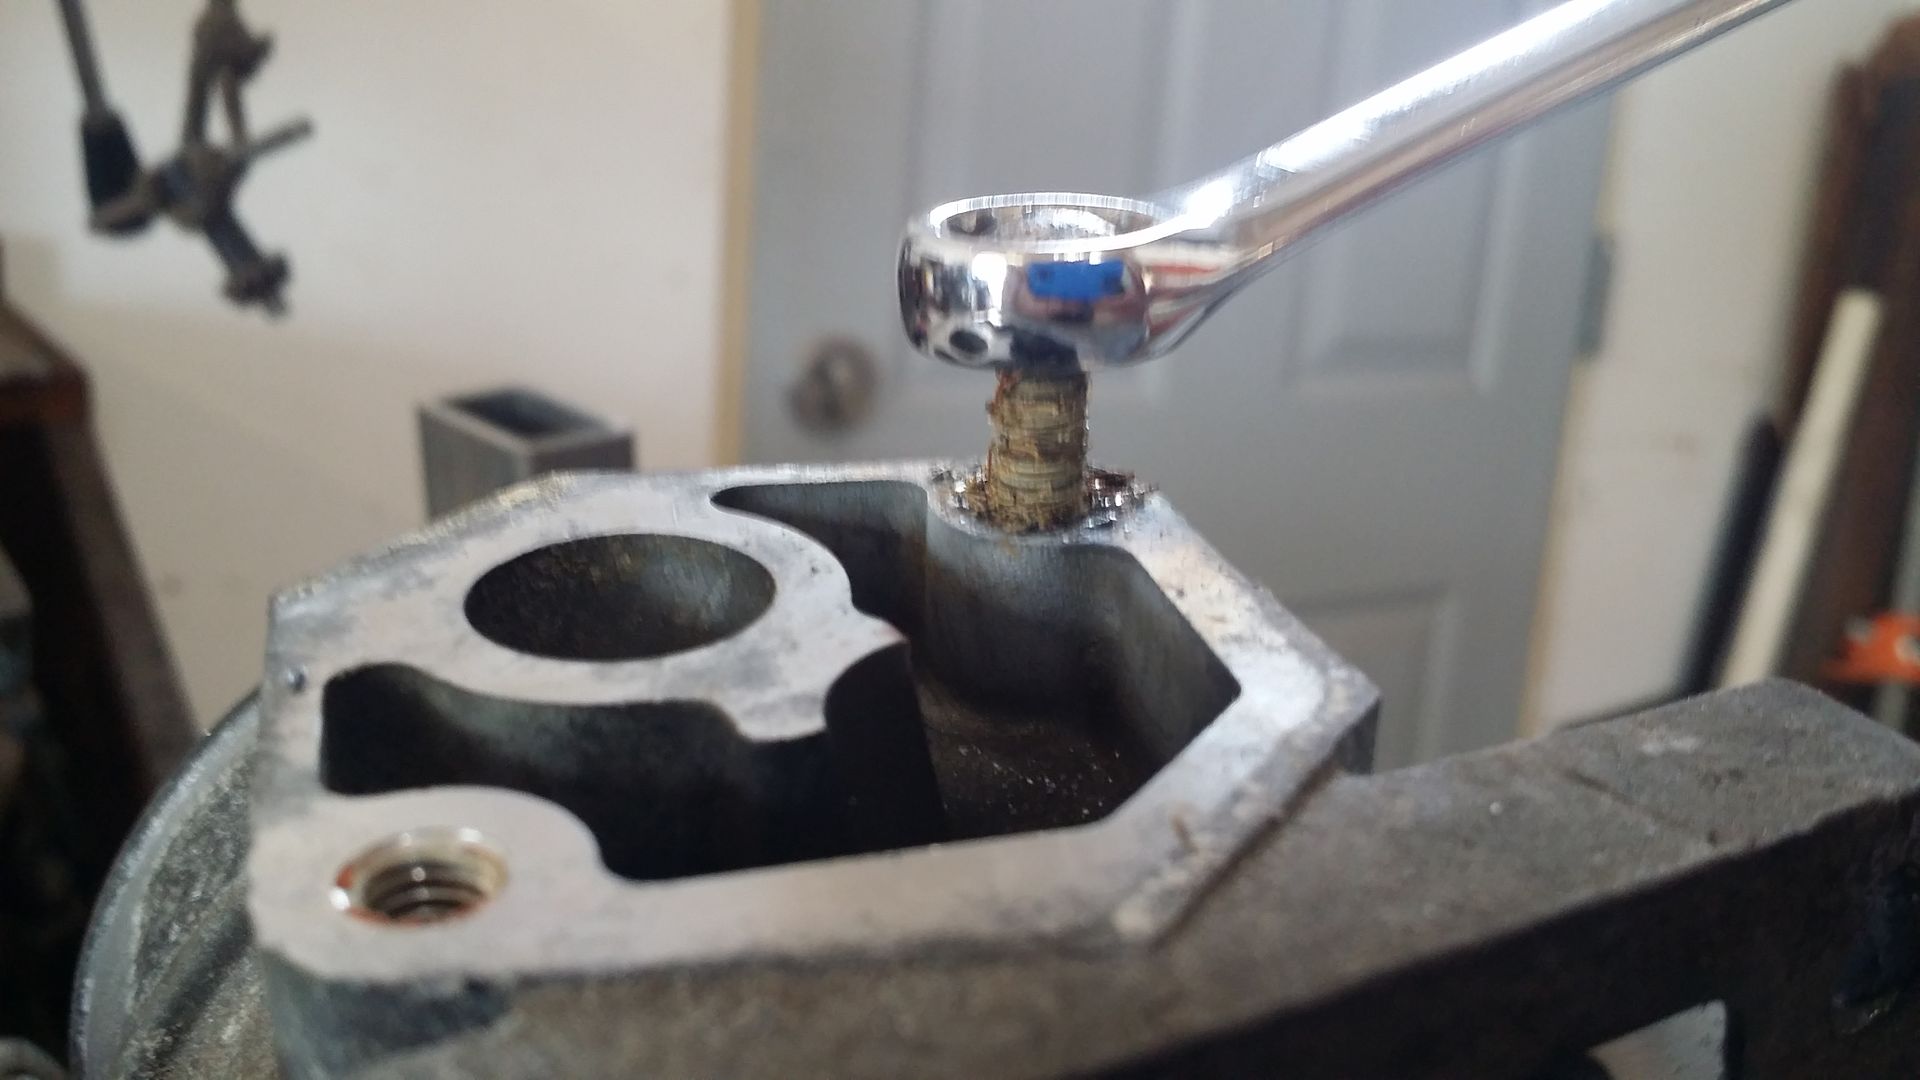
So of course the bolt snaps right off trying to pull the IAC off the throttle body... %)

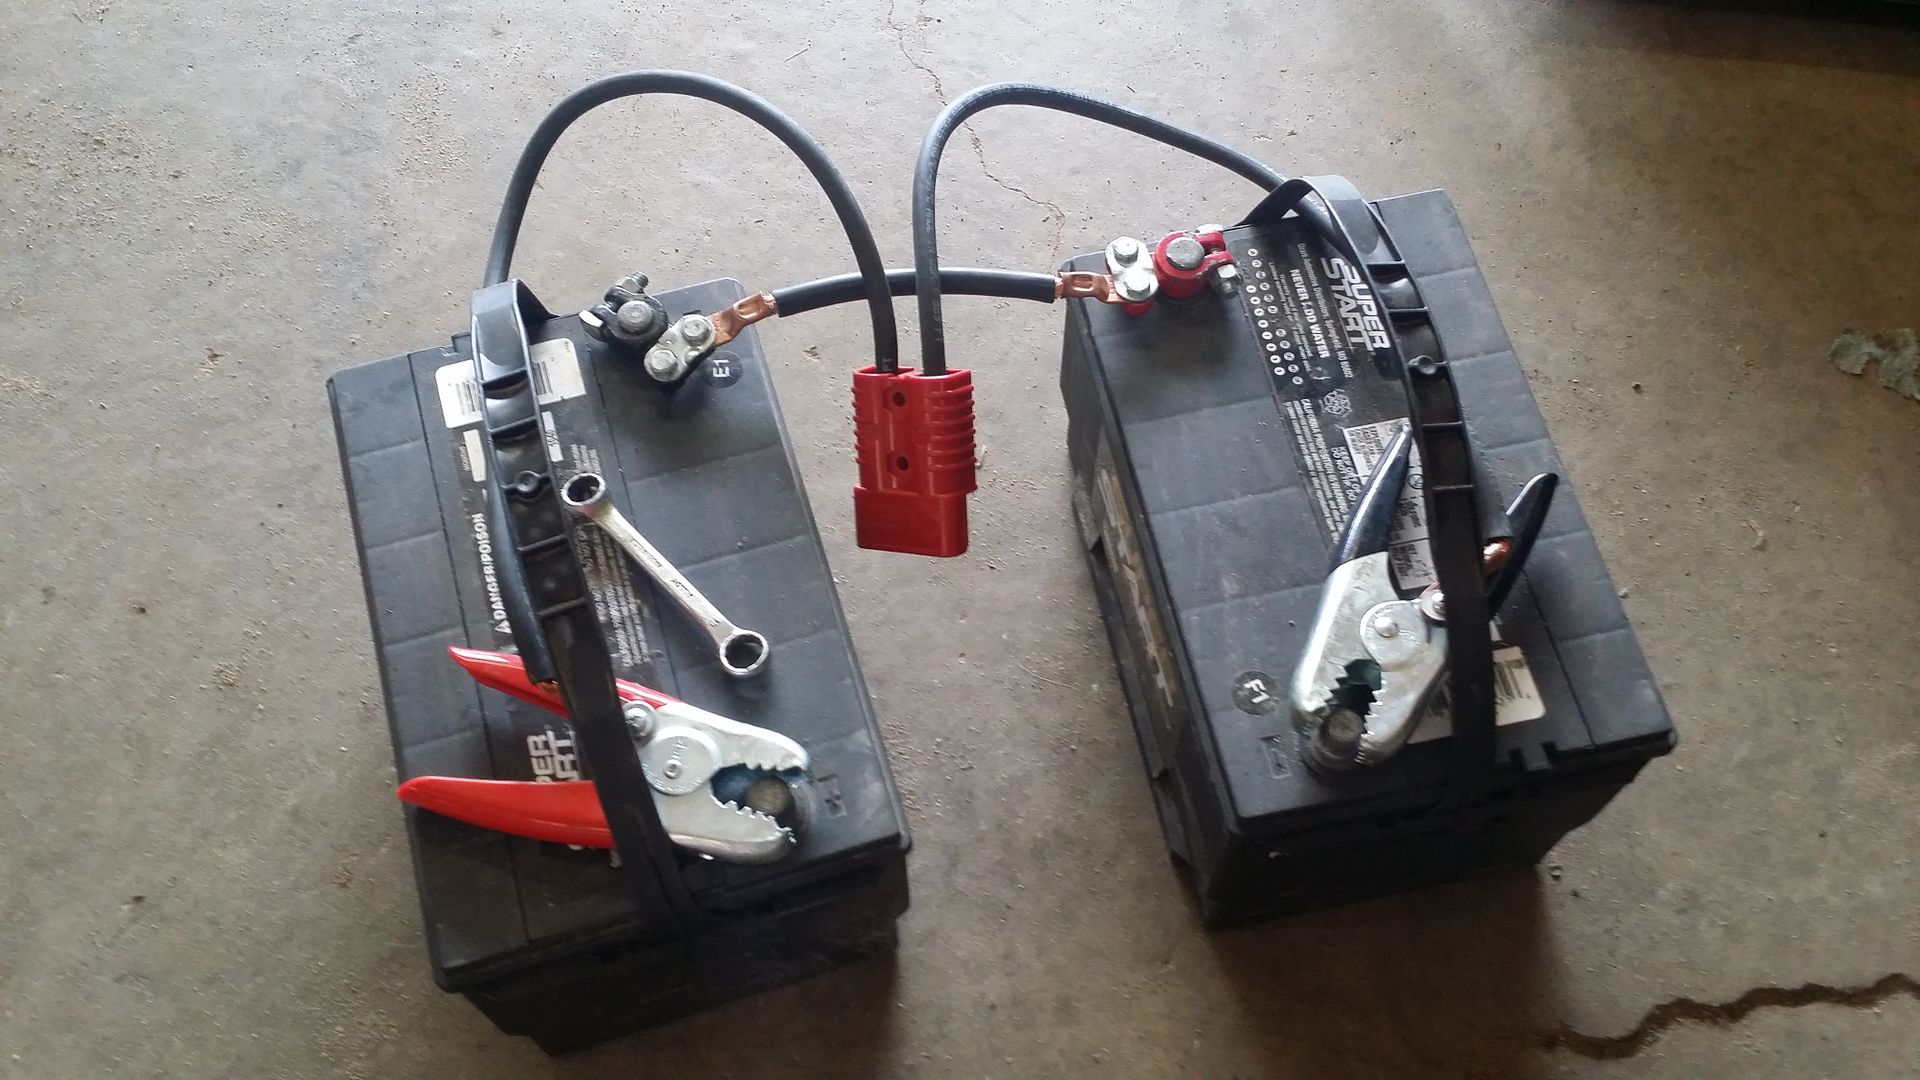
I don't have a 220v welder but I do have a lot of truck batteries....

20150711_144205_zps8zdfquhh.jpg


Out comes the Ready Welder and I literally touch the nut with the wire and it instantly fills and turns the nut cherry red. I love amps!

20150711_144813_zpsaqszmqql.jpg


Unbolt more parts-
20150711_174900_zpscote7o3w.jpg


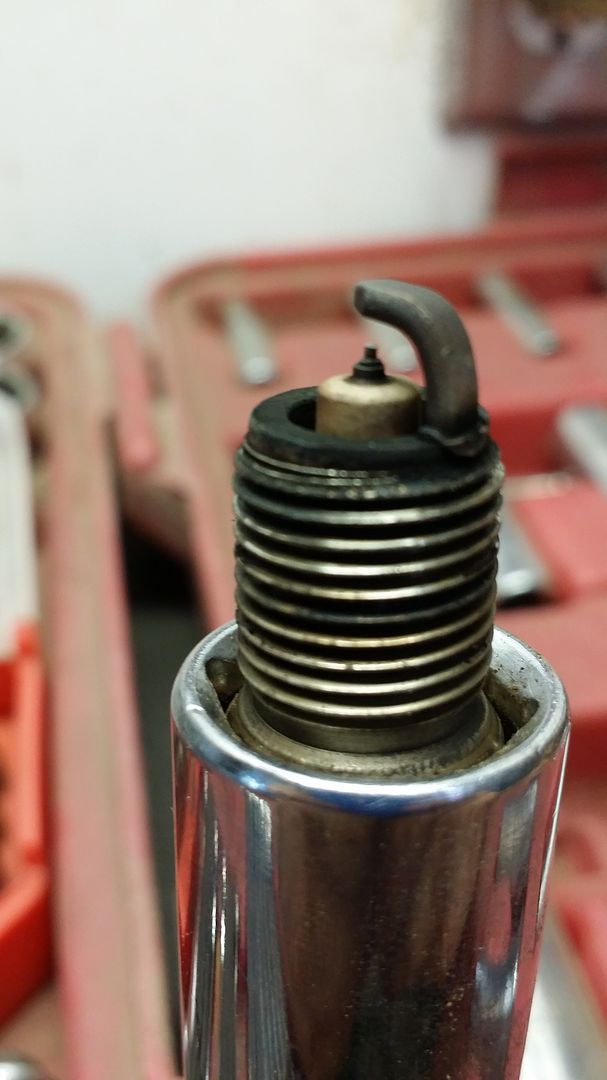
#1 plug looks great - these are the plugs I put in this when I built the engine.
20150711_175146_zpsqgorhtab.jpg


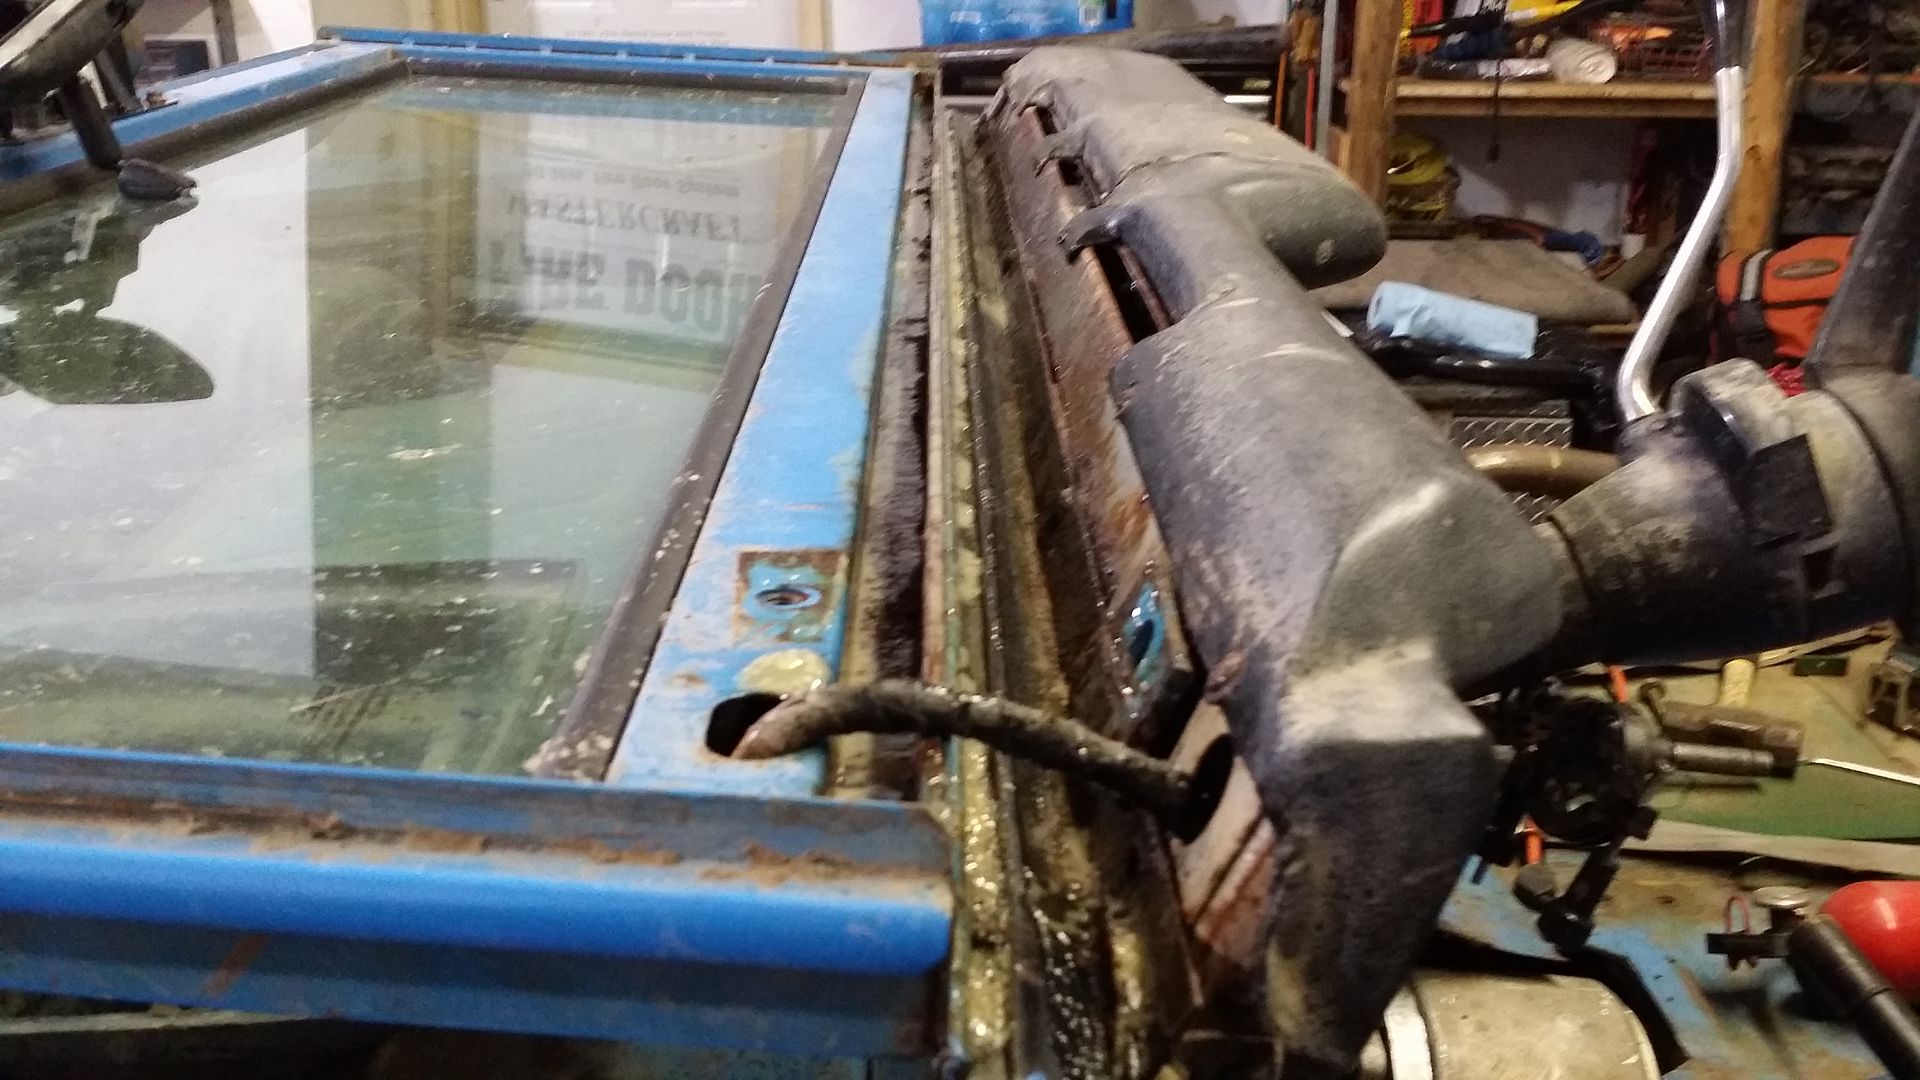
Make a giant ass mess- clean said giant ass mess. Cover it in goo
20150711_221625_zpspvevwpkb.jpg


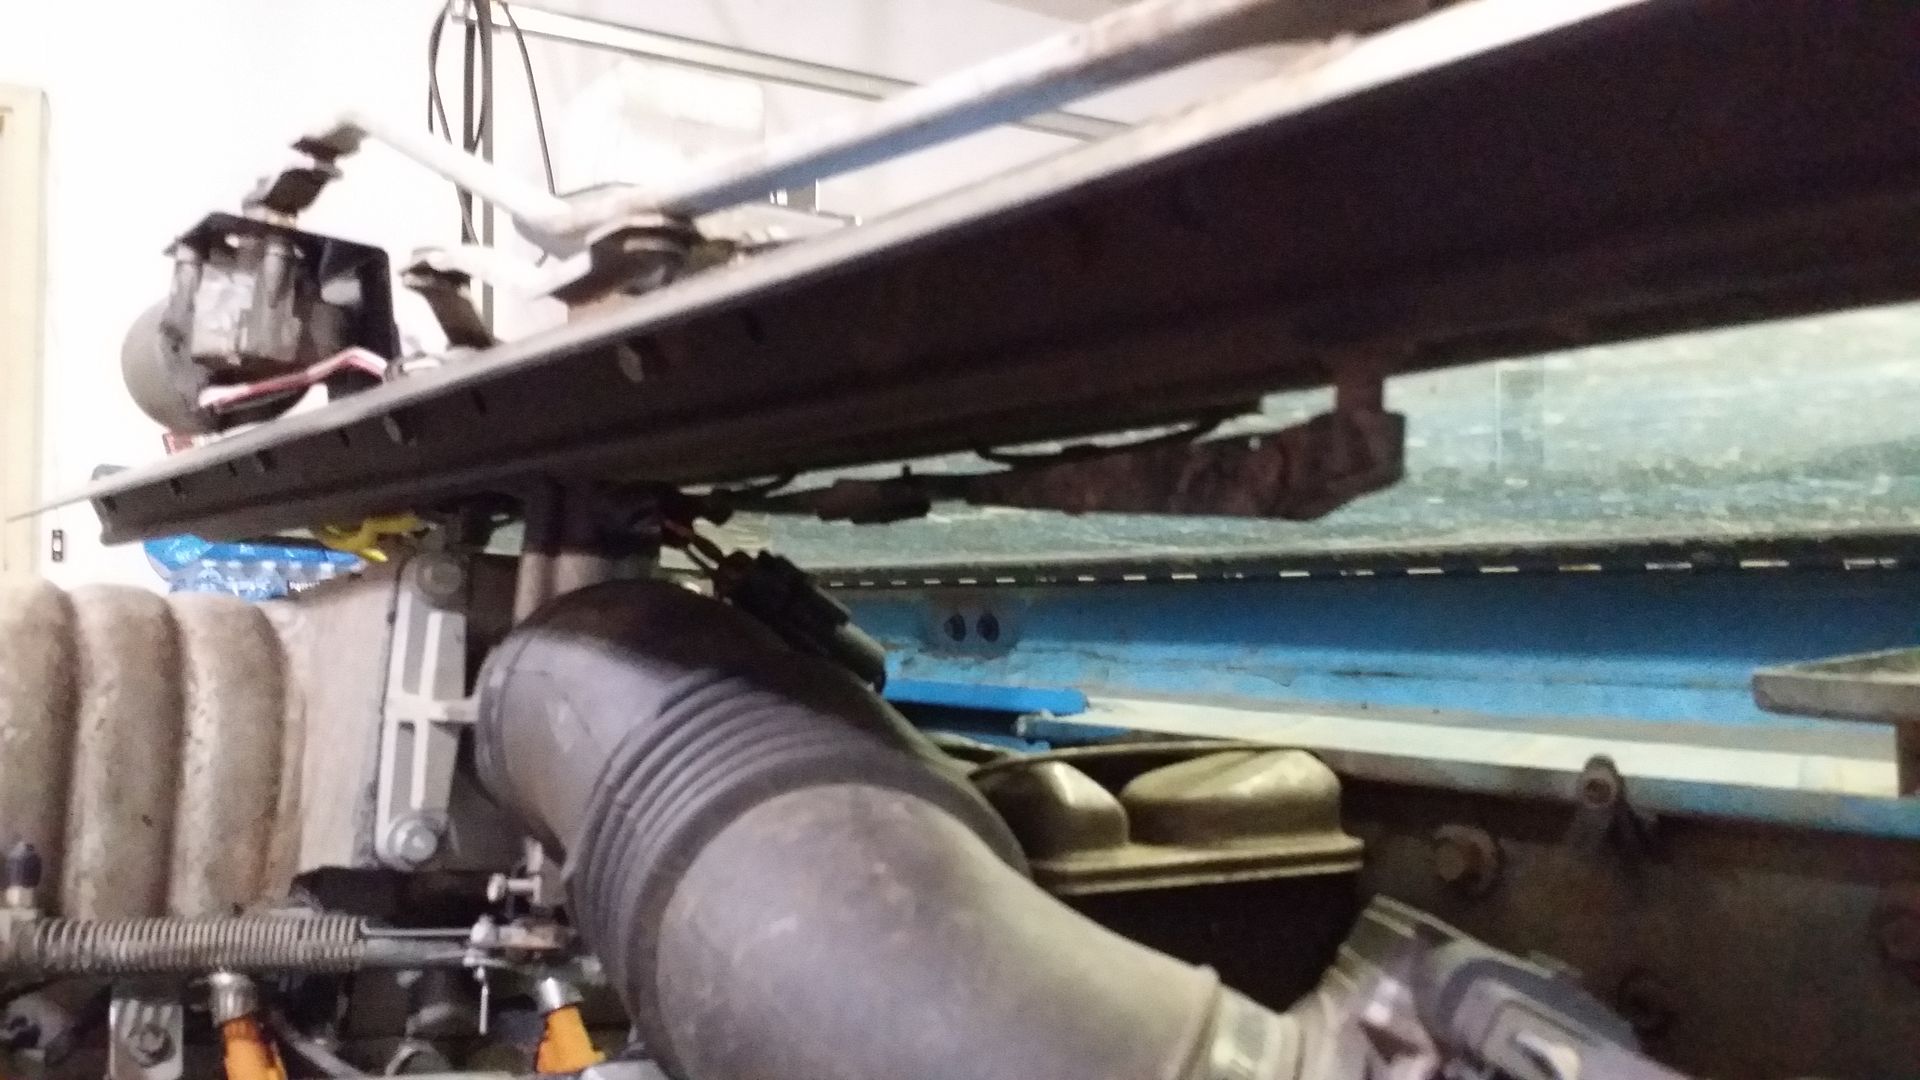
Take the dirty wiring and injectors off your old intake and put it right on the fresh Chinese speed part. Make studs out of bolts - test fit intake gaskets - forget that the driver's side front corner needs to be much longer and have to pull the intake back off.... :mad:
20150711_230209_zpswthu0fyq.jpg


I just stuck the intake on there for fun and notice that there is an extra intake bolt that doesn't line up - not worried about it.
20150711_231321_zpsl72dfoag.jpg


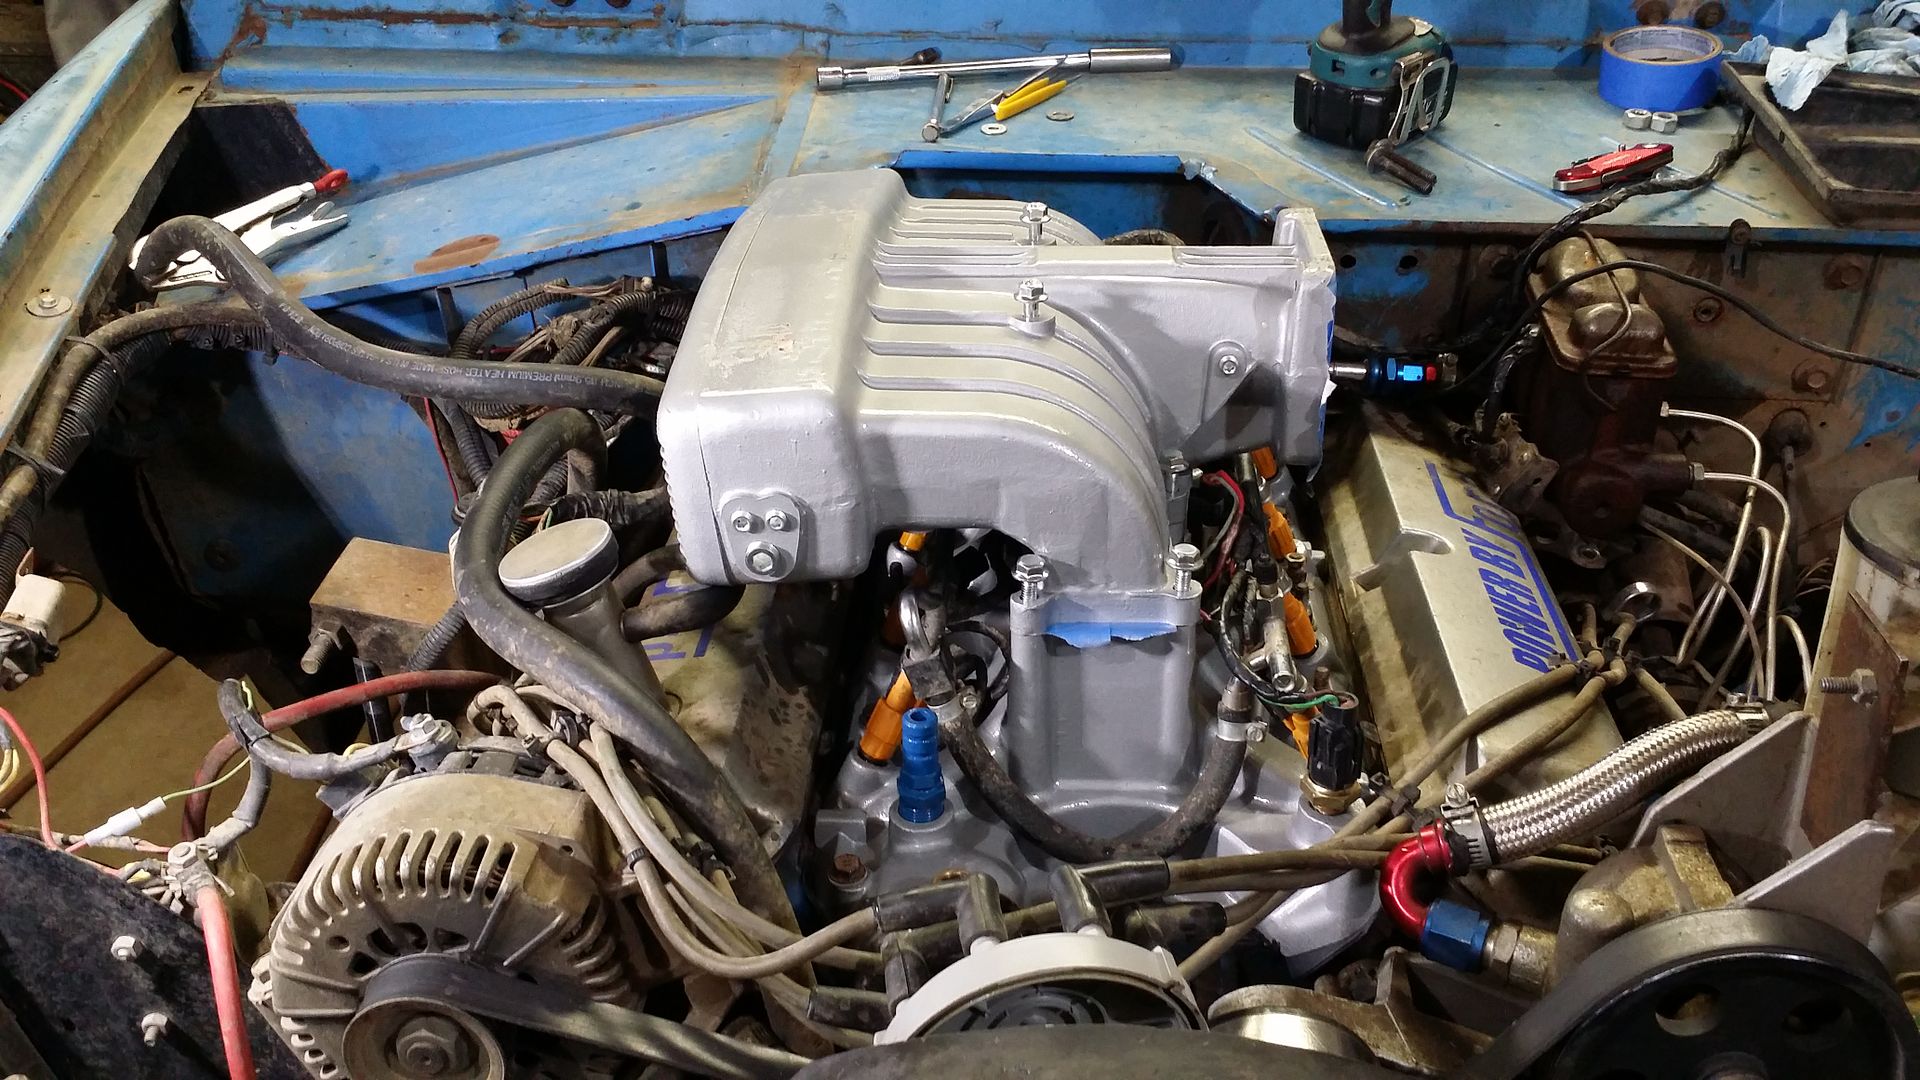
Hope this crap is dry enough to put together in the morning-
20150711_232315_zpsadtwevlw.jpg


It looks like I'm going to need a MAF adapter for that throttle body. I'm going to put a new radiator in it just for fun - this is a junkyard unit I had meant to replace some time ago. I have to get a new gasket for between the intakes as the provided gaskets look like dirty conveyor belt material. Most importantly I need to hit up a junkyard and get the plug for the MAF so I can get it running right. I'm hoping to get this buttoned up tomorrow so I can start test fitting my headers - time to make some sweet Windsor music ;D


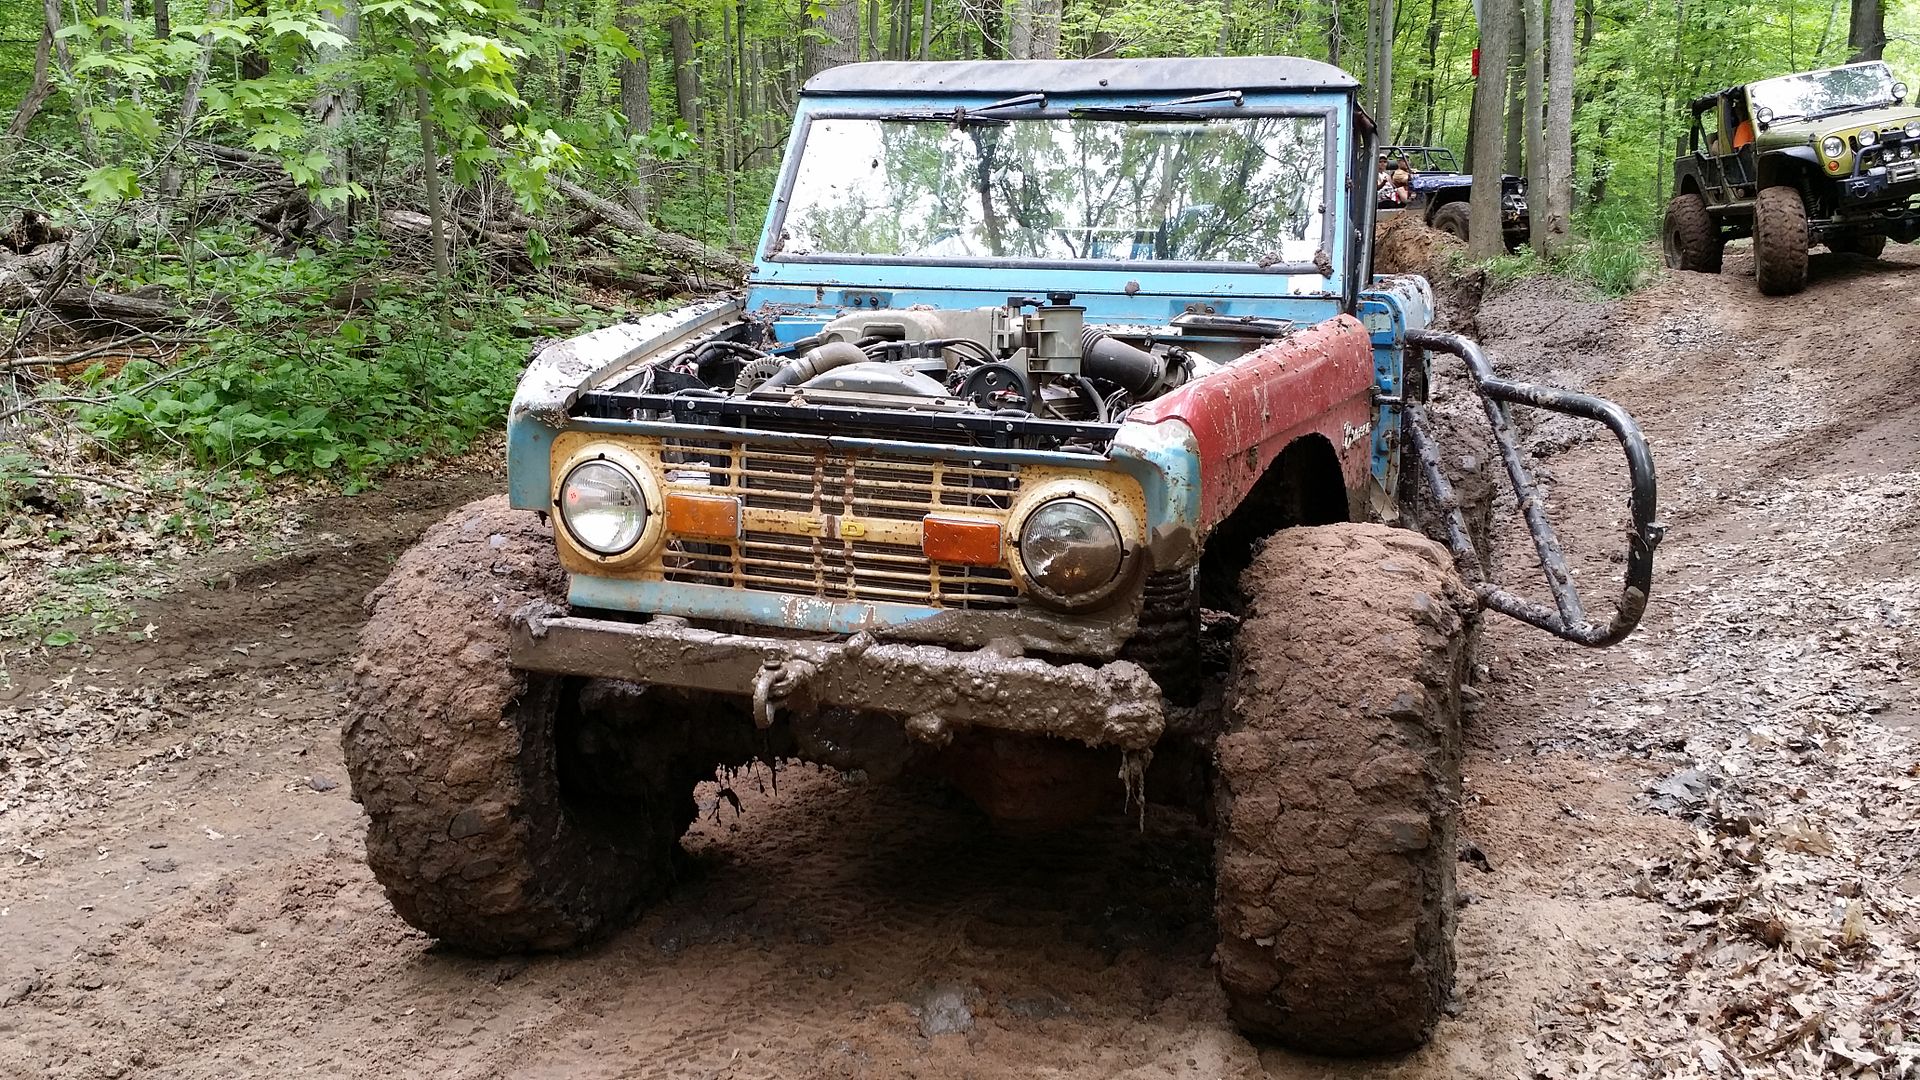
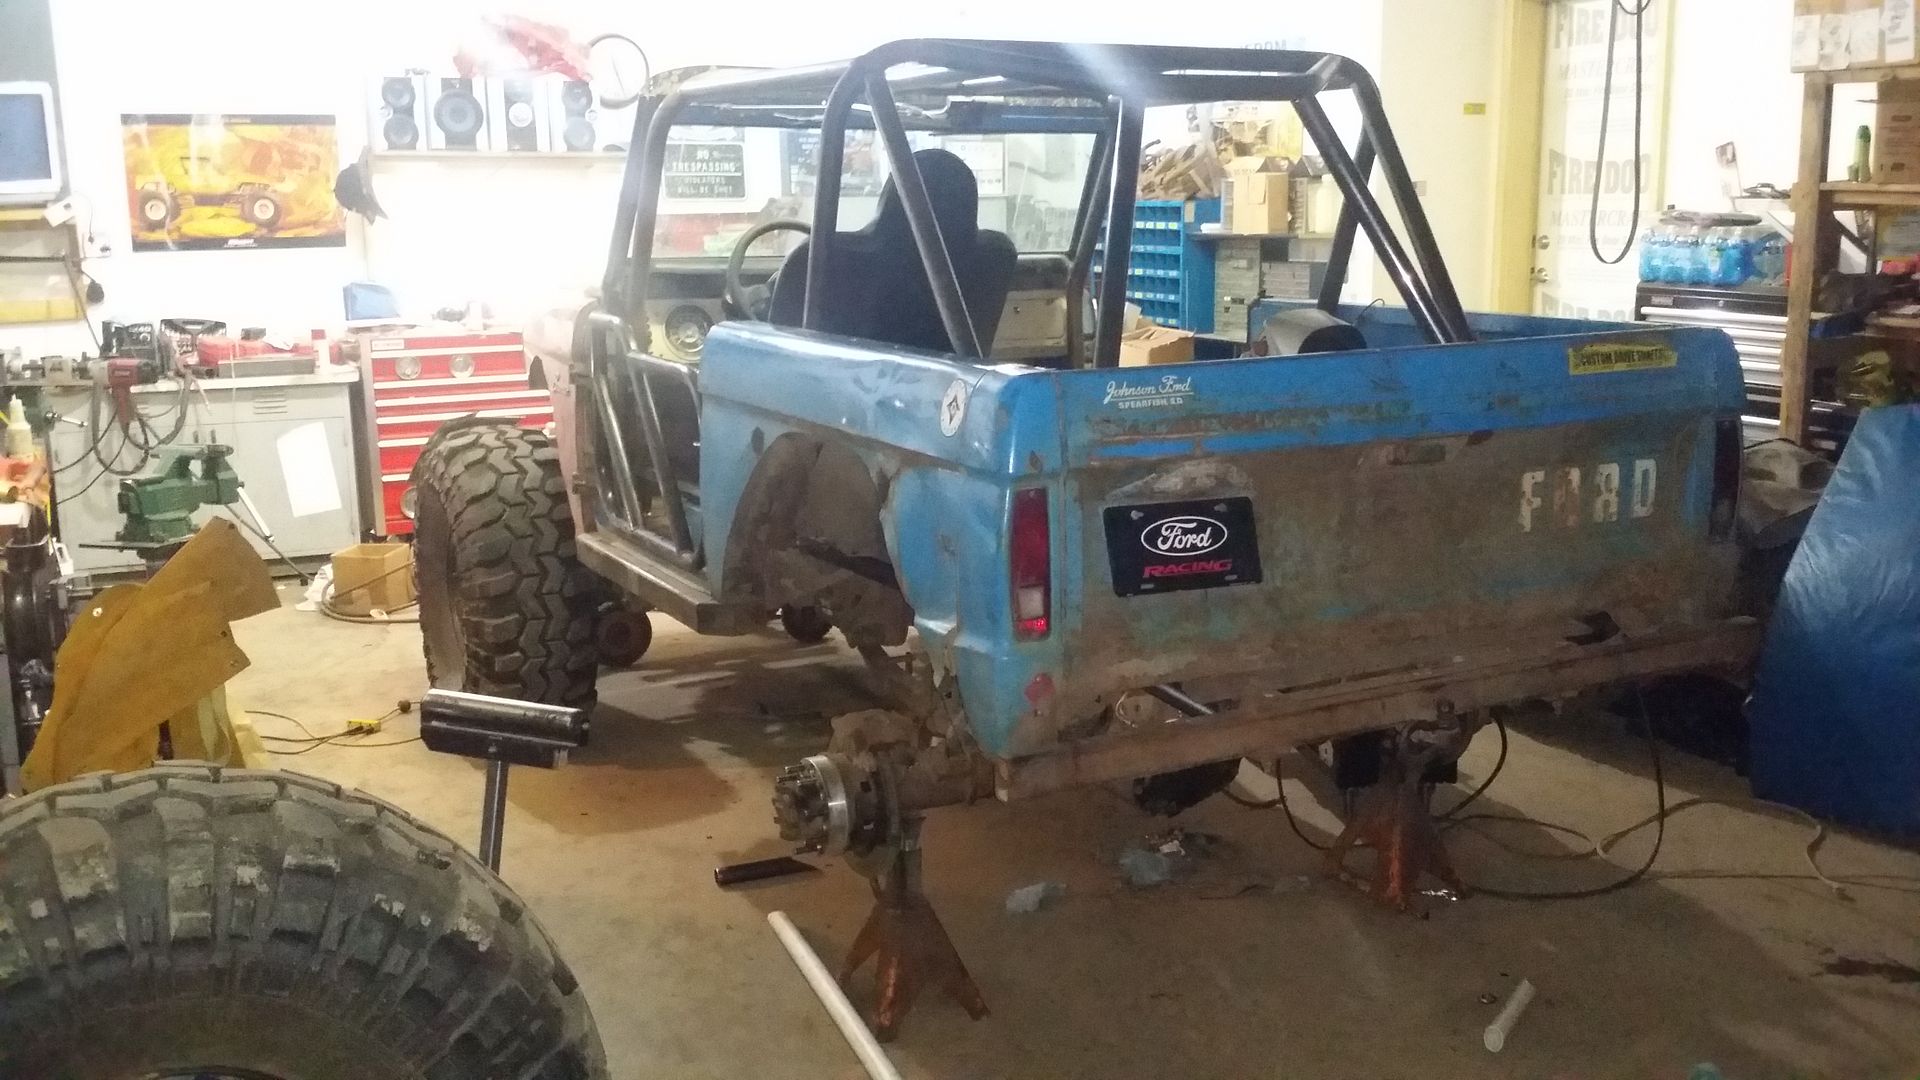
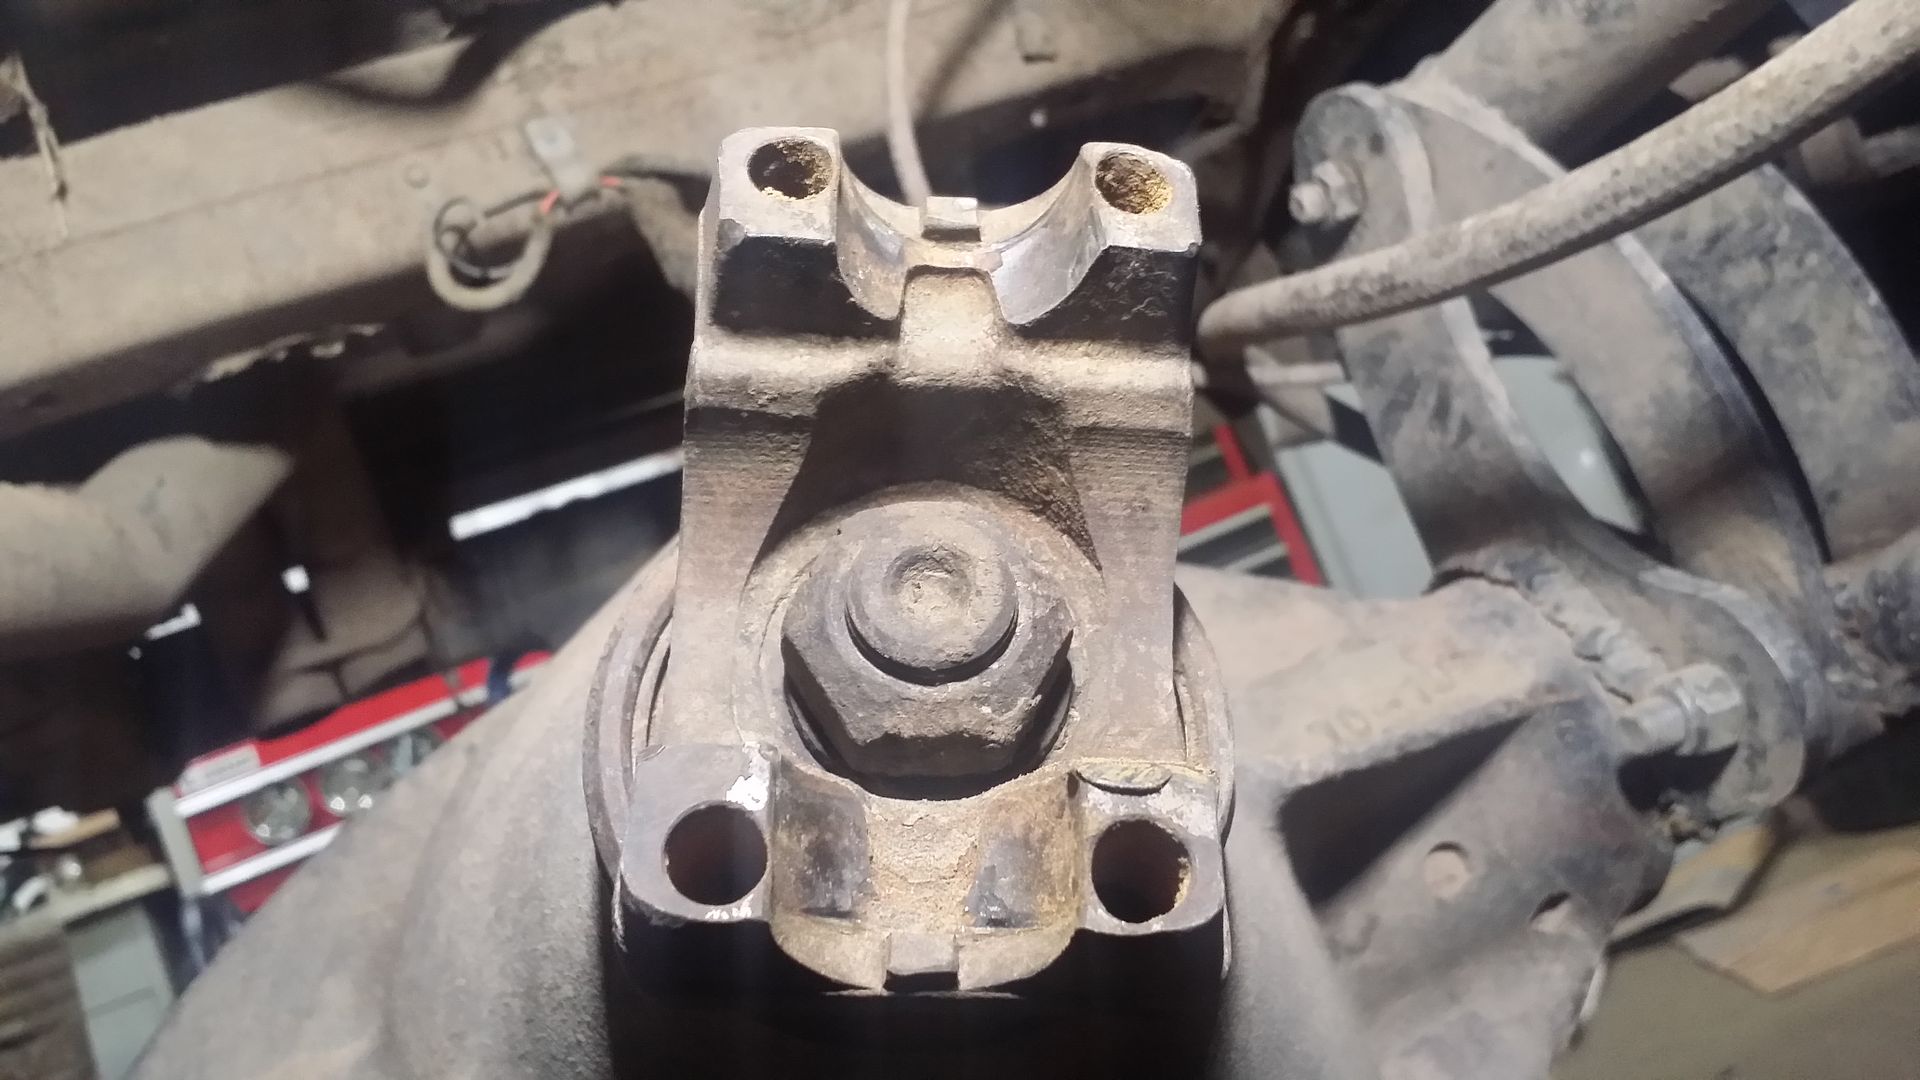
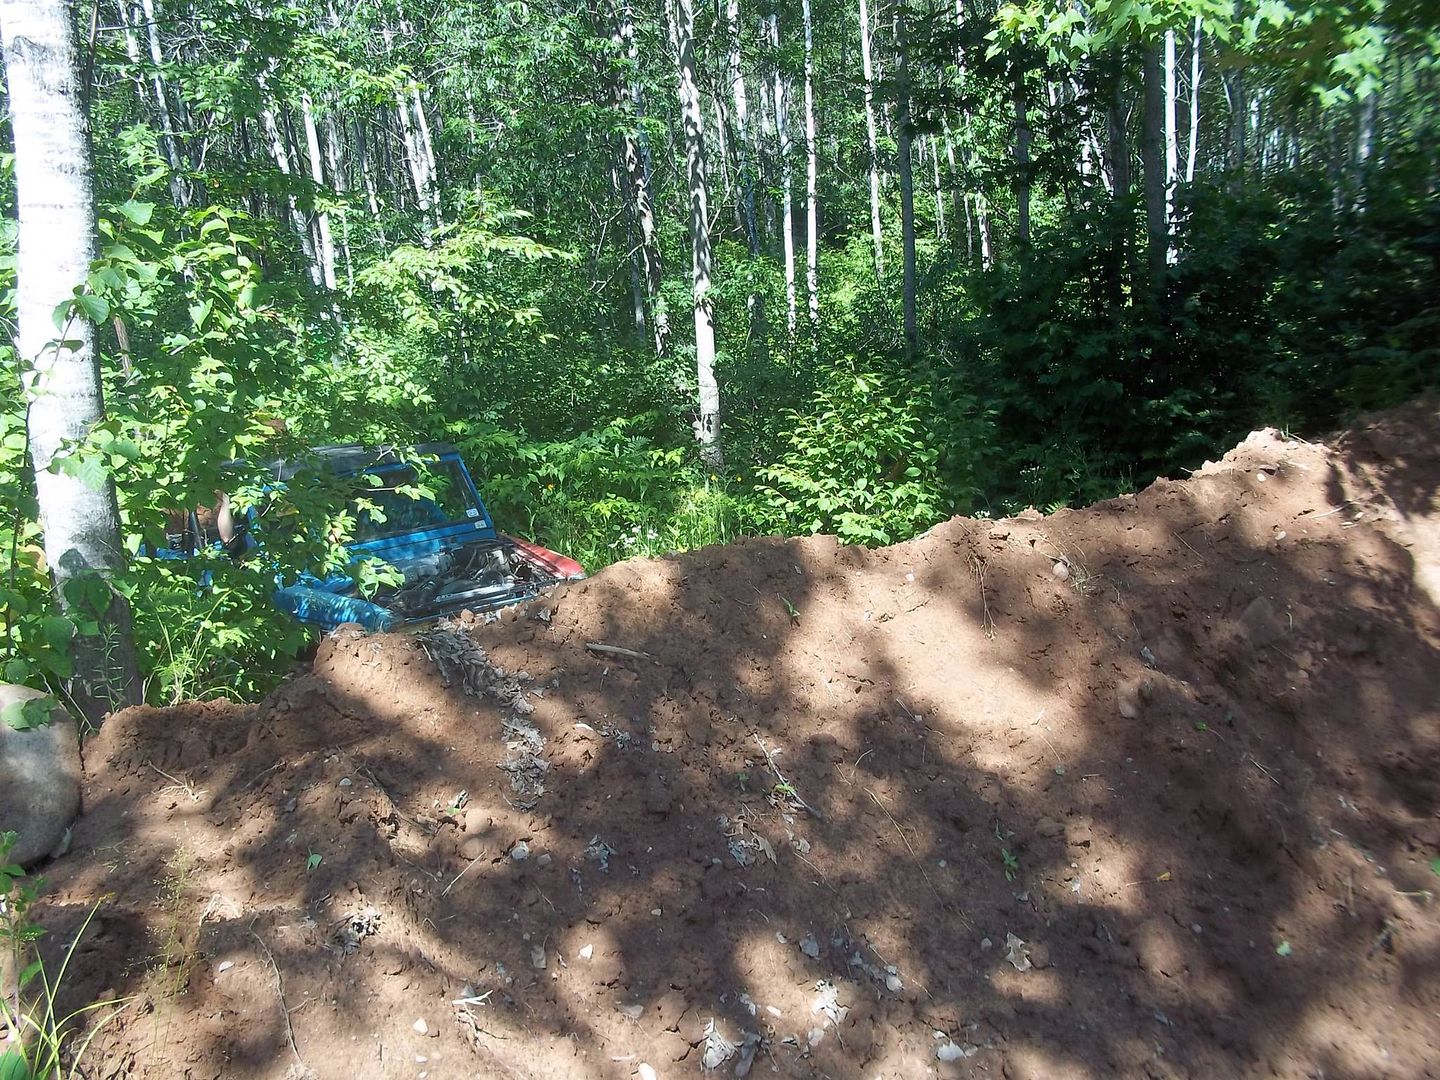
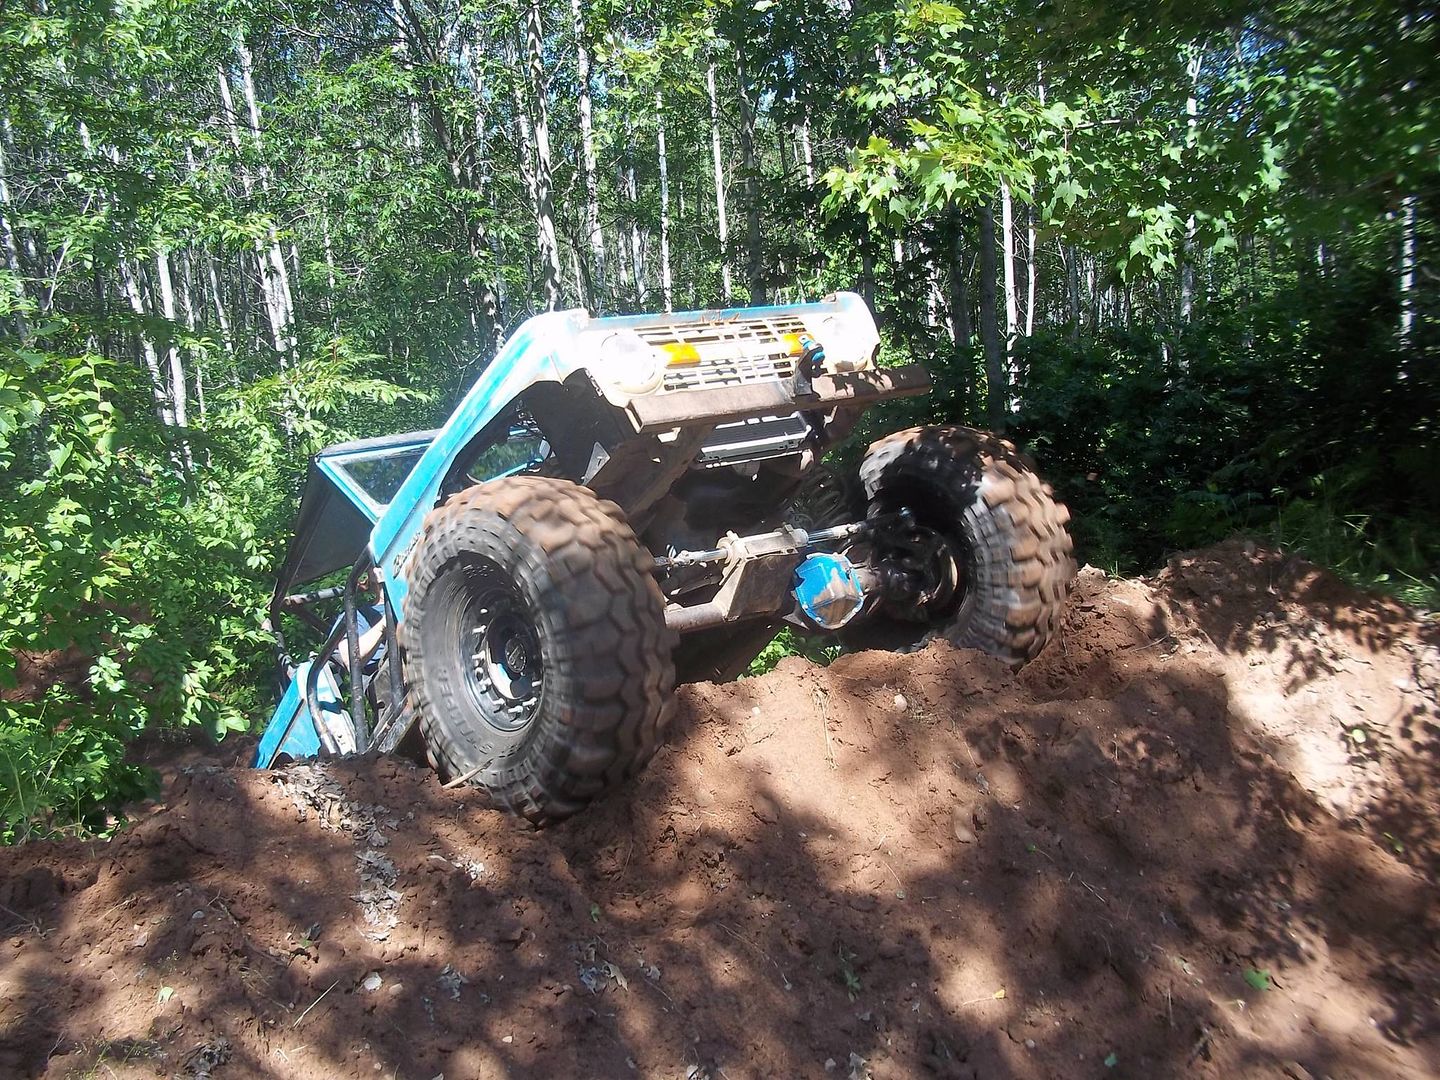
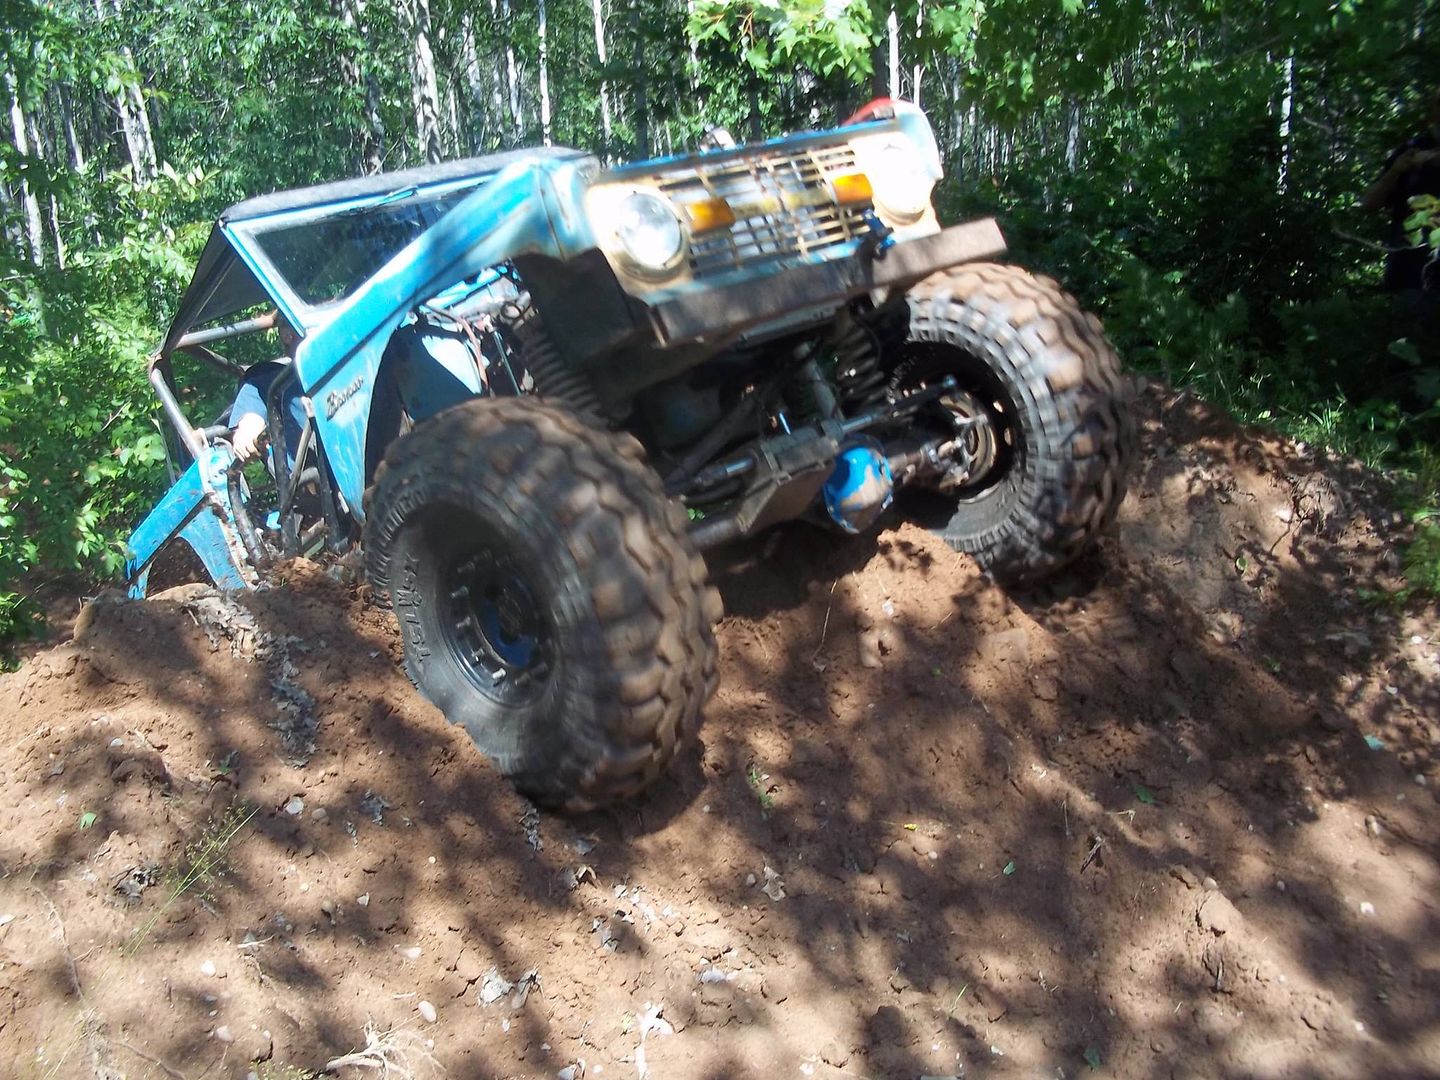
I'm going wheeling next weekend - I ordered u-joints so I can rebuild my front drive shaft. I'm really looking forward to this as the last two events I had fuel issues and I got that fixed just before I started this project.
 
OP
OP
KyleQ

KyleQ

Bronco Guru
Joined
Apr 24, 2008
Messages
5,480
Well today I got up and made a run to the pick n pull and pulled three different MAF connectors - all were different and I'm glad I did as I forgot the damn MAF to compare it to. I got everything painted, swapped over the throttle linkage from MAF to MAF and fired it up for the first time - no leaks, runs sweeeeet.

[youtube]EIkx3FHtJXs[/youtube]

After it ran and I let it warm up and open the thermostat I got a leak on my crappy water neck. I ran into this problem when I first built the motor but made my own gasket to get by - well at 1 in the morning you can't get parts, so I just used a bit of RTV and put it together - apparently not good enough. It pushes water and makes one hell of a noise now- hopefully its just that and not a vacuum leak.

I was basically racing against the clock to get the engine together and out so I can put my wife's 16' Fusion in the garage - we have some NASTY weather on the way - surprised I still have power.

My buddy saw that it was pushing some black smoke - it didn't do it the second time, computer is probably learning. Again - tough to tell at night.
[youtube]bxgvJxt6PcM[/youtube]

Special thanks to resident EFI Guy on the tune and service so far - dude must have a phone on him at all times because no matter when I email him I get a near instant response.

I'll show in the pics later but I used a different plenum from the TB and had to pull the MAF adapter off my 96' FSB so I could put everything together. It now points forward and sits over the steering orbital, close to the spring and next to my trans cooler - it should provide cool and more importantly clean air.
 
OP
OP
KyleQ

KyleQ

Bronco Guru
Joined
Apr 24, 2008
Messages
5,480
This is how it turned out-
20150714_181611_zps32mzglvf.jpg
20150714_181619_zpsxrqwwxkv.jpg


That housing turned out to be junk- see how flat it sits?
20150714_205631_zpsq68ylxo8.jpg


I tried using an OEM housing but what I have are the 45* housings and I need the 90*

$11.49 later for the housing with a 180* stat and a quality gasket I've got a solution.
20150714_205536_zpsuoatsxlb.jpg

It even has a threaded port for my water temp sender - even better you can tell it was cast and them machined flat. This shouldn't leak, I'm painting it silver and clear coating it so it blends into the intake.
 
OP
OP
KyleQ

KyleQ

Bronco Guru
Joined
Apr 24, 2008
Messages
5,480
I will this weekend - its hard to tell on flat ground, but it seems to be a bit snappier. I'll bring the Go-Pro - Ma & Pa Rockers.
 
OP
OP
KyleQ

KyleQ

Bronco Guru
Joined
Apr 24, 2008
Messages
5,480
Ok - no more water leaks but without a PCV valve and filter I get some gnarly whistling through the intake. I put a PCV, grommet and filter in and the sound went away but now the radiator is leaking from where the tank meets the core.... Ugh. I'll have the replacement tonight - at least this radiator will make a good trail spare. I believe all I've got left, after the radiator swap, is just to grease things and load up the trailer... Oh yeah, the trailer - which had a flat tire %) That is up at the shop getting fixed - not sure if it is the tire or the valve stem.
 
OP
OP
KyleQ

KyleQ

Bronco Guru
Joined
Apr 24, 2008
Messages
5,480
Well the PCV valve came out anyway and put oil all over while I was climbing hills - but wow does she ever climb hills now!

Go to Ma and Pa Rockers around 2PM on Friday-
20150717_163318_zpslchcbzku.jpg


Ripped off a caliper in camp as I did a brake test coming into camp - luckily it still stopped but the pedal went to the floor. Got out and found it on the wrong side of the axle.
20150718_122513_zpshnprfhqt.jpg


Had a buddy roll over his truck
20150718_135031_zps3ya281oj.jpg


Made it problem free all day Saturday after I pinched off the brake line and ran with 3 calipers.
20150718_171143_zpsnzolw4do.jpg


Sunday morning I hit a hill a little too hard and came down under power backwards and exploded the drive shaft, ripped off my anti-wrap bar and bent the crap out of my springs.

20150719_154352_zps0qbsk3o8.jpg


I've got the wrap bar bent back somewhat close to where it should be and the springs look much better. I'm going to make some gussets for the wrap bar to make sure this doesn't happen again - then I'm just a u-joint and straps away from playing again.

Here is their challenge hill -
[youtube]hD2AhjsMSJA[/youtube]


I'll have some more video up later this week - I've got a lot to do before I can go wheeling again....
 
Top