• Welcome to ClassicBroncos! - You are currently viewing the forums as a GUEST. To take advantage of all the site features, please take a moment to register. It's fast, simple and absolutely free. So please join our community today!
    If you have problems registering or can't log into your account, please contact Admin.

The Coal Burner Bronco

OP
OP
O

OPCJeff

New Member
Joined
Apr 30, 2016
Messages
99
Loc.
Orange, CA
People usually cut something and leave it for a long time unworked on lol.

haha thats certainly the other way to look at it.

I usually try and figure out as much as possible before hand. I added hydroboost brakes ahead of time knowing I wouldnt be able to use the vacuum brakes I had before. Knocked one thing off the list and there were a lot more little things I did ahead of time too. But at some point scratching my head wasnt getting anything done so I just had to jump in and not stop till it was done. ;D
 

Pa PITT

Contributor
Bronco Guru
Joined
Jul 15, 2005
Messages
11,279
Loc.
Stephenville TEXAS
Great Job OPCJeff.. Looks like a lot of great work.
I too have a 4BT IN my 72 Bronco .. Mine took about a year too do But I'm an old fart .. So I can see I don't work up to your speed. Great Job for sure...
Some one ask about FUEL MILEAGE .. MINE GETS ABOUT 14MPG. ONCE I Got 26 but that was in a car show cruise. I drove mine at about 25 mph for 4 hours & We figured it at 26mpg.
.. My 4BT Bronco HAS been TOGETHER for about 8 or maybe 9 years now.. MINE IS SO MUCH Different than yours.. Texas vs. CALIF. I guess mine is used on the farm. .While yours is in town.. But man I love my 4BT.. IT'S SO DEPENDABLE..
..................................
... I CUT MY FRAME ABOUT like you cut yours. But I did use heavier Angle iron in the slot.. I've said many times that I believe the IH Scout would have been a better Vehicle to put the 4BT into, But I choose my more classic Bronco .
... My cut into the oil pan is about twice as thick as yours.
... My trans is the NP435 . 4 speed while yours is auto .. I'm using mine in the Pasture & I love my low 1st gear 6.54 .. Your Auto in town & Highway . & then into the hills .. Wow that Auto would be sweet.
... & Guys You can learn to weld. If you can work with someone for a week. You can make Biscuits.
... I'll add a couple pictures of mine.
 

Attachments

  • DSCN6453.jpg
    DSCN6453.jpg
    144.6 KB · Views: 70
  • P1010018 1.jpg
    P1010018 1.jpg
    171.4 KB · Views: 83
Last edited:

Skiddy

Bronco Guru
Joined
Oct 8, 2003
Messages
11,560
I decided to take on full-width axles and airbag suspension while learning to weld. Then, years later, I found myself out of work and applying for a job as a welder. I decided that, if given the opportunity for an interview, I would drive the Bronco to the interview and use it as a demonstration of my work. Then, if I didn't get the job, I'd drive straight home and redo all my welds.

Sadly, I never got the call...or the critique...and I'm too afraid to post pictures of my welds.
;)
lol too funny;D
looks great on the conversion:cool:
 
OP
OP
O

OPCJeff

New Member
Joined
Apr 30, 2016
Messages
99
Loc.
Orange, CA
Great Job OPCJeff.. Looks like a lot of great work.
I too have a 4BT IN my 72 Bronco .. Mine took about a year too do But I'm an old fart .. So I can see I don't work up to your speed. Great Job for sure...
Some one ask about FUEL MILEAGE .. MINE GETS ABOUT 14MPG. ONCE I Got 26 but that was in a car show cruise. I drove mine at about 25 mph for 4 hours & We figured it at 26mpg.
.. My 4BT Bronco HAS been TOGETHER for about 8 or maybe 9 years now.. MINE IS SO MUCH Different than yours.. Texas vs. CALIF. I guess mine is used on the farm. .While yours is in town.. But man I love my 4BT.. IT'S SO DEPENDABLE..
..................................
... I CUT MY FRAME ABOUT like you cut yours. But I did use heavier Angle iron in the slot.. I've said many times that I believe the IH Scout would have been a better Vehicle to put the 4BT into, But I choose my more classic Bronco .
... My cut into the oil pan is about twice as thick as yours.
... My trans is the NP435 . 4 speed while yours is auto .. I'm using mine in the Pasture & I love my low 1st gear 6.54 .. Your Auto in town & Highway . & then into the hills .. Wow that Auto would be sweet.
... & Guys You can learn to weld. If you can work with someone for a week. You can make Biscuits.
... I'll add a couple pictures of mine.

Yah my around town driving is probably much more efficient than your farm driving. That said I wish I just did farm driving. Im so sick of California I cant even explain it. If texas wasnt so hot we'd move there. Hell the way things are going we just may go there anyways. Mine has the 3:90 (i think) tereflex transfer case gears and with the 4:56 rear gears and the low first gear it crawls great. Havent actually done the math to the final ratio but i guess it doesnt matter it works awesome.

I agree it doesnt take much time to figure out how to weld decent. Just takes time to learn how to weld nice!
 
OP
OP
O

OPCJeff

New Member
Joined
Apr 30, 2016
Messages
99
Loc.
Orange, CA
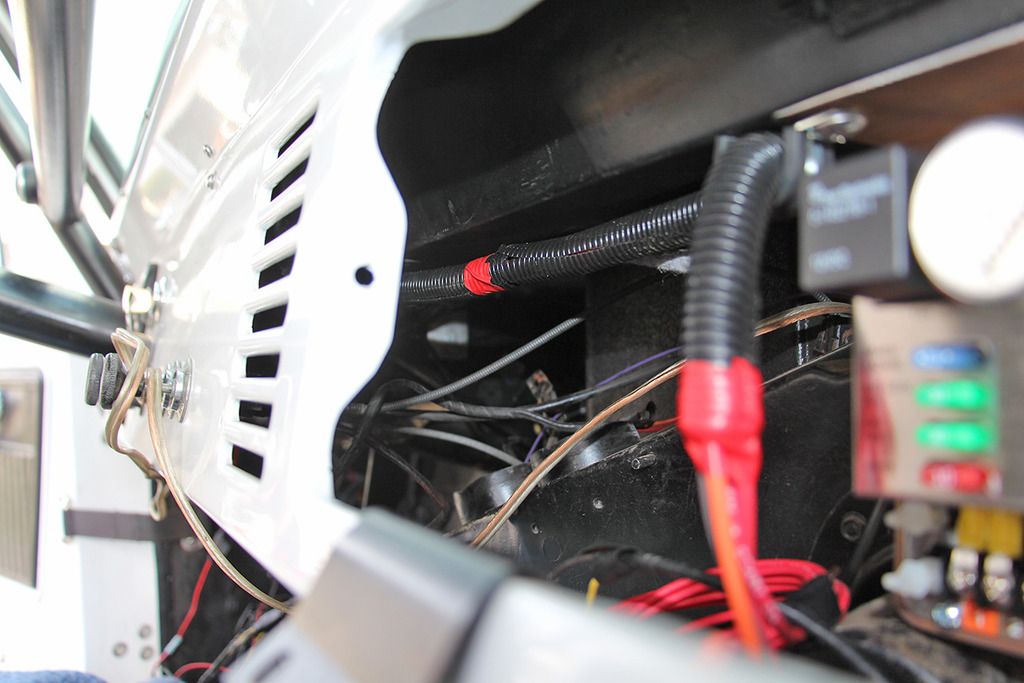
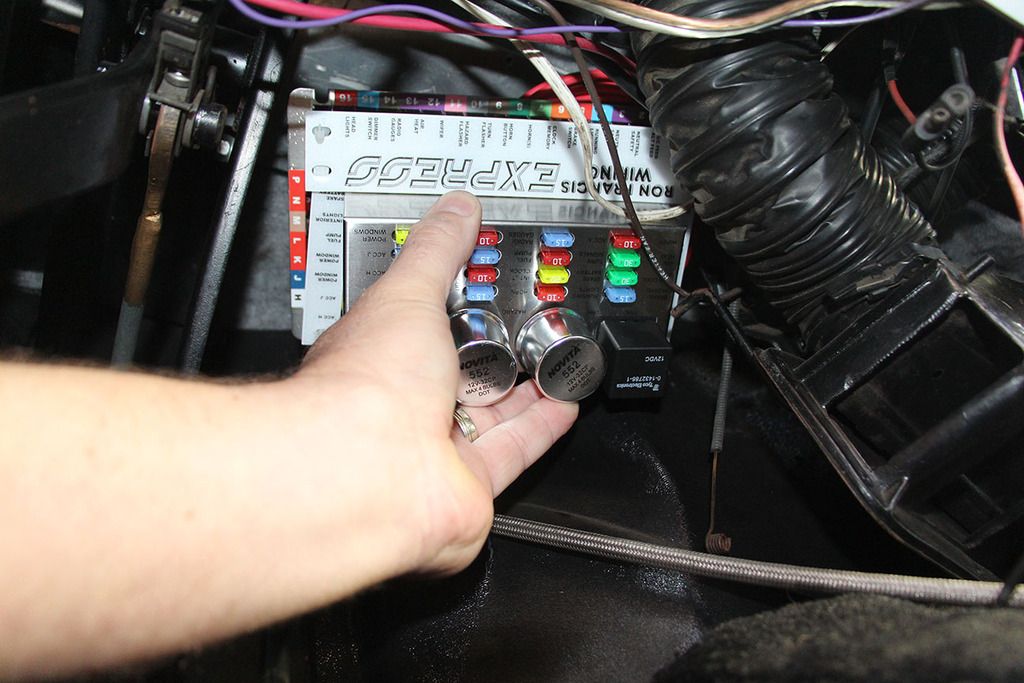
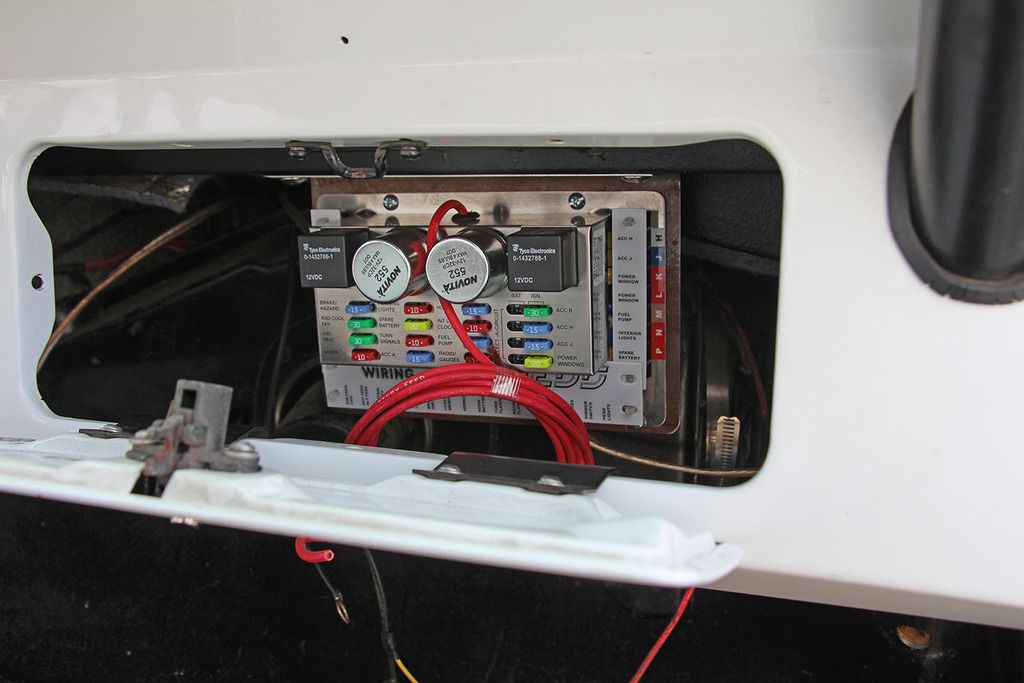
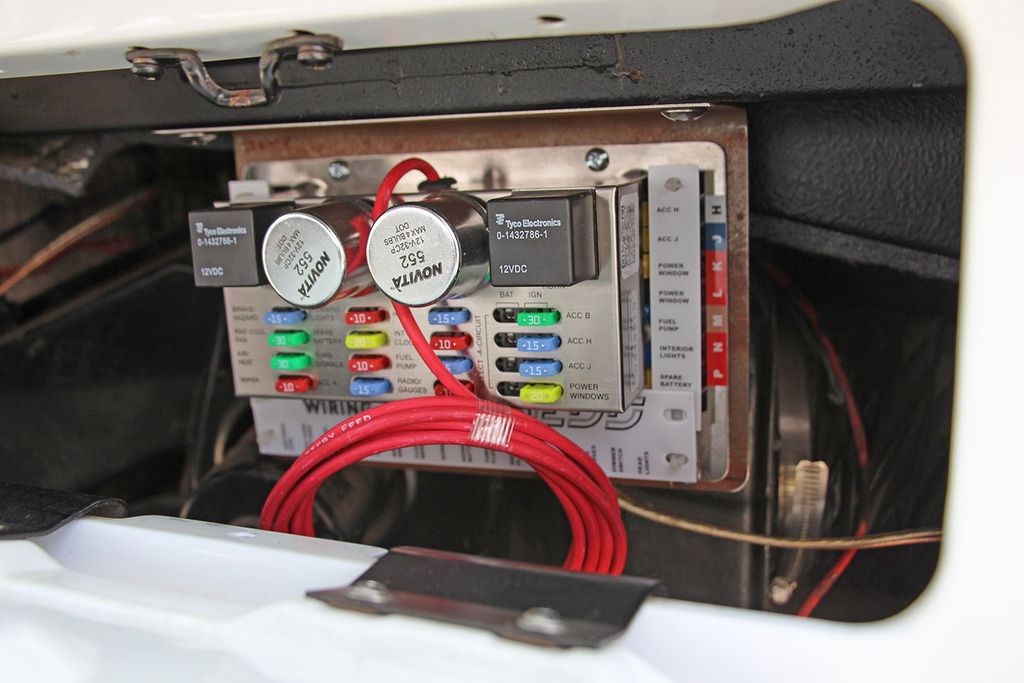
So it took me a while to figure out where I wanted to mount the Ron Francis fuse block. I think it could have worked on the firewall between the gas pedal and heater box but I think getting all the wires situated would have been tough. Another cool spot that I probably would have gone for if I was willing to remove the dash would have been just to the inside of the pedal assembly hanging upside down from the cowl area. With the dash in though would have been tricky to get all the wires hooked up. I ended up sticking it in the glove compartment. Since I have a tuffy box I never use the glove box anyways so this made perfect sense and made it a lot easier to get the wires attached.

Heres a shot of the fuse block at the firewall.


And here it is in the glove box


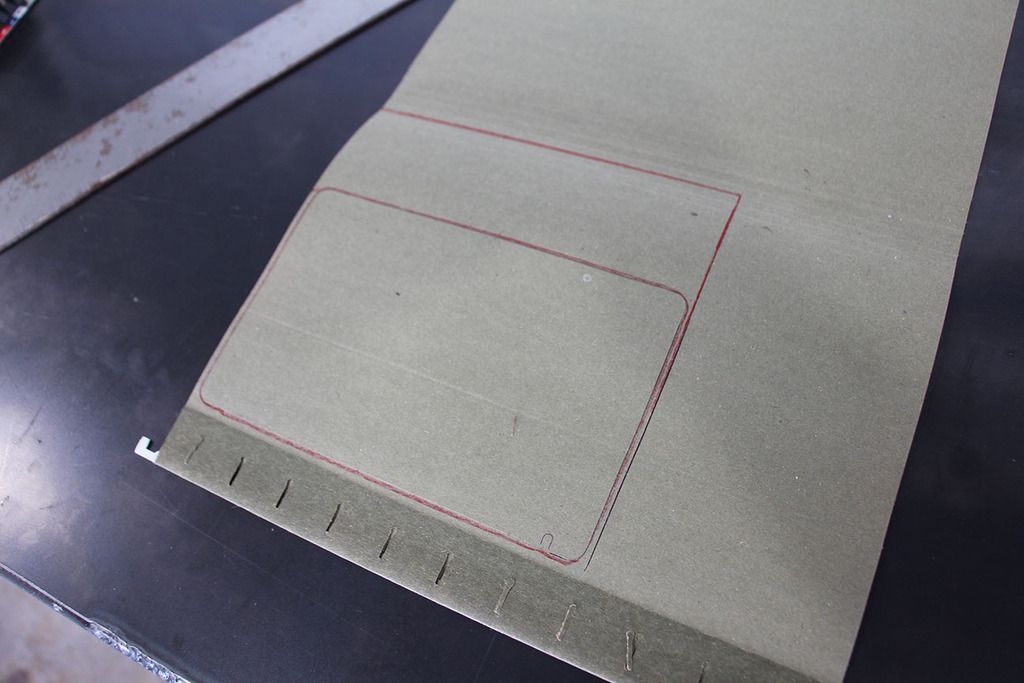
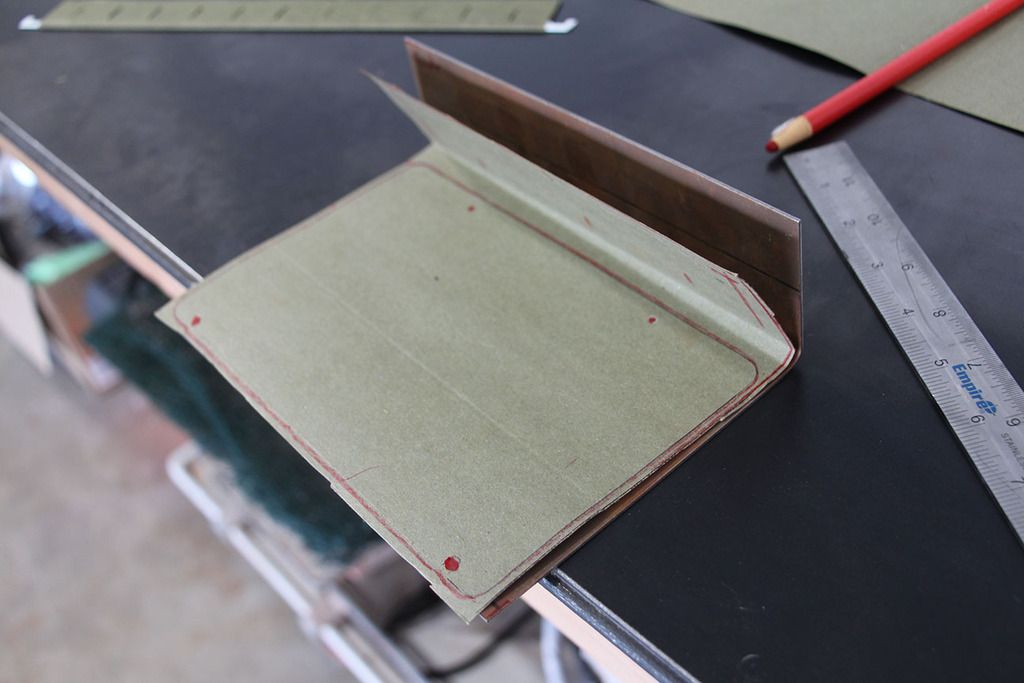
I had to make a mount so I found some file folder paper around the house to cut a template


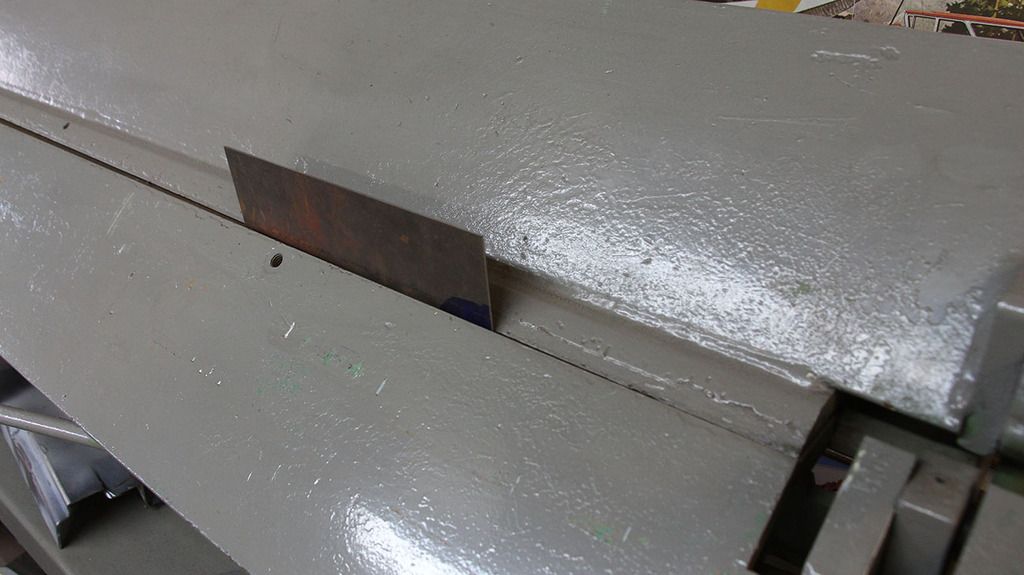
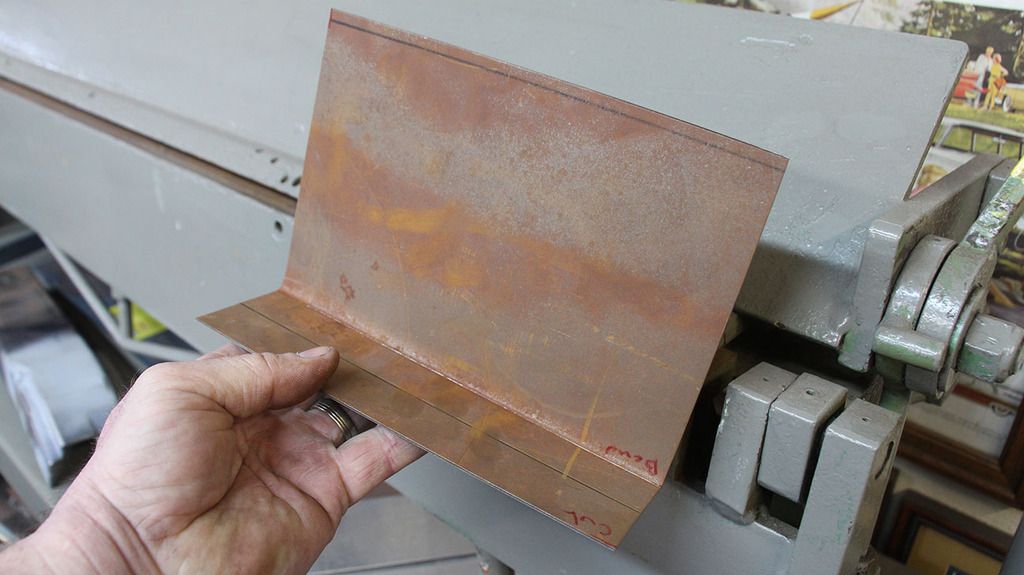
A friend of mine has a really nice bender and break for thin sheet metal so I used that to cut and bend my mount. All in all I think it turned out really nice


Last edited:
OP
OP
O

OPCJeff

New Member
Joined
Apr 30, 2016
Messages
99
Loc.
Orange, CA
More Ron Francis Wiring Installation :)

Getting under the dash was not very much fun so I ended up taking out the seats. This made everything much easier to get to. However it reminded me of how often I vacuum and its not very often
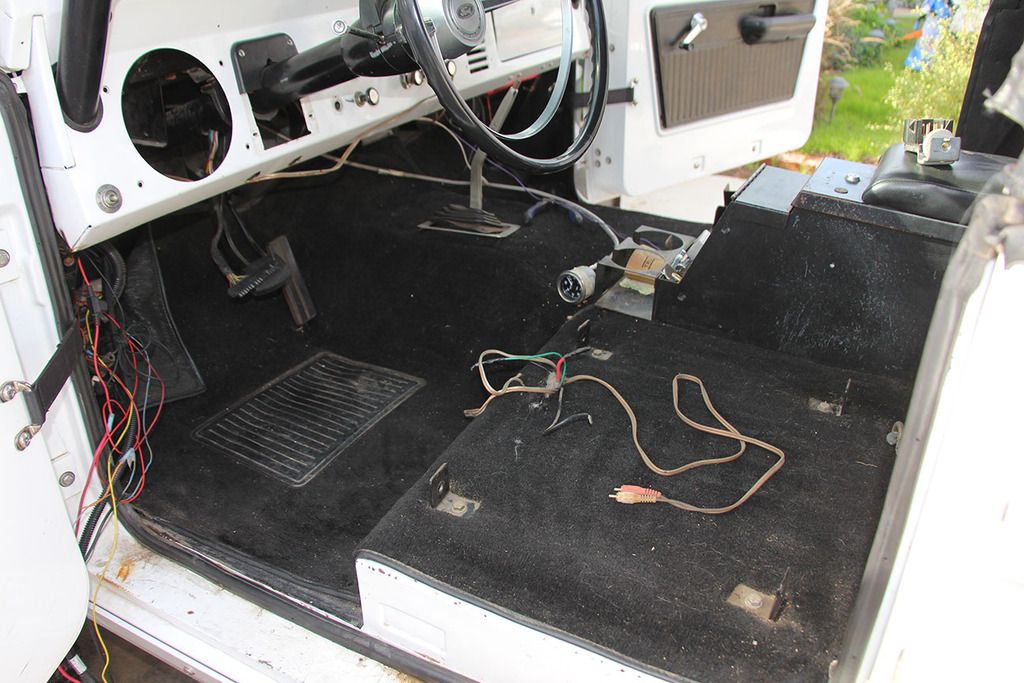

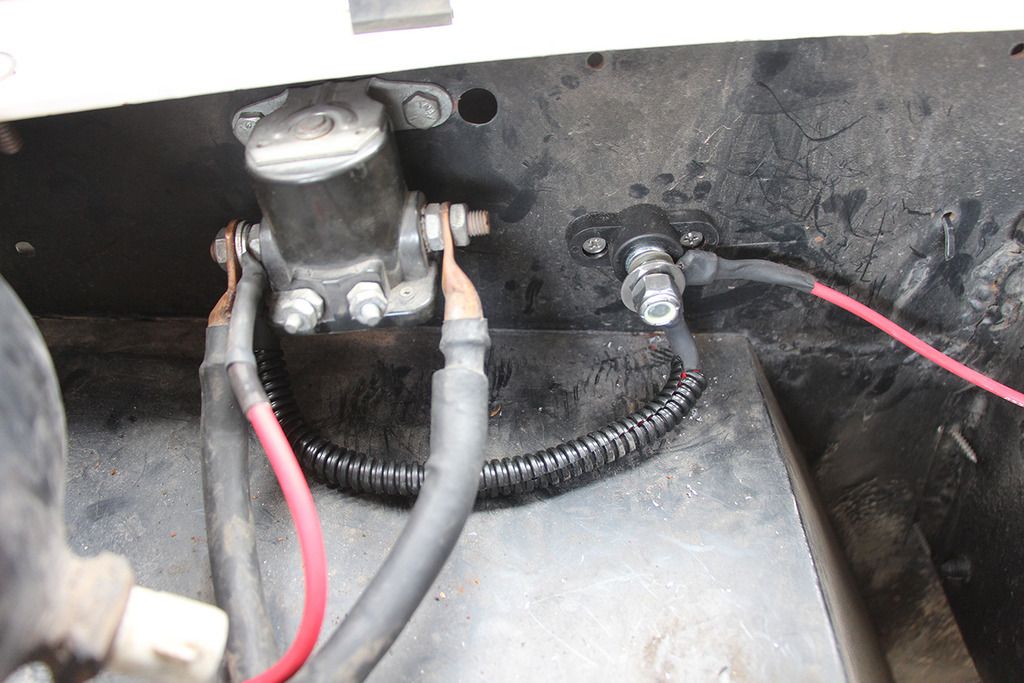
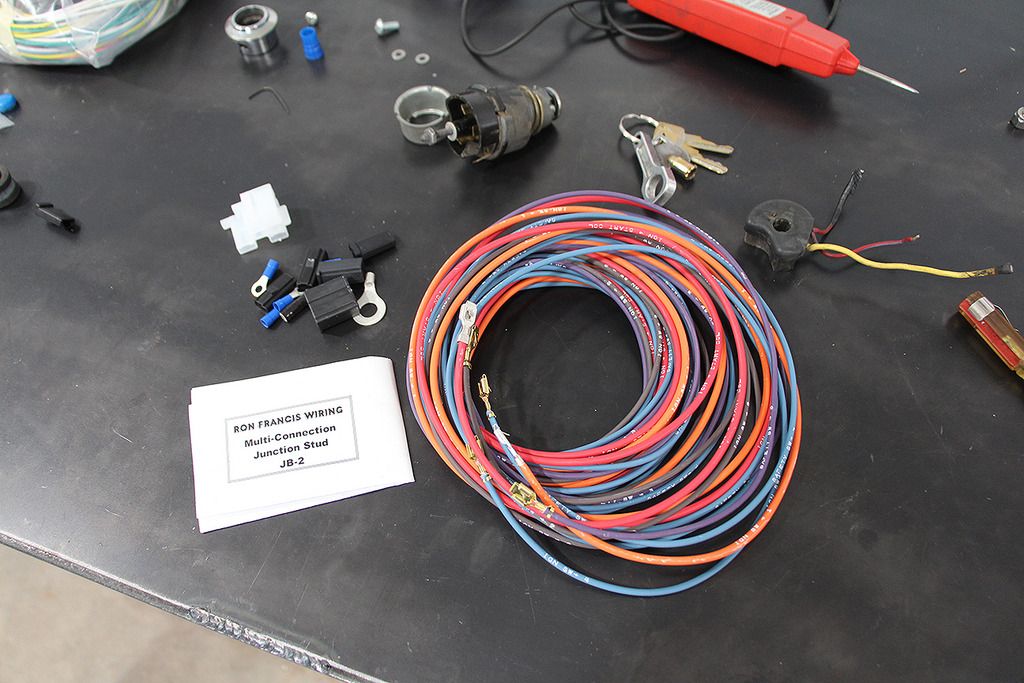
With the old harness out I started grabbing the bags to get the new Ron Francis Wiring in. They are numbered in an order that probably makes the most sense for the installation. I started with the auxillary high amp power post. This is probably one of the best features of this kit because it allowed me to run one positive wire from the battery to the post and then I ran all the other wires directly to the post. I think it makes the install much cleaner instead of having a rats nest at the battery
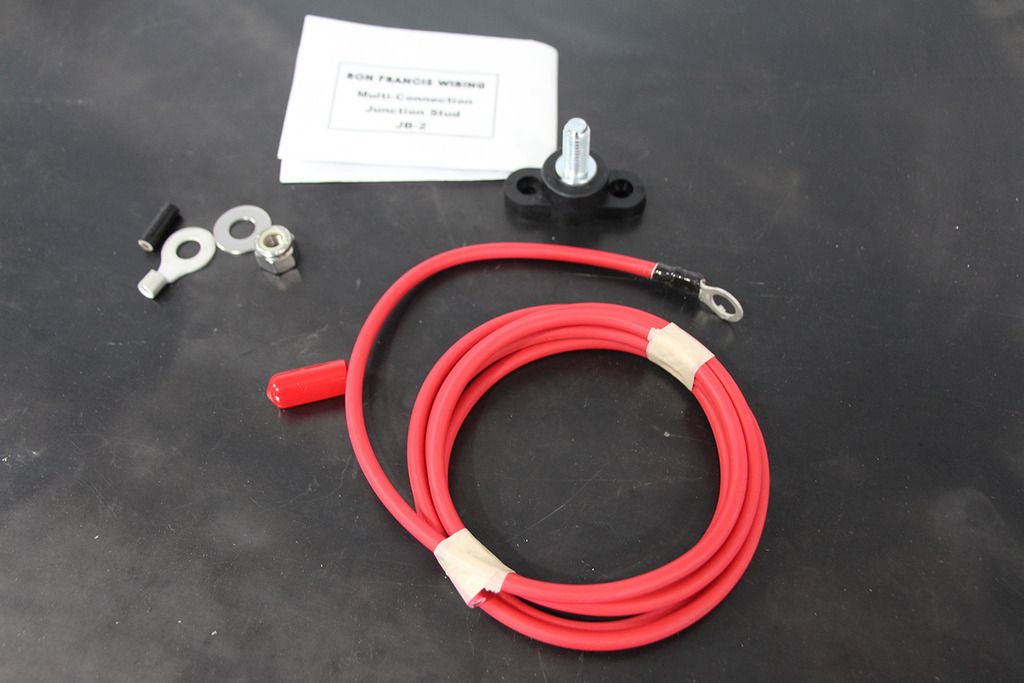

As you can see I made a short wire from the positive side of the solenoid to the post which keeps the battery even cleaner. I think if you had a starter mounted solenoid this would come even more handy

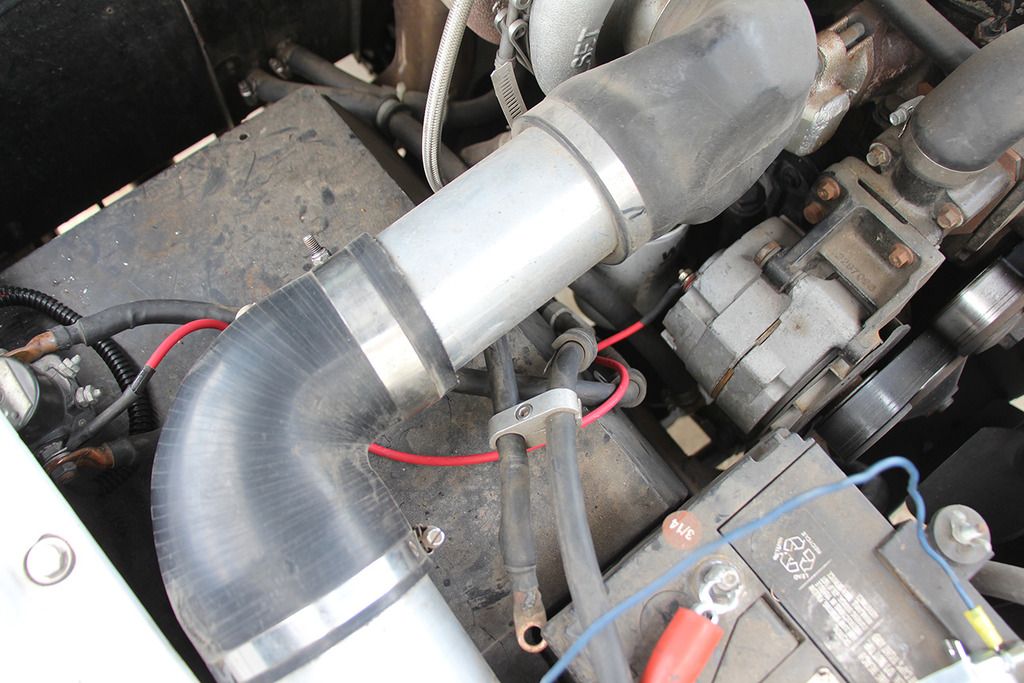
Here's the main alternator wire. For some reason I thought I only had a one wire alternator but I didn’t....

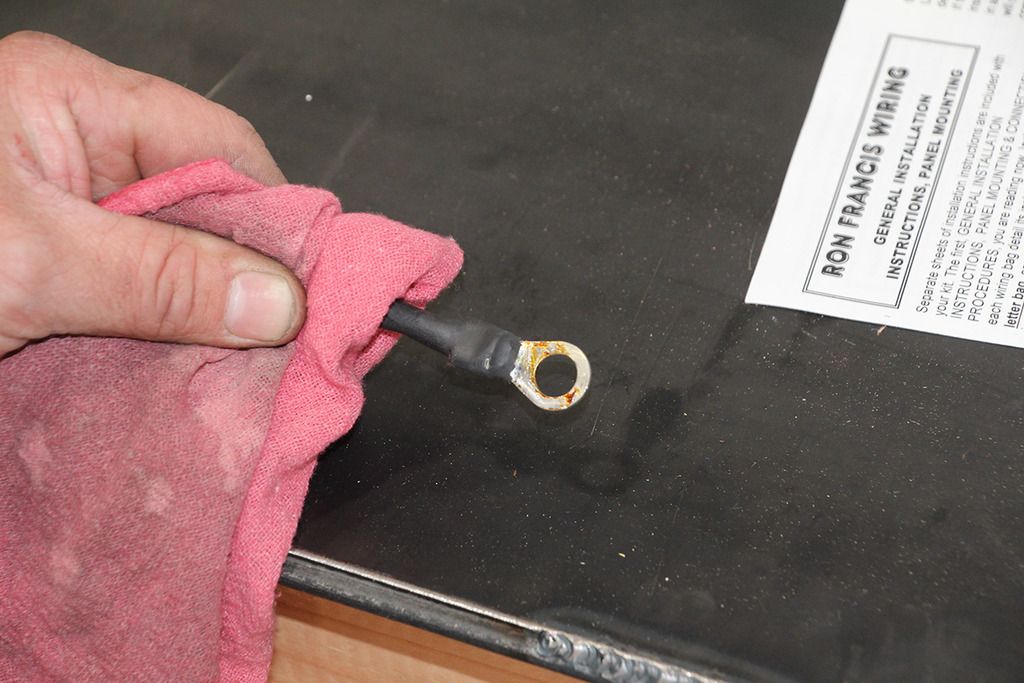
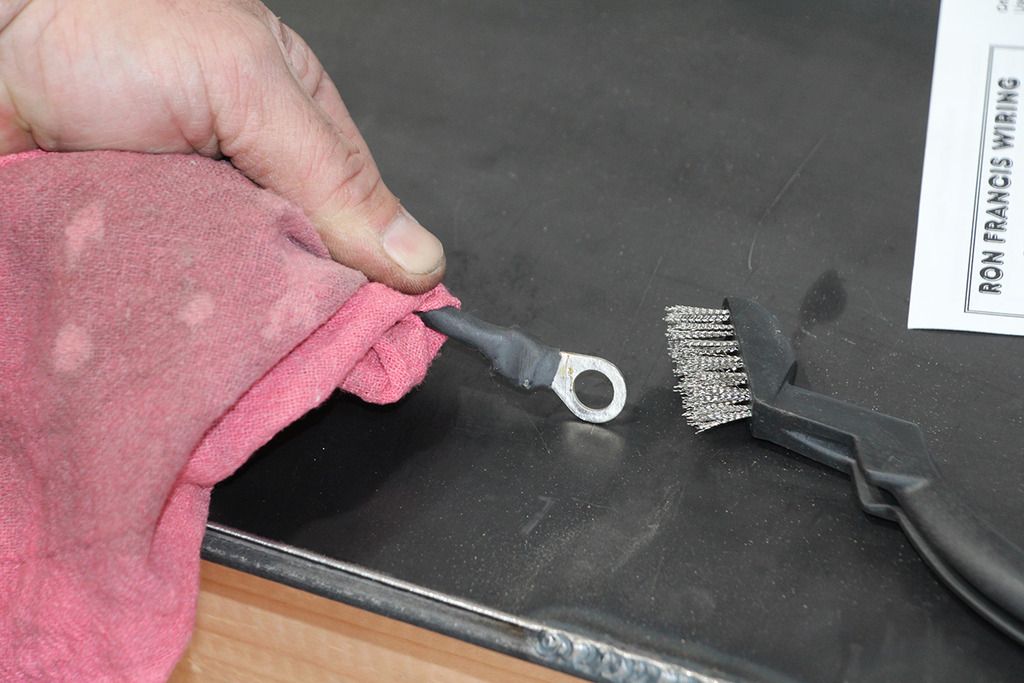
One thing I like to do is clean up all the residue from the solder. I think it helps make a better connection and probably keeps the corrosion away for longer

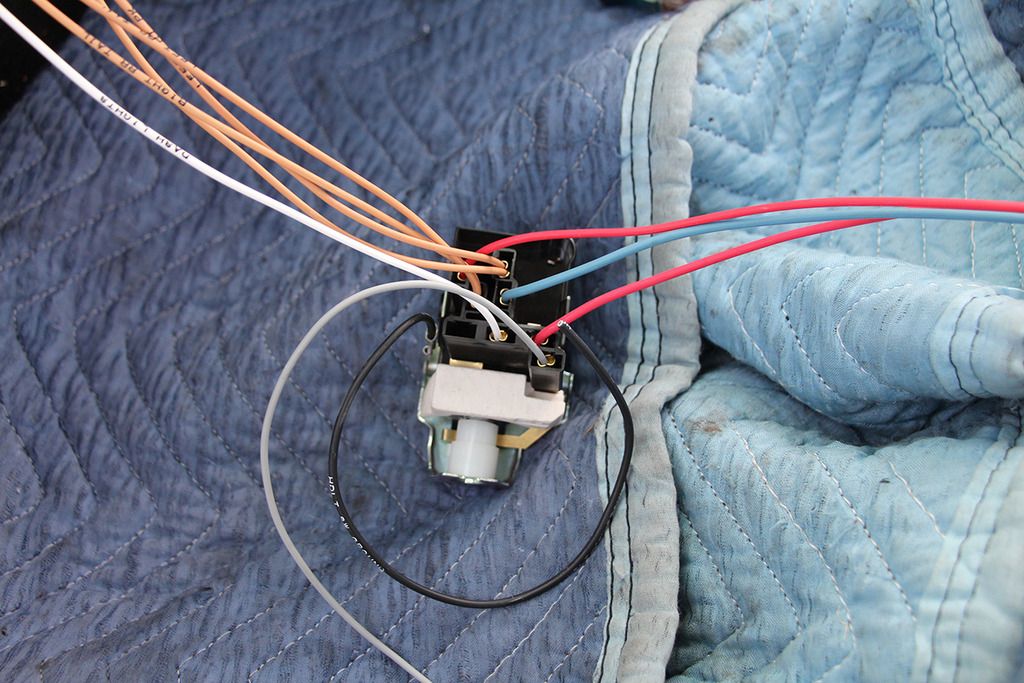
Here are the wires for the ignition switch. They came with the connectors attached on one end so I just had to run them through and get them close to where I wanted them. I waited until I knew for sure that I liked where they were routed before cutting and making the connections to the fuse block

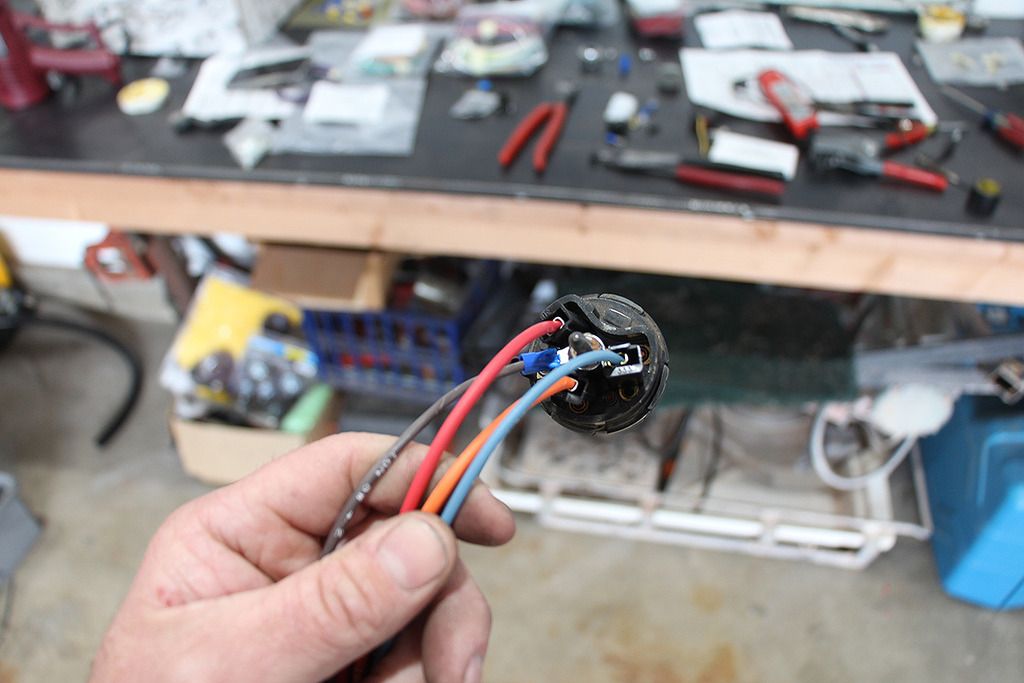
Here they are attached to the ignition switch. The instructions didn’t come with a specific example of how these are arranged but I found an example online, on my phone, in the garage. So it was pretty easy to figure out.

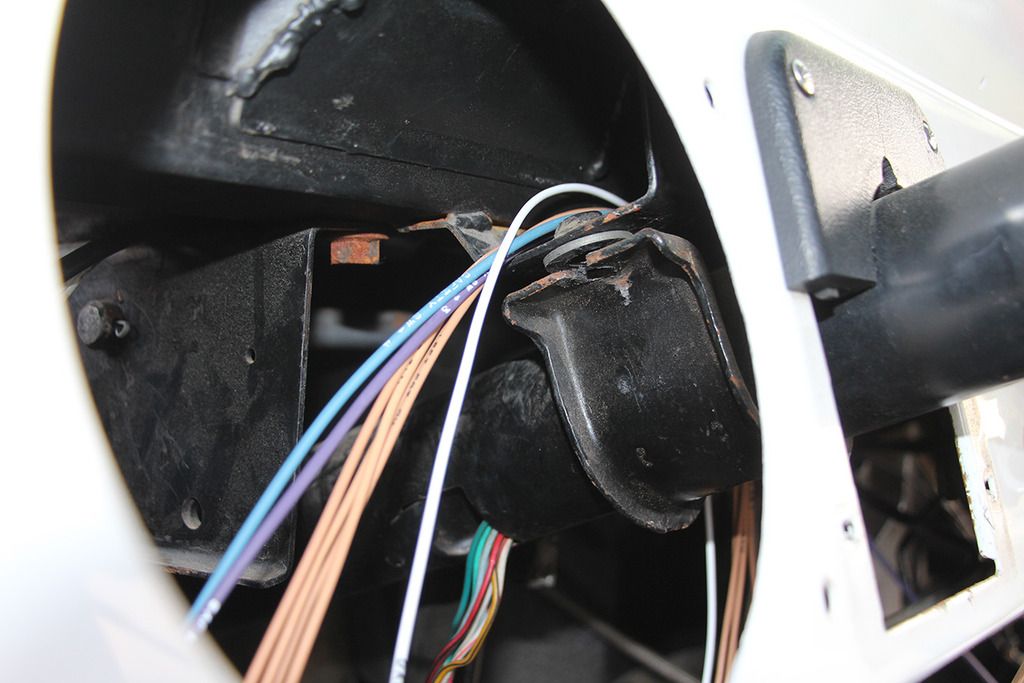
And here is the loom coming down to eventually get attached to the Ron Francis fuse block.
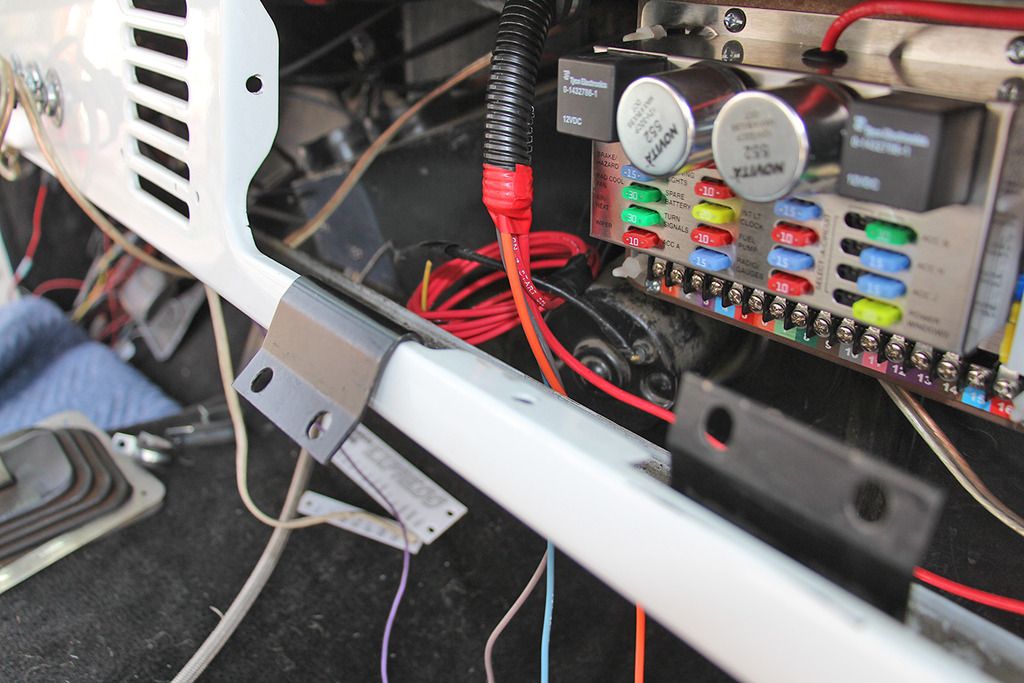

The old harness ran the wires directly in the way of the heater defrost ducts. They fit but everything was tight and randomly I would have to go under there and reattach the heater ducts because they would eventually pull off. Now I have the harness tucked nice and tight against the bottom of the cowling so they are out of the way and clean under there. :)
 
Last edited:
OP
OP
O

OPCJeff

New Member
Joined
Apr 30, 2016
Messages
99
Loc.
Orange, CA
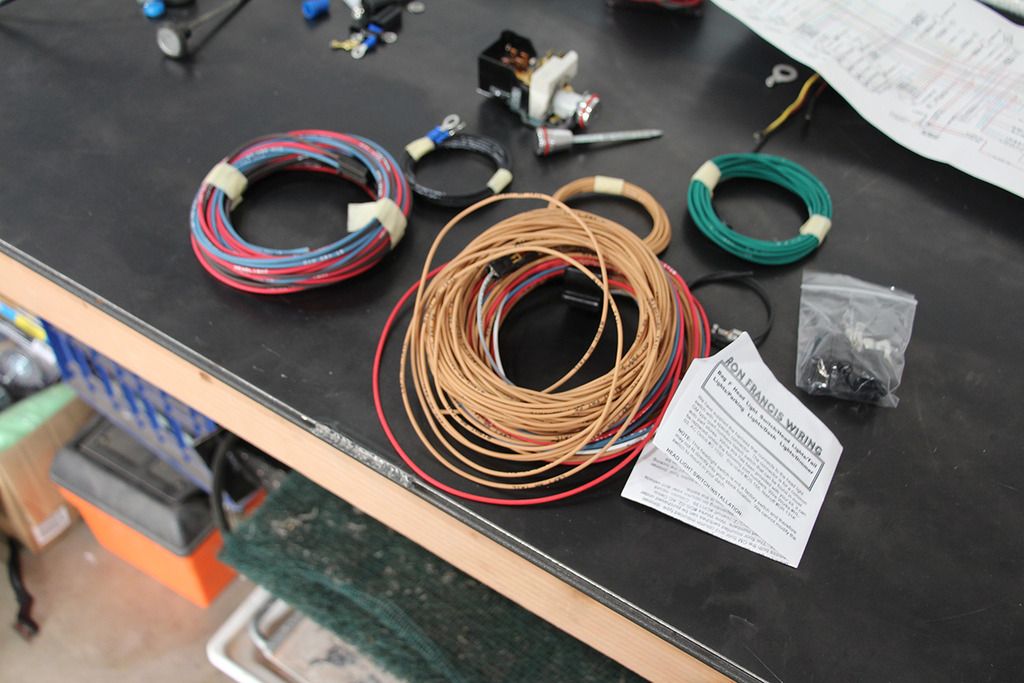
With the ignition switch wiring all layed out I moved on to the headlight switch and wires. The Ron Francis kit came with a new chevy style headlight switch. It's nice and the handle they supply with it is clean and much fancier than my stock knobs which is good i guess. I think I could have probably figured out the wiring to the old headlight switch but I actually think it will be easier to adapt the stock knob to the new switch at some point down the road.


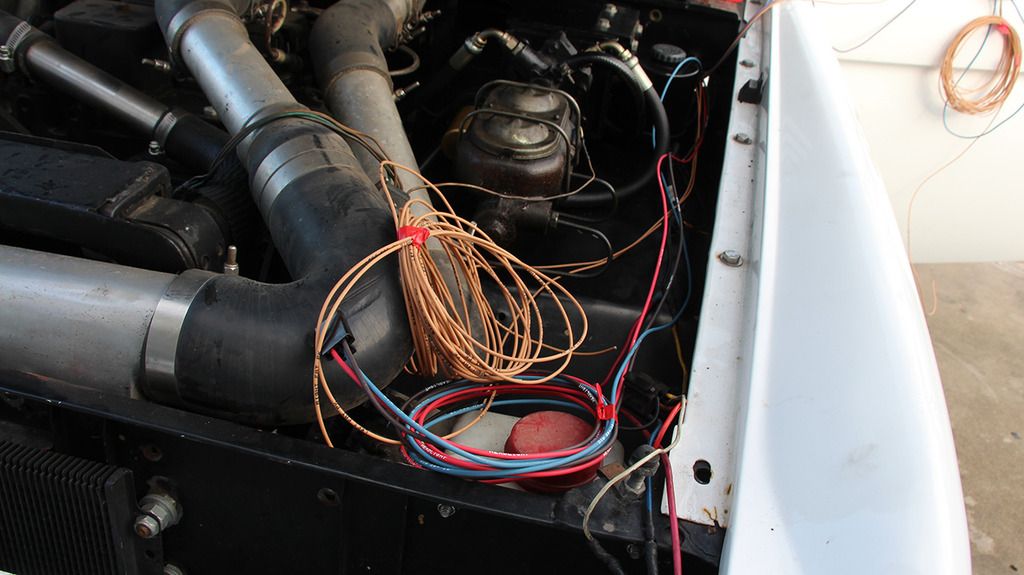
As many of you probably know early Broncos have a nice cavity above the steering column that seems like its there just to run wires through. So I ran all of the headlight wires through that cavity and then out the drivers side of the Bronco and across the radiator support for the passenger side lights. That way the only wires that ran out the firewall on the passenger side were the power related wires.


I strung out the fronts and rears and just layed them out in the direction they would eventually be in the engine compartment. i looped and hung the rear wires on the mirror so they'd be out of the way. As I went through this process I didnt want to cut or fit the wires too soon because I wanted to make sure it was as clean as possible when I finished. it felt a little overwhelming at first but with the Ron Francis harness separated out into different sections it forced me to take it a step at a time and that really helped clarify how everything should go
 
Last edited:
OP
OP
O

OPCJeff

New Member
Joined
Apr 30, 2016
Messages
99
Loc.
Orange, CA
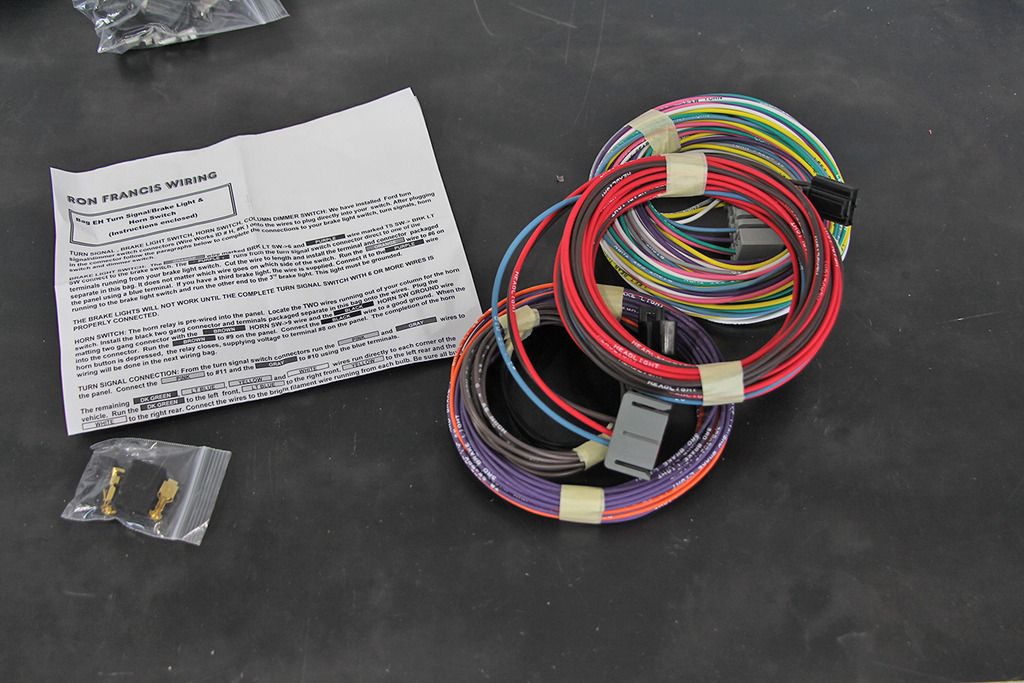
The next logical step of the Ron Francis wiring harness install was the turn signal switch wiring. The turn signal switch wires included the headlight dimmer switch wires and everything coming out of the steering column. I messed up when ordering the harness because I forgot I had changed the stock horn switch plug to a GM flat plug. So that had to be changed but Im saving that for last.


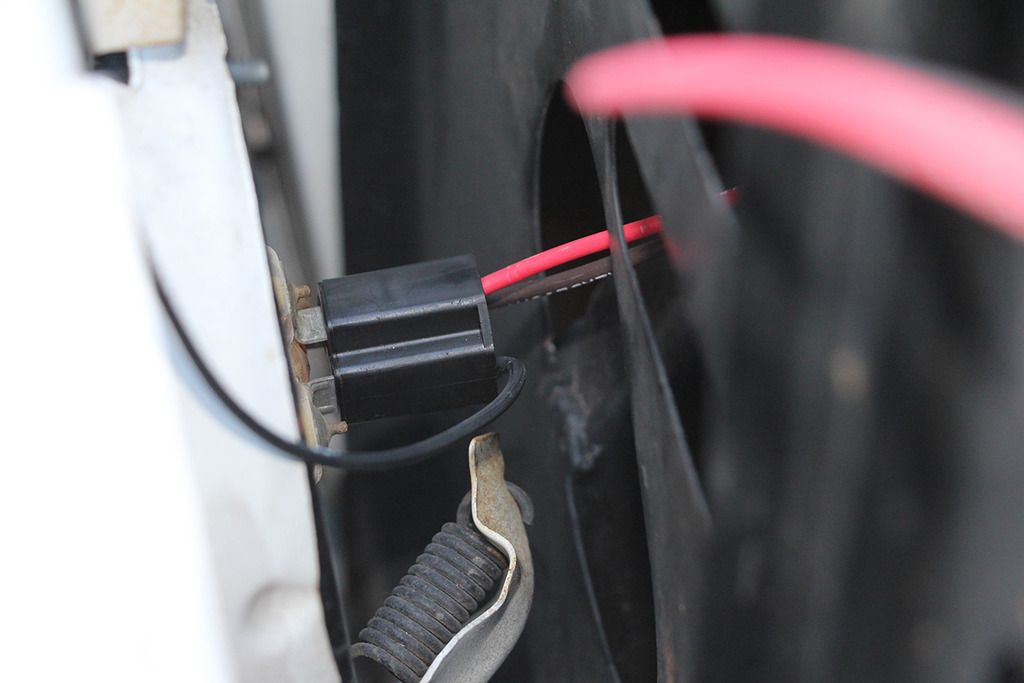
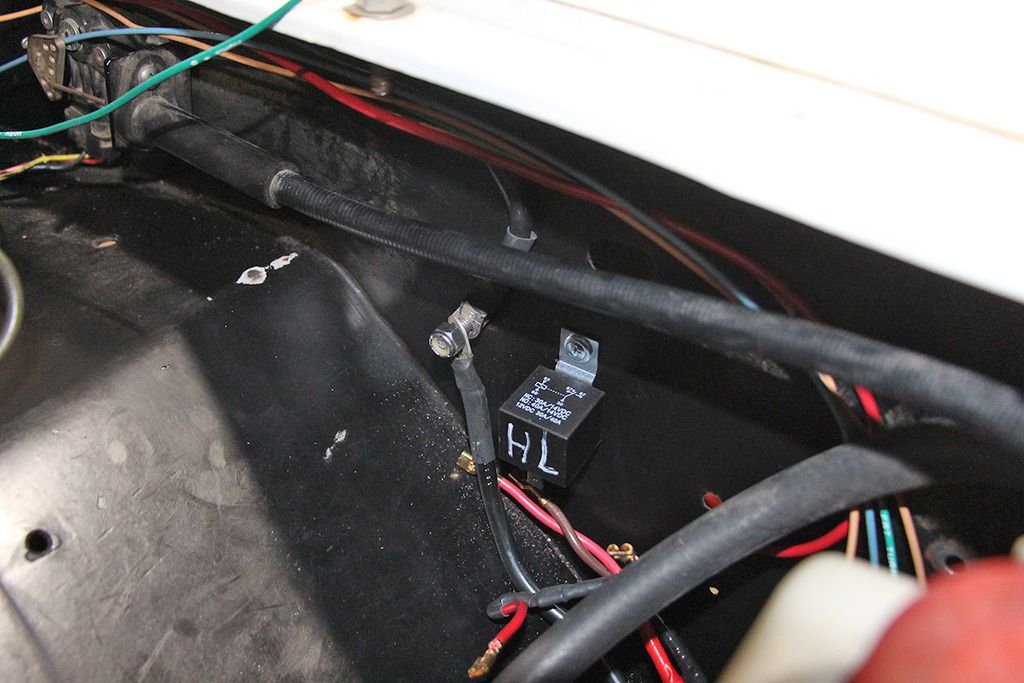
I wanted to run relays for the headlights so the power draw wouldn’t stress anything else too much and I've heard it helps make the headlights a little brighter. I just mounted the relays on the inner fender well right inline with the eventual placement of the harness. I also made a grounding post so I could ground everything directly to the battery and also directly to the body.


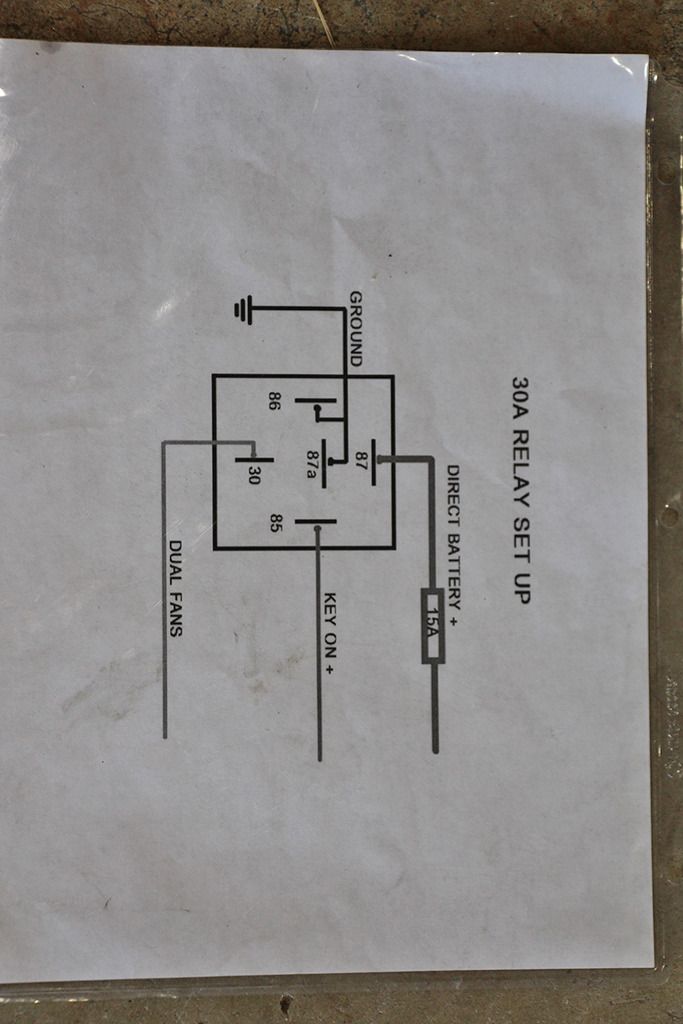
Relays are pretty straight forward but for some reason I always have to look at a schematic to remember how they are arranged so I use this.


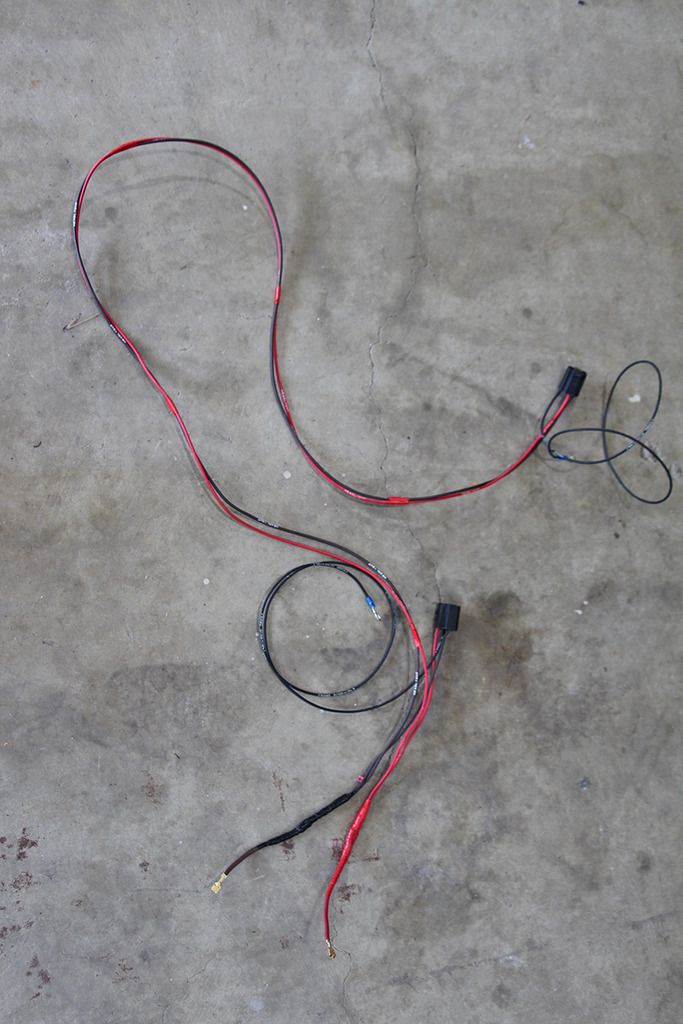
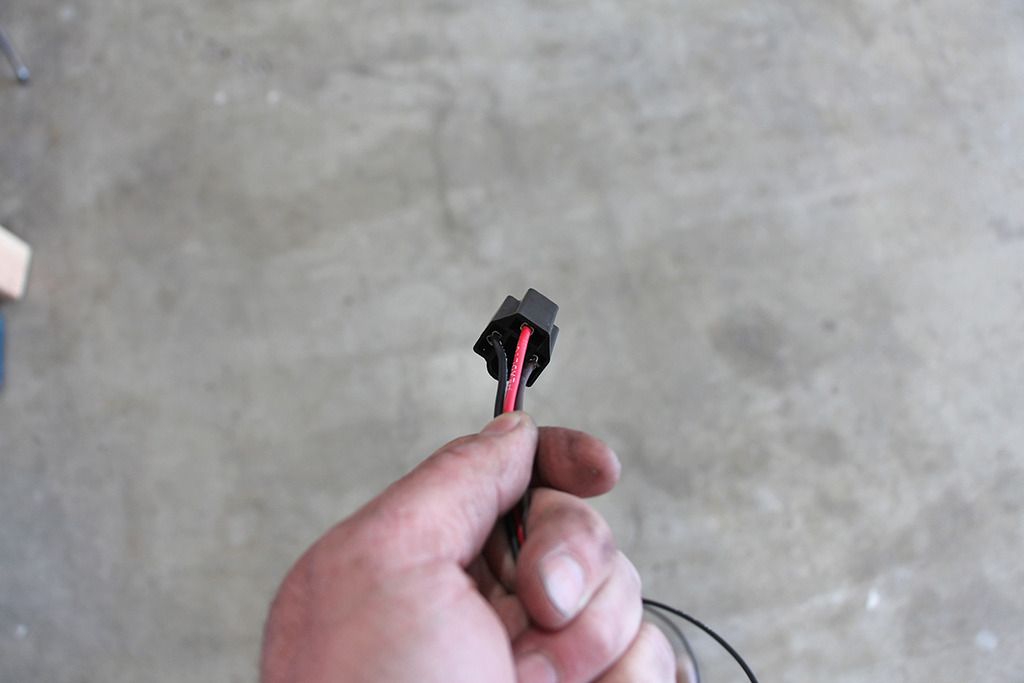
The headlight wires came with the dimmer switch plug attached so I started there and then strung them through the firewall and out. There was plenty of extra wire so I marked and then cut where I thought it should go and then took it all back out. Then I made a new mini harness for the headlight wires so they would be clean and nice. Here is a completed pic
 
Last edited:
OP
OP
O

OPCJeff

New Member
Joined
Apr 30, 2016
Messages
99
Loc.
Orange, CA
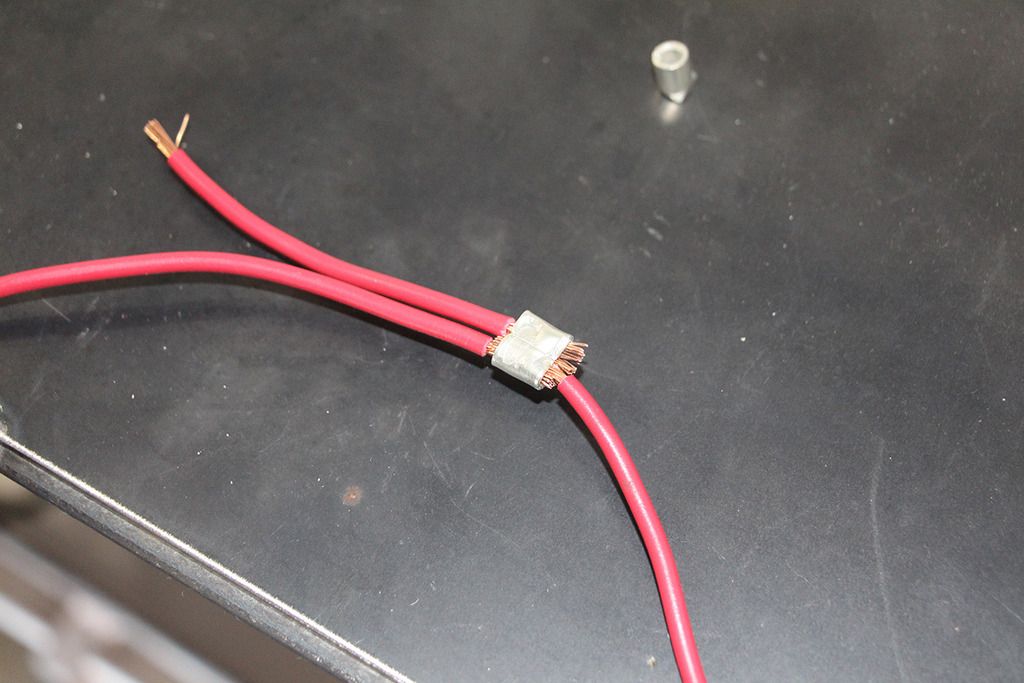
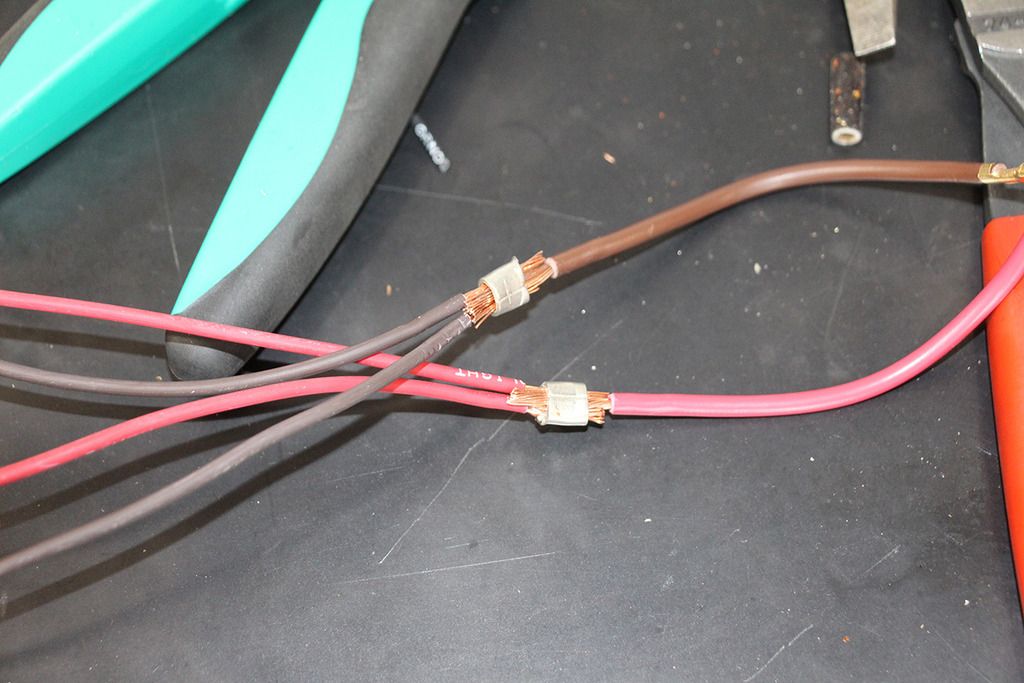
To make the connections for my mini headlight harness I used what I had to make it work. I just cut the round part off these post terminals and then used the body to crimp the two wires together. A little solder and shrink tube helped clean them up.


The Ron Francis Wiring harness came with the headlight plugs and many terminals but I had to make the connections once I got the length and route figured out for the wires. It was pretty simple with the fancy tool I bought online for making the crimps.


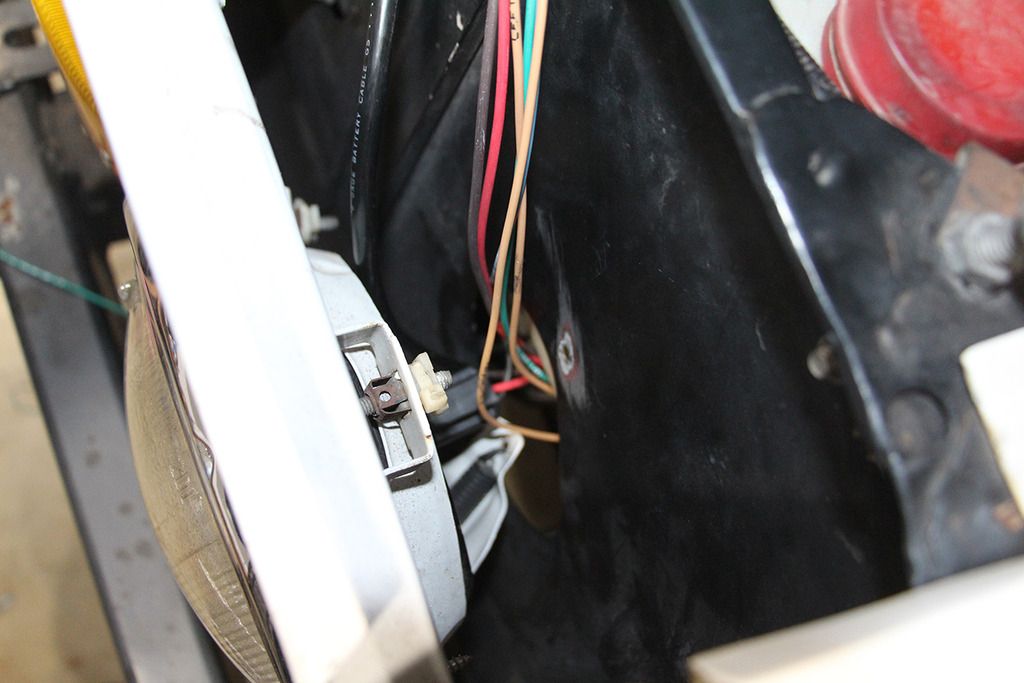
These are all the wires that eventually ran through the driverside radiator support heading to the passenger side


Once I got it all done I then realized I needed to run a wire to the headlight highbeam indicator lamp. The harness came with the wire but I had to make the connection. It wasnt tough to add and extra wire to the plug but would have been a little easier if I did it first.
 
Last edited:
OP
OP
O

OPCJeff

New Member
Joined
Apr 30, 2016
Messages
99
Loc.
Orange, CA
Just about done with the Ron Francis Harness install

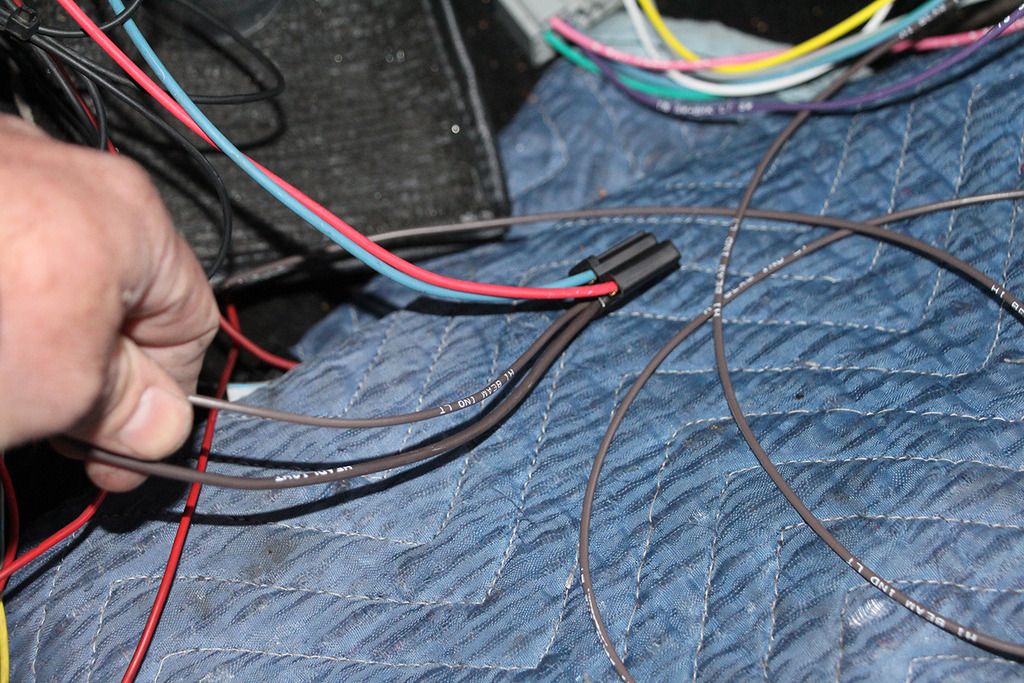
So the rear wiring went hand in hand with the front. The wires are clearly marked so it was pretty straight forward. I just separated them out as I strung the fronts and layed them off the side of the fender. Once I was ready I just routed them down in between the inner fender and firewall, then over the transmission crossmember and out to the back. The Ron Francis harness came with a lot of extra wire and many misc wires for things that I dont have yet but will eventually have like the radio. My plan is to turn a tablet into a radio/GPS/anything else I can think of and mount it above on the roll cage.


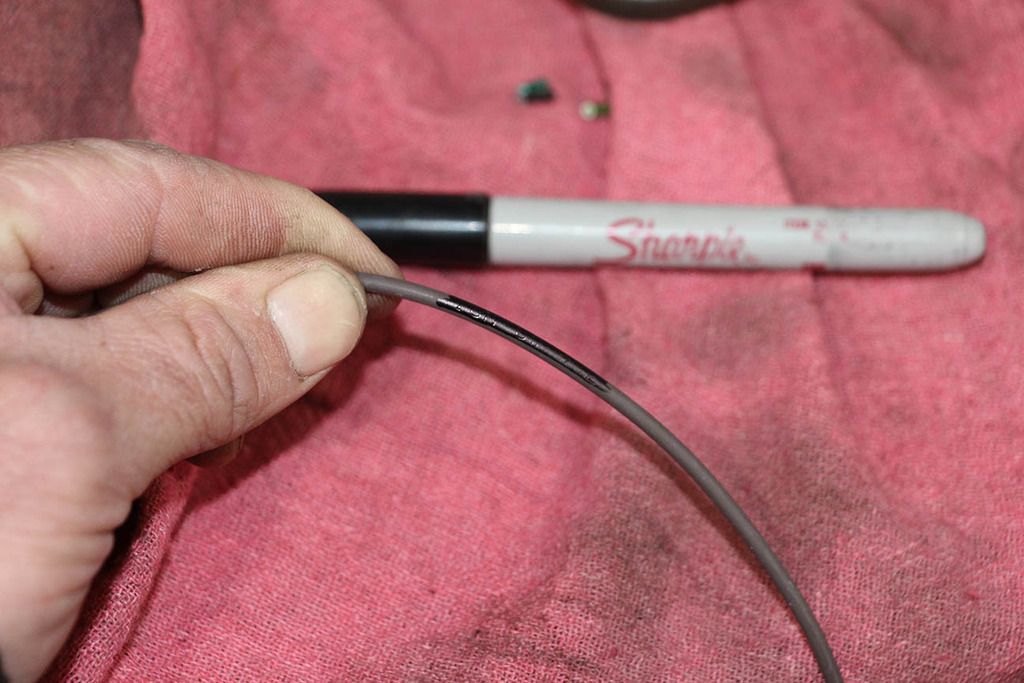
There were a few times when I needed a specific color wire to match the harness colors but were for something a little different than the label on the wire. I just took the black sharpie to the label on the wire so I wouldn’t be confused if I ever dug back into this and that allowed me to use the more appropriate wire color


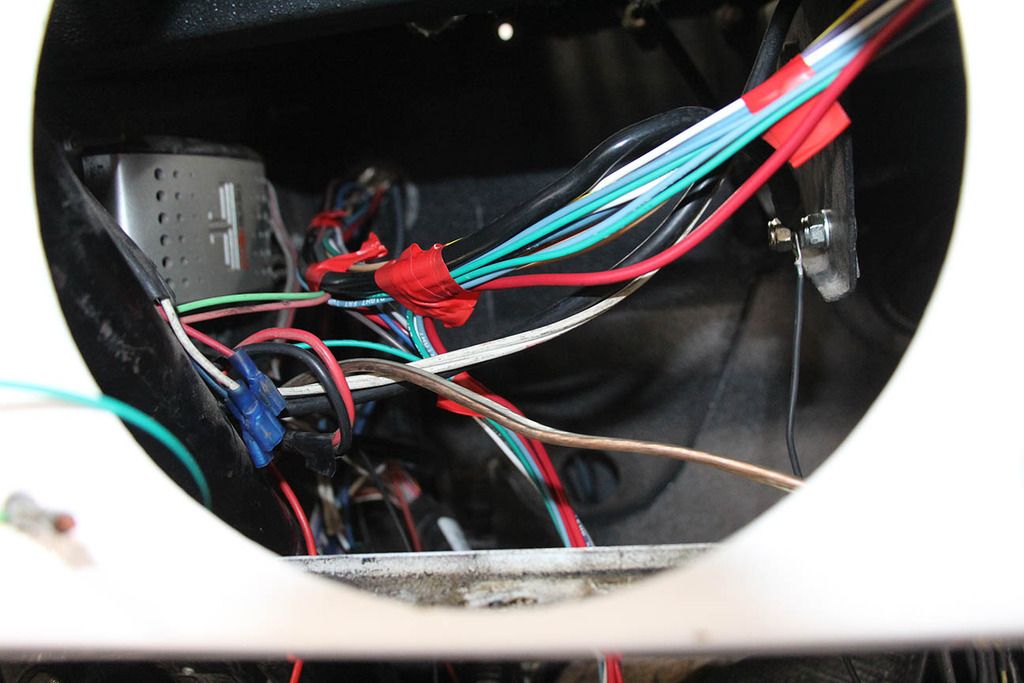
Red electric tape came in handy for getting the loom all situated. I used it to wrap the loom and then it was easy to unwrap and add more wires or adjust the wire that were in there.

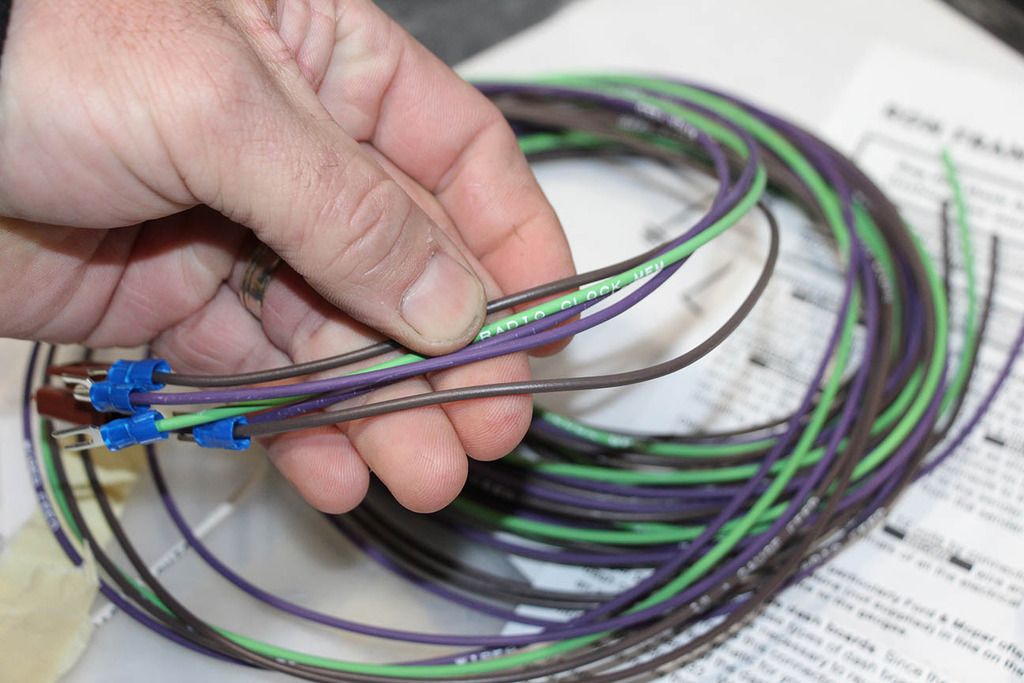
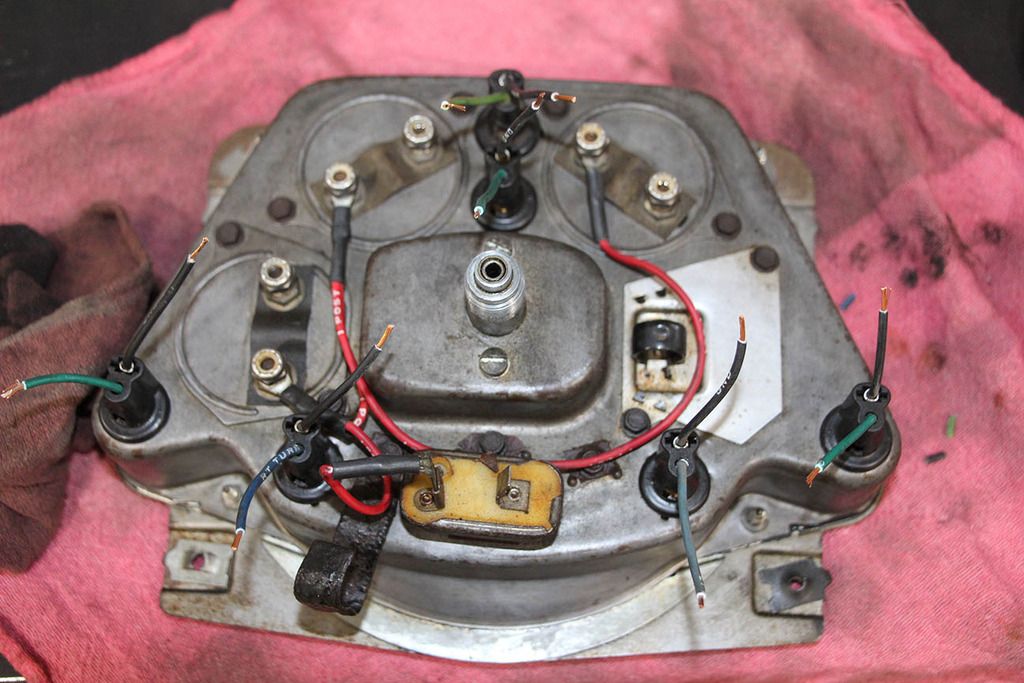
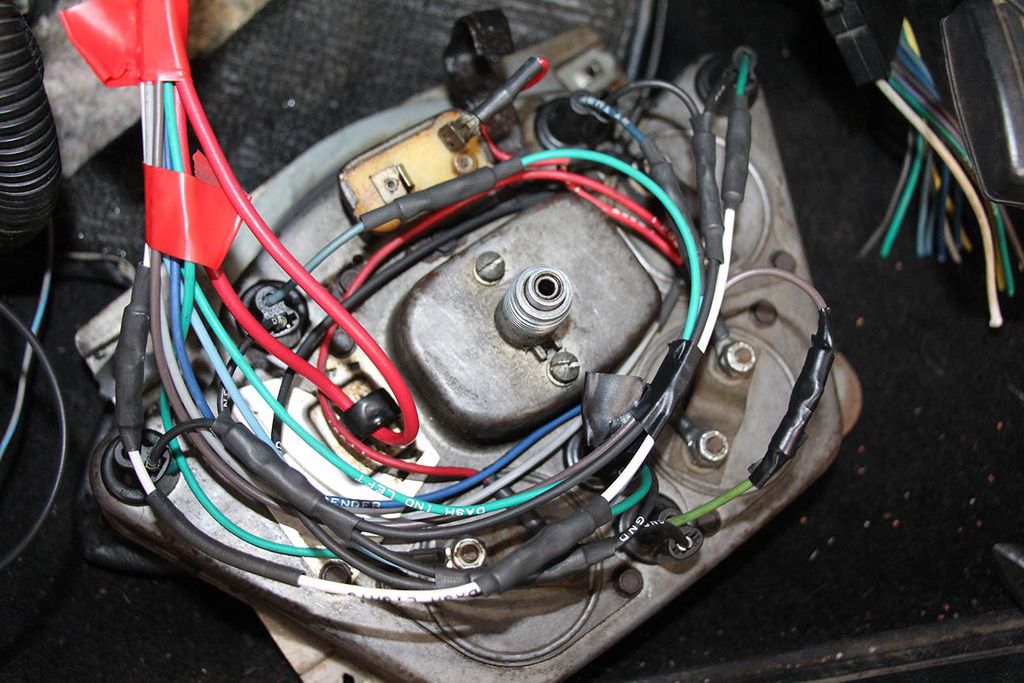
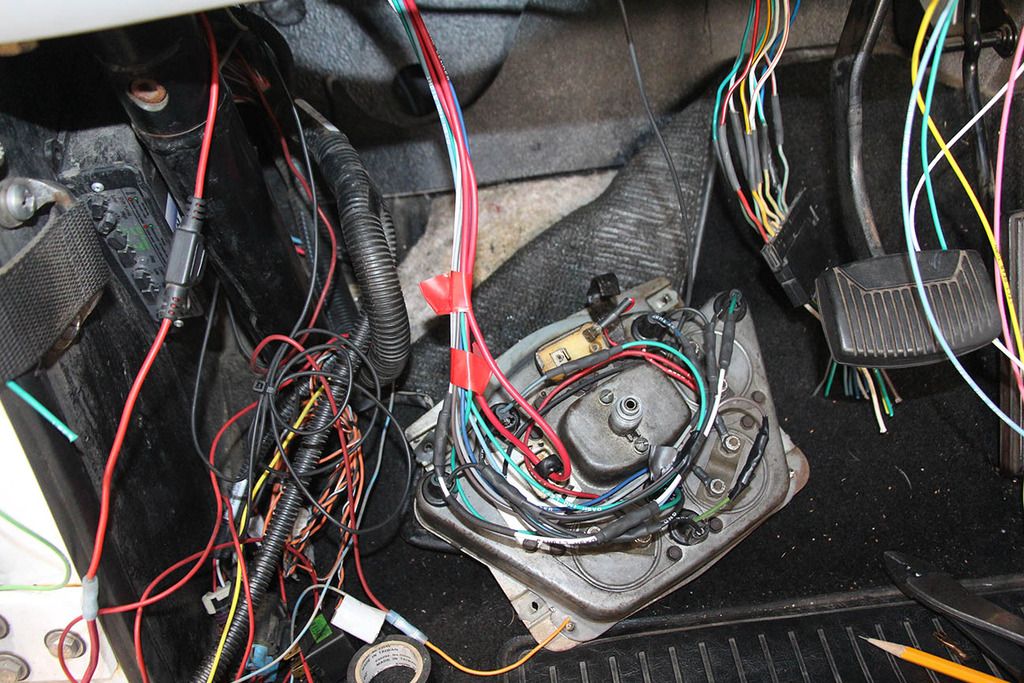
The last complicated part of installing the harness was getting the dash cluster wired. But really that was pretty easy too. I got the positive and negative wires all ran and fitted on the work bench and then made sure I had enough room in the harness for the gauge cluster to lay down on the floorboard while installing. I figured this would make it easier to pull the cluster out and disconnect the wires if I needed to later on down the road. And since my speedo likes to bounce around more than stay steady i think later on is gonna be sooner than later. It did add a little more extra wire under the dash but I think it was worth the little bit of extra mess


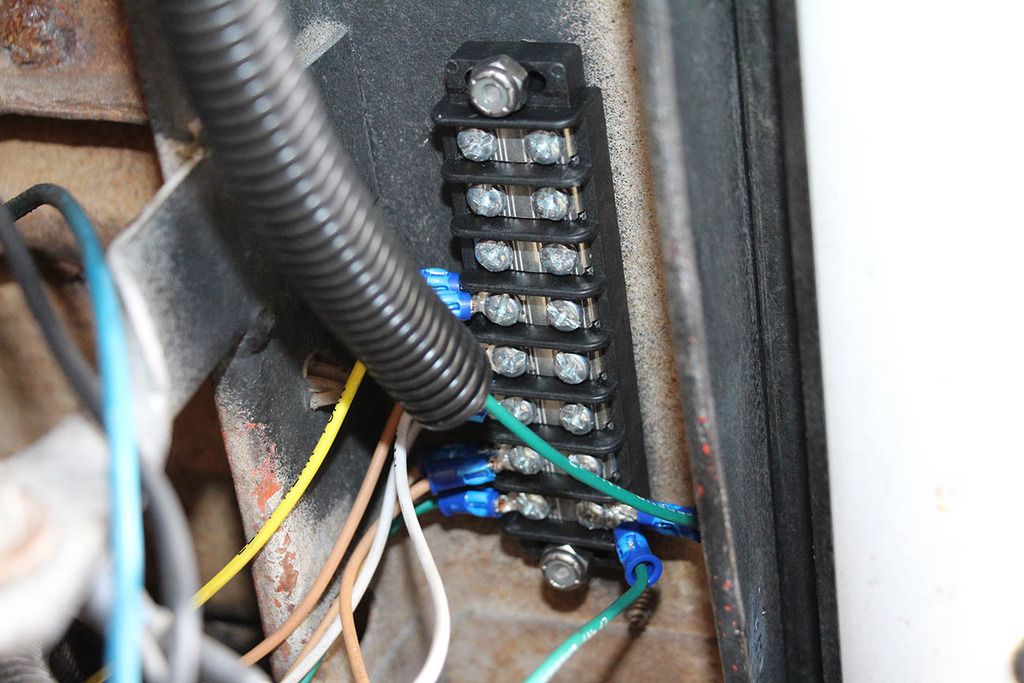
Here's is another reason why I like the Ron Francis harness. It comes with enough wire to allow me to run things the way I want. Since I tow with the Bronco I needed to be able to splice into the lights for the trailer. I found this distribution block which allowed me to connect the tail lights and turn signals but also allowed me to connect in the trailer wiring. I think its much cleaner than splicing and soldering or using butt connectors. Im eventually going to spray it with a special vinyl coating which I think will keep it sealed up from moisture but will chip off easy if I need to adjust something
 
Last edited:
OP
OP
O

OPCJeff

New Member
Joined
Apr 30, 2016
Messages
99
Loc.
Orange, CA
Hydroboost repair

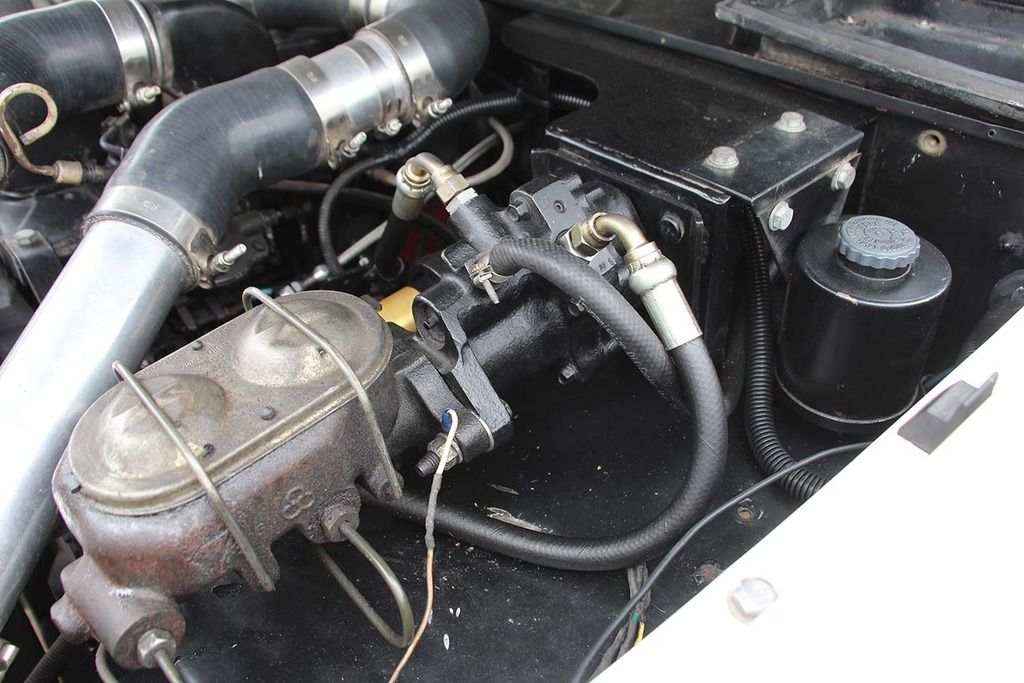
So before I ever put the diesel in I converted the brakes to hydroboost in anticipation of not having any vacuum. Since I've done that I've always wondered why I didn’t do it sooner because they are incredible. However the booster has always leaked a little bit out the front and so I finally decided to try and fix it.


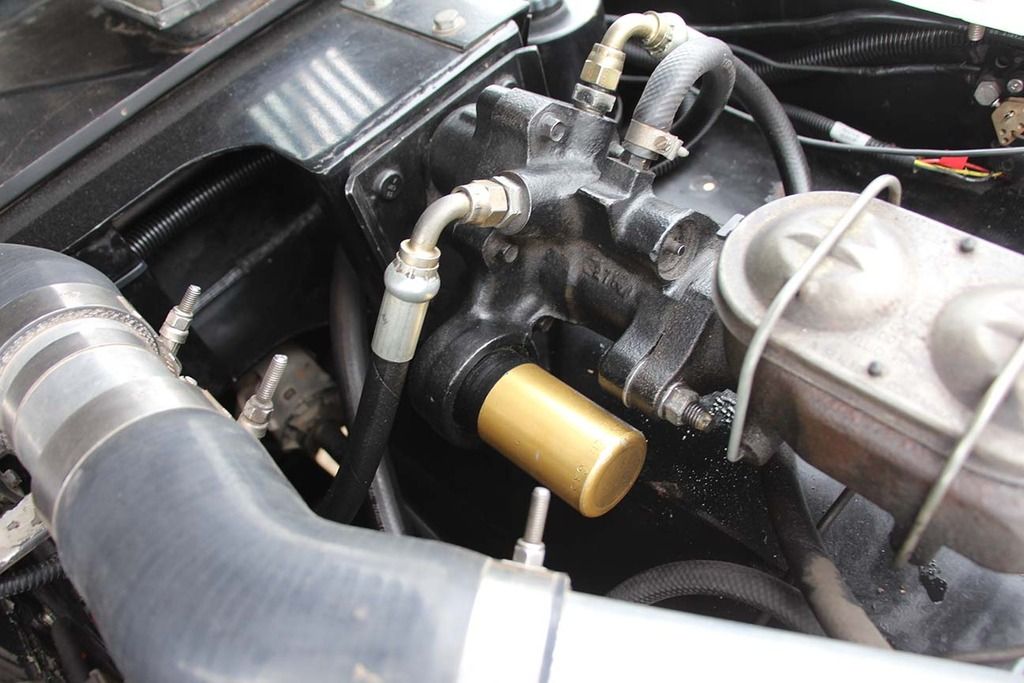
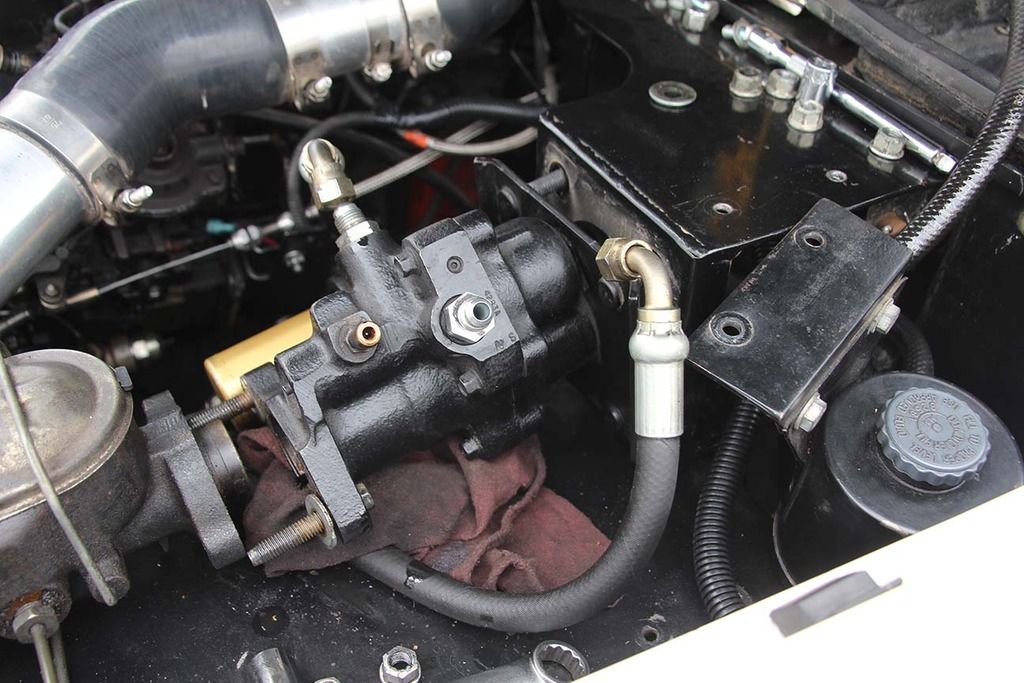
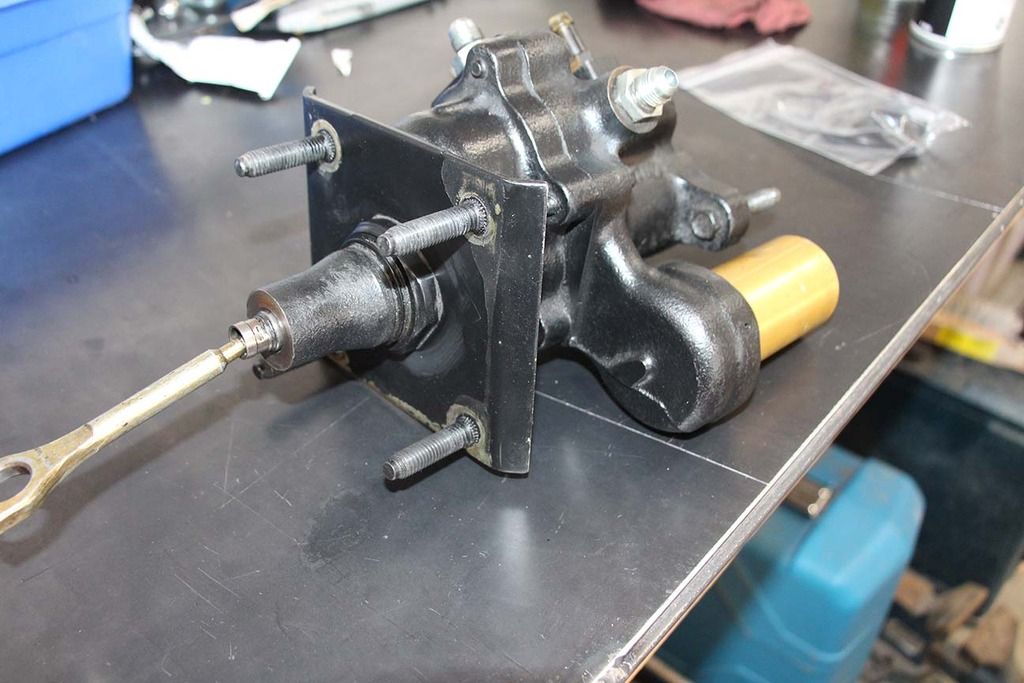
Here's the hydroboost unbolted from everything. My Bronco has a bracket that moves the mastercylinder closer to the fender and I mounted the extra fill reservoir onto that so it makes it a little more difficult to get to the back bolts. Otherwise its really easy to take it off.


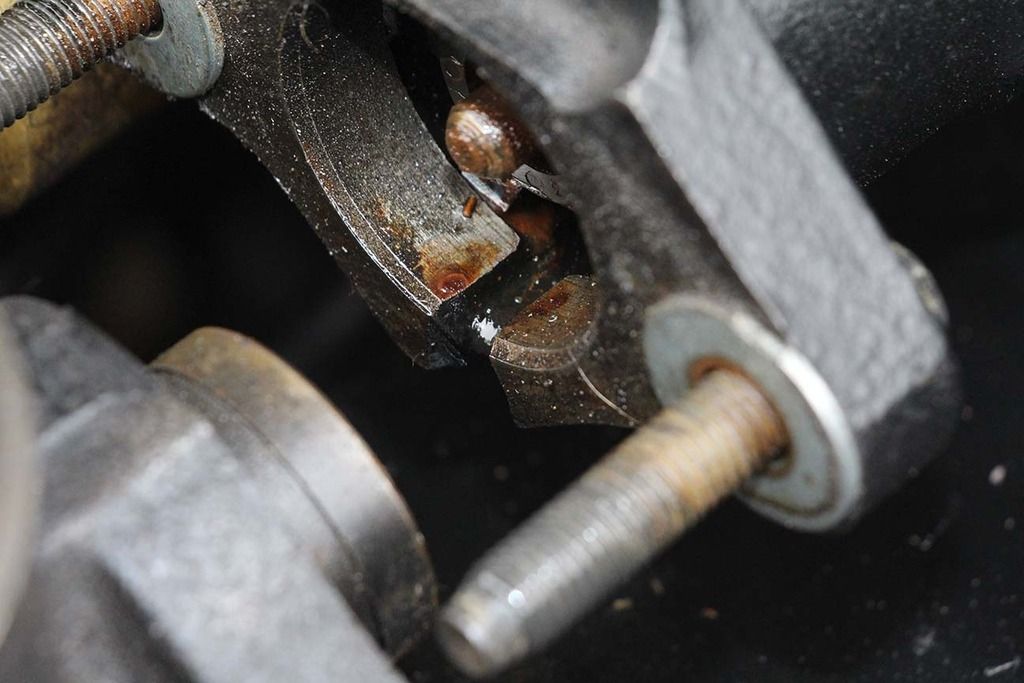
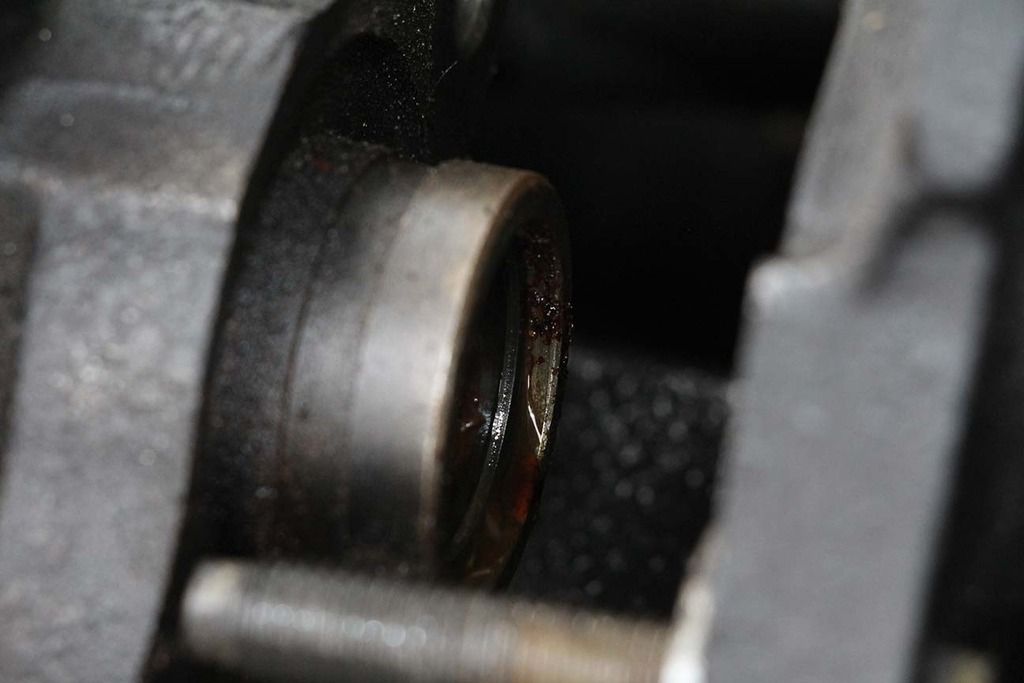
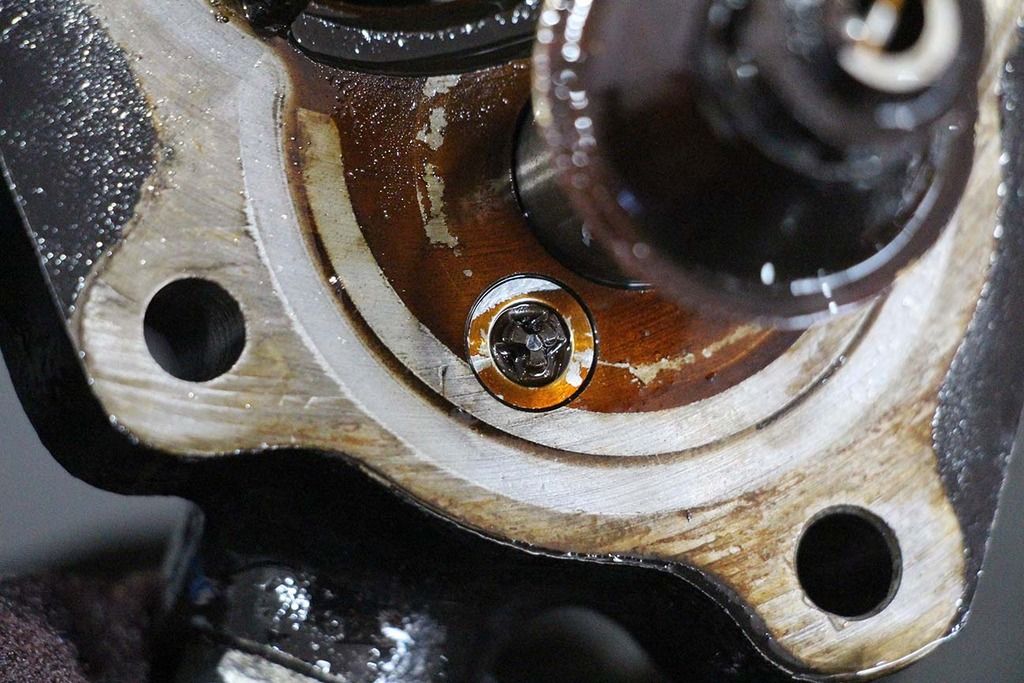
Here's where it leaks from. It just drips a little out everytime I hit the brakes which eventually made a big mess under the hood. Strangely enough it never seems to drip on the ground though


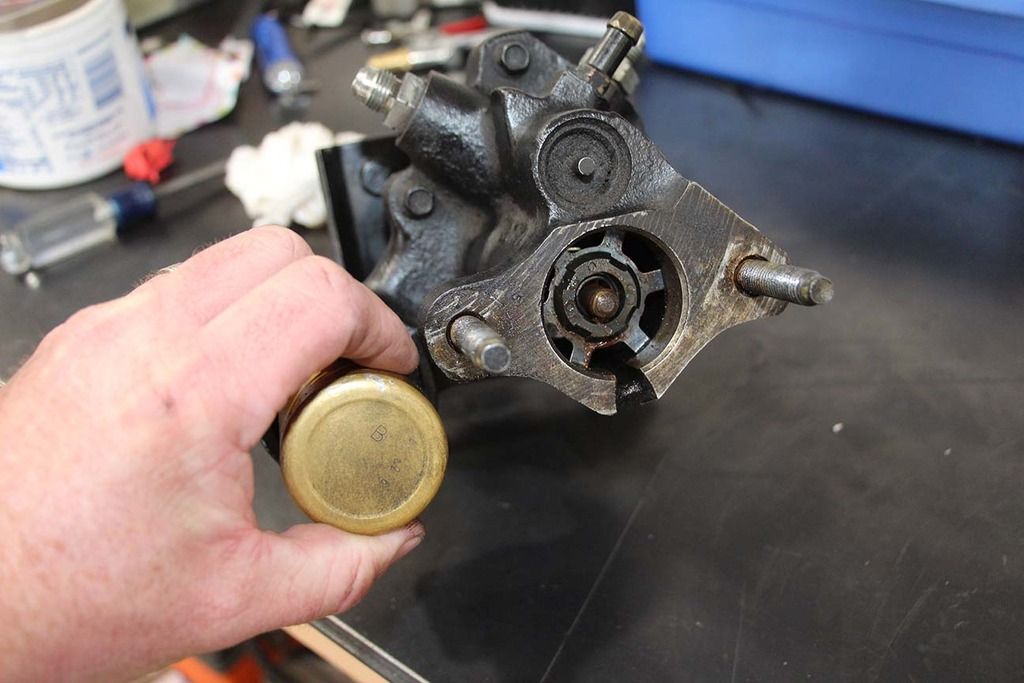
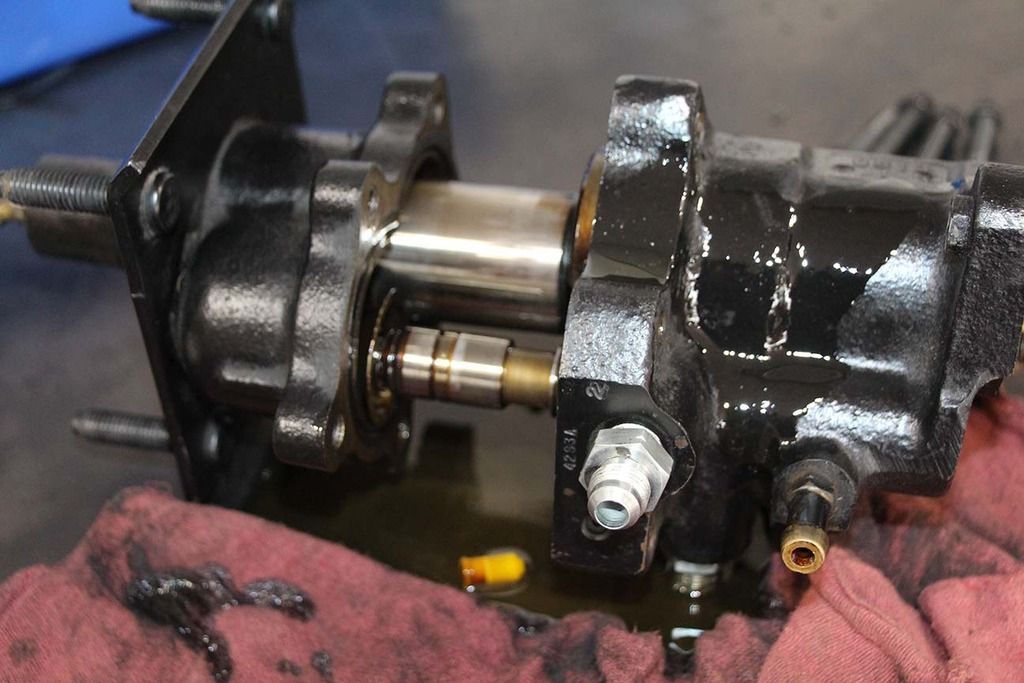
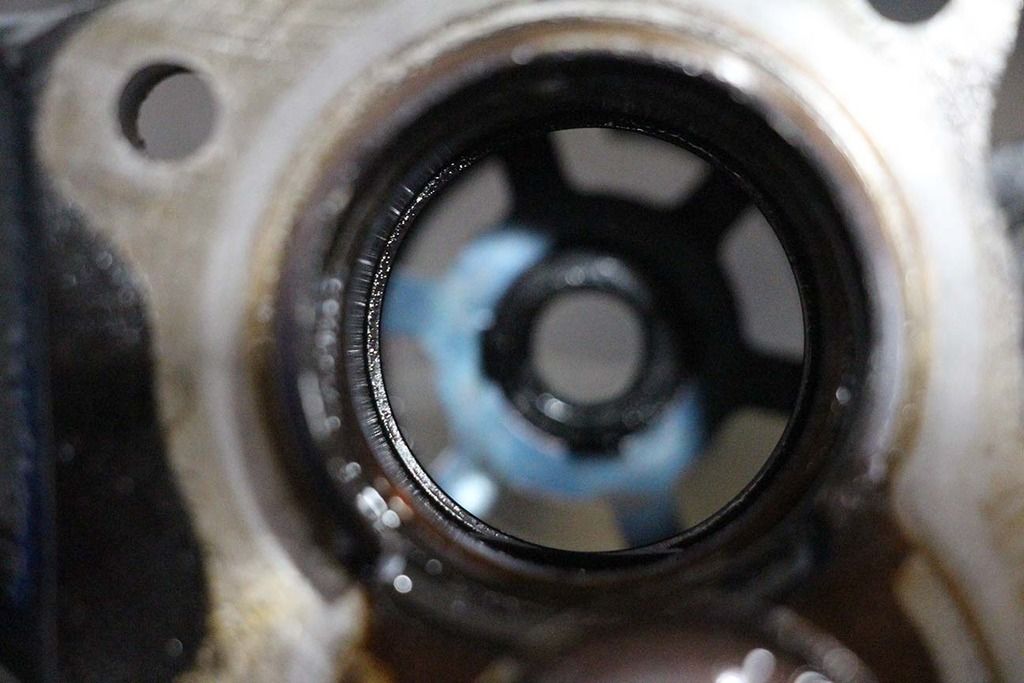
Here it is on the bench. I've read that you can take this star ring out and replace the seal from the front but I really don’t see how that’s possible as the leaking seal is way up in there


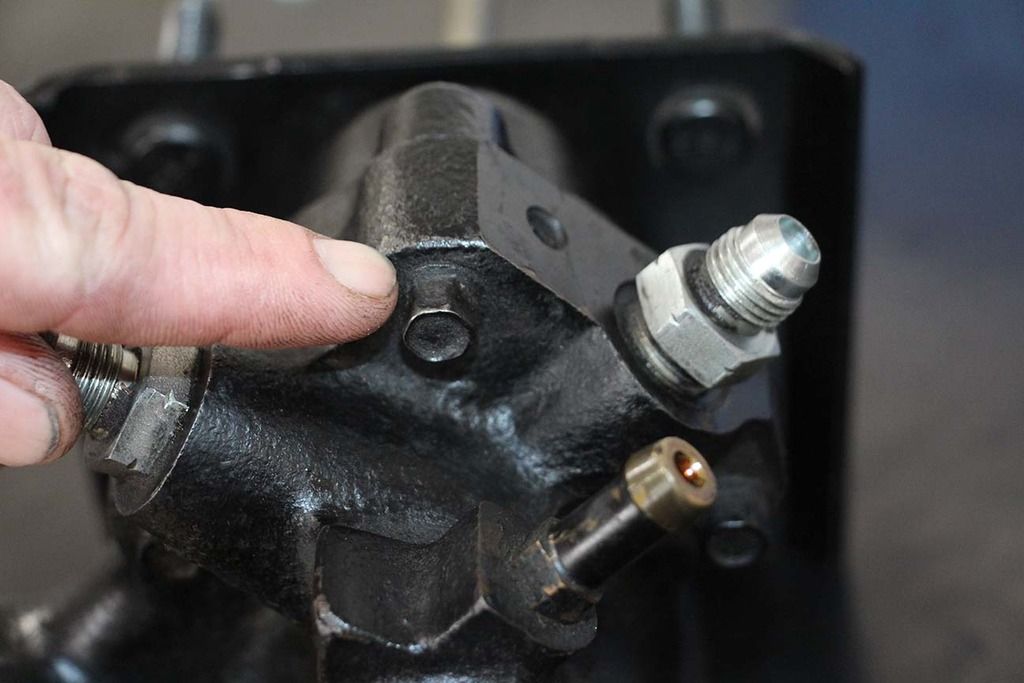
These are the bolts I removed to split the case to get to the seals
 
Last edited:

sprdv1

Contributor
REBEL
Joined
Mar 8, 2007
Messages
81,964
Lotta dang work getting put in there.. Keep up good work
 

lonesouth

Contributor
Bronco Guru
Joined
Dec 18, 2003
Messages
5,045
that wiring makes me feel not so bad about my bronco, but your ron francis makes me jealous. Great work!
 
OP
OP
O

OPCJeff

New Member
Joined
Apr 30, 2016
Messages
99
Loc.
Orange, CA
more hydroboost repair

Ok so continuing on with the hydroboost fix.

I didn’t realize that the case was under so much spring pressure. When I removed the last bolt it sprung apart. Fortunately I didn’t lose anything to the other side of the garage. :)

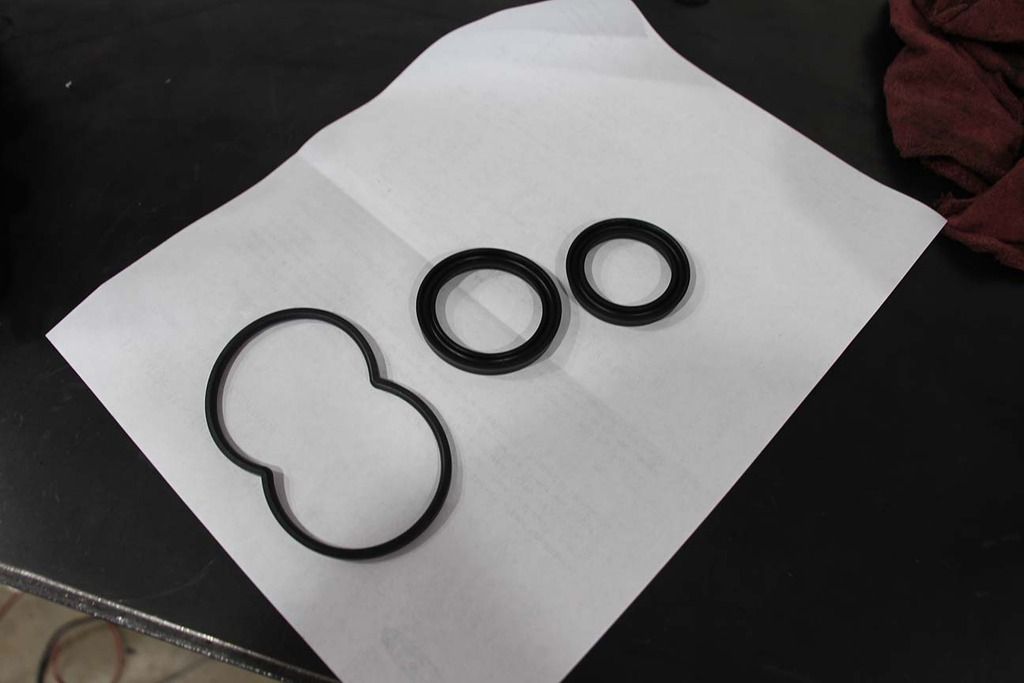
So this is the seal kit I got off ebay. The leaky seal is the round one that seals the main piston

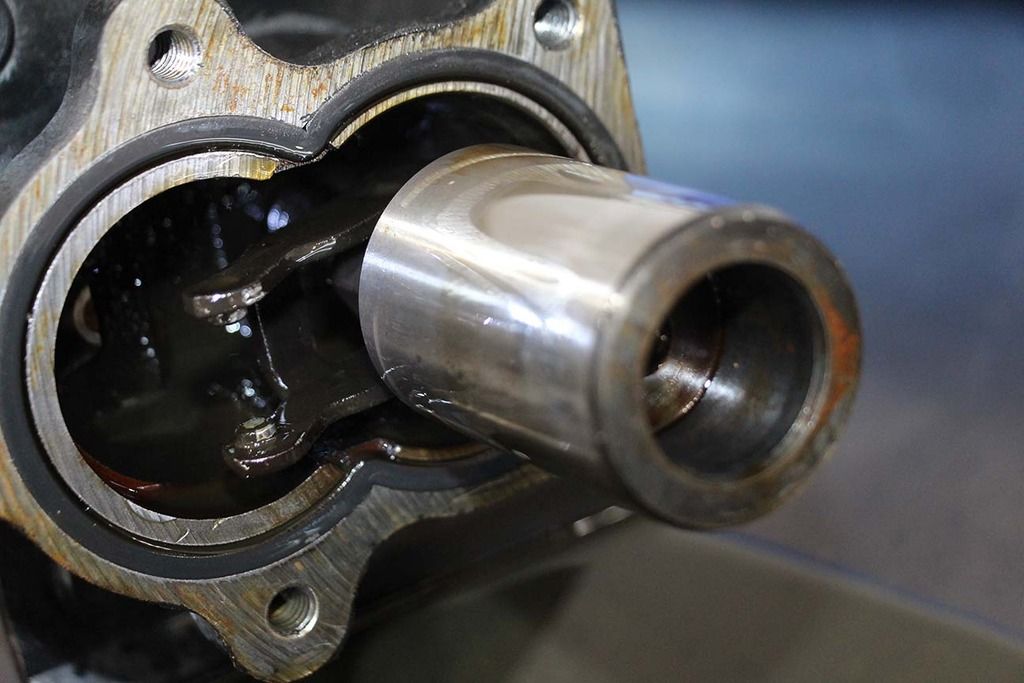
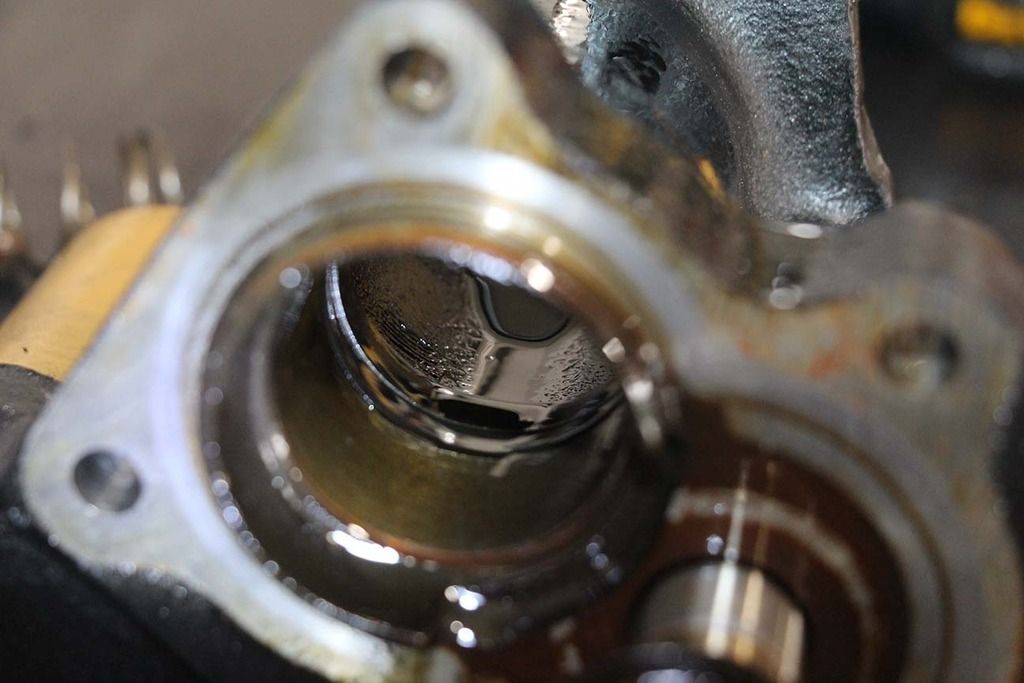
This is the piston and the bore that it goes into. Way in there is where the seal goes


With everything apart I just cleaned it up the best I could and replaced the seals and put it all back together. I just put everything back in the way it came apart so it was pretty straight forward.


Unfortunately after all this it still leaks. Infact it may be leaking a little worse than before. So even though it was fun to check out the inside of the booster Im still going to have to just buy a new one. I think the problem may have been that my piston was scuffed up a bit. I tried to clean everything off before assemby but thats the only reason I think it would still be leaking. Im sure this fix would work well for most hydroboost units so please dont let my failures stop you guys from trying to save $100 :)
 
Last edited:

Justafordguy

Bronco Guru
Joined
Sep 26, 2009
Messages
6,253
Oh Well, at least you tried. I always wanted to know what the inside of a hydro-boost looked like. I think we all learned a little today, which is always good ;)
 
OP
OP
O

OPCJeff

New Member
Joined
Apr 30, 2016
Messages
99
Loc.
Orange, CA
yah I think if I tried hard enough I could have got the piston smoother but too late now. I bought one and got it on. No more leaks! Well at least from that :)
 
Top