OP
OP
u10072
Bronco Guru
- Joined
- May 18, 2007
- Messages
- 2,249
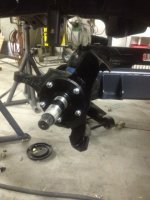
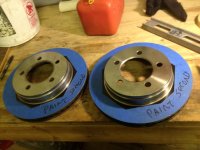
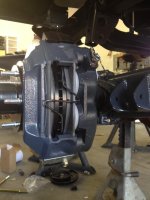
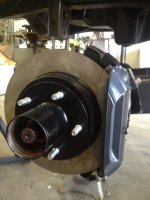
Big Brakes
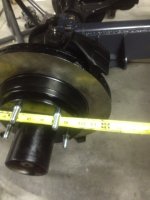
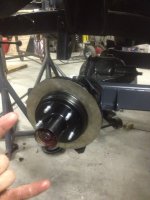
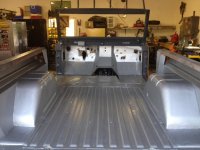
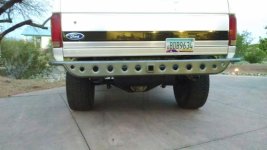
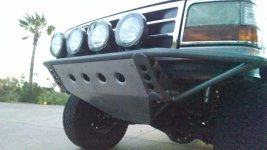
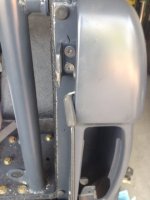
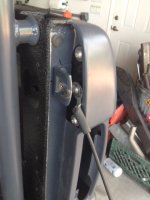
Here are the big F250 front brakes.....
Here are the big F250 front brakes.....


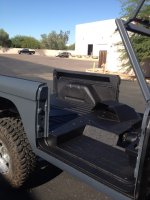
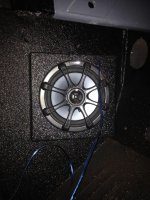
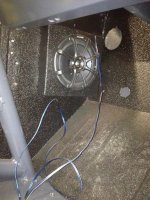
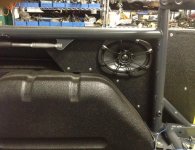
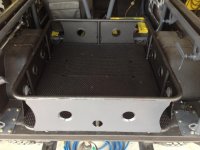
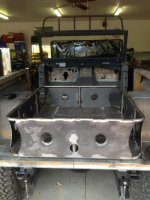
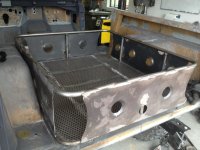
") To me the OEM rational on building speaker boxes is how I do it- stick the speaker in the voids where you aren't killing any realistic cargo areas
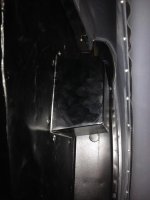
To me the OEM rational on building speaker boxes is how I do it- stick the speaker in the voids where you aren't killing any realistic cargo areasLooks great. What is that metal baton looking thingamajigger mounted to the left of the 6x9?
Can you tell me more about the F250 brakes? I thought they were only doable if one went 8 lug? Or did you custom drill the hubs? Looks killer!
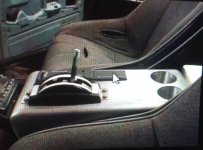
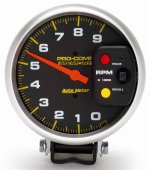
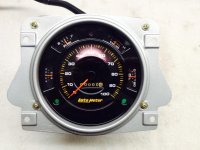
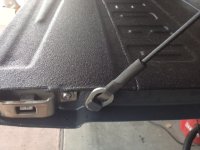
Being that I had a nice Autometer Procomp tach-- that is actually a nice piece, I had Kevin and his design guys make the factory speedo match the Autometer tach-- I just thought the quality of the tach AM makes to be much nicer than the ones that match the factory speedo. Not cheap but turned out really cool after all. One thing with cables are that I love how quiet they are I can't believe they are as strong as the factory but should be great should a pair of 200 pound asses sit on the tailgate. Not good for lifting and jumping on the tailgate with concrete bags like the factory pieces.