• Welcome to ClassicBroncos! - You are currently viewing the forums as a GUEST. To take advantage of all the site features, please take a moment to register. It's fast, simple and absolutely free. So please join our community today!
    If you have problems registering or can't log into your account, please contact Admin.

'73 Crawler Refresh

Okie69

Contributor
Sr. Member
Joined
Nov 28, 2011
Messages
842
A lot of you know Sbolejack and his teal 73 crawler. He was getting out of off-roading and I couldn't pass up a rig with this many good parts for the price. So two days before OCBR 2025 I changed plans and left my blue '69 at home and left for the event with an empty trailer! Drove to his house in Arkansas and loaded up the Bronco and went straight to OCBR. Nothing like heading to an offroad event with a Bronco that I've only driven onto the trailer.
IMG_5774.jpeg
IMG_5787.jpeg

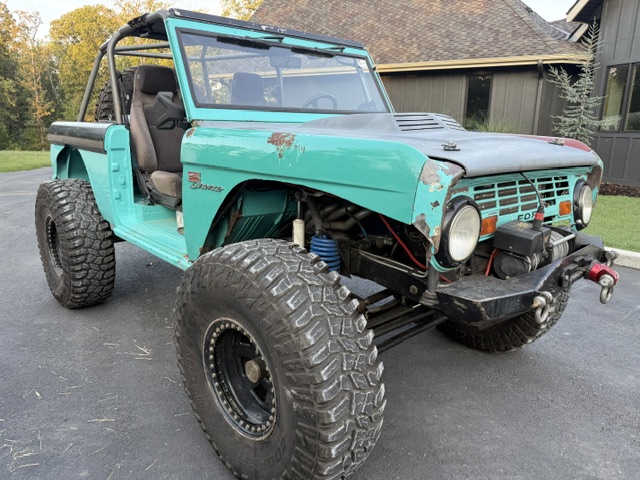
Here's how it sat the day I picked it up. Red fender and smashed up grille from a rollover in Moab. other than that, it's got a 351, 4link rear, and an Atlas 700r4 combo courtesy of Bailie Bilt.
IMG_5779.jpeg
IMG_5775.jpeg

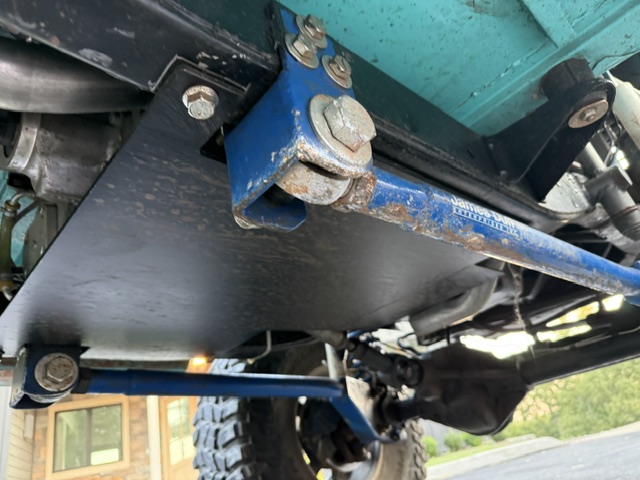
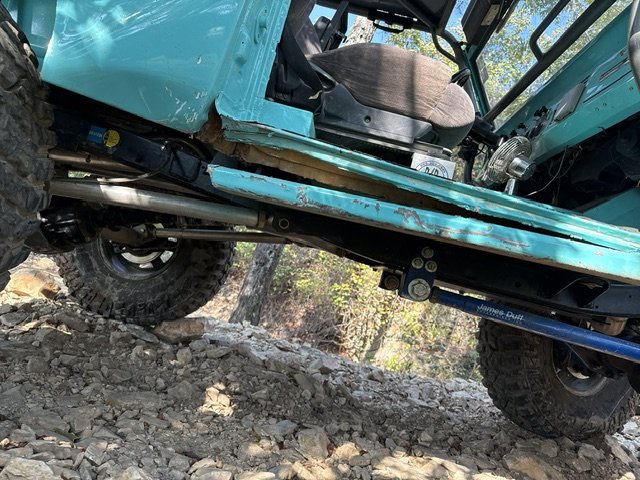
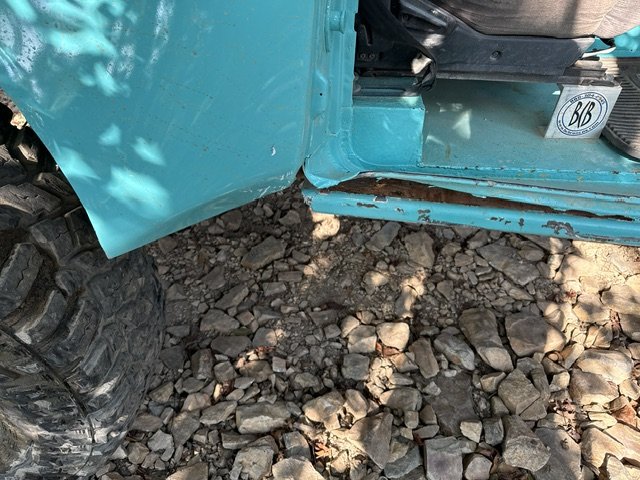
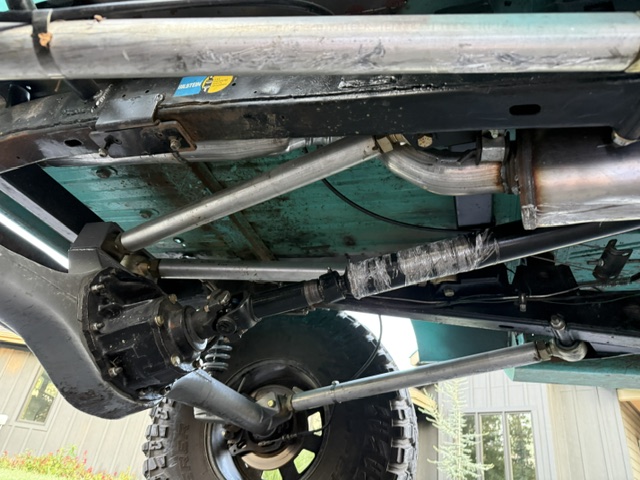
I was pleased with it at OCBR the four link and automatic were a different world compared to the np 435 leaf spring combo I'm used to. I did manage to tear off a rock slider pretty much immediately and then pretty much just wad up that whole area on rocks for the rest of the weekend.
IMG_5914.JPG

IMG_5792.jpeg
IMG_5793.jpeg
IMG_5794.jpeg

IMG_5838.jpg

I knew I wanted to revamp the cage so I put a note on the board at the event that I would sell the cage out of it after I was done wheeling on the final day. I put I think $450 on it. On the last morning a kid came up to me with his dad encouraging him behind it and said I want to buy your cage would you take $200 for it?" It was probably worth a lot more but couldn't help but try and support the next generation. So I think I told him $250 and it's yours. (If you're on here I may be misremembering the numbers but it was something like that!)
IMG_5832.jpeg
IMG_5835.jpeg


So at this point in the story it's back at my house and ready for what I thought was going to be a mild refresh...
IMG_5881.jpeg


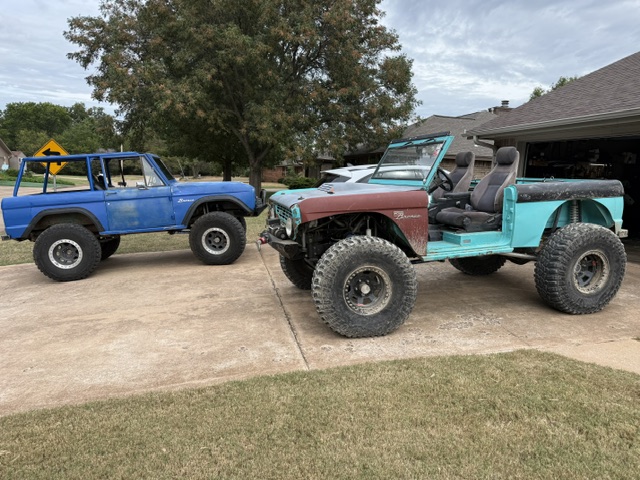
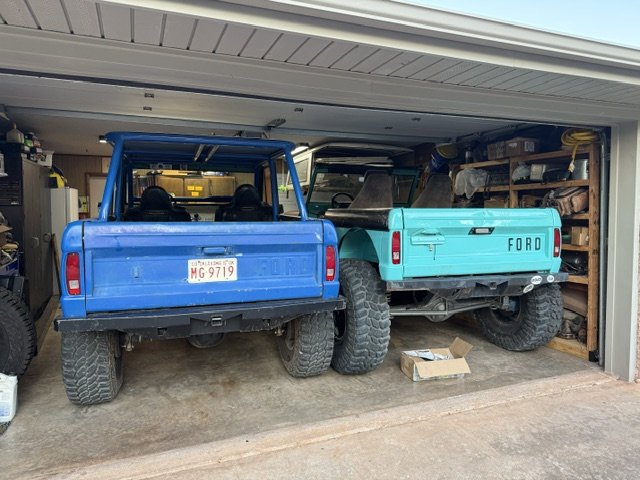
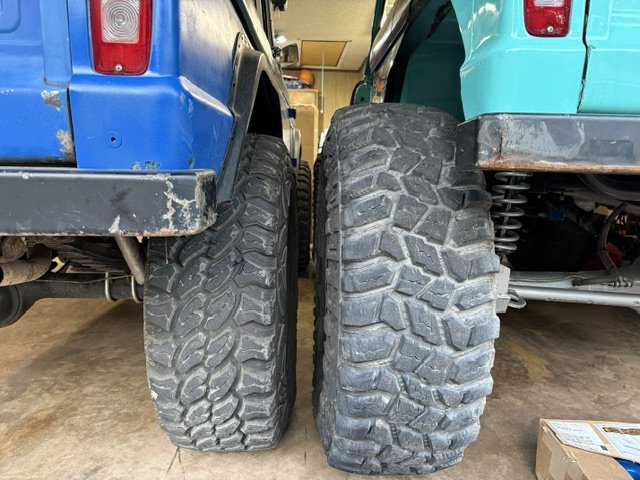
It's a snug fit in the garage for these two, and man the 40s look huge next to 37s
IMG_5883.jpeg
 
Last edited:
OP
OP
Okie69

Okie69

Contributor
Sr. Member
Joined
Nov 28, 2011
Messages
842
Now it’s home so time to tear it apart instead of just enjoying a new rig for awhile right?

IMG_6030.jpeg
IMG_6016.jpeg


List of things to address. It will barely steer to the left. At the time I wasn’t sure if the pitman arm was clocked wrong or if the ram was too short are some other combination of problems, but I had steering for days to the right but hardly any left.
IMG_5997.jpeg


The power explorer front dress is awesome and I’m glad it has it, but the ps reservoir sticking out through the hood had to go. Got the explorer Saginaw bracket from WH and a psc dual return pump. This fixed the height issue and got the “T” out of the return line in my hydroboost brake/ram assist plumbing

Pulled the seats to make way for the PRP seats that have been on the shelf for a couple of years now. (The eclipse seats will be for sale at OCBR this year)

IMG_6039.jpeg


I knew I wanted full rear quarter protection so got a set of armor-geddon quarter armor coming from WH as well. some cutting and welding and got those worked into the existing armor. The way the rear is cut I was able to add a small fill piece to fill in the gap between the upper and rear armor. Excited about how that turned out.
IMG_6401.jpeg
IMG_6410.jpeg
IMG_6427.jpeg
IMG_6545.jpeg
IMG_6545.jpeg
IMG_6548.jpeg
IMG_6588.jpeg
 

Attachments

  • IMG_6070.jpeg
    IMG_6070.jpeg
    68.5 KB · Views: 63
  • IMG_6041.jpeg
    IMG_6041.jpeg
    185.7 KB · Views: 74
OP
OP
Okie69

Okie69

Contributor
Sr. Member
Joined
Nov 28, 2011
Messages
842
As of now it's sitting at Bailie Bilt getting a new cage thats integrates into the A pillar, new narrowed grille, an all steel F35 hood from WH, and new fenders. fixing the wadded up areas and putting in new rock slides, fresh coat of paint (maybe some fun stuff there). We might lower the floor to get my seat height a little better for my 6'4" frame while we're at it as well.
IMG_7597.jpeg

Last but not least I've got a Proflow 4 and in tank pump setup to put on when it gets back home. I had to get creative and got some awesome customer service from Wayne at RCI. I'll make an in-depth post about that whole setup later.
 

Attachments

  • 1000005904.JPG
    1000005904.JPG
    212 KB · Views: 107
  • 1000006200.JPG
    1000006200.JPG
    212 KB · Views: 98
  • 1000006202.JPG
    1000006202.JPG
    212 KB · Views: 98
  • 1000006201.JPG
    1000006201.JPG
    212 KB · Views: 89
  • 1000006203.JPG
    1000006203.JPG
    212 KB · Views: 91
  • IMG_7439.jpeg
    IMG_7439.jpeg
    78.2 KB · Views: 96
  • IMG_7448.jpeg
    IMG_7448.jpeg
    79.6 KB · Views: 80
  • IMG_7449.jpeg
    IMG_7449.jpeg
    83.6 KB · Views: 99

Potshot

Contributor
Sr. Member
Joined
Sep 7, 2006
Messages
666
Loc.
Inglis, Florida
Love it. I ended up grabbing an ex crawler too with all kinds of great extras along with a completely trashed tub. I don't even live in crawling country hahaha. I just couldn't say no.
 
OP
OP
Okie69

Okie69

Contributor
Sr. Member
Joined
Nov 28, 2011
Messages
842
Love it. I ended up grabbing an ex crawler too with all kinds of great extras along with a completely trashed tub. I don't even live in crawling country hahaha. I just couldn't say no.
Some times they make the decision for you it seems!
 
OP
OP
Okie69

Okie69

Contributor
Sr. Member
Joined
Nov 28, 2011
Messages
842
Saw it at the shop the other day, looking good!
Haven’t seen you in forever! Stop by on a Saturday sometime I’m usually there ha.

I’m hearing rumors of a rubicon trip next Oct.
 
OP
OP
Okie69

Okie69

Contributor
Sr. Member
Joined
Nov 28, 2011
Messages
842
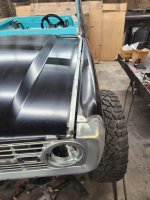
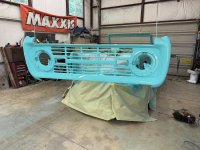
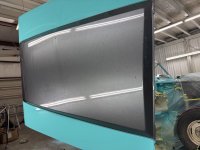
A little update. We’ve got paint! This is my first time going through all the prep and everything to try and do a paint job the right way. Let me say there are about twice as many steps as I thought there were and somewhere around 3 times as many tools and materials needed.

Next we’ve got some graphics and hood stripe to add. Gordon has something in mind for the graphics that my non artistic brain can’t visualize but I trust it’ll turn out awesome!
 

Attachments

  • IMG_8046.jpeg
    IMG_8046.jpeg
    224 KB · Views: 101
  • IMG_8045.jpeg
    IMG_8045.jpeg
    212.2 KB · Views: 95
  • IMG_8041.jpeg
    IMG_8041.jpeg
    213.8 KB · Views: 90
  • IMG_8031.jpeg
    IMG_8031.jpeg
    180.3 KB · Views: 85
  • IMG_8001.jpeg
    IMG_8001.jpeg
    225.7 KB · Views: 96
  • IMG_8018.jpeg
    IMG_8018.jpeg
    231.7 KB · Views: 94
OP
OP
Okie69

Okie69

Contributor
Sr. Member
Joined
Nov 28, 2011
Messages
842
More progress today! Paint is done. Waiting for the cage to get back from powder coating then we can fit the aluminum roof and it can come home! Got some assembly to do tomorrow.
IMG_8070.jpeg
IMG_8071.jpeg
IMG_8072.jpeg
IMG_8073.jpeg
IMG_8075.jpeg
IMG_8069.jpeg
 

Attachments

  • IMG_8074.jpeg
    IMG_8074.jpeg
    153.4 KB · Views: 55
OP
OP
Okie69

Okie69

Contributor
Sr. Member
Joined
Nov 28, 2011
Messages
842
More progress today! Picked up the cage from powder coat yesterday and got it installed. The paint on the uprights didn’t match like we hoped so we’ve got the paint guy coming back out to scan the cage paint and then we will re shoot them to match.

IMG_8155.jpeg

IMG_8156.jpeg
IMG_8152.jpeg
IMG_8153.jpeg
 
OP
OP
Okie69

Okie69

Contributor
Sr. Member
Joined
Nov 28, 2011
Messages
842
Paint guy came out and got us a match for the powder coat and we got it resprayed. The paint and powder coat colors are really close now.
IMG_8275.jpeg
IMG_8276.jpeg
 
OP
OP
Okie69

Okie69

Contributor
Sr. Member
Joined
Nov 28, 2011
Messages
842
Probably time I talk about the fuel cell in case anyone wants to go a similar route. When I got it, the Bronco had a red 12-gallon fuel cell from RCI in it. I am not a fan of red in general and I wanted a little more capacity. RCI makes a 15-gallon version of that fuel cell, and it can be had in red, white, or black. So I ordered the White one and that was gonna be that.
IMG_6411.jpeg

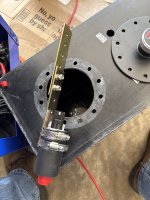
Well I can't leave well enough alone and decided I wanted to see about changing where the lines connect to the tank. These tanks use a steel outer shell with a molded plastic inner bladder. So to do what I wanted I need a inner bladder without the holes in it. I called RCI and was immediately transferred straight to the owner. I will tell you all one thing for sure. Customer service at RCI is phenomenal! Not only did he send me a bladder without holes drilled (there is one 3/4 inch hole thats in them all from the manufacturing process). I wanted to use -6 stuff instead of -8 and he sent me a smattering of -6 stuff to go with it free of charge.

IMG_7710.jpeg


Oh I also wanted to do an in tank pump. He sent me all of his fuel hanger stuff unwelded so I could Frankenstein it myself. This is what I ended up with. All of the fittings in the hanger and as close together as possible

IMG_8287.jpeg
IMG_8288.jpeg

I also had to make my own top piece of the steel box with the new locations. And for good measure went ahead and got it powder coated to match. I also wanted to run hard lines into a bulkhead at the body so they could be disconnected either on the top or bottom.
IMG_8290.jpeg
IMG_8291.jpeg


Sorry, that was a long rambling explanation just wanted to let y'all know in case anyone ends up doing something similar. Any questions just ask!
 

Attachments

  • IMG_7744.jpeg
    IMG_7744.jpeg
    97.3 KB · Views: 40
  • IMG_7742.jpeg
    IMG_7742.jpeg
    203.6 KB · Views: 53
OP
OP
Okie69

Okie69

Contributor
Sr. Member
Joined
Nov 28, 2011
Messages
842
Update time. Been a lot of progress, but I haven't posted because I'm down to the wire on getting this thing done before OCBR!

Putting the aluminum skin on the roof it its final form. I use this high density foam tape with a sticky back to keep the rattles and noise down. Works wonders.
1.jpg
2.jpg


Next Finishing up the fuel system. Here's a shot of the bulkhead setup I came up with for the lines. The plan was to run hardlines all the way to the regulator, but the time crunch and my inexperience with hardlines made me decide to pivot to braided PTFE. So much easier!
14.jpg
7.jpg


Also piped in a big ole charcoal canister to try and keep some of the fuel smell out of the garage.

5.jpg
 
OP
OP
Okie69

Okie69

Contributor
Sr. Member
Joined
Nov 28, 2011
Messages
842
Started on the EFI install then realized my TV cable wasn't going to work so I'm waiting for the new one to show up... I need to be loaded tomorrow afternoon. Nothing like cutitng it close. I left the wires all loose and terrible looking until after I know it's up and running then I'll try and pretty it up. Verified hood clearance with the new setup. I shortened the all thread by about 3/4 of an inch after this picture was taken.

17.jpg
8.jpg


I cleaned up all of the front end wiring and rewires the lights so I was glad to see the new ones fired up and everything works!
18.jpg


Next the bumpers! shoo wee this was a lot of work and a kick in the teeth. First the rear bumper. It is crooked and I'm not positive why. I think it's the body somehow because the distances to the frame are the same on both sides. That's fine I can work on that later.
13.jpg


So originally the grille was cut up really aggressively and I wasn't a fan of that look so I opted to keep the grille shell whole and to just modify the bumper when the time came. Well, little did I know that it would be a major modification and the winch wouldn't fit. Oh well I'll just hope someone else will lend a line if I need it this week. I had to cut off the top 1.5" of the winch tray and not the ends to make it work. The frame horns of this bronco have been cut off so the mounting points are further back into the frame if anyone is wondering why this needed to be done.

9.jpg

10.jpg
11.jpg


I'm not a fan of how the stubby ends of the bumper stop so far short of the grille shell anyway so I'll be reworking the whole front bumper situation at a later date. Good thing the ends unbolt from the Bailie Bilt center section! This will get me through this event though. I just hope a rock doesn't find those exposed ends of grille shell 😅
12.jpg


That's about it for now. TV cable should be here at about noon, and I'm going to thrash and get it started up today so I can go drive it then get loaded up tomorrow!
 
Top