











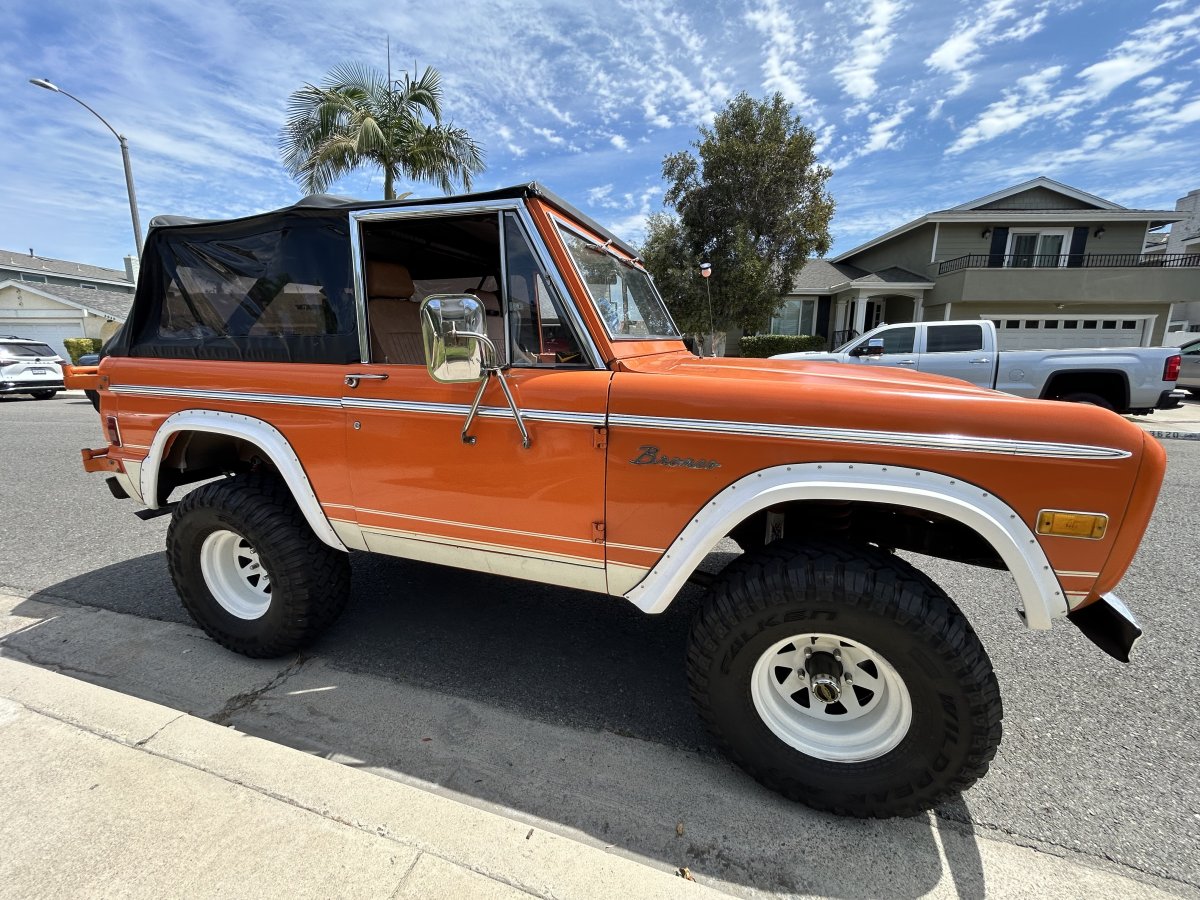
I recently replaced my C bushings in my 1977 Bronco but after tearing into the front suspension a whole bunch of other things got replaced. Below is what I did to replace everything. For what it’s worth.
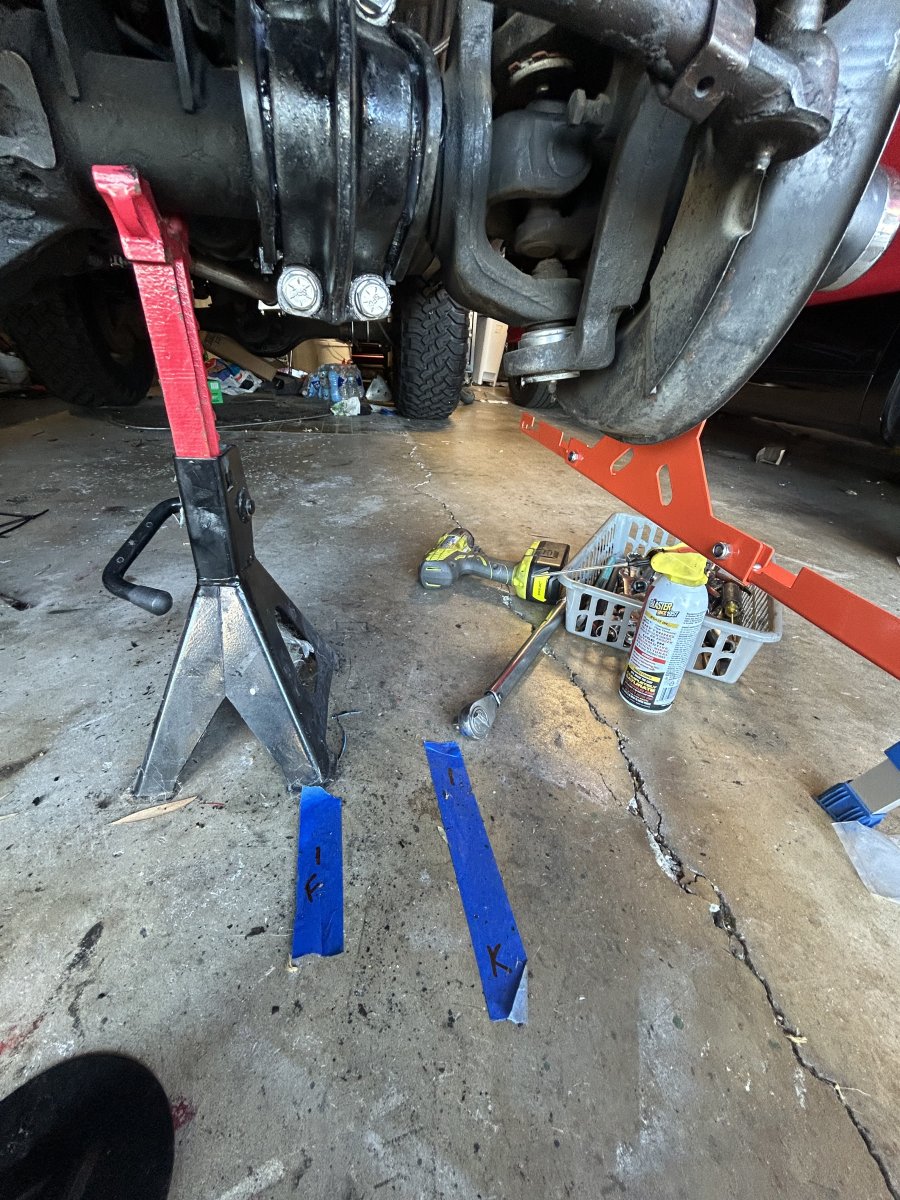
Purchased truck Jack stands at Harbor Freight for about 160 dollars. The jack stands were necessary to support the Bronco at the front of the frame.
Disconnect track bar at the frame while the weight of the bronco is on the suspension.
Jack car up at frame and rest jack stands on both ends of the frame near the bumper. This gave me enough room to work with the axle.
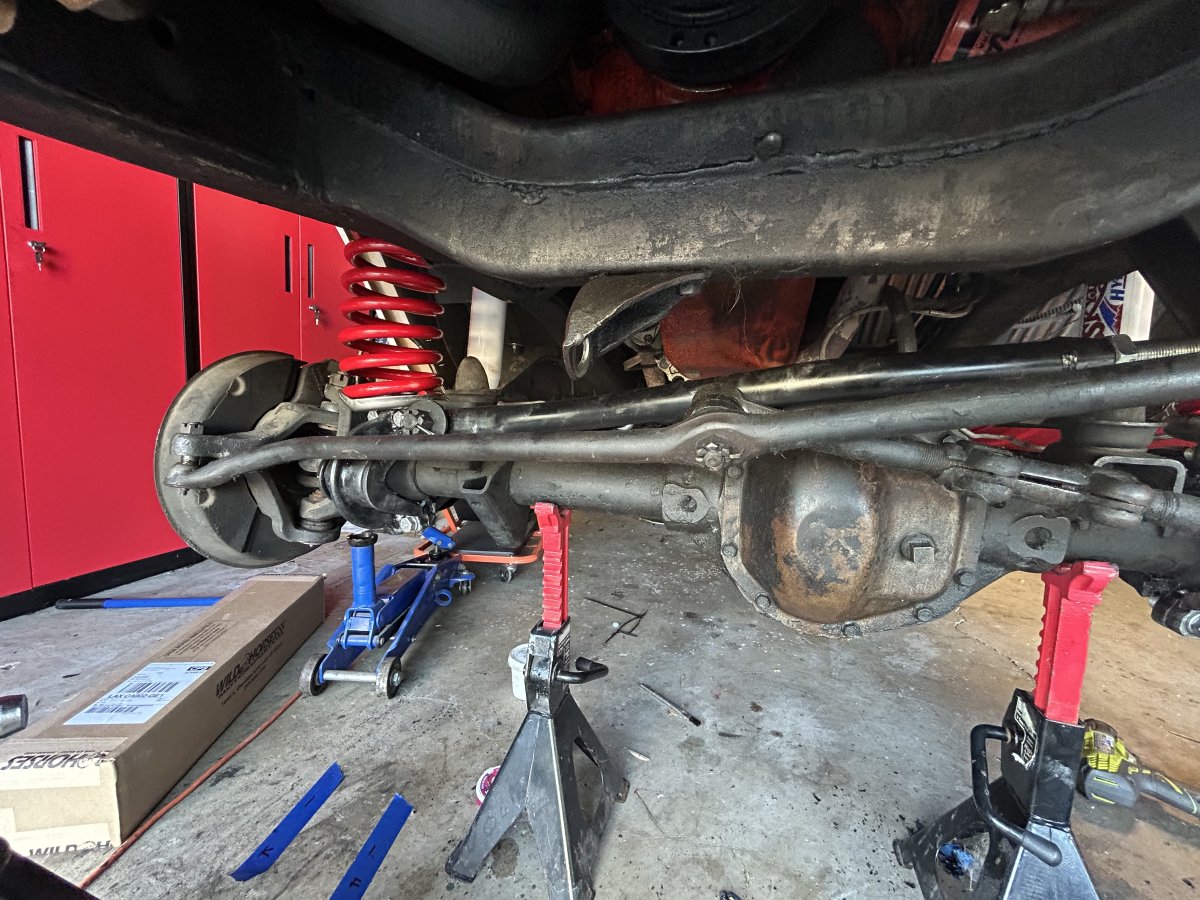
Jack up the axle and place jack stands on both ends of axle. This gave me enough relief on the springs to remove the springs when the time came.
Remove the tires.
Remove the shock absorbers.
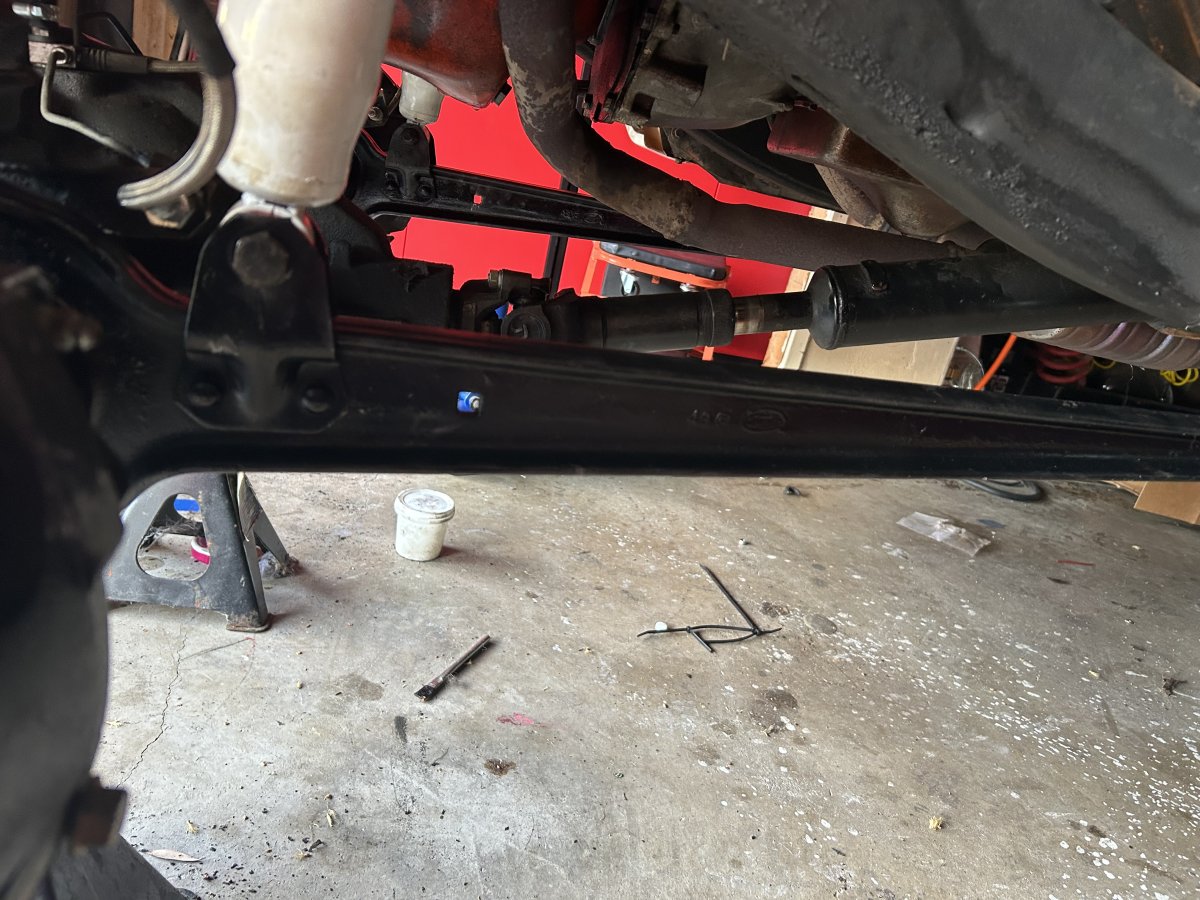
Disconnect the front drive shaft. I Zip tied the driven shaft to the exhaust.
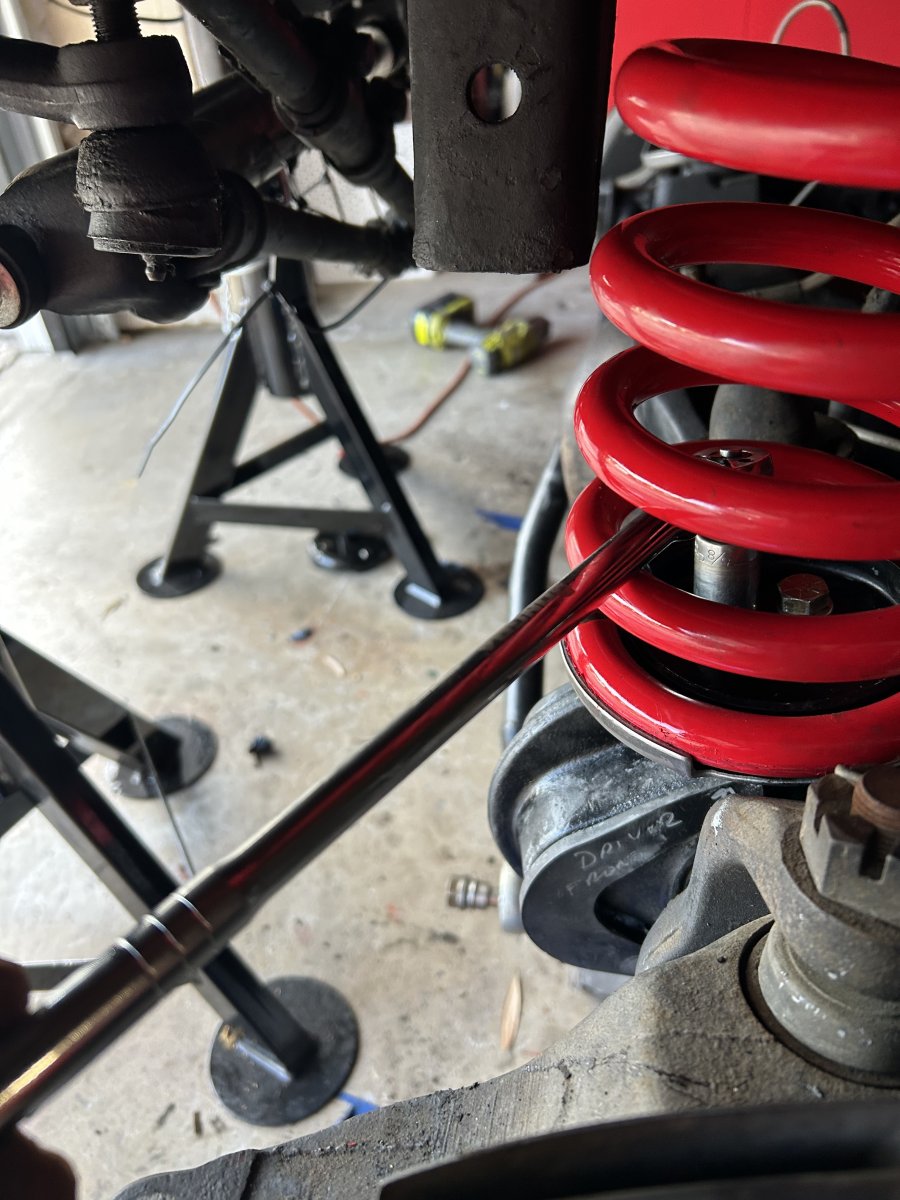
Use a floor jack to compress the passenger spring and remove the upper spring clip and loosen the lower spring cup bolts. I found a low profile 1/4 ratchet worked perfectly to access the spring cup bolts.
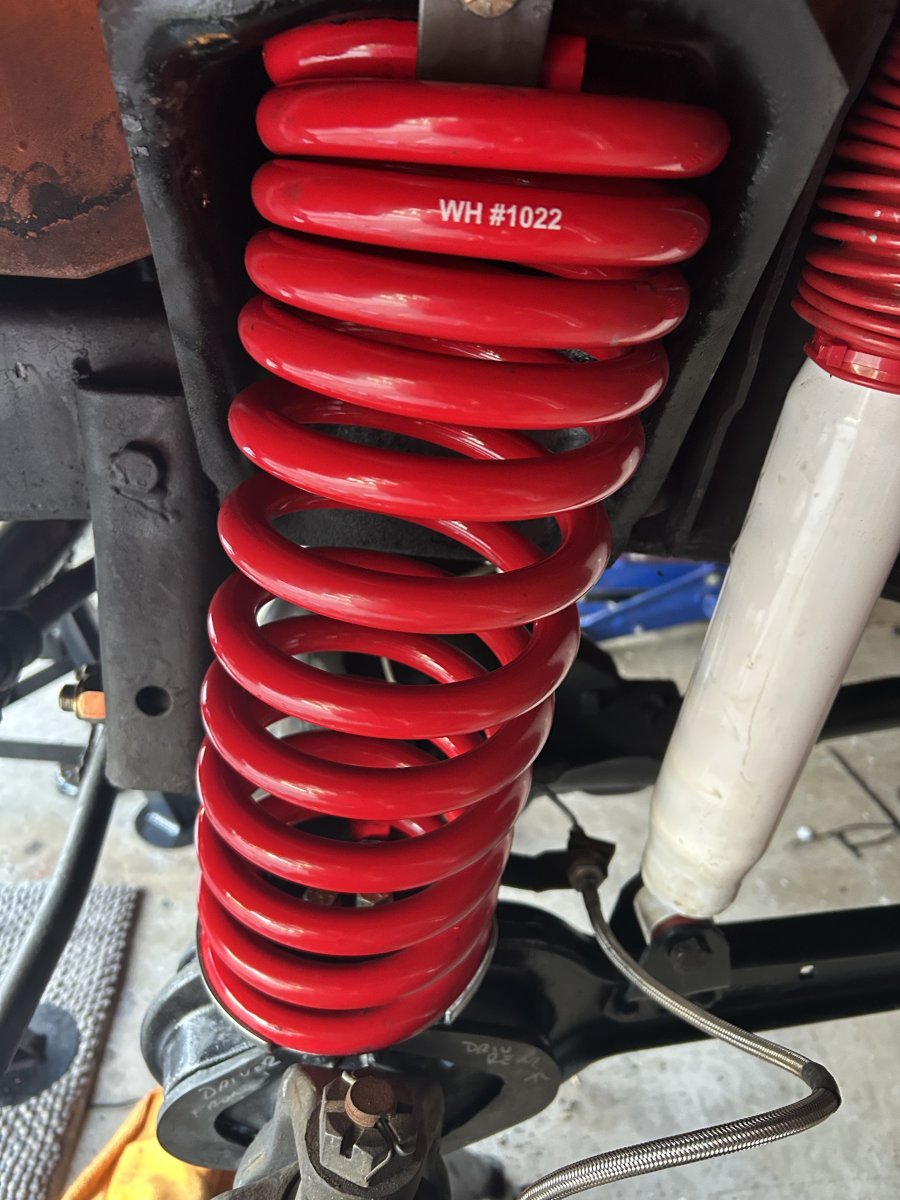
Lower floor jack to remove compression on the spring and twist the spring out of the lower spring cup.
Repeat process for the drivers side.
At this point the axle is only attached to the frame by the radius arms.
I constructed some casters out of 12x2 wood and placed some multi directional caster wheels on the four corners of the 12x2. I then placed the jack stands holding the axle on top of the 12x2 so that I could move the axle around when dealing with the radius arms.
I didn’t find the need to disconnect the brake line or vent line at the diff as I had enough room to maneuver the axle around without disconnecting.
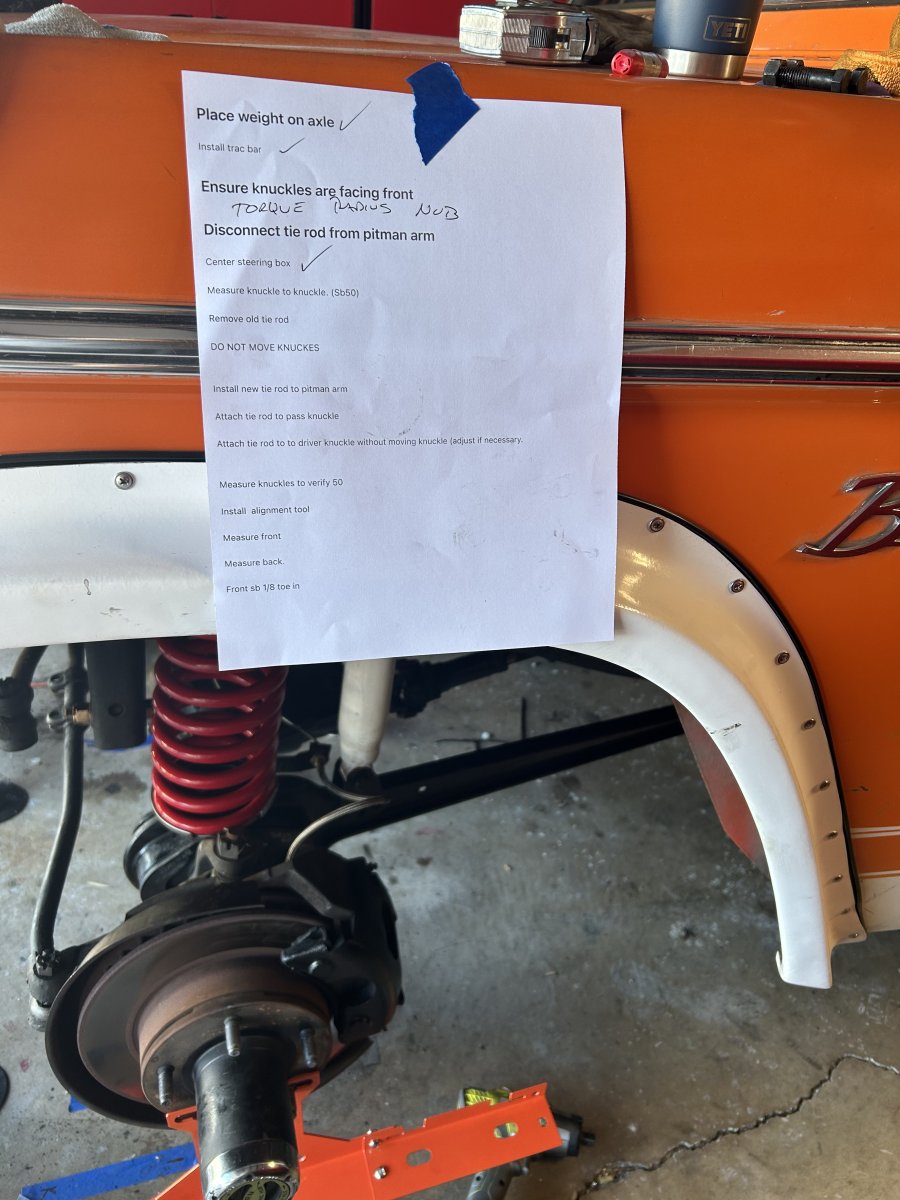
Disconnect tie rod ends on both the passenger and drivers side knuckle. You can completely remove the tie rod at this point, but I didn’t find the need to do so. I zip tied the tie rod to the drag link to keep it up and out of the way.
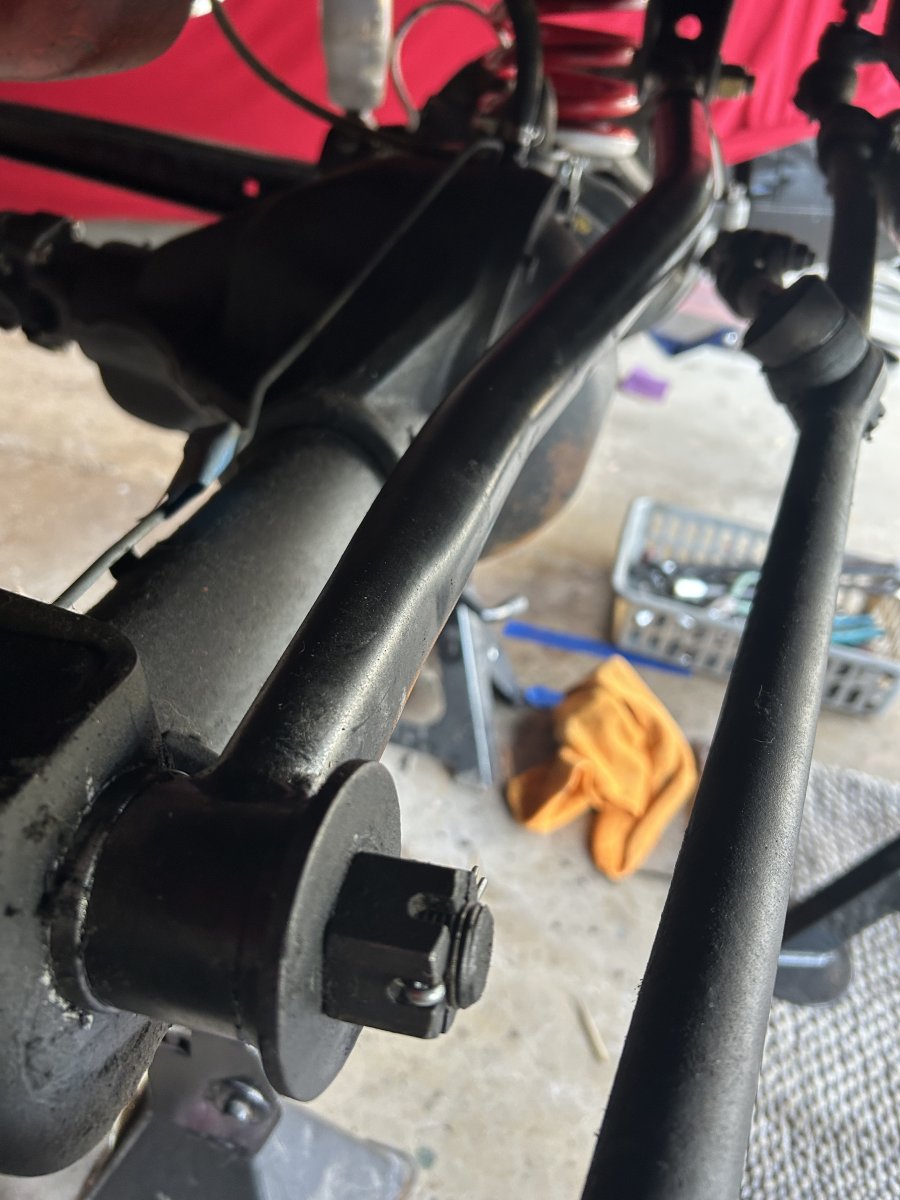
Remove the radius arm nuts at the frame on both sides of the veh. Remove the outer bushings. The radius arms can now to pulled from the frame mounts.
Place jack stands under the radius arms near the frame mounts
Pull the axle to the front so the radius arms separate from the frame mounts and rest on the jack stands.
Remove the rear arm frame bushings.
Place a jack stands under the differential yoke to hold the drive shaft wile you remove the radius arms. This will keep the axle from rotating down.
Remove the C bushing bolts on the passenger side radius arm and separate the radius arm from the axle.
Remove the C bushing bolts on the drivers side radius arm and separate the radius arm from the axle.
Keep track of the drivers side radius arm and cap and passenger side radius arm and cap so they can be installed in the same locations.
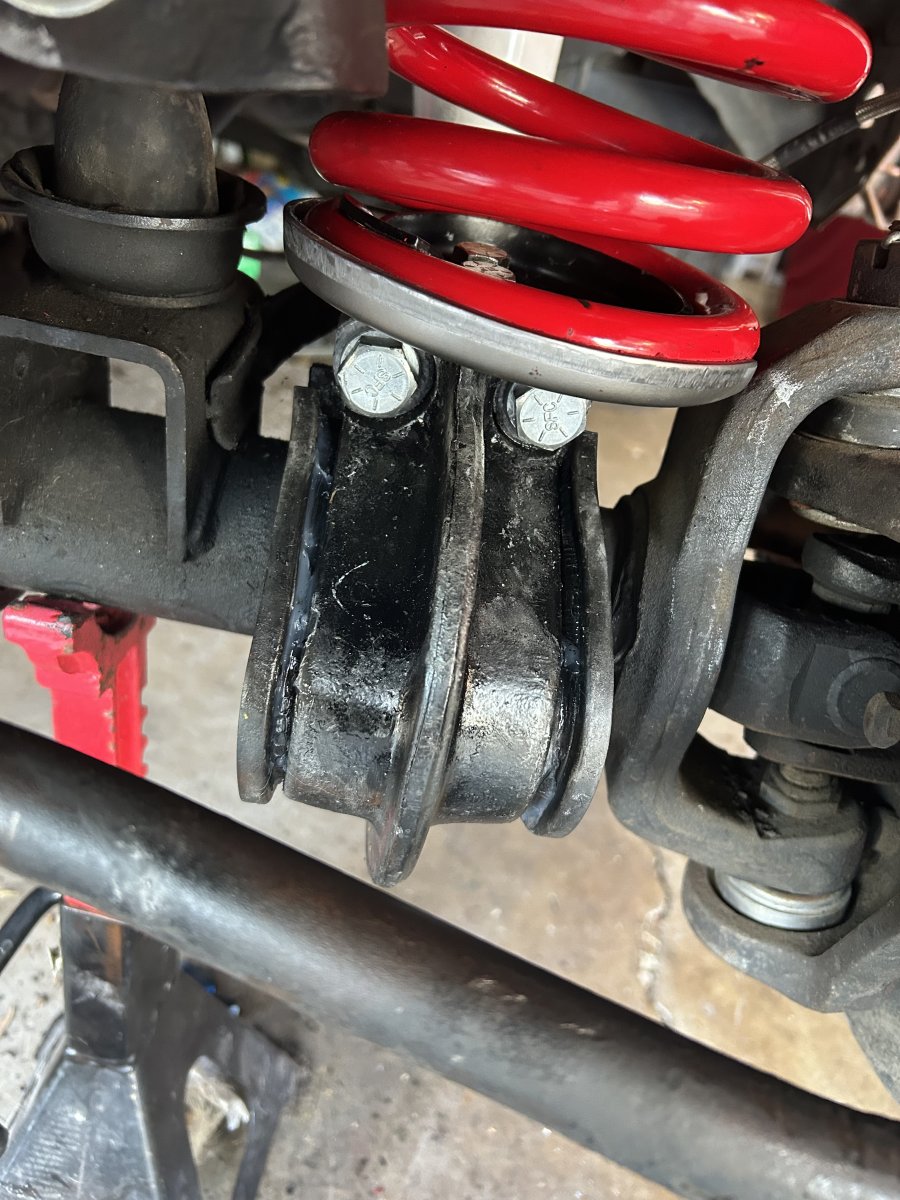
This is where i had to do a lot of scraping and sanding to remove crud and rust from both the radius arm frame mounting studs as well as the radius arm and C bushing mounting surface.
Now the axle is free floating on the jack stands.
Cont….

Purchased truck Jack stands at Harbor Freight for about 160 dollars. The jack stands were necessary to support the Bronco at the front of the frame.
Disconnect track bar at the frame while the weight of the bronco is on the suspension.
Jack car up at frame and rest jack stands on both ends of the frame near the bumper. This gave me enough room to work with the axle.
Jack up the axle and place jack stands on both ends of axle. This gave me enough relief on the springs to remove the springs when the time came.
Remove the tires.
Remove the shock absorbers.
Disconnect the front drive shaft. I Zip tied the driven shaft to the exhaust.
Use a floor jack to compress the passenger spring and remove the upper spring clip and loosen the lower spring cup bolts. I found a low profile 1/4 ratchet worked perfectly to access the spring cup bolts.
Lower floor jack to remove compression on the spring and twist the spring out of the lower spring cup.
Repeat process for the drivers side.
At this point the axle is only attached to the frame by the radius arms.
I constructed some casters out of 12x2 wood and placed some multi directional caster wheels on the four corners of the 12x2. I then placed the jack stands holding the axle on top of the 12x2 so that I could move the axle around when dealing with the radius arms.
I didn’t find the need to disconnect the brake line or vent line at the diff as I had enough room to maneuver the axle around without disconnecting.
Disconnect tie rod ends on both the passenger and drivers side knuckle. You can completely remove the tie rod at this point, but I didn’t find the need to do so. I zip tied the tie rod to the drag link to keep it up and out of the way.
Remove the radius arm nuts at the frame on both sides of the veh. Remove the outer bushings. The radius arms can now to pulled from the frame mounts.
Place jack stands under the radius arms near the frame mounts
Pull the axle to the front so the radius arms separate from the frame mounts and rest on the jack stands.
Remove the rear arm frame bushings.
Place a jack stands under the differential yoke to hold the drive shaft wile you remove the radius arms. This will keep the axle from rotating down.
Remove the C bushing bolts on the passenger side radius arm and separate the radius arm from the axle.
Remove the C bushing bolts on the drivers side radius arm and separate the radius arm from the axle.
Keep track of the drivers side radius arm and cap and passenger side radius arm and cap so they can be installed in the same locations.
This is where i had to do a lot of scraping and sanding to remove crud and rust from both the radius arm frame mounting studs as well as the radius arm and C bushing mounting surface.
Now the axle is free floating on the jack stands.
Cont….
Last edited:

 You could probably have put all the parts in one thread.


