• Welcome to ClassicBroncos! - You are currently viewing the forums as a GUEST. To take advantage of all the site features, please take a moment to register. It's fast, simple and absolutely free. So please join our community today!
    If you have problems registering or can't log into your account, please contact Admin.

1974 fiberglass tub dd build

BroncoDesignTN

Sponsor/Vendor
Full Member
Joined
Feb 2, 2014
Messages
170
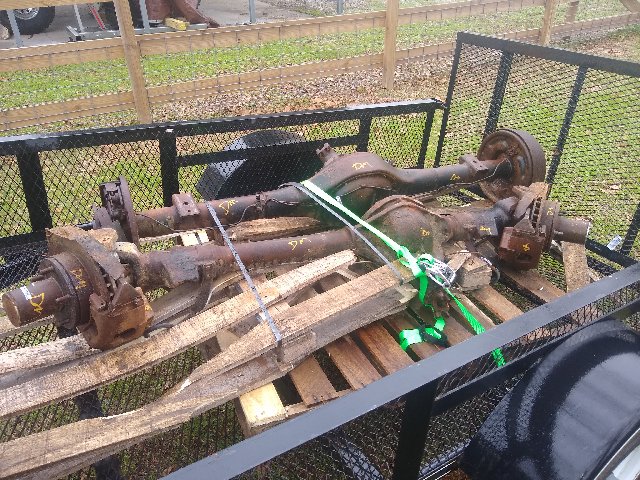
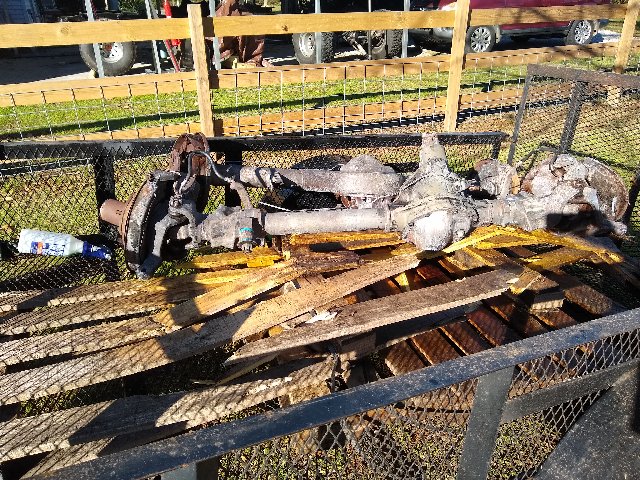
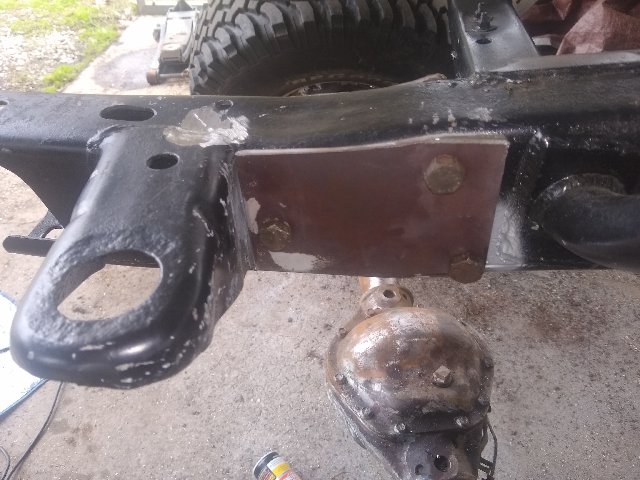
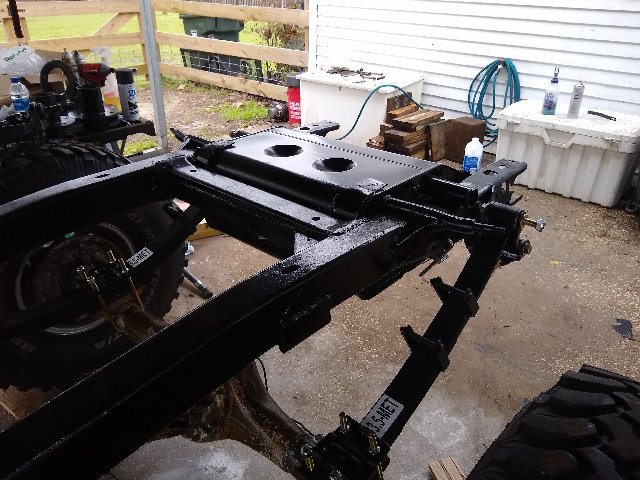
I bought axles out of a 1978 F-150 from a salvage yard in TN. They will be shipped next week. I have to decide what to do about the coil buckets or modify the base?
hmmm[/QUOTE]

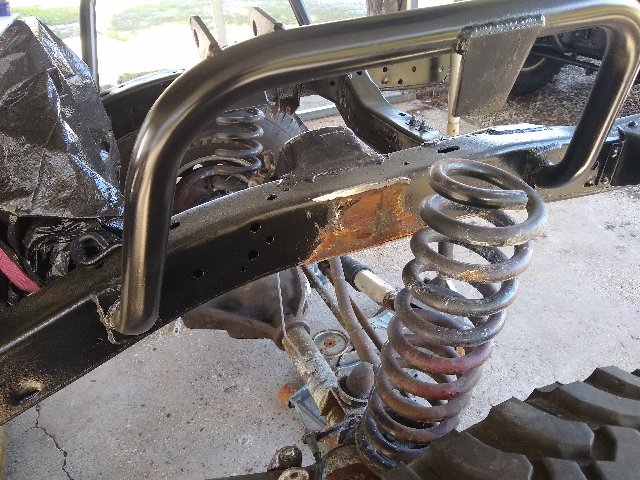
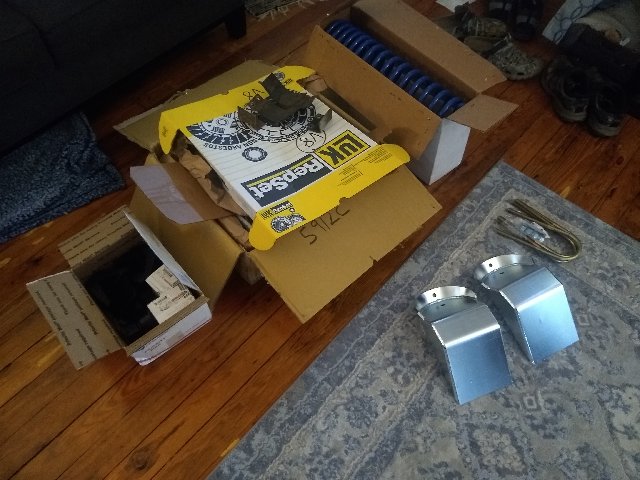
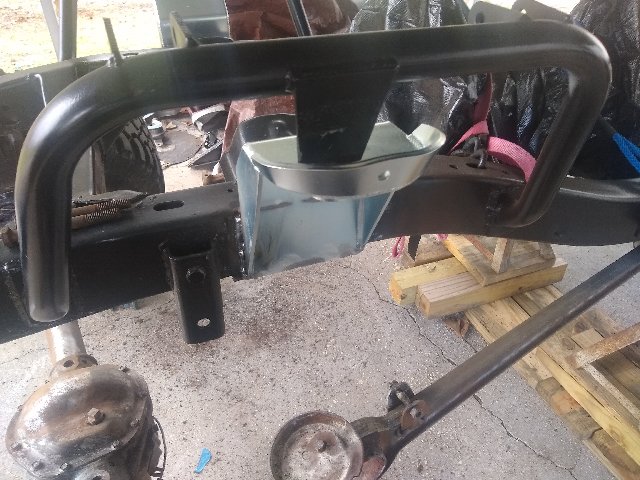
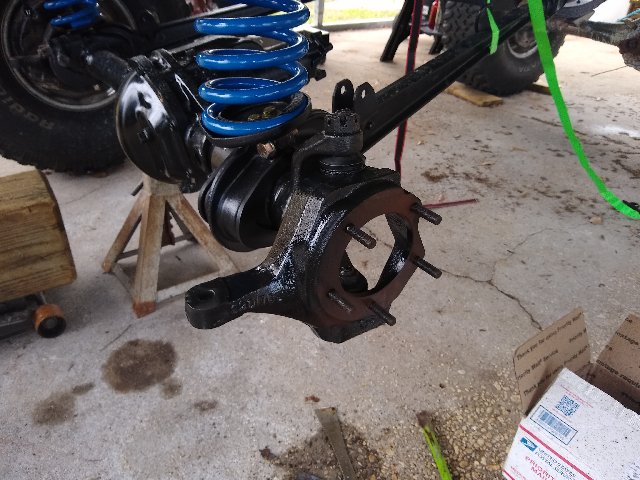
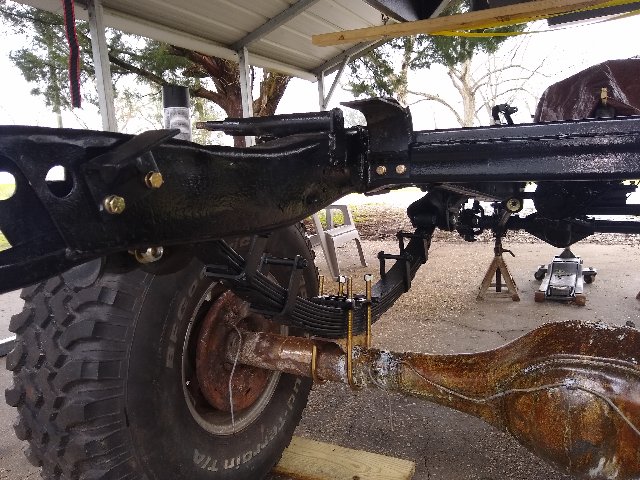
Duff's sells a coil bucket for the full width axle swap. Check these out. I have them for a project we are working on here at Bronco Design as well. https://www.dufftuff.com/Full_Width_Offset_Coil_Bucket_1966_77_Bronco_p/5112.htm
 
OP
OP
M

MrT

Full Member
Joined
Dec 31, 2019
Messages
288
looking good!! kicking some tail!
Thanks! I just put orders in at Duff's and Tom's ouch$ just the first of many. I boughts springs, coil buckets, brakee lines, headers, clutch etc.
I would love to get a completed rolling chasis soon. I need to decide on a steering box. Thanks Cory I ordered a pair.
 

tasker

Contributor
all knowing of nothing
Joined
Jun 2, 2006
Messages
20,764
Loc.
NH
IT'S a long road and expensive, but if it were easy everyone would be doing it! ;D
I told my wife a year and 10k....been 8 and I stopped counting! ;D;D
 
OP
OP
M

MrT

Full Member
Joined
Dec 31, 2019
Messages
288
I think I got a pretty good deal on a hardtop today. It was bad timing for me because I won't need it for awhile. I almost passed on it but the guy gave it to me for a price I couldn't refuse. One of the cross supports has come loose, minor rust where the top sits on the body and one area that will need attention in the lower corner by the door. the sheet metal is very straight.

IMG-20200117-164800772.jpg


IMG-20200117-164813402.jpg
 
Last edited:

hyghlndr

Contributor
Bronco Guru
Joined
Jan 19, 2009
Messages
5,032
Loc.
Hockessin, Delaware
Might want to just cut the rib out on the hardtop and put two of the new ones in. Adding the additional one really makes the top stronger.
 
OP
OP
M

MrT

Full Member
Joined
Dec 31, 2019
Messages
288
Might want to just cut the rib out on the hardtop and put two of the new ones in. Adding the additional one really makes the top stronger.

Thats probably the way go. I will look them up. Looking at the top closer this morning it looks like the seals around all the glas gas been replaced already. It will need hatch seals where it meets thd top.
 
OP
OP
M

MrT

Full Member
Joined
Dec 31, 2019
Messages
288
I had a big long post then lost it...ugh. Bottom line I spent most of my time ordering parts but did manage to get the coil buckets cut off. Tons of parts coming.
Today I got the axles(going to be a lot of work) LUK clutch with flywheel and engine plate, Duff 3.5" springs, TBP 3.5" 9 leaf packs for the rear, Duff offset coil buckets, Bilstein shocks, WH urethane bushings for the front, ss brake lines, Ceramic shorty headers from TBP and some small parts.
Today I ordered fuel pump, filters and hose, a serpentine set off here. A tailgate, fenders, windshield frame and small stuff from Dennis Carpenter.
I ordered a Toyota power steering box and steel to plate the frame where it mounts. Also coming is a FJ80 pitman arm and GM 1 ton Y link steering kit from Ruffstuff.
I do have a budget and I am having a hard time pulling the trigger on rear disc. I know all the small stuff coming later is going to get me. I am looking into doing hydraulic setup on the clutch.
I am shooting for a pretty complete rolling chassis by March but working outside is going to make that tough.

Pics:
IMG-20200121-141103461.jpg


IMG-20200120-125434635.jpg


IMG-20200123-133627716.jpg


IMG-20200123-144614474.jpg
 

indio22

New Member
Joined
Dec 15, 2018
Messages
22
Dang you seem to really be getting things done. Makes me feel like a slow poke. How did you clean out/treat the inside of the frame rails? For me that has been the biggest challenge with my old boxed frame vehicles.
 

tasker

Contributor
all knowing of nothing
Joined
Jun 2, 2006
Messages
20,764
Loc.
NH
i used a trimmed down chimney sweep brush....worked the nuts!
 
Last edited:
OP
OP
M

MrT

Full Member
Joined
Dec 31, 2019
Messages
288
Dang you seem to really be getting things done. Makes me feel like a slow poke. How did you clean out/treat the inside of the frame rails? For me that has been the biggest challenge with my old boxed frame vehicles.

It's not bad looking in there. I have just used Ospho sprayed inside where I can. I am sure that's what is in Eastwoods frame treatment spray that comes with a tube for getting it in there. I think the outside of my frame was stripped and never painted so it had a good bit of surface rust. It's nice and solid.
For my plan to work I need to get it done pretty quick. At least driveable. I will be selling my Rubicon JK.
 
OP
OP
M

MrT

Full Member
Joined
Dec 31, 2019
Messages
288
Today I welded on the offset coil buckets and cleaned up the axles. I ordered rear disc and new front brakes, wheel bearings etc.
I will get the front axle under the frame next, new bushings and coils before I tear down the hubs and brakes. I still need to modify or make a new tab for the hoop to bucket piece.

Axles cleaned up pretty nice for round one:
IMG-20200124-151424200.jpg


Bucket:
IMG-20200124-152516261.jpg


As it sits now:
IMG-20200124-152706607.jpg
 
OP
OP
M

MrT

Full Member
Joined
Dec 31, 2019
Messages
288
Today I cut off the old tabs from the hoop to coil mount. I will weld a new one in the right place.

IMG-20200127-091025101.jpg


IMG-20200127-092237850.jpg

I quit being lazy and cut off the dual shock mounts in the rear. I ont be using them.
IMG-20200127-094428429.jpg


IMG-20200127-094933651.jpg


Then I made my frame re enforcing plates for the power steering box. I will do a little more shaping before welding them on.
IMG-20200127-150611989.jpg


IMG-20200127-150605149.jpg


I also pulled the front end swapped the tires to the new front end and switched them out this weekend.
IMG-20200125-134530756.jpg
 
OP
OP
M

MrT

Full Member
Joined
Dec 31, 2019
Messages
288
Well I kept hitting silly road blocks so there isn't too much to show until now. It's still not a lot but progress.

I got the front axle in, cleaned all the parts and painted them. The issue was the outer bearing races in each hub were snug but you could turn them so I ended up using Loctite 680. The next issue was the passenger outer axle was all chewed up where it rides inside the spindle. I have never seen damage like that and I am waiting on a new one so I can assemble everything.

IMG-20200209-141011184.jpg


I got the rear sitting with tacked perches waiting...You can see the fuel tank tabs also.
IMG-20200217-105507326.jpg


I took everything off the engine and painted it Ford blue. I put on a new motor plate, flywheel and clutch.
IMG-20200213-091455580.jpg


The fuel tank is installed.
IMG-20200217-110024500.jpg


Then I put the engine in woohoo! Today I got the serpentine setup put on. This went pretty smooth.
IMG-20200218-115729212.jpg


IMG-20200218-150523289.jpg


I am using grade 8 where I can because I like the way they look. ;D
IMG-20200218-150453138.jpg


I have to figure out why the motor plate is rubbing then I can put the exhaust in.
I bought Ruffstuff 1 ton Y link steering but I am having second thoguhts. I may switch to crossover with heims.
 
Top