OP
OP
BroncoBub
Sr. Member
- Joined
- Oct 14, 2018
- Messages
- 708
If you decide to get rid of the foot pedal I want it!
If my son doesn't want it for his rat rod it's yours.


If you decide to get rid of the foot pedal I want it!
")
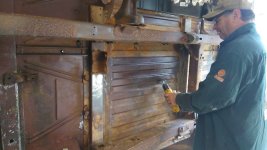
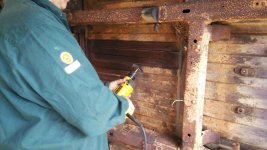
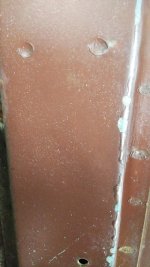
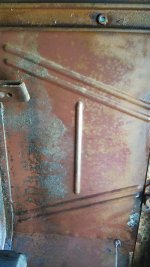
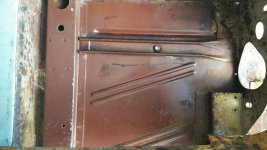
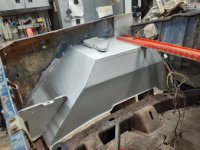
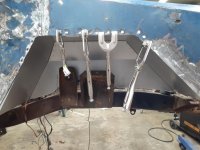
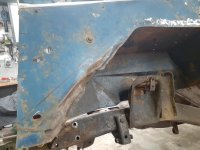
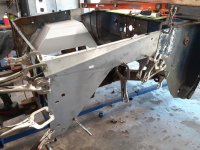
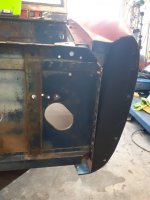
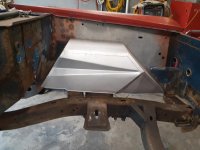
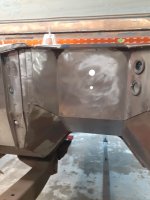
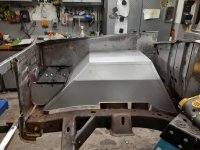
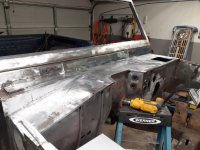
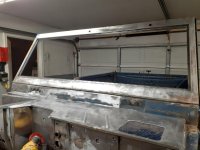
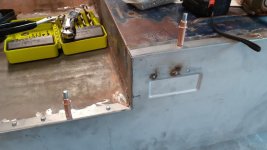
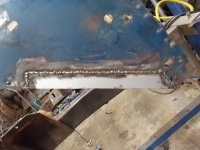
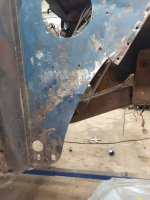
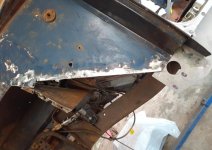
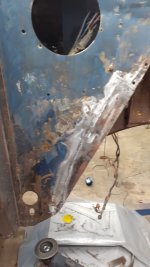
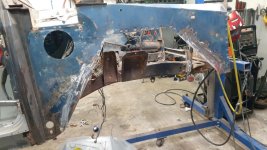
Well I couldn't stand it any longer. Every time I looked at the chewed dash (radio area) I had to do something about it. Well today was the day. I took a break from the rest of the restoration and tackled replacing the metal where the radio mounts. Took about 2-3 hours to start to finish with still a little tweaking to do. Now I can install a factory radio with the new holes. (just need to find one).
(
If you decide to get rid of the foot pedal I want it!
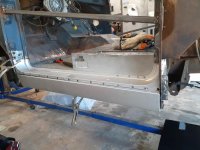


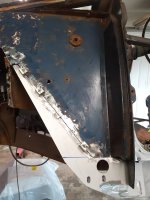
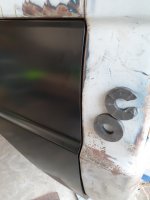
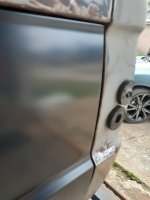
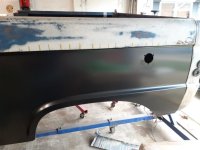
Whose sheet metal are you using .
.. It looks tome like it's fitting better than most I'VE SEEN.
Good looking work there Bub. Way to stay at it.