• Just a reminder that you won't be able to start new posts or reply to existings posts in the Archive forum.

    This is where all the old posts go so they can still be used for reference and searched.
  • Welcome to ClassicBroncos! - You are currently viewing the forums as a GUEST. To take advantage of all the site features, please take a moment to register. It's fast, simple and absolutely free. So please join our community today!
    If you have problems registering or can't log into your account, please contact Admin.

Wish me Luck... Project 4D(isc) initiated!

Jerrod4567

Sr. Member
Joined
Jul 2, 2003
Messages
604
Loc.
Bakersfield CA
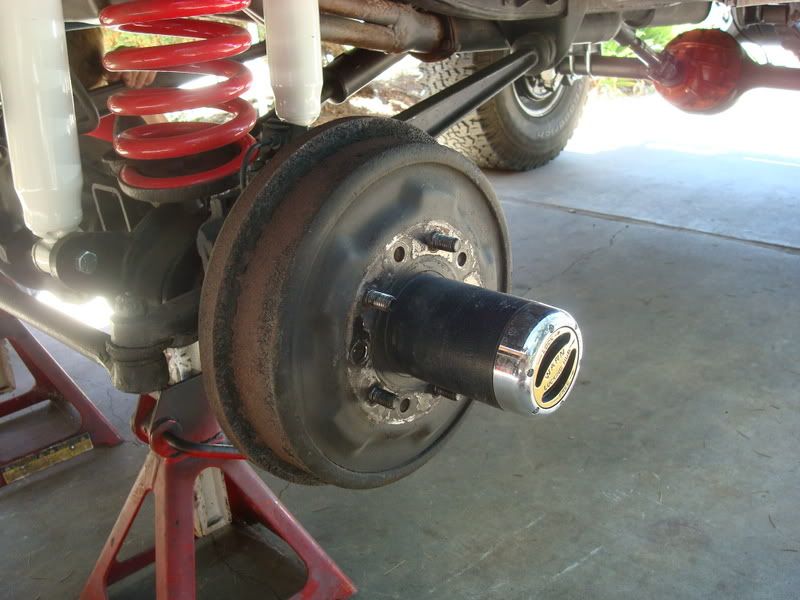
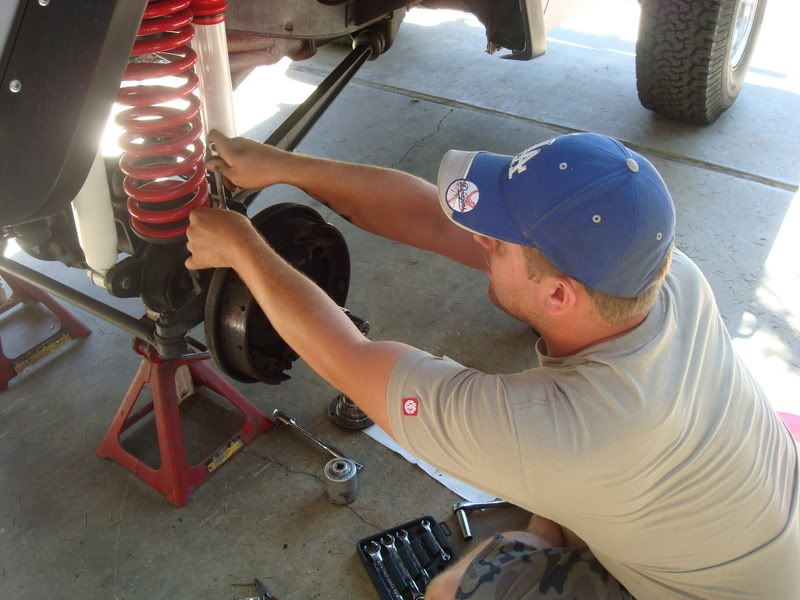
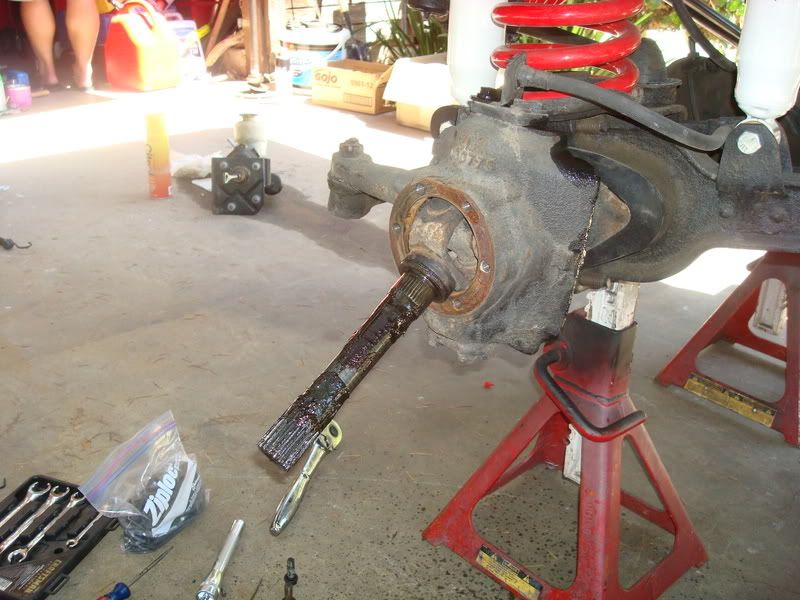
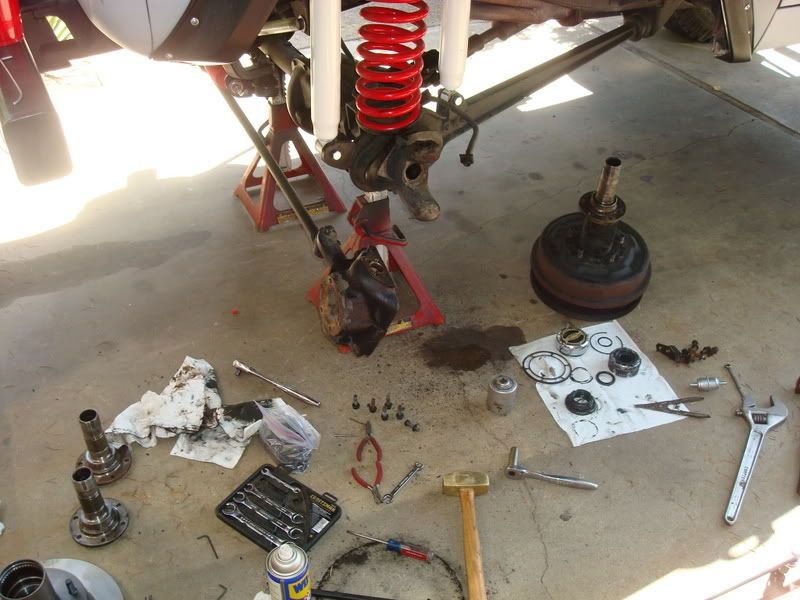
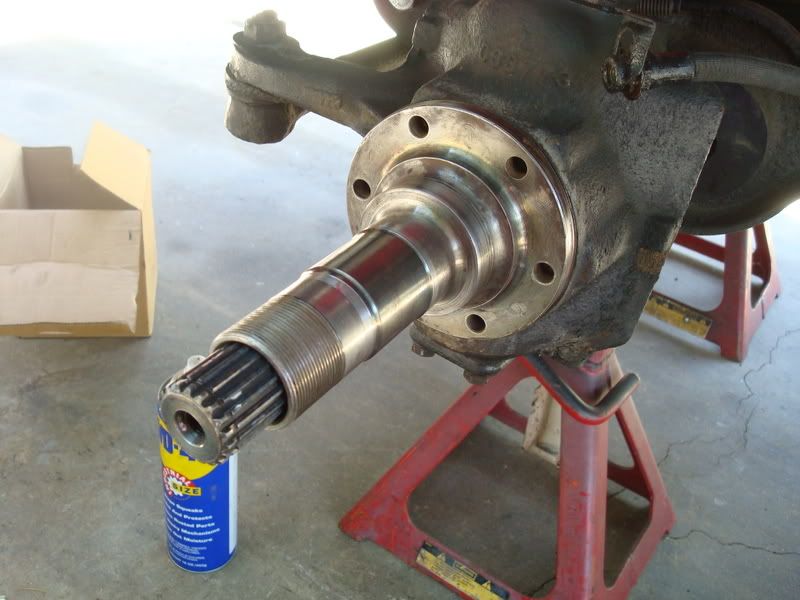
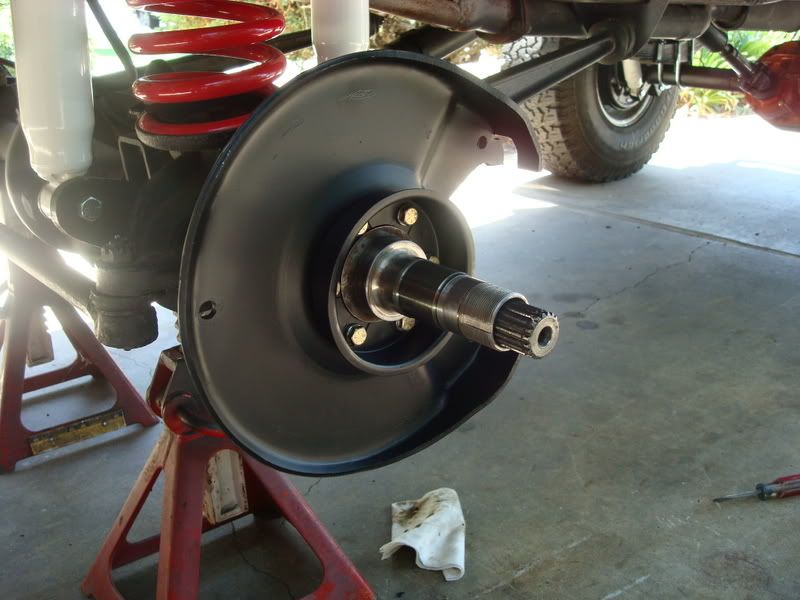
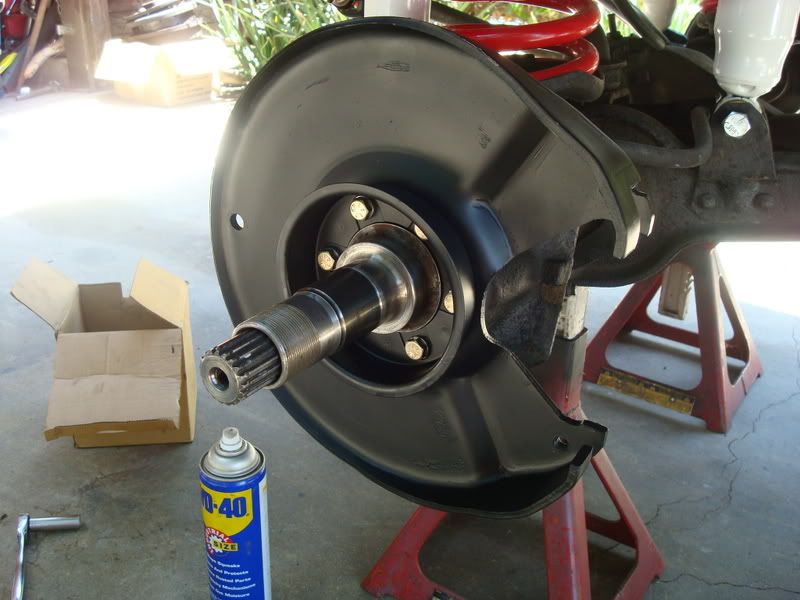
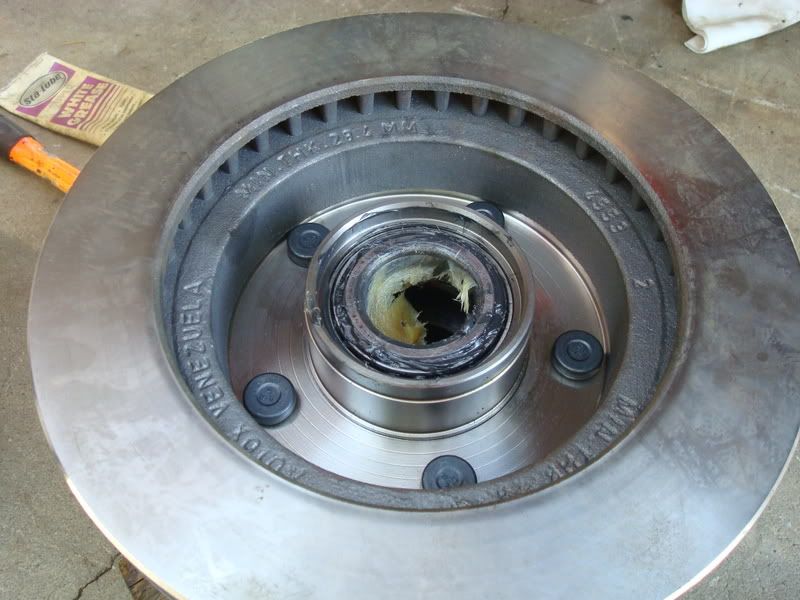
Well I've done a ton of research. Tomorrow morning I will begin my 4 wheel disc swap. As my truck now sits its a 4 wheel drum single resevoir master cylinder manual brake setup.

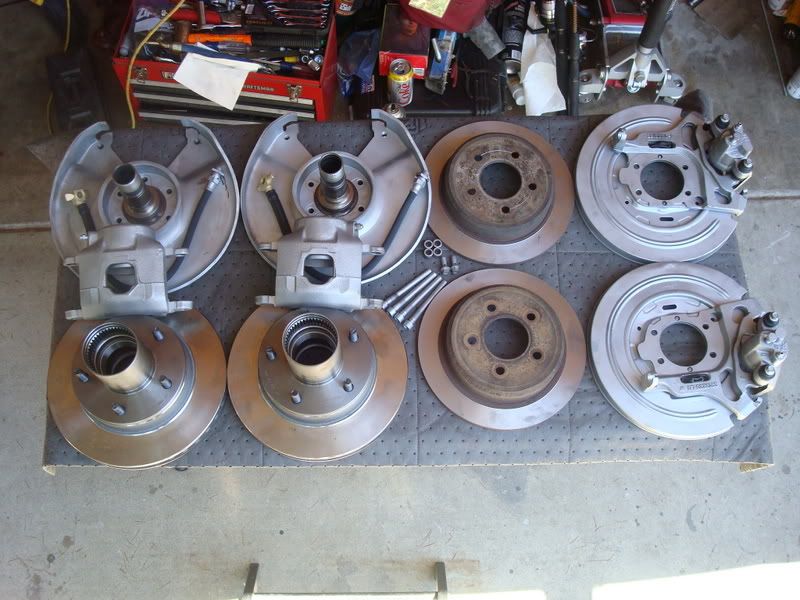
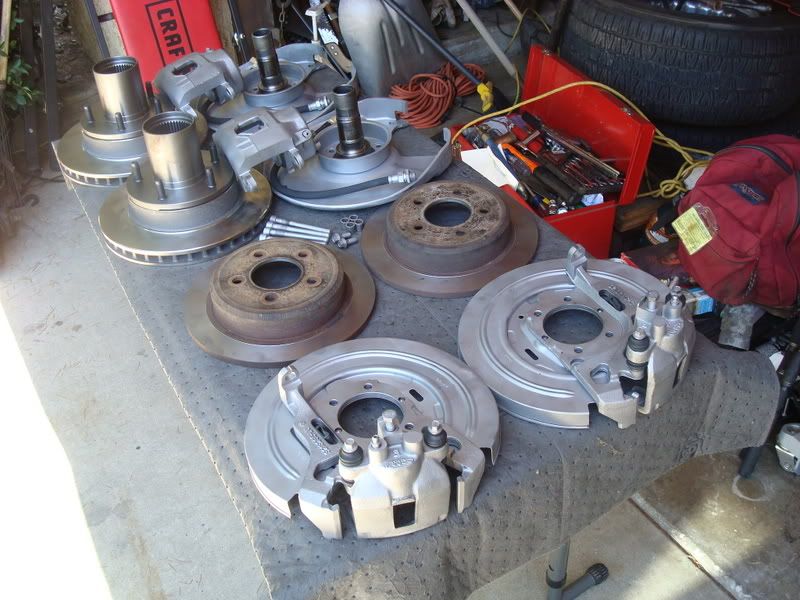
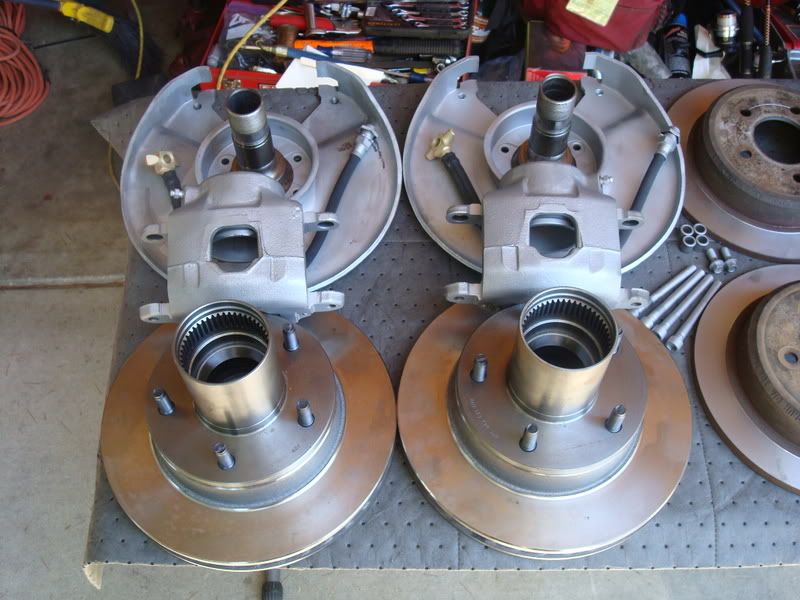
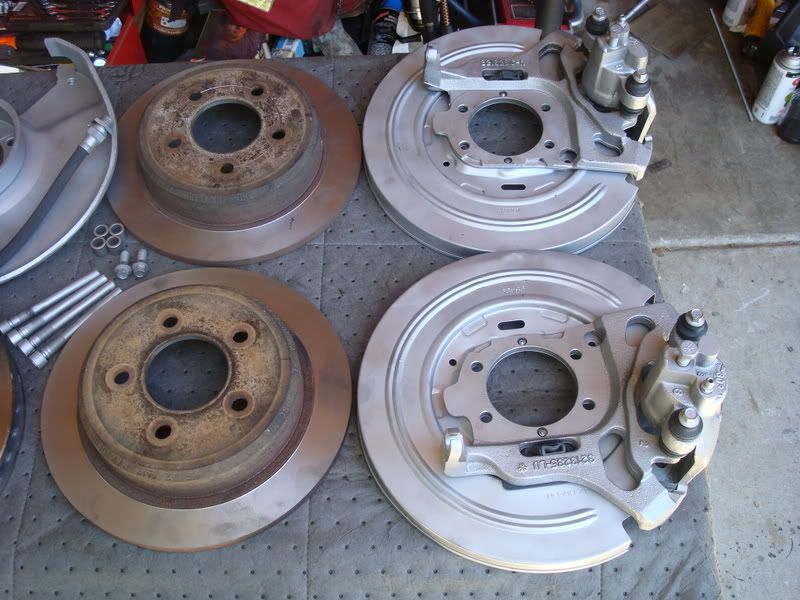
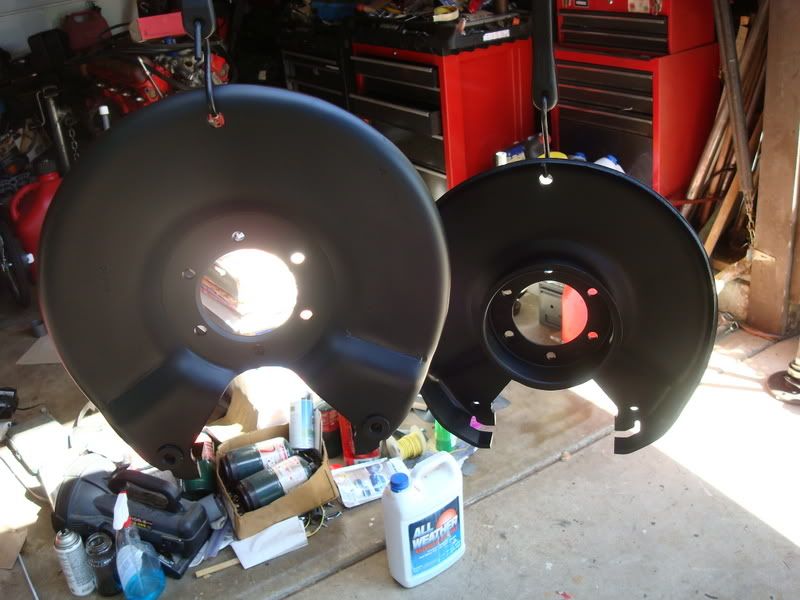
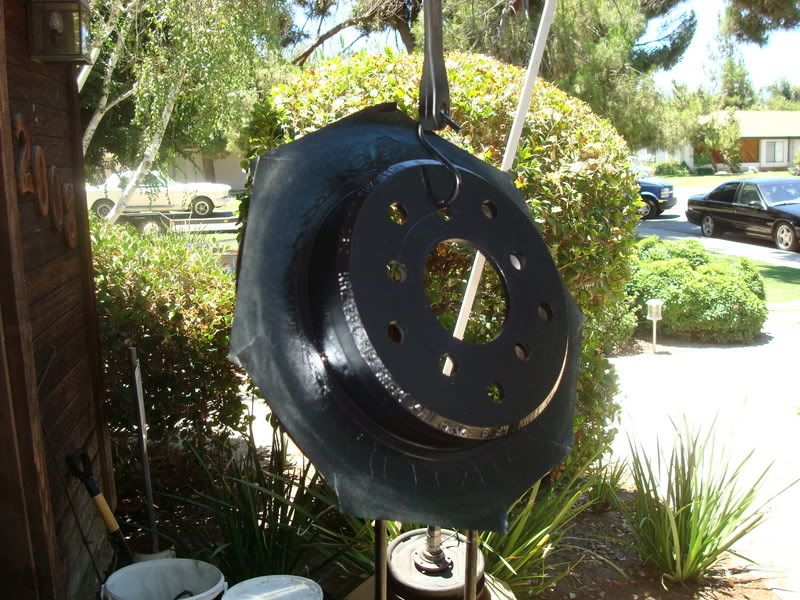
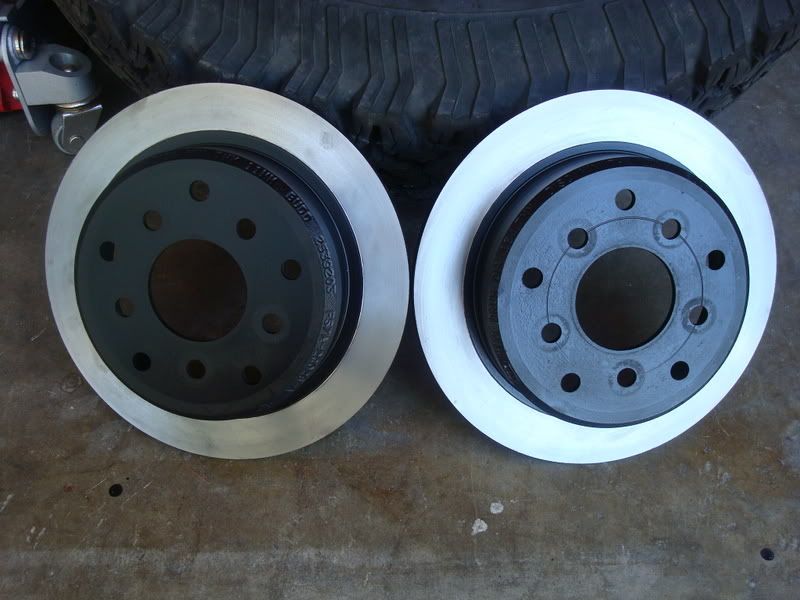
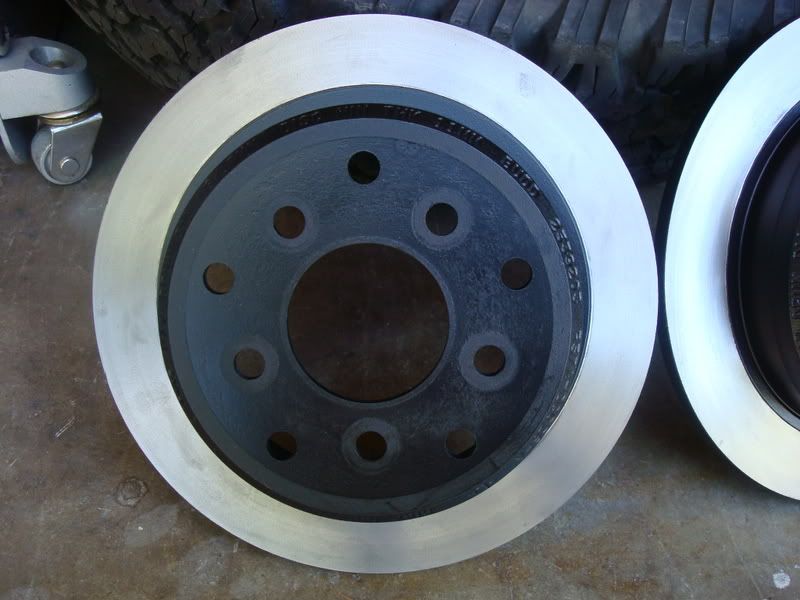
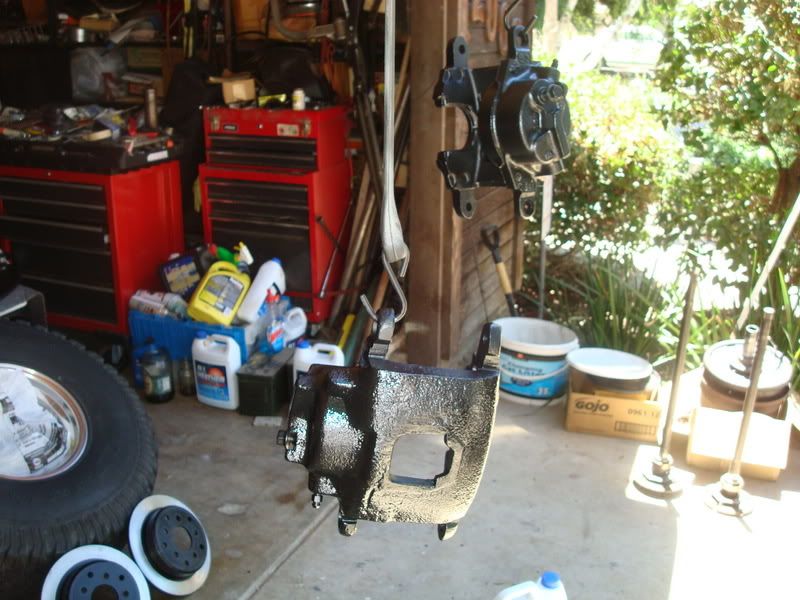
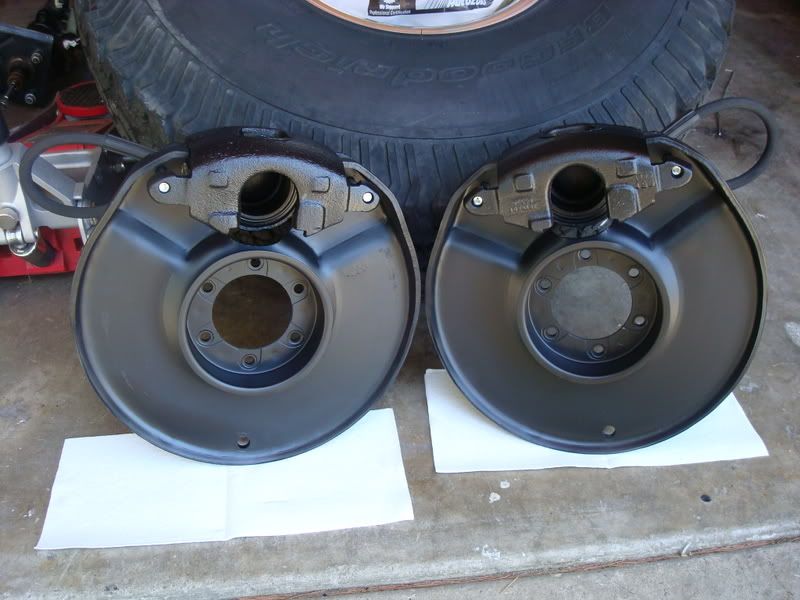
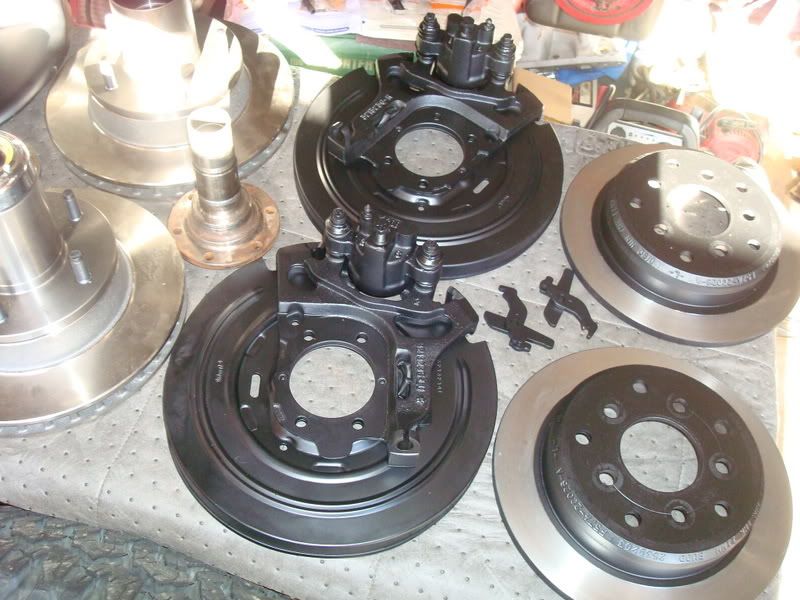
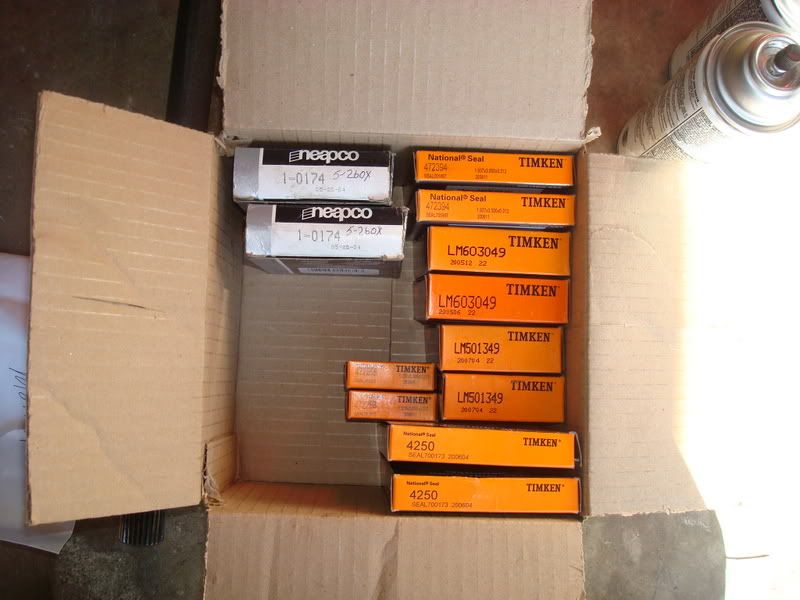
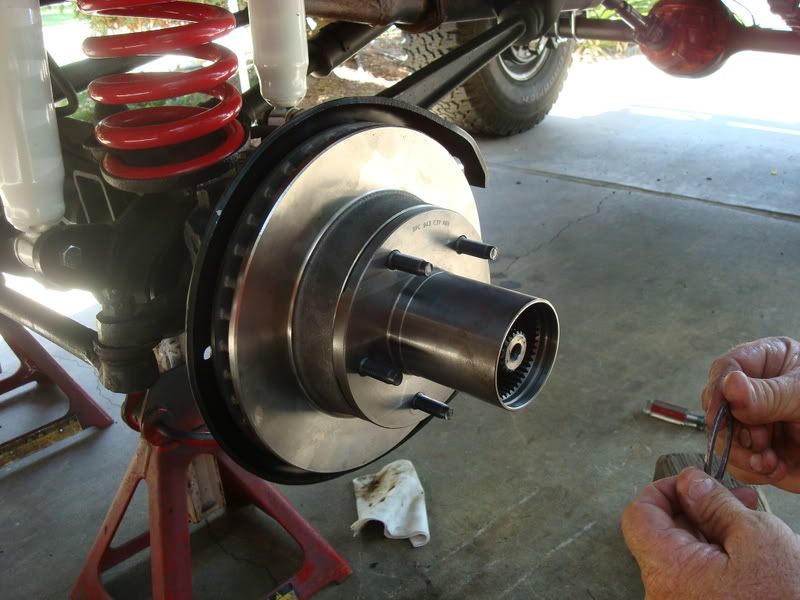
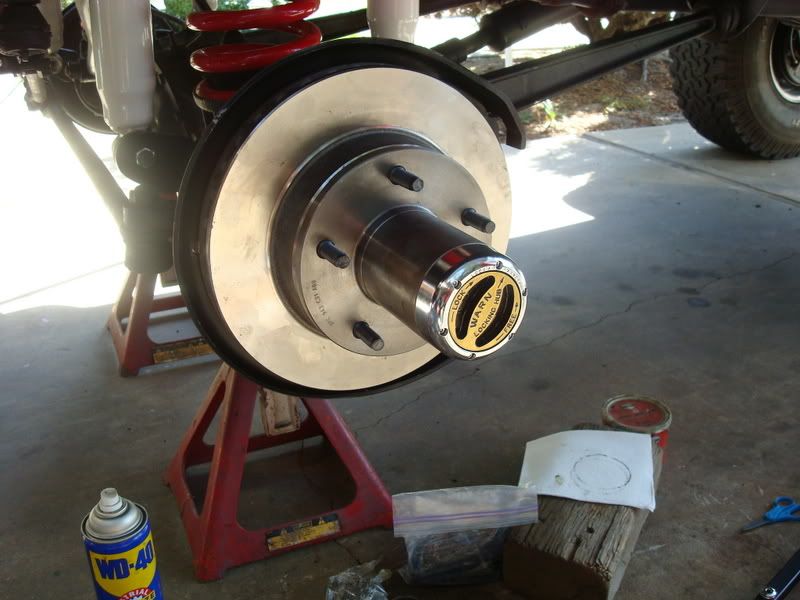
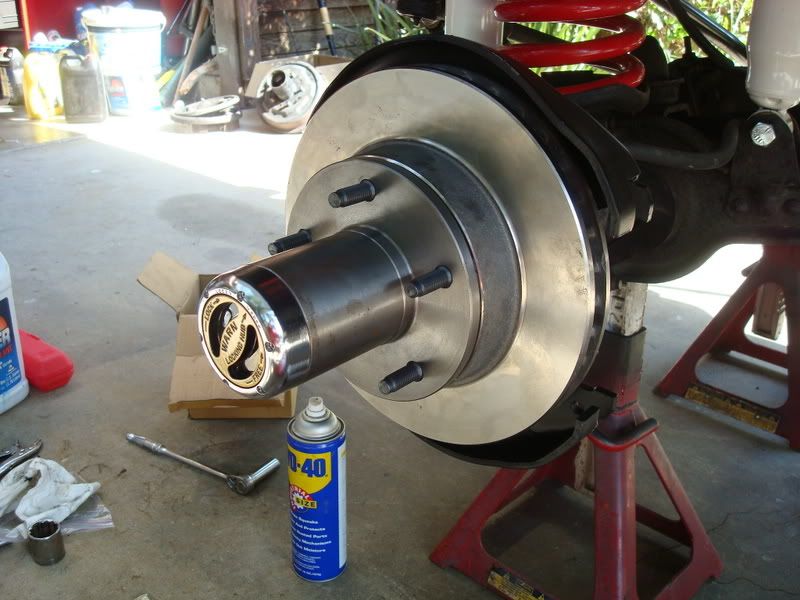
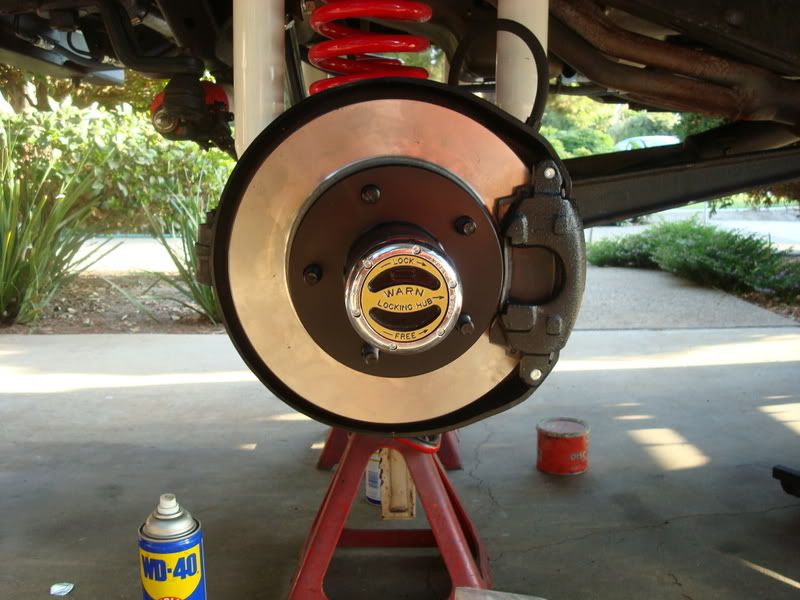
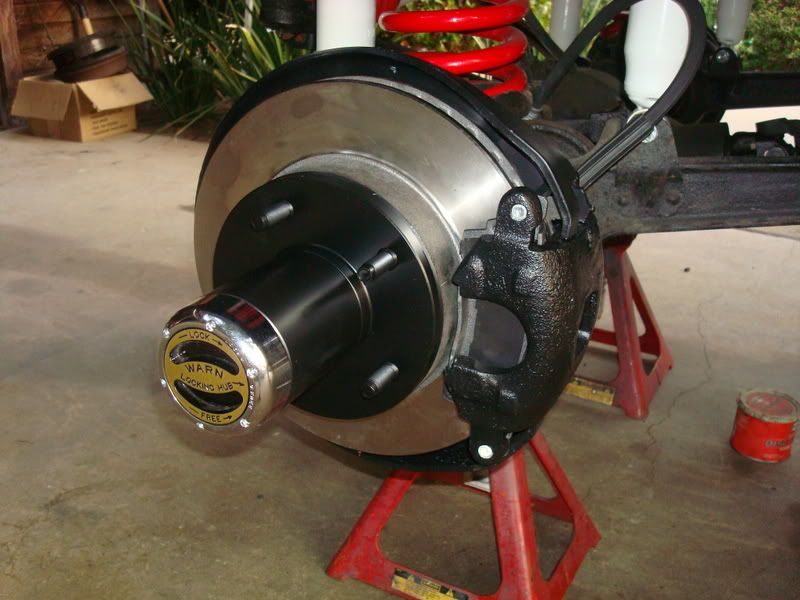
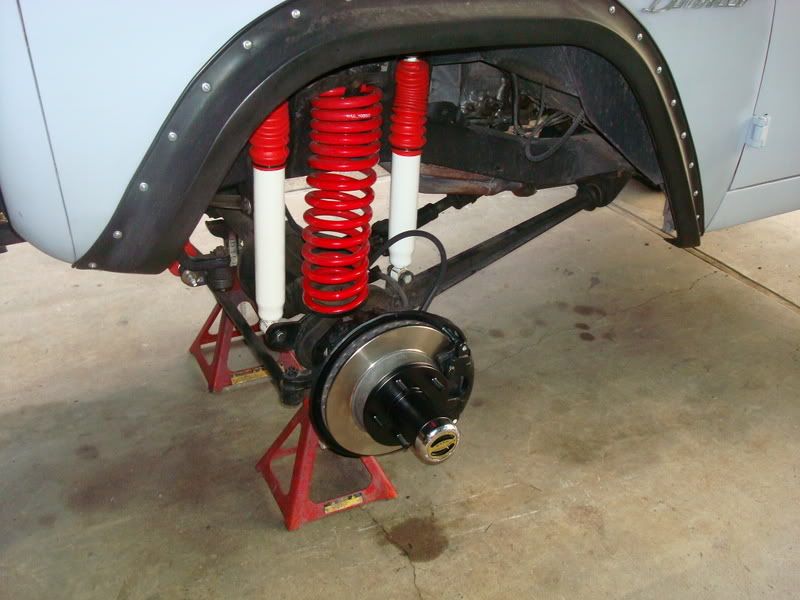
Sitting in my driveway are more or less the bulk of the parts I need to do a 4 wheel disc/hydroboost conversion that I have collected over the past few months. I will be using the GM front disc setup and the explorer rear disc setup along with an astrovan HB unit.
 
Last edited:

Dusty

Bronco Guru
Joined
Jun 28, 2001
Messages
2,965
Excellent Jerrod. Getting the brakes in order is a great (and important) project. With hydroboost and discs it won't feel like the same machine. Post up some pics as you move along.

Dusty
 

77B

Jr. Member
Joined
Feb 2, 2005
Messages
122
Loc.
Bixby,Ok.
I am looking to do the rear disc set up on my rig. Can't wait to see your progress.

Todd B.;D
 
OP
OP
Jerrod4567

Jerrod4567

Sr. Member
Joined
Jul 2, 2003
Messages
604
Loc.
Bakersfield CA
I got started this morning. First thing I did was take everything out and glass bead blast it. Cleaned up real nice and arranged it all on the table.

DSC01039.jpg


DSC01037.jpg


DSC01041.jpg


DSC01042.jpg


We stuck the rear rotors in the lathe and cut the centers out a little bit where the flange sticks through. It was just a few thousandths smaller than the hub on the axle flange but enough to not let it come through without a bit of trimming.

I will be also taking a little bit out from behind the rear rotor where the axle flange makes contact with it due to the fact that the rotors were designed for 5 on 4.5” axles flanges and therefore are a bit too small inside for the larger 5 on 5.5” EB axles without some trimming. That and redrilling the holes for the bolt pattern will be done later next week as I decided to start with the fronts.

I started out by hanging the backing plates and painting them black.

DSC01057.jpg


Next I set up the easy up (it was hot today!) and started teardown.

DSC01045.jpg


DSC01049.jpg


Upon inspection of the old old inner and outer bearings we decided they were starting to show some signs of wear as could be expected after 41 years. Also we noticed that the U-joint between the inner and outer axle was bad as well so I went ahead and disassembled the driver side knuckle and pulled the axle assembly.

DSC01053.jpg


DSC01054.jpg


DSC01055.jpg


DSC01056.jpg


I will be installing new bearings/seal and u-joints to each side as well. By the time I got to this point I had a huge mess in the driveway so decided to call it a day and pick everything up.

My hydroboost unit was supposedly sent out to me on Monday morning from Oregon but I have yet to see it so I’m starting to speculate if it was actually shipped out when it said it was. Oh well though, lots of other things to do first! Stay tuned for more pics in the coming days.
 
Last edited:
OP
OP
Jerrod4567

Jerrod4567

Sr. Member
Joined
Jul 2, 2003
Messages
604
Loc.
Bakersfield CA
I’m still waiting on my seals and bearings to come in so I decided to go ahead and redrill my rear rotors to 5 on 5.5” in the meantime. As suggested by some members of the message board I took a stock axle and knocked the studs out, and placed the rear rotor on it. The axle was used as a template and drilled the correct bolt pattern on the drill press. It came out good and both rotors fit easily onto a 5 on 5.5” bolt pattern axle now.

DSC01059.jpg


DSC01060.jpg


DSC01063.jpg


DSC01064.jpg


After that I got to looking at my Calipers for the front and realized that a couple years ago when I pulled all the parts to do this swap from the junkyard, I got Calipers that did not match the brake hoses I had. Turns out the calipers were off of a 2 wheel drive pickup rather than a 4x4 and used a smaller banjo bolt as well as a different hose.

Since the hoses I had were the correct ones and in great shape, I decided just to buy the correct calipers from the parts store and turn mine in as cores. It only cost me 12.99 each for them so it was no big deal. As you can see in the picture the correct calipers have a notch for the “T” end of the brake hose to sit down in. The other calipers did not have this and accepted a more circular end hose.

After determining I had the correct setup I went ahead and painted them and set them on the backing plates.

DSC01066.jpg


DSC01067.jpg


DSC01068.jpg


More to come soon…
 
Last edited:

sprdv1

Contributor
REBEL
Joined
Mar 8, 2007
Messages
81,757
Good Progress... :-[ I gotta hit the salvage yards SOON myself..
 

bigjhoov

nobody
Joined
Apr 10, 2005
Messages
3,573
Are you still running the small bearing 9"? Are the explorer disc's a direct bolt-on?
 
OP
OP
Jerrod4567

Jerrod4567

Sr. Member
Joined
Jul 2, 2003
Messages
604
Loc.
Bakersfield CA
Are you still running the small bearing 9"? Are the explorer disc's a direct bolt-on?

I just got done upgrading my rear end. 31 Spline detroit locker and yukon axles. When I did this upgrade I also added Torino style big bearing ends. There are a few mods necessary to make the explorer rear discs work even if you do have the proper ends (they have torino ends) The backing plates are thicker on the disc setup so you need to have a spacer installed next to the bearing to take up the space. Also I believe there are 2 different bearing backspaces (2.5" and 2 3/8") I've heard that if you have the 2 3/8" backspacing you will need to shim the rotor out with an 1/8" shim so that its 2.5" but I cant confirm this yet as I haven't got that far.
 
OP
OP
Jerrod4567

Jerrod4567

Sr. Member
Joined
Jul 2, 2003
Messages
604
Loc.
Bakersfield CA
Got the rear backing plates and calipers painted up today. Also my seals and bearings and U-joints all came in so tomorrow I can start actually making some progress.

DSC01087.jpg


DSC01088.jpg
 
OP
OP
Jerrod4567

Jerrod4567

Sr. Member
Joined
Jul 2, 2003
Messages
604
Loc.
Bakersfield CA
So today I woke up and got started on the driver side. First thing was to remove the old outer axle seal and install the new one.

DSC01096.jpg


Had the old ujoint replaced.

DSC01097.jpg


DSC01099.jpg


After that it was back in with the axle after applying a bit of white grease to the seal surfaces.

DSC01100.jpg


Next thing to do was install the new Spindle seal and the install the spindle onto the knuckle

DSC01102.jpg


DSC01104.jpg


After that I slid the disc brake backing plate over the spindle and installed my new grade 8 bolts.

DSC01105.jpg


DSC01107.jpg


Next it was time to pack the wheel bearings with grease, install them into the rotor/hub assembly and then install the inner seal.

DSC01110.jpg


After that, it was time to install the rotor/hub onto the spindle

DSC01113.jpg


Seeing that today is the 4th of July it was time to pause and start up the BBQ, we had a lot of family over so here is the result

DSC01115.jpg


After that it was time to reassemble my warn locking hub assembly
DSC01119.jpg


DSC01122.jpg


Painted up the hub and went down and bought some new semi metallic brakes and installed them along with the calipers.

DSC01125.jpg


DSC01126.jpg


DSC01128.jpg


DSC01130.jpg


I haven’t hooked up the brake line yet but for the most part the driver side front is now complete.

More to come soon….
 
Last edited:

77B

Jr. Member
Joined
Feb 2, 2005
Messages
122
Loc.
Bixby,Ok.
That Is Sweet!!! Keep Those Pics Coming And Could You Please Post Some Drinks Next Time? My Mouth Is Dry From Drooling So Much. Lol.

Todd B.
 

fordtrucks4ever

Bronco Guru
Joined
Oct 8, 2006
Messages
1,280
Loc.
DFW
I didnt notice the needles in the bearing case on that spindle when you installed the seal. Did you not replace the needle bearing or were the needles covered in grease??????? Also isnt there supposed to be a thin plastic thrust washer between the outer drive shaft and inner face of spindle to prevent metal to metal contact?
 
OP
OP
Jerrod4567

Jerrod4567

Sr. Member
Joined
Jul 2, 2003
Messages
604
Loc.
Bakersfield CA
I didnt notice the needles in the bearing case on that spindle when you installed the seal. Did you not replace the needle bearing or were the needles covered in grease??????? Also isnt there supposed to be a thin plastic thrust washer between the outer drive shaft and inner face of spindle to prevent metal to metal contact?

Just went back and looked at that pic and yeahThe bearing is in the back of the spindle, its just covered in black grease so you cant see the needles lol. The thrust washer is there too, its brass/bronze not plastic on my front end.
 

blubuckaroo

Grease Monkey
Joined
Jun 11, 2007
Messages
11,795
Loc.
Ridgefield WA
pretty hot driveway work!

Jerrod!
Be sure to use some shade and a glass of ice tea!
It's really hot today here in Bako!
Looks really good!
I've got power front discs but want to upgrade to hydro. Stock still has a lot to be desired.
 
OP
OP
Jerrod4567

Jerrod4567

Sr. Member
Joined
Jul 2, 2003
Messages
604
Loc.
Bakersfield CA
Jerrod!
Be sure to use some shade and a glass of ice tea!
It's really hot today here in Bako!
Looks really good!
I've got power front discs but want to upgrade to hydro. Stock still has a lot to be desired.


Thanks, lol and heck yeah its hot today. I have the easy-up setup. I will most likely get back to thrashing on the passenger side later this evening when it cools off, if you call 95 cooling off haha.
 

dnewman9

Bronco Guru
Joined
Aug 12, 2003
Messages
1,305
I am doing the exact same thing to my 75 D44 and 76 9". What year is your front end as I do not see any that normally use an outer axle seal like you have installed. I just checked the parts houses and my 77 Ford manual and do not see that outer seal?
Thanks
Dennis


So today I woke up and got started on the driver side. First thing was to remove the old outer axle seal and install the new one.

DSC01096.jpg
 
Top