amax
Jr. Member
- Joined
- Mar 10, 2014
- Messages
- 119
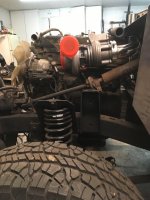
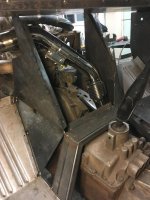
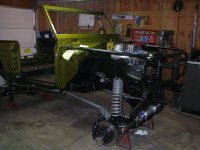
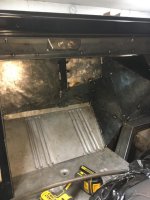
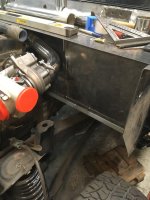
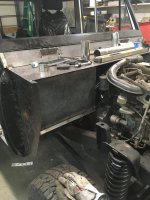
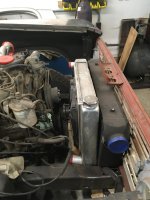
Glad to see you back to working on it again. I have a 4bd2t in my 71. I am getting really close to having all the fab work complete and can tear it all apart for paint. I drove mine around for a little while this evening just trying to get all the kinks worked out. I am really impressed with the power it has. I was a little nervous just because I hadn’t ever driven a vehicle with that series engine in it before. It seems more than capable. I looked your thread over quite a few times while I was doing mine and appreciate you posting what you did. I know it saved me some time in getting mine functional. Good luck. Can’t wait to see yours up and going.


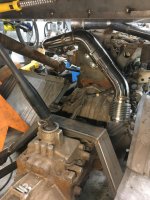
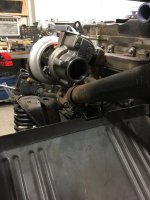
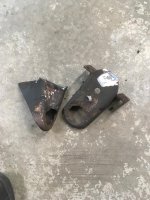
![IMG_0253[1].JPG.jpg](/forums/data/attachments/443/443800-8eea81b948b02a169ae09f48a81609a4.jpg)
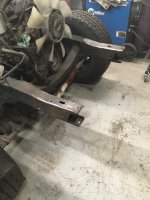
![IMG_0254[1].JPG.jpg](/forums/data/attachments/443/443804-2fe36dde9abbb289a15c93bc1af30255.jpg)
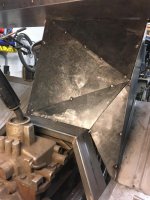
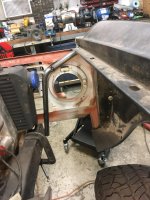
![IMG_0276[1].jpg](/forums/data/attachments/447/447894-c8f3f2064298e7b1ecb3c5825fe922fa.jpg)