• Welcome to ClassicBroncos! - You are currently viewing the forums as a GUEST. To take advantage of all the site features, please take a moment to register. It's fast, simple and absolutely free. So please join our community today!
    If you have problems registering or can't log into your account, please contact Admin.

1969 4BD1T Diesel & NV4500 conversion on 33's

OP
OP
BradtheWelder

BradtheWelder

Full Member
Joined
Sep 3, 2013
Messages
290
Loc.
Moline IL
Been throwing around the idea of uncut fenders. I like how they look but I was thinking I dont have the room with the tires I am going to run. Been searching around and I found this pic. I think I can do the same and it will have a pretty unique but a stock look which is what I want to do with this project. Hopefully I got the skill to pull it off.
 

Attachments

  • 25.JPG
    25.JPG
    43.2 KB · Views: 12
Last edited:
OP
OP
BradtheWelder

BradtheWelder

Full Member
Joined
Sep 3, 2013
Messages
290
Loc.
Moline IL
Worked on the bumper a little more. The notch for the tube meeting the bearing tube was offset in a effort to keep it as close as I can to the tailgate. Took a while to get it to fit up good but I got it eventually. The circular part where the rim sits against has two studs the keep the tire from rotating and the outer plate has one also. Held together by a 1/2 bolt which uses the same size socket for the lug nuts. All I got to do now is mount the pull pin that's going to keep the spare carrier locked into the bumper and some gussets need to be added underneath for the hitch.
 

Attachments

  • 26.JPG
    26.JPG
    280.8 KB · Views: 15
  • 27.jpg
    27.jpg
    59.6 KB · Views: 15
  • 28.JPG
    28.JPG
    213.3 KB · Views: 18
  • 29.jpg
    29.jpg
    59.8 KB · Views: 15
  • 30.JPG
    30.JPG
    289.8 KB · Views: 15
Last edited:

Colorado75Bronc

Full Member
Joined
Jan 27, 2009
Messages
335
Loc.
Colorado Springs
1969 Diesel conversion

Looks nice! Are you going to run another tube across the top of the bumper on the bottom of the carrier, 1 tube just seems a bit light for your setup. By the way I love how you built a recess in the bumper for the tire!
 
OP
OP
BradtheWelder

BradtheWelder

Full Member
Joined
Sep 3, 2013
Messages
290
Loc.
Moline IL
Looks nice! Are you going to run another tube across the top of the bumper on the bottom of the carrier, 1 tube just seems a bit light for your setup. By the way I love how you built a recess in the bumper for the tire!

It seems strong enough as long as nobody hangs on the tire while it is swung out. The tube is 2" .120 wall DOM.
 
OP
OP
BradtheWelder

BradtheWelder

Full Member
Joined
Sep 3, 2013
Messages
290
Loc.
Moline IL
1 step forward, 2 steps back. This part of the frame wasn't worth salvaging. All that stuff on the ground is from inside the frame. I blew it all out.
 

Attachments

  • 31.jpg
    31.jpg
    62.2 KB · Views: 16
Last edited:
OP
OP
BradtheWelder

BradtheWelder

Full Member
Joined
Sep 3, 2013
Messages
290
Loc.
Moline IL
Well the new frame is coming together. Cut two 13" pieces of the 2"x3" tube to go inside the existing frame. There was a rivet for a body mount in the way so I drilled a hole so they could sit flat against the inside of the bronco frame. The new tube going into the frame is about 4" deep. Also drilled two half inch holes so the new frame can be plug welded, should be plenty strong. Cut two more pieces of the tube to finish off the rails and got one done tonight. Pics will show how it all came together.
 

Attachments

  • 37.jpg
    37.jpg
    51.7 KB · Views: 15
  • 36.jpg
    36.jpg
    49.8 KB · Views: 16
  • 35.jpg
    35.jpg
    50.1 KB · Views: 14
  • 34.JPG
    34.JPG
    267.2 KB · Views: 15
  • 32.JPG
    32.JPG
    286.7 KB · Views: 16
  • 33.JPG
    33.JPG
    292.2 KB · Views: 14
Last edited:
OP
OP
BradtheWelder

BradtheWelder

Full Member
Joined
Sep 3, 2013
Messages
290
Loc.
Moline IL
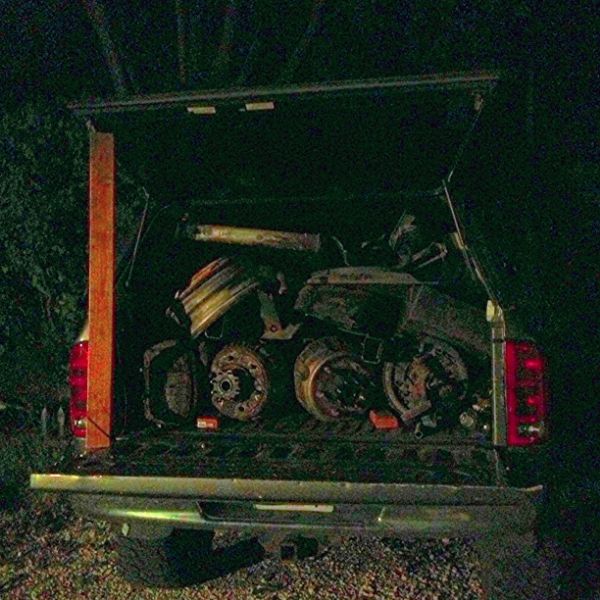
Got the rear frame rails done tonight. Next up on the list is determine where the rear axle will be and 4 link. The 4" lift coil springs are way too stiff for my application. They only compressed 1.5" and 14" overall when compressed. A buddy has some stock tj coils that I'm gonna try out. Hopefully they will work.
 
Last edited:
OP
OP
BradtheWelder

BradtheWelder

Full Member
Joined
Sep 3, 2013
Messages
290
Loc.
Moline IL
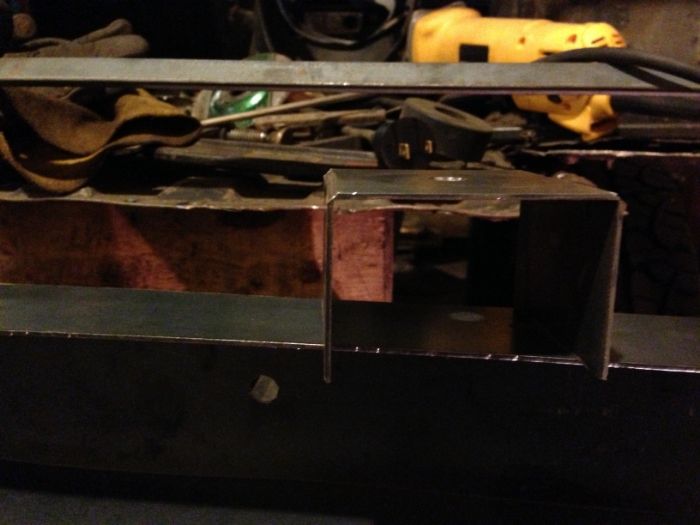
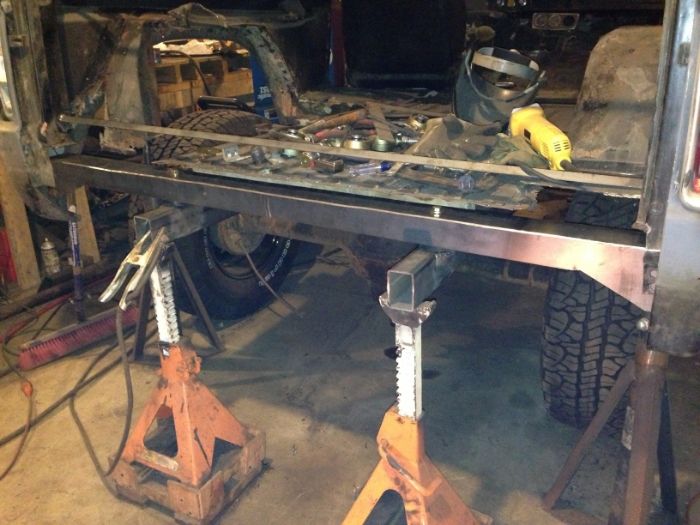
I have always had trouble shutting the tailgate, today I learned why. The whole area around the wheel wells and around the bottom of the tailgate is all gone basically. The drivers side is probably sagging about one inch. More I get into this the more I wish I would have found a better bronco to start with. But Im stuck with what I got. I swear the guy who did the repairs before me used tar or something like it. I've been pulling up a ton of black stuff that is hard on the outside and sticky underneath. Tomorrow I guess I will get some steel and start repairing. Here some pics of the rust carnage.
 

Attachments

  • 41.JPG
    41.JPG
    242.8 KB · Views: 14
  • 40.JPG
    40.JPG
    262.5 KB · Views: 14
  • 39.JPG
    39.JPG
    273.6 KB · Views: 15
  • 38.jpg
    38.jpg
    78 KB · Views: 16
Last edited:
OP
OP
BradtheWelder

BradtheWelder

Full Member
Joined
Sep 3, 2013
Messages
290
Loc.
Moline IL
After this you will be bradthebodyman ;)

I ain't fixed anything yet! Right now you can call me Brad the destroyer! Haha

Holy crap that is one freaking rusty bronco!
And the frame rails look awesome!

The rust is way worse than what it looked. Pretty happy with the frame rails.

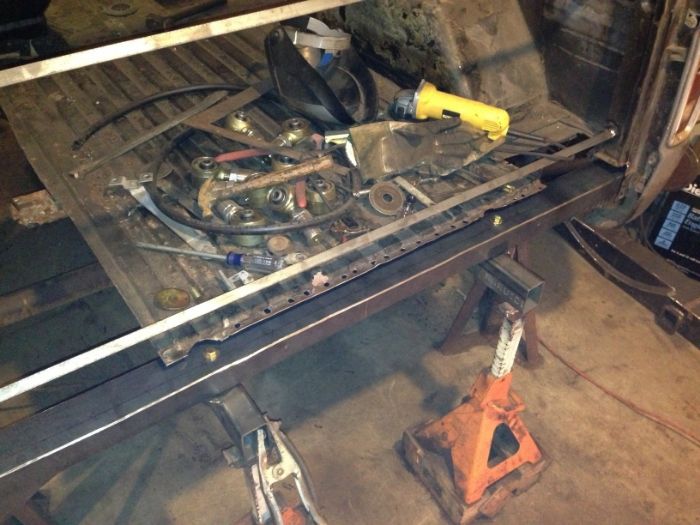
So more and more is got cut out. But I'm basically ready for a new rear channel brace. The cost of some of those braces is silly so I will be making my own. The first pic shows all I cut out tonight. The second is the aftermath for tonight.
 

Attachments

  • 43.JPG
    43.JPG
    159.4 KB · Views: 12
  • 42.JPG
    42.JPG
    133.9 KB · Views: 11
Last edited:
dnewman9

Bronco Guru
Joined
Aug 12, 2003
Messages
1,305
I wish you would stop uncovering rust, I really want to see the 4bd1t process!

BTW, nice touch on the tailgate, I have been wanting to do the same, possibly with a canadian Mercury tailgate.
Dennis
 
OP
OP
BradtheWelder

BradtheWelder

Full Member
Joined
Sep 3, 2013
Messages
290
Loc.
Moline IL
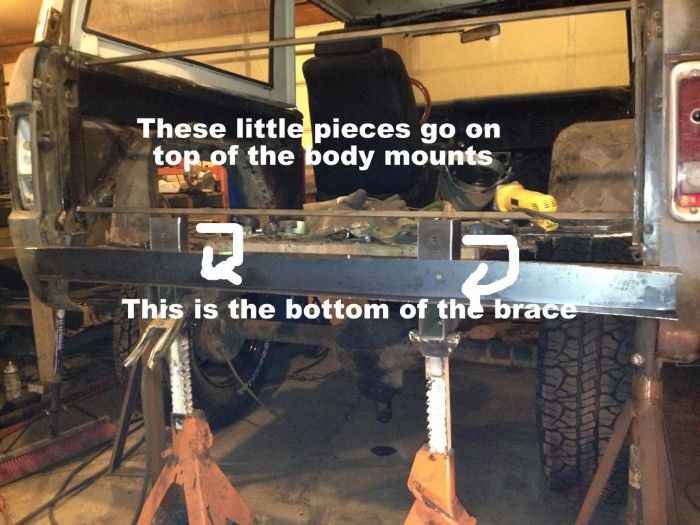
Been doing a lot of other stuff lately. I scrapped the last of the street sweeper besides the tires and got another $210 back. Started on the rear channel brace pretty much ready to weld in. Pretty happy with it. I may have to make the mounting holes a little bigger though because it isnt perfect, but close. Made out of 16 gauge 60" long steel and to bend it I cut most of the way through it then bent it by hand. Tomorrow I will be probably welding it in.


OP
OP
BradtheWelder

BradtheWelder

Full Member
Joined
Sep 3, 2013
Messages
290
Loc.
Moline IL
Got my rear brace welded and in ready to weld in. I'm pretty happy with the way it turned out. Its really strong and tomorrow I will weld it in for good. Then I will be moving on to the other rust you can see in the pics but that should be much easier to fix, or at least I hope anyway.
 

Attachments

  • 51.JPG
    51.JPG
    120 KB · Views: 12
  • 50.JPG
    50.JPG
    119.4 KB · Views: 13
  • 46.JPG
    46.JPG
    286.9 KB · Views: 14
  • 45.JPG
    45.JPG
    285.4 KB · Views: 13
  • 48.JPG
    48.JPG
    221 KB · Views: 14
Last edited:
OP
OP
BradtheWelder

BradtheWelder

Full Member
Joined
Sep 3, 2013
Messages
290
Loc.
Moline IL
Got my tailgate(not cheap) on so I could tack in the rear brace in and make sure it will work. Pretty happy with my gaps. The drivers side is sagging a little bit so to hold it up while im finishing the rear wheel wells I tacked in a 1/4" bar to hold it up straight. This maybe a dumb question but what is the stuff on the tailgate in the last pic?
 

Attachments

  • 54.JPG
    54.JPG
    238.5 KB · Views: 10
  • 55.JPG
    55.JPG
    264.5 KB · Views: 9
  • 56.JPG
    56.JPG
    211.8 KB · Views: 10
  • 57.JPG
    57.JPG
    72.1 KB · Views: 13
Last edited:
BronCowie

Contributor
Old Timer
Joined
Apr 24, 2007
Messages
8,086
Loc.
Vancouver, WA
That's where your license plate would be on a stock Bronco, but you'll have to put it somewhere else now. :p What'd you do with the other tailgate? Great stuff by the way!!! :cool:
 
Top