


OP
OP
noreasteb
Sr. Member
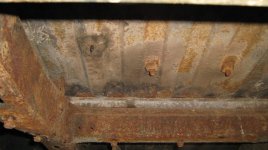
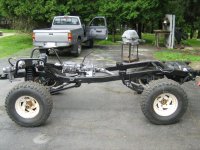
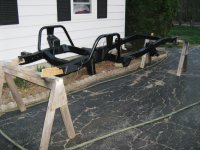
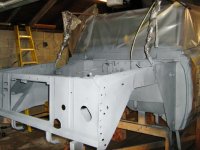
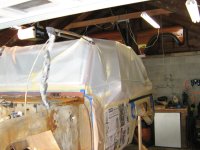
POR15 adheres very well to sandblasted metal.
You must use their Metal Ready product.
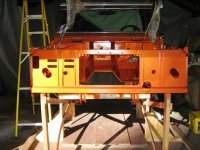
I have prepped the body and all parts with the marine clean and metal ready. I am not sure if this is right, but the marine clean has left a white/yellowish powder residue on the surface of the metal, despite thorough rinsing. Is it ok to apply POR15 directly over this surface? I hope so as I have already painted several of the misc skid plates and parts.


") .
.