OP
OP
A4x4Junky
Sr. Member
Spent some more time on it tonight.
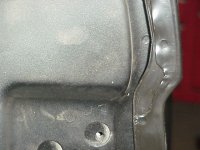
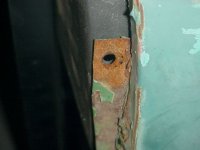
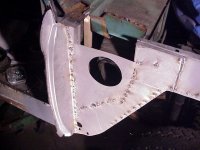
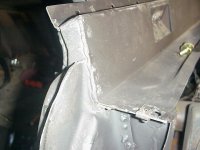
Ground the welds down and primed/painted the windshield mount.
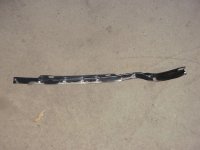
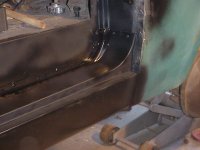
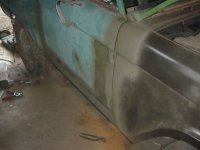
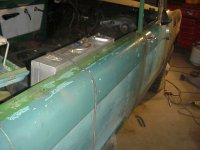
Started working on the cowl pieces. They didnt fit very well so it took me a bit to get em right.
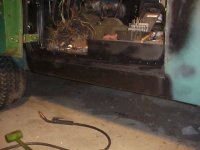
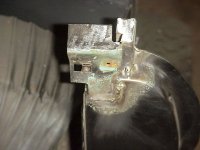
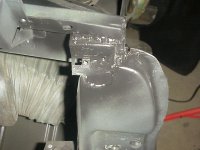
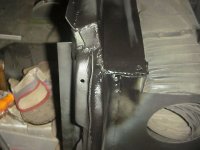
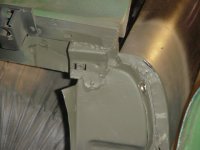
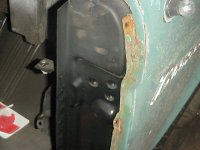
Got the little cowl brace welded in place. Even though most of the work is done to get the other 2 pieces of the cowl in, decided to hold off on that until I have had a chance to go through the wiring under the dash.
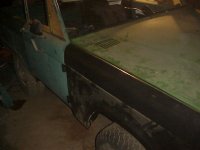
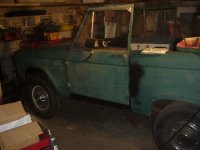
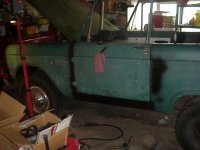
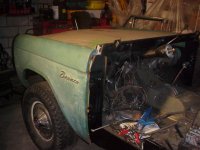
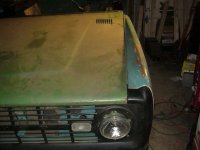
Had some help and put the hood on tonight. Heh, simple little thing like that brought a smile to my face. Need to put the sheetmetal on and get it all adjusted so I know where the rockers will fit. Want to be sure to keep my lines right...so will have the fenders, grill, and doors on tomorrow. Once they are adjusted right, will be able to get the quarters welded onto the new striker posts and get the rockers put into place.
Anthony
Ground the welds down and primed/painted the windshield mount.
Started working on the cowl pieces. They didnt fit very well so it took me a bit to get em right.
Got the little cowl brace welded in place. Even though most of the work is done to get the other 2 pieces of the cowl in, decided to hold off on that until I have had a chance to go through the wiring under the dash.
Had some help and put the hood on tonight. Heh, simple little thing like that brought a smile to my face. Need to put the sheetmetal on and get it all adjusted so I know where the rockers will fit. Want to be sure to keep my lines right...so will have the fenders, grill, and doors on tomorrow. Once they are adjusted right, will be able to get the quarters welded onto the new striker posts and get the rockers put into place.
Anthony
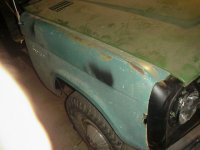

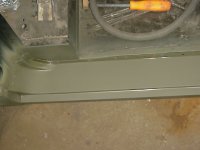
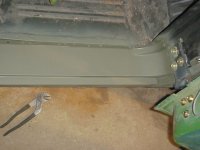
") Touched up the edges with primer and paint and got both fenders mounted.
Touched up the edges with primer and paint and got both fenders mounted.