• Just a reminder that you won't be able to start new posts or reply to existings posts in the Archive forum.

    This is where all the old posts go so they can still be used for reference and searched.
  • Welcome to ClassicBroncos! - You are currently viewing the forums as a GUEST. To take advantage of all the site features, please take a moment to register. It's fast, simple and absolutely free. So please join our community today!
    If you have problems registering or can't log into your account, please contact Admin.

69 Bronco Build *New Updates page 6*

OP
OP
M

msturg

Jr. Member
Joined
May 8, 2008
Messages
101
thanks guys for the kind words.

I guess I should maybe put what little updates I have on here

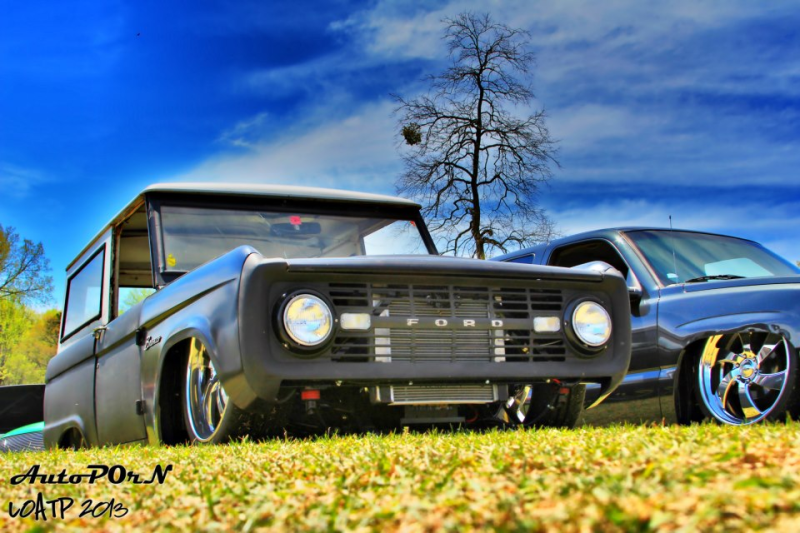
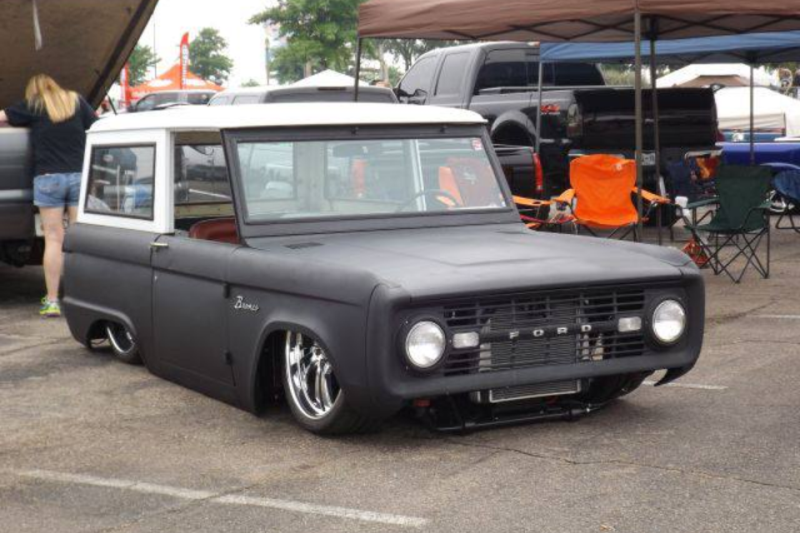
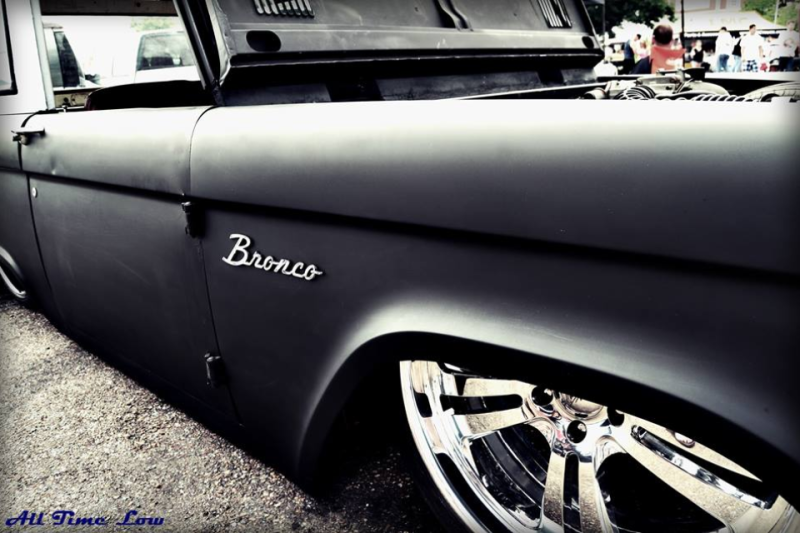
I got the truck ready for a show last april, and this is how it was there:
576270_344539585604279_791401015_n_zpsfca02cb6.jpg


577934_344539898937581_422791468_n_zps74bcb4c1.jpg


576273_344537895604448_2009733937_n_zps9f517477.jpg


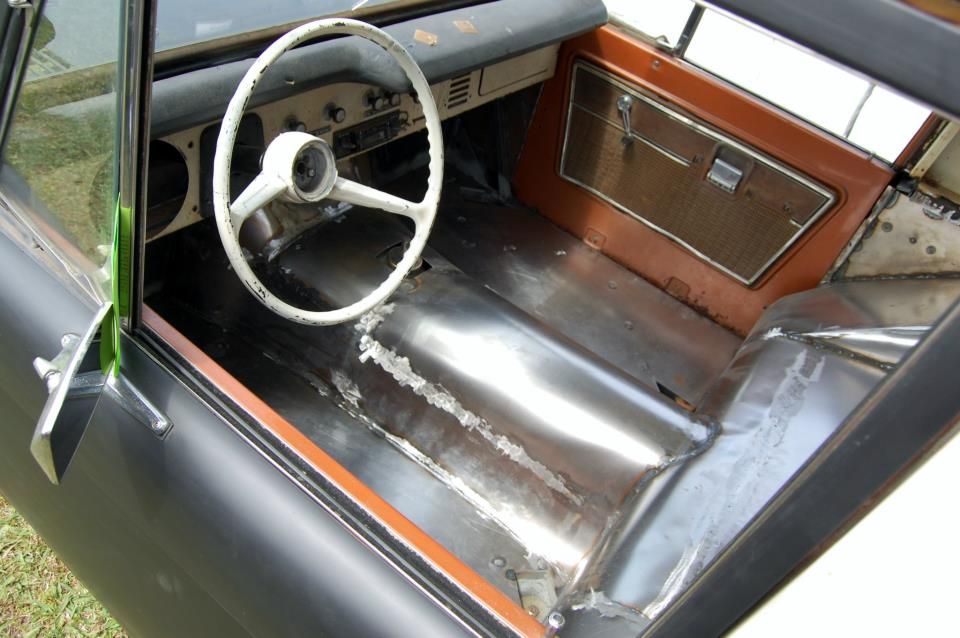
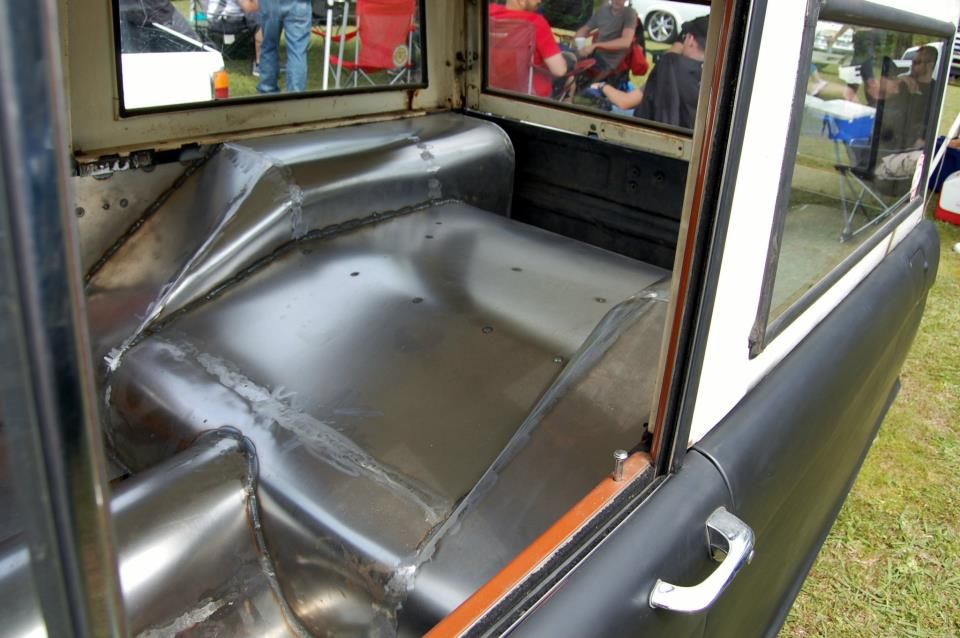
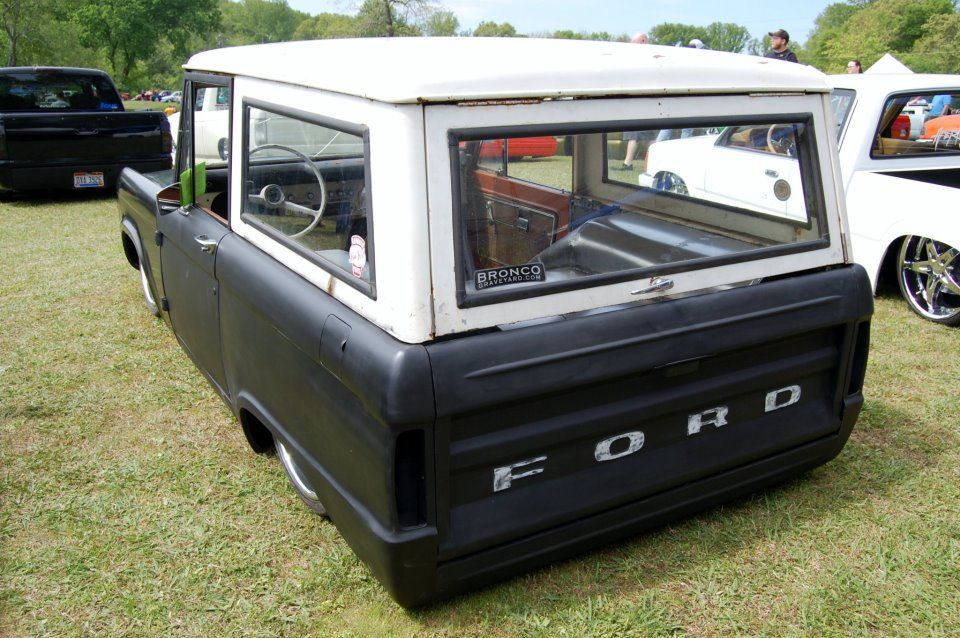
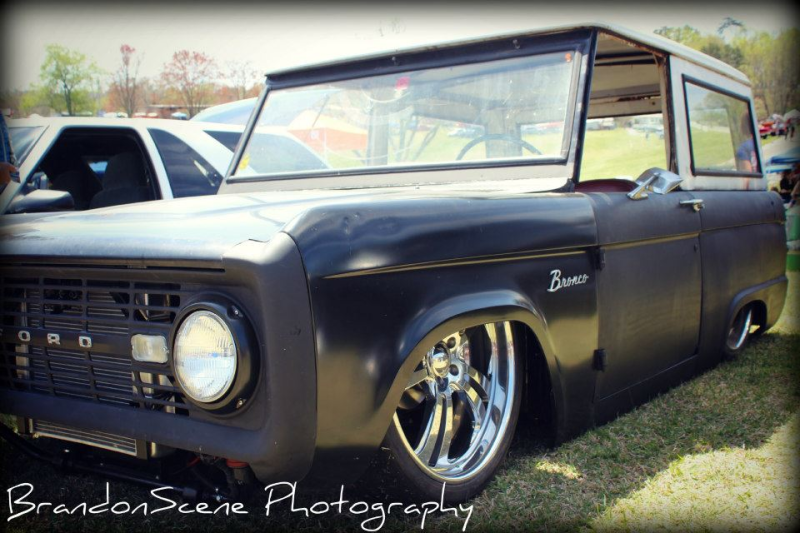
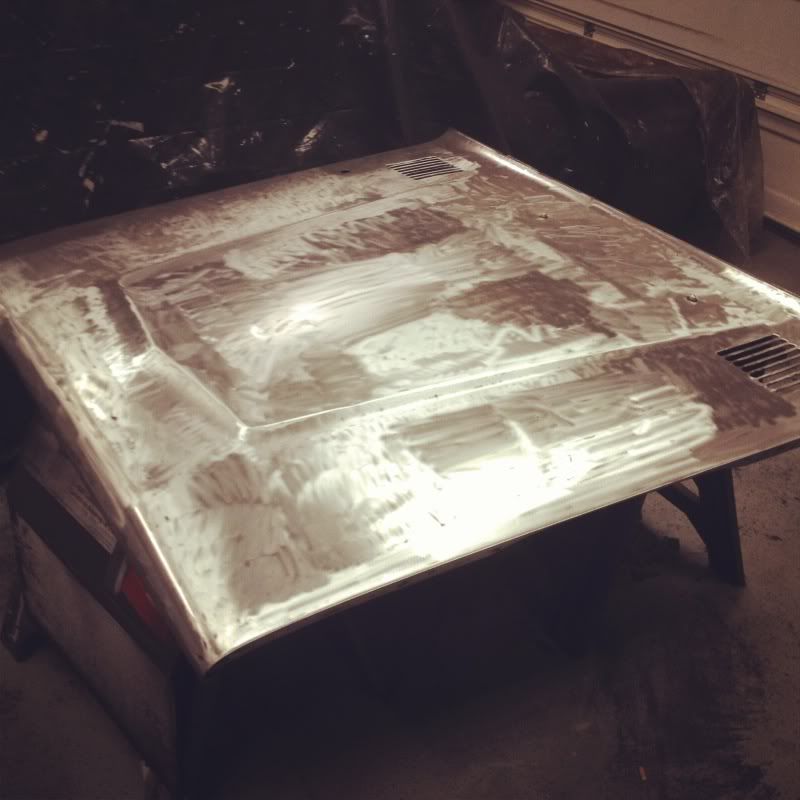
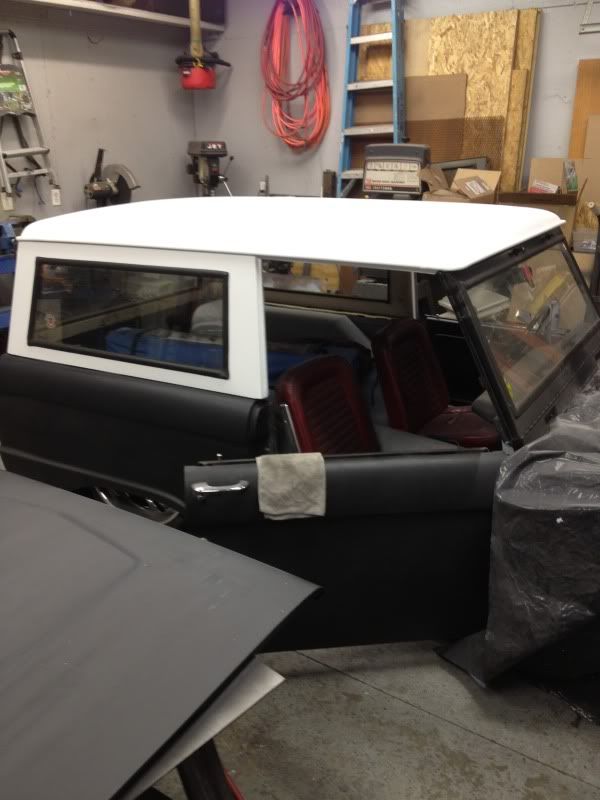
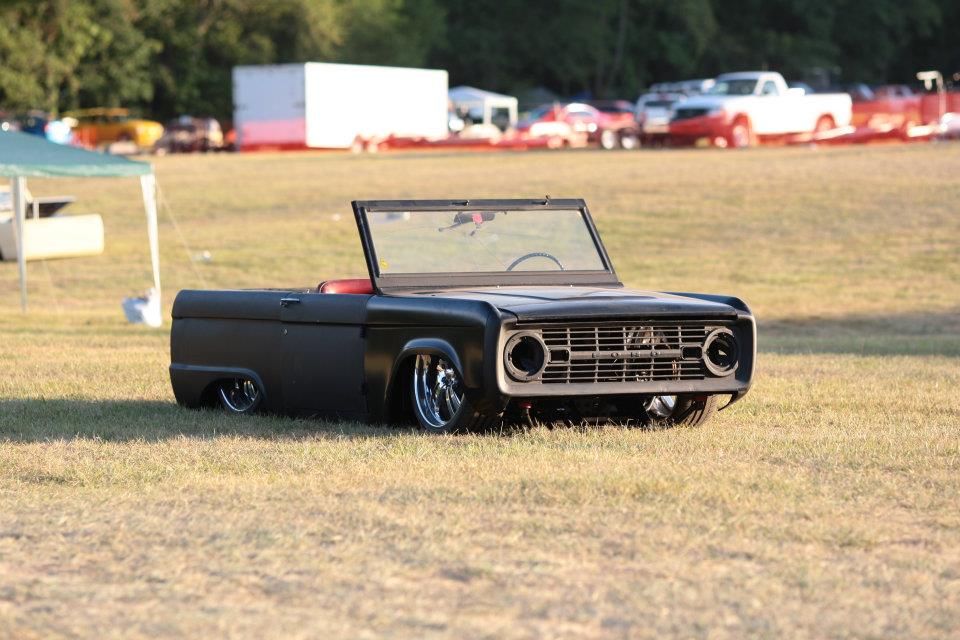
I stripped the whole truck down and painted the frame, ran fuel, brake, and air lines and reassembled it again. Since all of the work I had done wasn't really noticeable I decided to take it to a show in July without the top. Not a huge fan of the way this looks but something different at least

562742_399285993462971_1044402670_n_zpsab9b60fe.jpg


523681_10150976900887712_92307555_n_zps2503eead.jpg


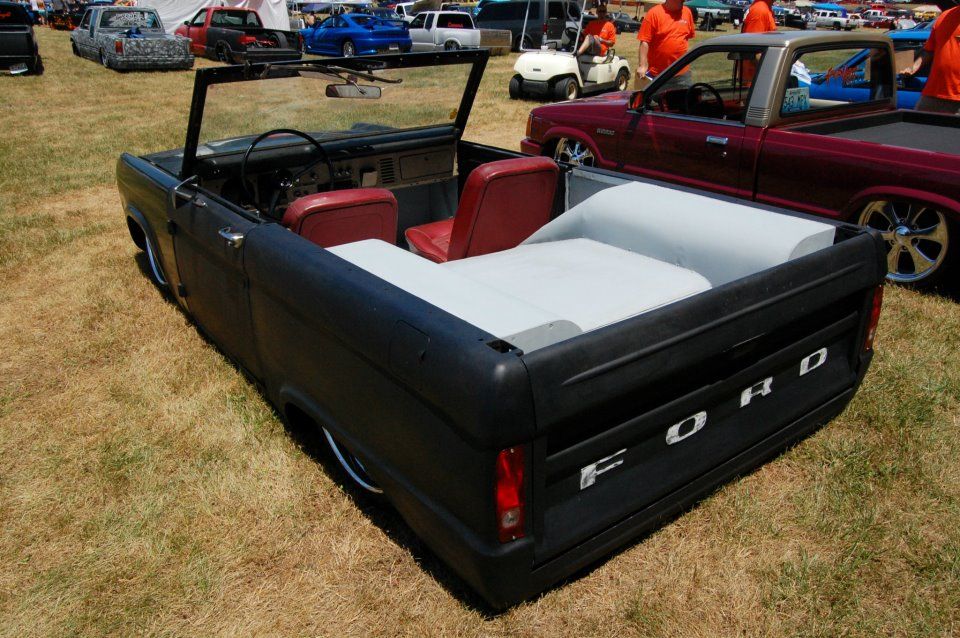
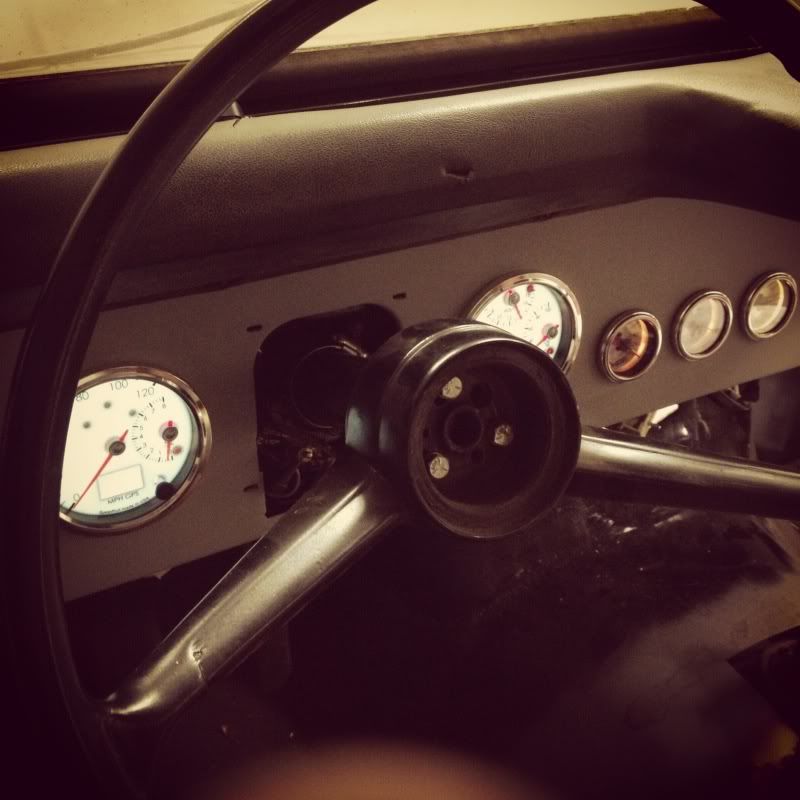
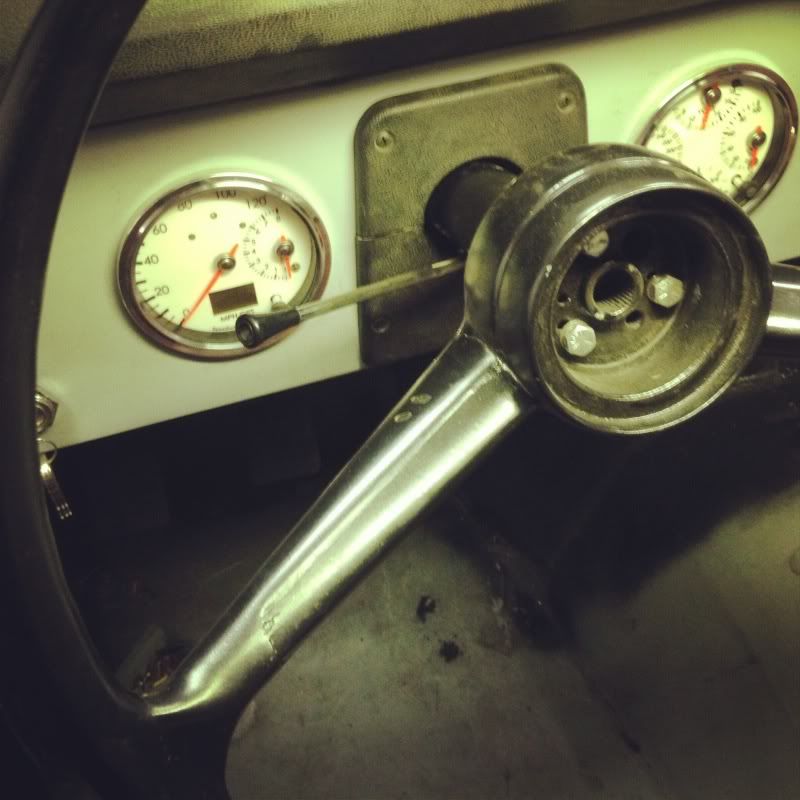
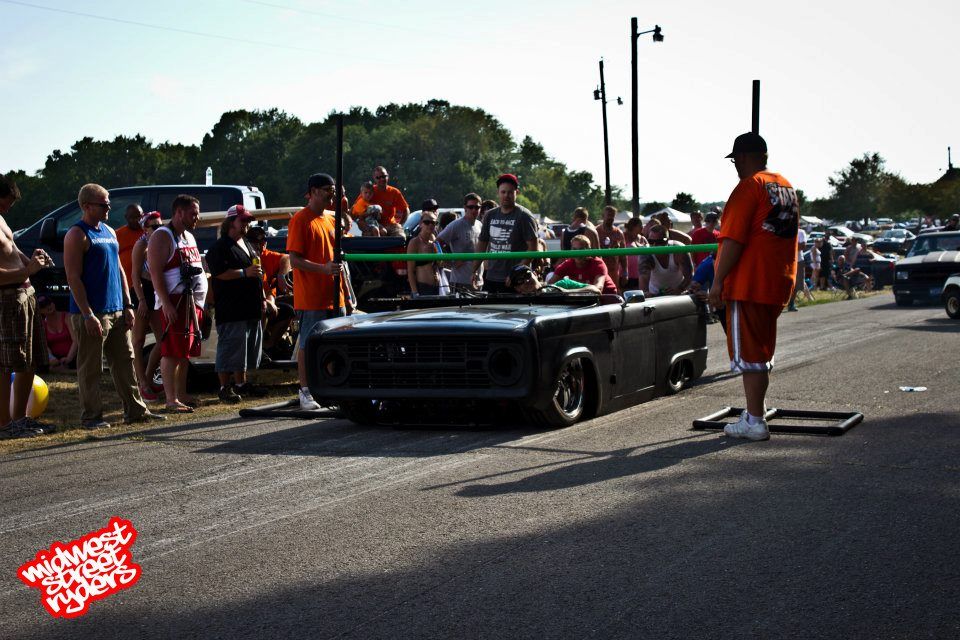
The show I was at has a limbo contest, which is because almost everything there lays on the ground. So after some convincing from my friends, we decided to push it through. Pushing it was by no means fun, but how mad people were when we pushed down the windshield and pulled the quick disconnect on the steering wheel was all worth it.

251800_10150980178830875_101916400_n_zps00a755cd.jpg


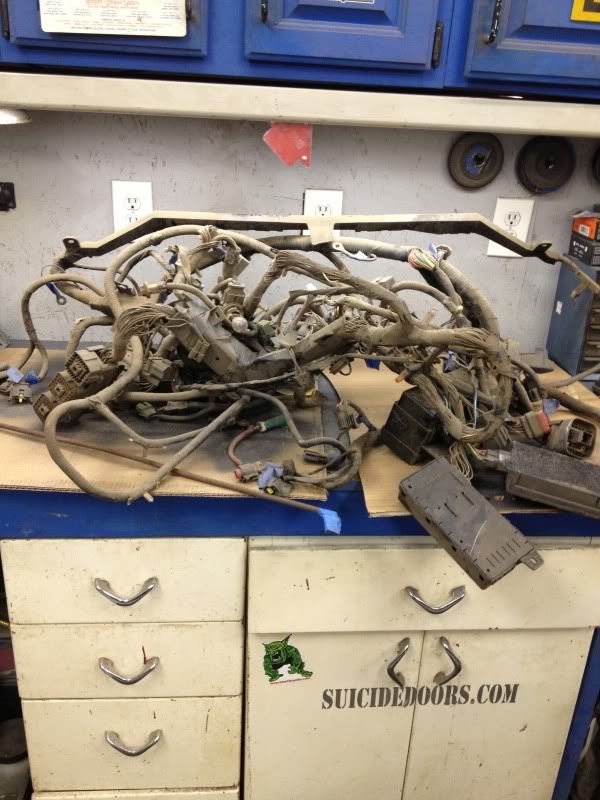
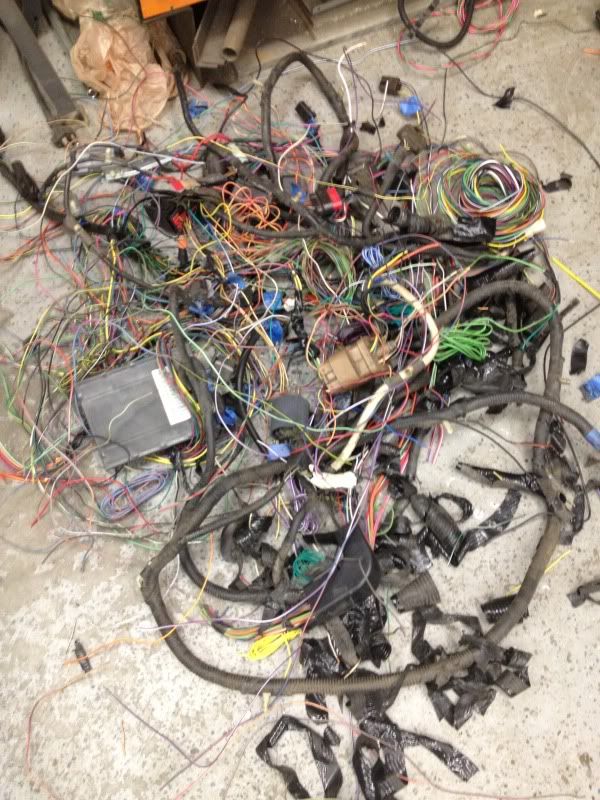
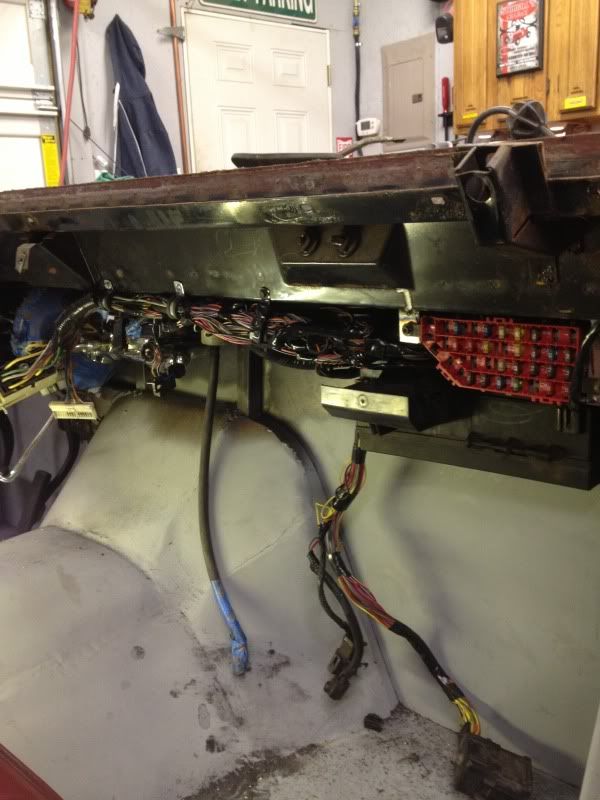
At the moment I'm dealing with an entire wiring harness from the original ranger and stripping it back to only what I need. Trying to get it running for a show in April again.
 

JGbronc

Bronco Maniac
Joined
Mar 30, 2007
Messages
6,216
This is by far one of the best build threads on the forum! Amazing work, keep it up! :cool:
 
OP
OP
M

msturg

Jr. Member
Joined
May 8, 2008
Messages
101
Spent the past couple of months doing a bunch of small stuff to get the truck drive able finally.

Took the ranger driveshaft to get shortened, ended up being around 34" long

null_zps8f6d75f3.jpg


bought a 90 degree brake booster bracket off of conversion van. I had planned to just run it out the firewall but was no room with the tire and steering.
null_zps3f3b28d9.jpg

and of course it needed heavily modified to work for me. Had to cut it in half and essentially make it two seperate units in order to span the steering column.
null_zpse8be7ecc.jpg

null_zpsf11c6143.jpg

Got all of the pedals in, reused the factory master cylinder for the clutch, but had to invert it as well to keep the firewall clean
null_zps90e51a9e.jpg

With the booster under the dash I needed to have access to fill with fluid of course so I made an access panel
null_zpsb4333bf1.jpg

null_zps0b5392bf.jpg
 
OP
OP
M

msturg

Jr. Member
Joined
May 8, 2008
Messages
101
The next daunting task was the wiring, which for some reason I find relaxing but can obviously be a headache.

I started with the factory harness from the 2000 ford ranger, with plans of making my own harness for all of the headlights, brakes, turn signals, etc..
The original harness:
null_zps287645bf.jpg

This is all of the wires I cut out of the original harness:
null_zps10c2f62a.jpg


All stripped back and nestled in its new home:
null_zps8896c06b.jpg


A shot of all the pedals with the dash removed:
null_zps480faff5.jpg


A shot of the engine bay, before I tucked some of the wires on the engine. The box going into the firewall is the factory ECU, which is the silver box in the pic 2 up. That plug and the steering column is all that comes through the wall.
null_zpsb3b9fa59.jpg


Reused some of the factory plugs to run wires out the side and to the back. There is another one on the driver side
null_zpsd501991b.jpg


Also ran some thru wall Push to connect 1/8" airline fittings for the gauges for the air ride system
null_zps35126b6c.jpg


Cleaned up the dash to remove pretty much everything outside of the glovebox door and ended up going with speedhut gauges which I'm really happy with
null_zps087c988c.jpg

null_zpse245db07.jpg


Also managed to fab up a bracket that will let the factory bronco turn signal switch mount behind the panel on the dash. The only goofy thing is that you pull and push, not tilt up and down like you normally would for turn signals.
null_zpsf4154dba.jpg


I surprised myself even, in that after all the wiring, it actually fired right up on the first try. Well after I remembered to put gas in it of course. Took it for a test drive around the block and she did great.

null_zpsd98d1045.jpg


I trailered it to a show in TN, but drove it around a little bit while I was there.
null_zps9ece47af.png

null_zpsad2a1bca.png

The dent in the fender (which is all I can see in this pic) is from the driveshaft before it was shortened. Opened the garage door, forgot that I had leaned the 6' tall driveshaft against the door, you can imagine what happened.
 
OP
OP
M

msturg

Jr. Member
Joined
May 8, 2008
Messages
101
I found out after the show that Minitruckin magazine wants to shoot an under-construction feature at a show in May, so I blew it back apart recently to try and freshen it up for the pics. The goal is to put a new windshield in, get the entire body into a flat black and the top flat white.

Stripped the hood to bare metal, which dispensed an 1/8" coating of black death on everything in the garage:
null_zpsce90958c.jpg

And I have put a fresh coat of flat white on the roof
null_zpsaee1de30.jpg


wasn't planning on pretty much wasting my time with this stuff, but wanted it to look as nice as possible for the magazine. Hopefully will be getting new doors soon so I will get the joy of hanging and aligning them as best as possible. Should look like a fairly complete project for the photoshoot.
 
OP
OP
M

msturg

Jr. Member
Joined
May 8, 2008
Messages
101
I took it to showfest in Tunica MS last weekend and got shot for an under construction feature in minitruckin magazine. I had way too much trouble with the new doors so the old ones stayed on.

null_zps1a2e64e2.png


null_zps65a40ab8.png


And I can only assume this is the pic you were referring to on Facebook
null_zpsf689f69e.png


Rolling shot was taken by John Mata, the editor of Minitruckin magazine
 

Heus33

Bronco Guru
Joined
Jun 1, 2005
Messages
7,408
I saw WH post your ride on their FB page. Dont mind all the haters, this build is SWEET!

Just goes to show you whats possible with a Bronco. Make it your own, not a carbon copy of what others think is 'cool'. Kudos to you.

PS - you need a pair of my headlights on that beauty!
 
OP
OP
M

msturg

Jr. Member
Joined
May 8, 2008
Messages
101
Thanks Heus33, I appreciate it. I hadn't even noticed Wild Horses had finally posted the pic. Just read through the comments, and its about normal. People either love it or hate, and the Bronco guys that hate it REALLY HATE it. I have recently decided to call the build "Blasphemy" just for that reason.

I'll have to check out your headlights, I hadn't seen them around before.
 
OP
OP
M

msturg

Jr. Member
Joined
May 8, 2008
Messages
101
Just an update for the thread though, I just dropped the truck off to a friend of mine for bodywork and paint over the winter.

He's got a long road ahead of him on the body so I'll try to post updates as time goes on.

Plan right now is to paint the main body somewhat of a root beer color and to paint the top and various accents a white cream color.
 
Top