• Just a reminder that you won't be able to start new posts or reply to existings posts in the Archive forum.

    This is where all the old posts go so they can still be used for reference and searched.
  • Welcome to ClassicBroncos! - You are currently viewing the forums as a GUEST. To take advantage of all the site features, please take a moment to register. It's fast, simple and absolutely free. So please join our community today!
    If you have problems registering or can't log into your account, please contact Admin.

Bronco SS 4 years and counting!

Revelation

Bronco Guru
Joined
Oct 9, 2004
Messages
4,812
Decided to add a new thread for the stretch run, as the other build thread is rather long, CLICK HERE TO SEE THAT THREAD.
As most of you know I have been working on my Bronco Chipper for the past 3 years with the help of my Uncle James who has been a Bronco Guru for as long as I can remember.
JamesGator.jpg

We did loose about 14 months after he was diagnosed with Cancer, But I am happy to say as of his last check-up he is cancer free.

The past month I have been hammering away on the body, last week the remaining body was sent off to the blaster, and was in etch Primer by weeks end.
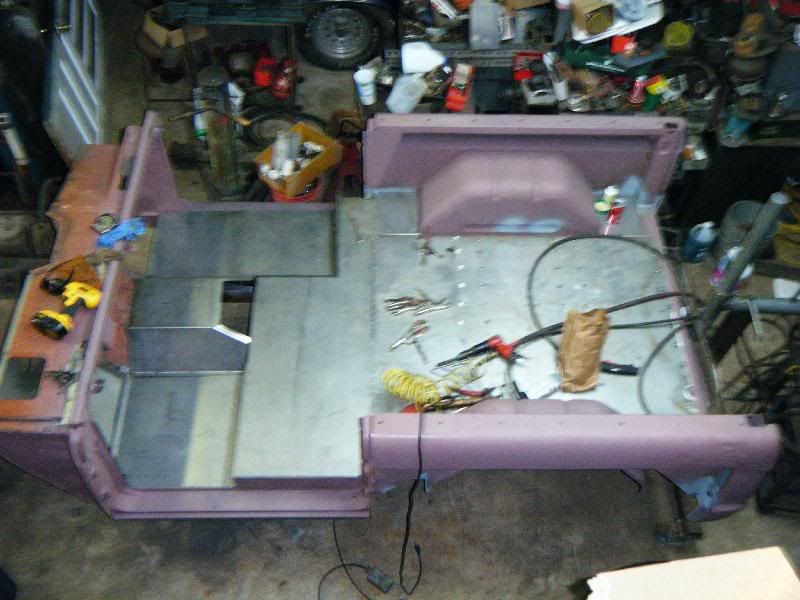
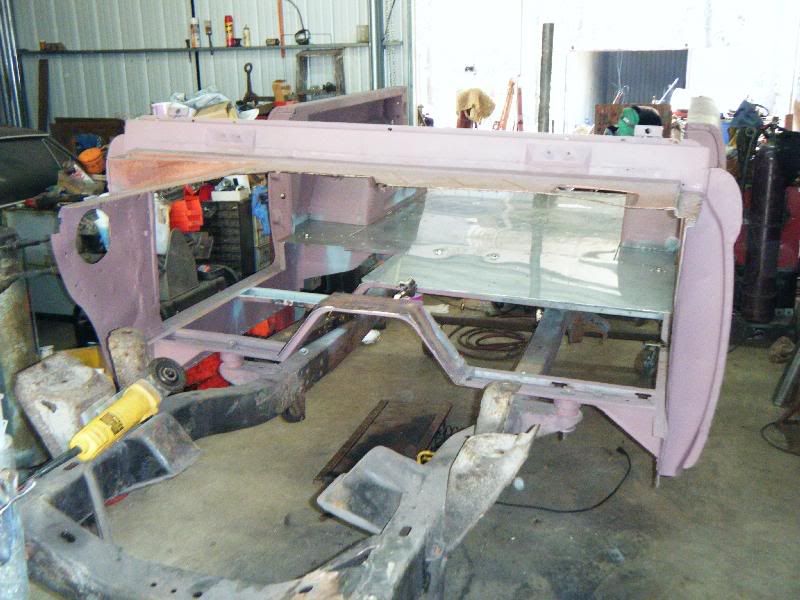
This week has been replacing floors, firewall, bed, Ect. We chose to fabricate our own many months ago.
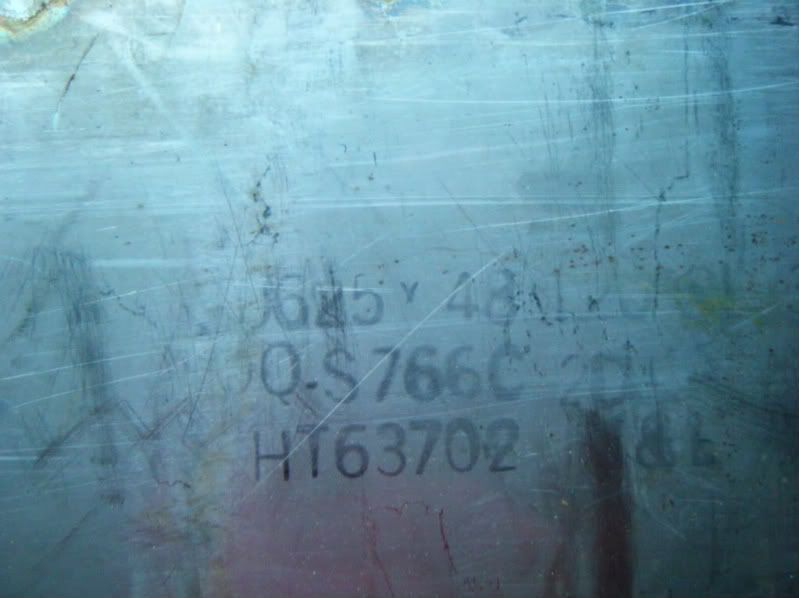
We had several 4x10 sheets of HT Stainless laying around and decided to use them.
DSCF2011.jpg

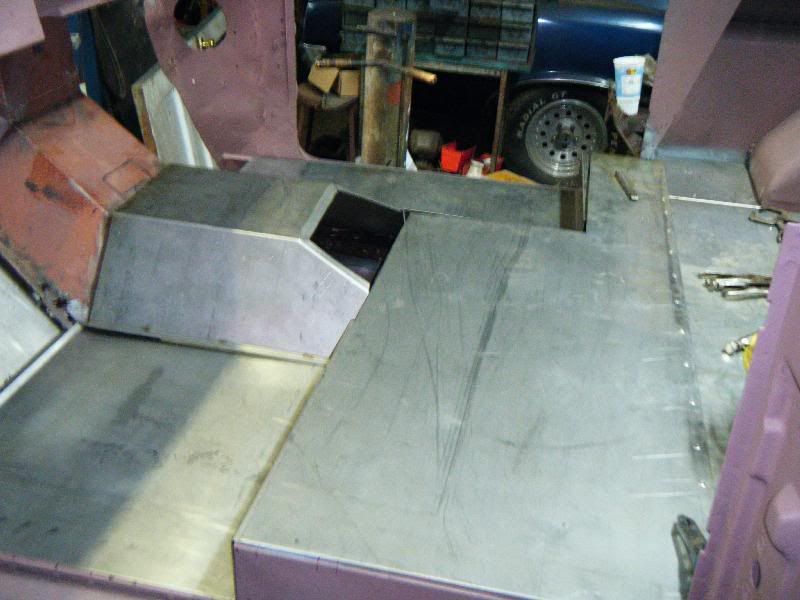
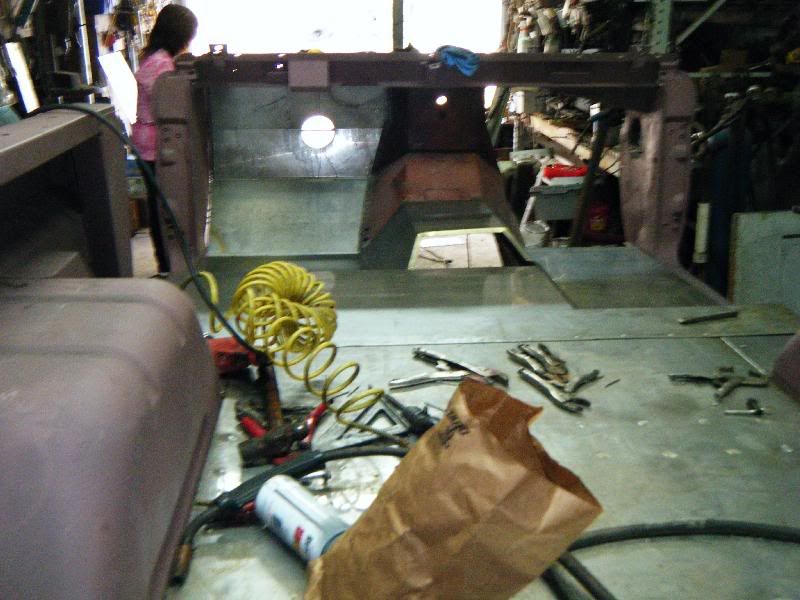
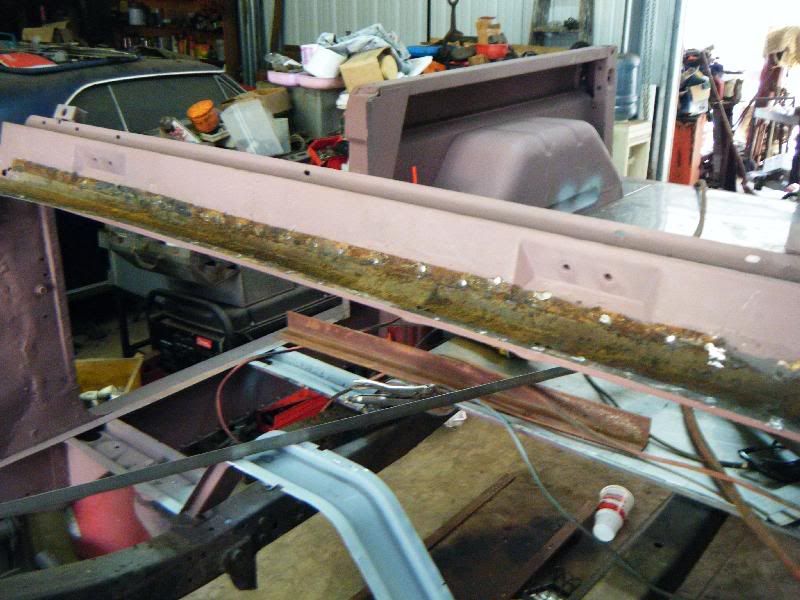
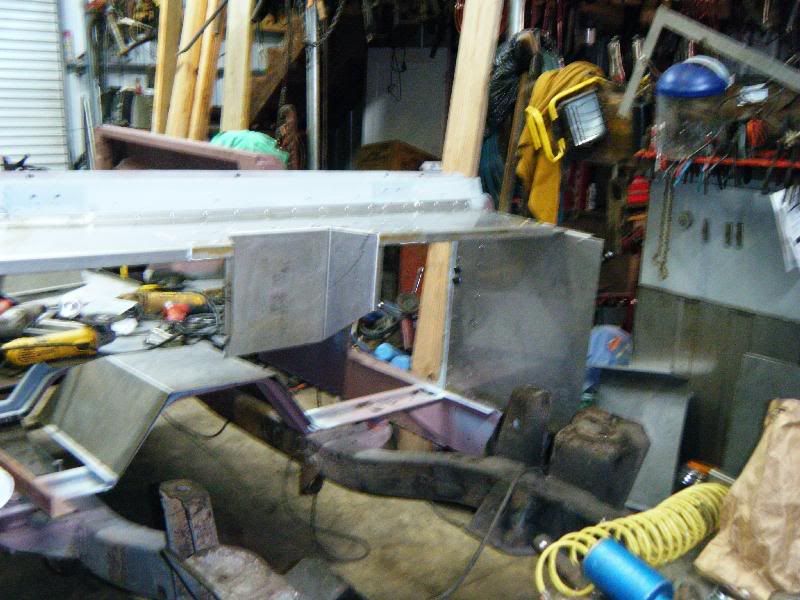
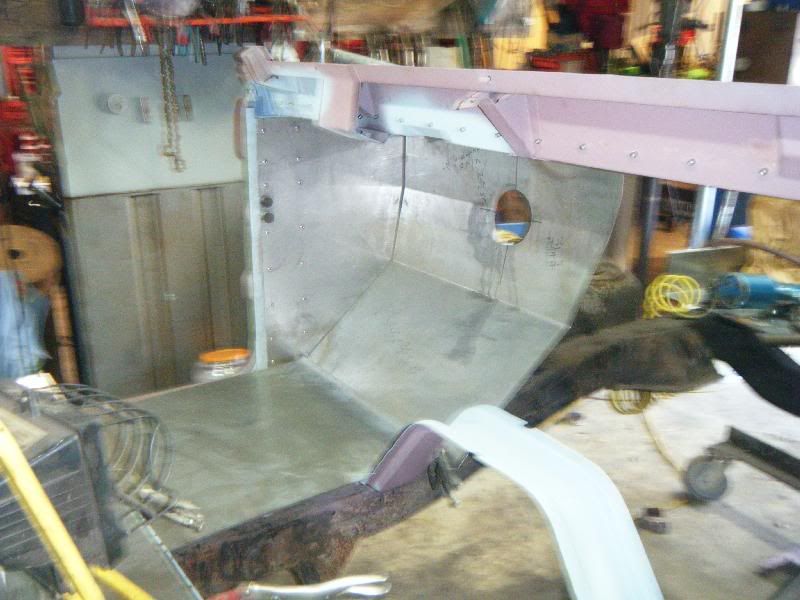
The Cowl, firewall, floorpans, kick panels, and bed section are being replaced. We have chosen to leave the rear wheel wells stock as they were in good shape. The Stainless will be given a satin finish after installed, the wheel wells, and inner quarters will be bedlined. as well as any sheet metal on the underside. the stainless will not be covered, except in the areas where floormats would normally be used, in those areas I am going to use some aircraft wing walk paint.
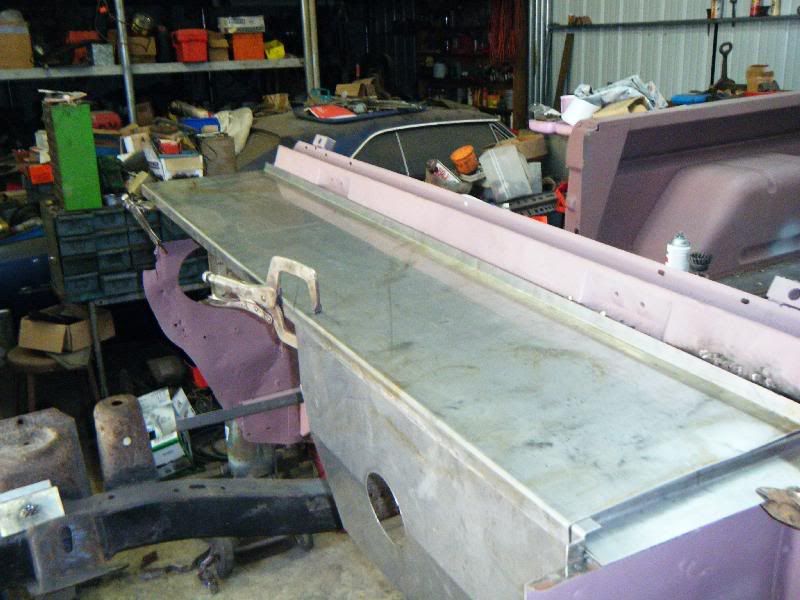
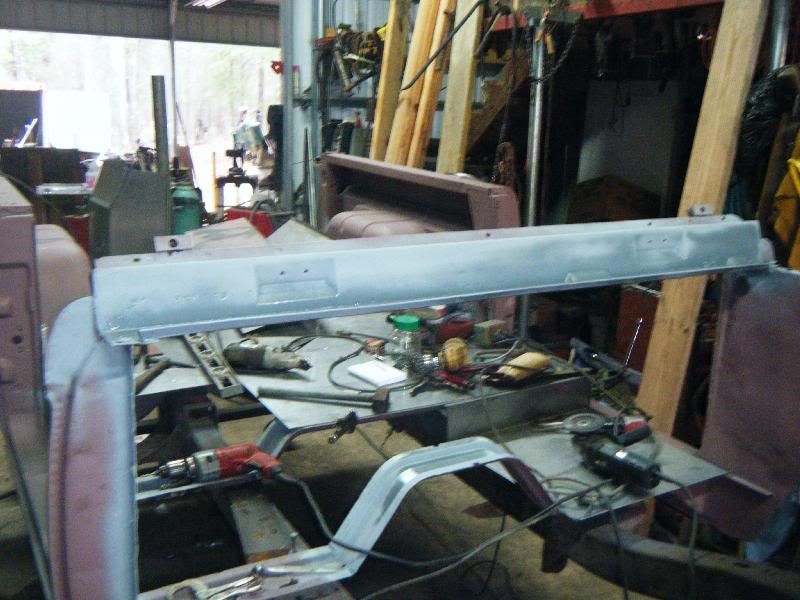
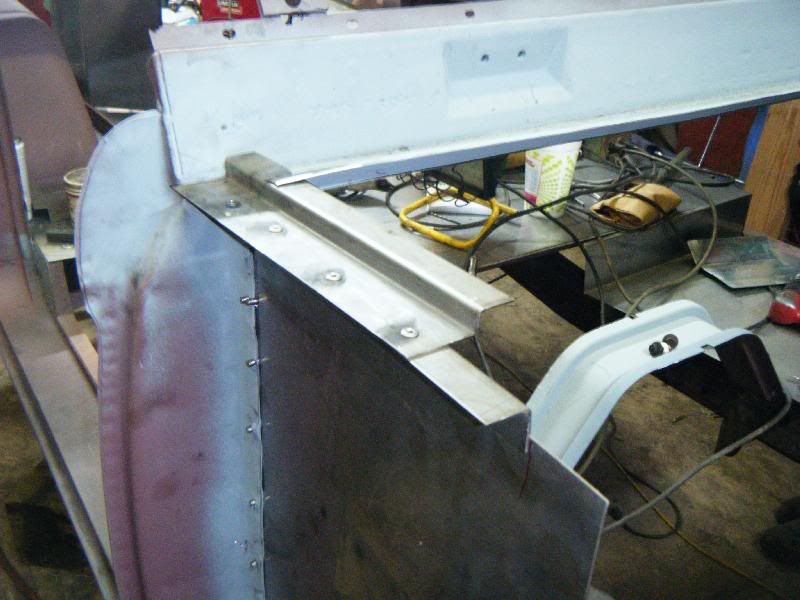
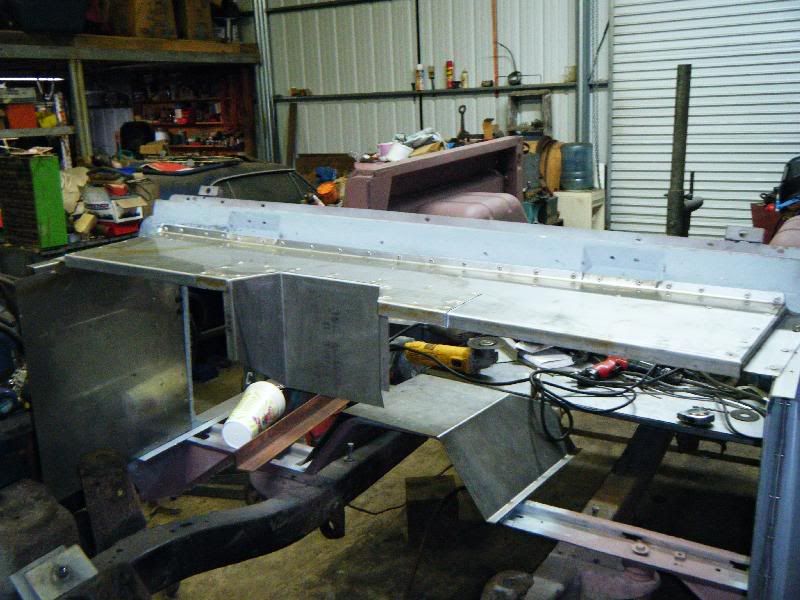
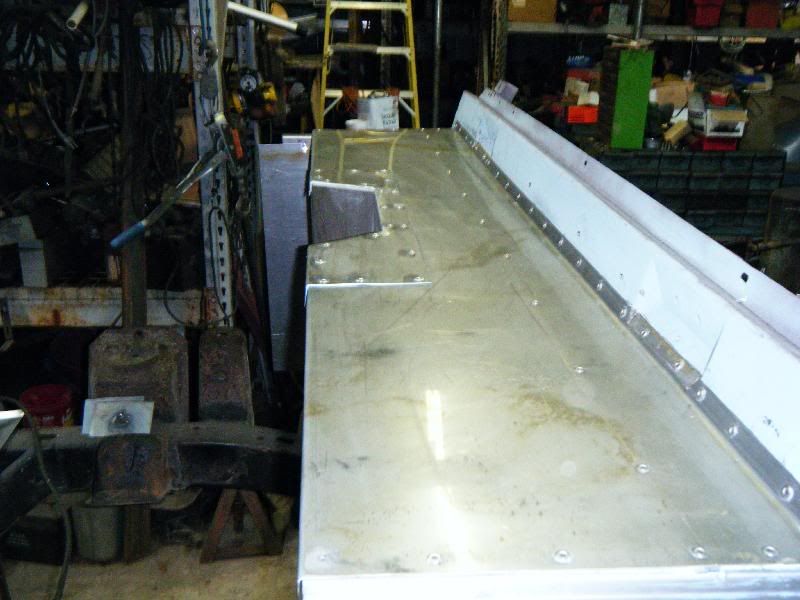
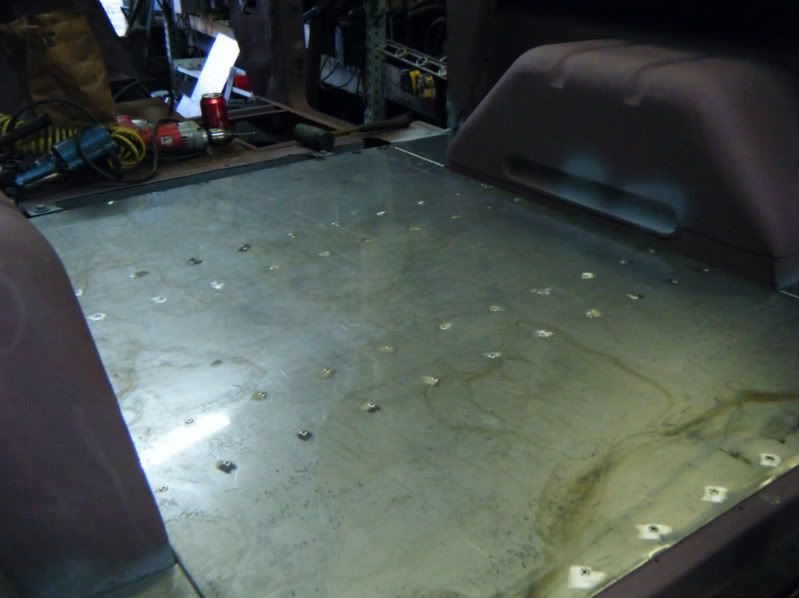
Today I installed the first 5 panels, the bed section. We decided to use Stainless/Stainless Rivets to ease assembly, I know there will be the guys that are against this and would weld everything in. The rating for the rivets far exceed the stresses that will be exerted on the body.
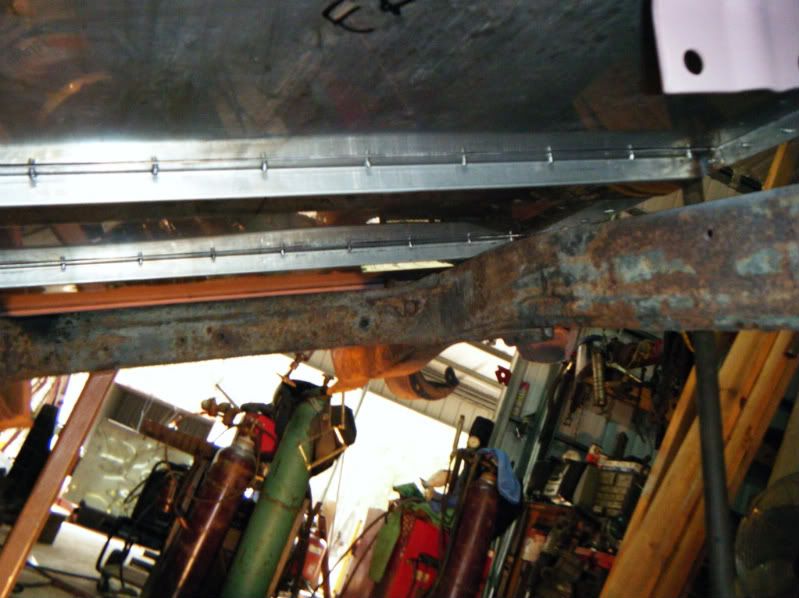
Although I did not take a picture we installed not one but two cross braces under the bed section. The braces were also fabricated from the same material as the floor sections.
DSCF2010.jpg


DSCF2008.jpg


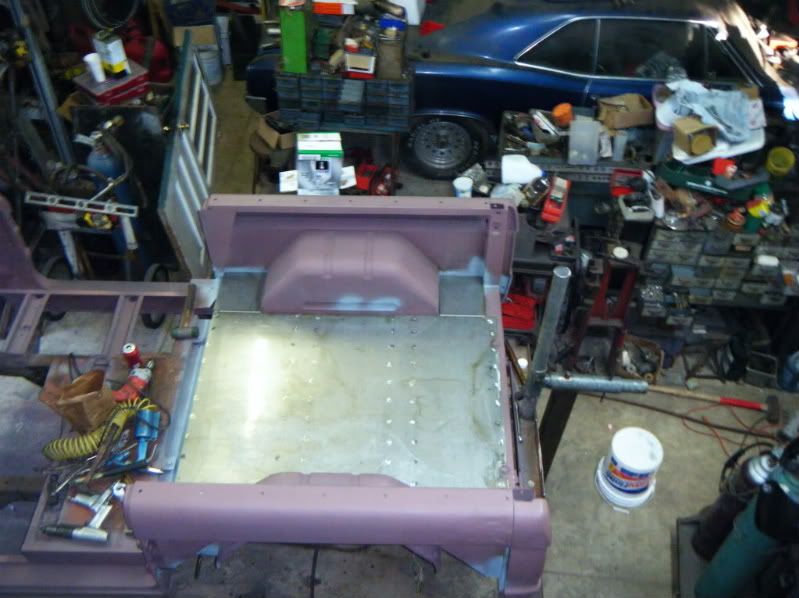
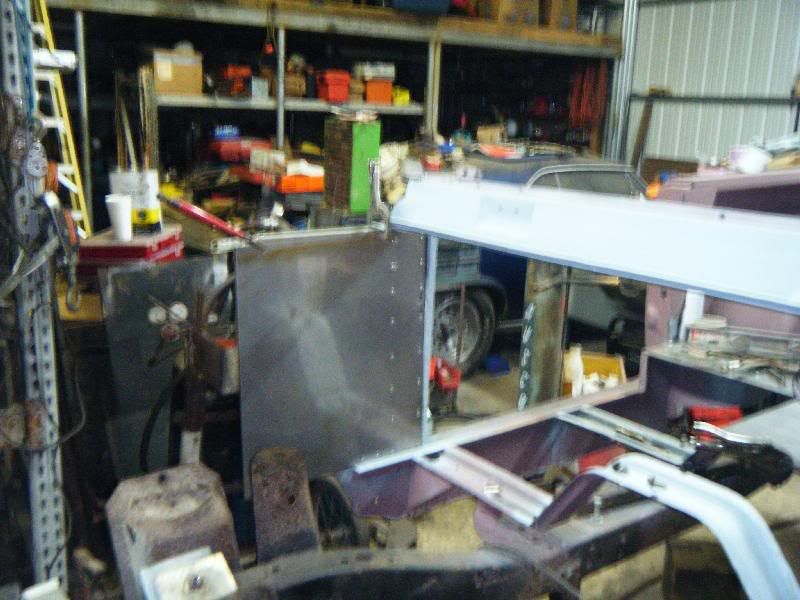
We did do some re-engineering of the bed section, extending it to where it will rest on top of the body support just behind the front seats. this will help strengthen the whole assembly.

It is alot of trim and fit to get everything in to our liking, as we all know our beloved Bronco's Spec's varied from Bronco to Bronco, but I feel the end product will be well worth it.

I will be posting more pictures as we install more.
 
Last edited:

Smokeater11

Bronco Guru
Joined
Jun 14, 2006
Messages
1,971
Loc.
Auburndale,FL
Oh how sweet that is gonna be!!!! Chipper is definitely a "one off" rig from top to bottom. I can't wait to get a chance to look it over.

P.S. Your uncle looks like my kinda guy. I want one of those tractors!!!!!! GO GATORS!!!!!!!!
 

bax

Contributor
Old Member
Joined
Aug 22, 2005
Messages
14,493
Rolling along. looking good. you know what we say. Git er done!!!!
 
OP
OP
Revelation

Revelation

Bronco Guru
Joined
Oct 9, 2004
Messages
4,812
Took half a day off today, went catfishing with my son, Great times, ever fought a 5 pound catfish on Ultralight tackle and 4lb test?

DSCF0004.jpg


But I did complete the filler pieces in the bed, and posting a pic of the underside to show the cross braces we fabricated. And Picked up a new EZ harness. Things are rolling along at a rather fast pace.

DSCF0009.jpg


( I know it looks like a gap, but that is just Sharpie Marker)
 
Last edited:

sprdv1

Contributor
REBEL
Joined
Mar 8, 2007
Messages
81,842
You gotta have some free time too right.. Coming along great. VERY Glad your uncle is cancer free, that is awesome
 

Crewwzin

Bronco Guru
Joined
Mar 9, 2008
Messages
1,087
Loc.
Freeport, Fl
Damn son...I know you said you had something special, but it didnt even cross my mind about all that stainless you showed me you had layin around. Lookin good bro, lookin good.
 
OP
OP
Revelation

Revelation

Bronco Guru
Joined
Oct 9, 2004
Messages
4,812
Now if I could talk Dennis Carpenter into stamping a few pieces, the whole thing would be stainless.
 

bosshoff

Contributor
Sr. Member
Joined
Mar 30, 2004
Messages
713
I did my floor pans using rivets as well. It worked well for me. Someone on my thread mentioned that if I were to use some of the SEM two-part epoxy body cement that you use the double tube gun to apply, that the installation would have been bullet proof.
 
OP
OP
Revelation

Revelation

Bronco Guru
Joined
Oct 9, 2004
Messages
4,812
I thought about that but since I am going topless, and it will all be stainless, as well as some design changes,( the 4 filler pieces are in at a slight angle to keep stuff from sitting in the corners) I thought it would be overkill. Besides the specs on the rivets we are using are not to shabby. 950lbs Shear and 1200lbs tensile. I beleive that is alot stronger than the factory spot welds. There are right at 150 of them used just for the bed section. We are going to use a marine seam sealer.
 
OP
OP
Revelation

Revelation

Bronco Guru
Joined
Oct 9, 2004
Messages
4,812
Got the front section of the bed cut and installed today, And I must say it is looking amazing. All that purty RUST FREE FOREVER SS in place knowing it will not have to be primed or painted sure makes it seem like the end is closing fast. Moving on the the floors, firewall, tunnel and cowl next. Fun times. Remember folks, Measure not once, not twice, but 3 times prior to making any cuts.

As a side note, I will be using an EZ 21 circuit harness, won it on EBay yesterday morning, payed with PayPal, and the Brown truck dropped it off today, Now that is fast shipping.
 
OP
OP
Revelation

Revelation

Bronco Guru
Joined
Oct 9, 2004
Messages
4,812
Swung by the shop to get a few pics of yesterdays progress, and dropped in the floorpans and tunnel to just see. What do you think?
Bed020620102Medium.jpg


Bed020620103Medium.jpg


Bed020620104Medium.jpg


Then it was off to a local car show.

Bed020620101Medium.jpg
 
OP
OP
Revelation

Revelation

Bronco Guru
Joined
Oct 9, 2004
Messages
4,812
Finished securing the Upper Seat panel and drilling the holes for the seatbelt bolts.
Tomorrow the Cowl, tunnel and firewall get started.
 
OP
OP
Revelation

Revelation

Bronco Guru
Joined
Oct 9, 2004
Messages
4,812
Attacked the tunnel and cowl today, got it all preped to start putting the new pieces in tomorrow. As most may know the cowl is a haven for rust, very poor design by Ford. when we pulled the cowl off we found what I think is not to bad, got it all cleaned up and rust free.
0208201017Medium.jpg


and with the new Stainless Cowl set in place, still goingot do some fitting but it is real close.
0208201019Medium.jpg


0208201011Medium.jpg


Since I will be going roadster, and a Mojave heater we decided to totally do away with the "Fresh Air" ducting and flatten out the cowl. The kick panels are also being replaced with Stainless.

More Pics tomorrow!
 
Last edited:
OP
OP
Revelation

Revelation

Bronco Guru
Joined
Oct 9, 2004
Messages
4,812
Hope to have the cowl, kick panels, and tunnel done, or close to it today, Pictures to follow.
 
OP
OP
Revelation

Revelation

Bronco Guru
Joined
Oct 9, 2004
Messages
4,812
Very productive day, And after today I can say without reservations that this tub is now 100% Rust Free, Every nook and cranny that Ford built into Broncos has been deconstructed, and made rust free either by Blasting or replacing with Stainless.

The channel under the cowl was cleared of all rust, heavily primed and readied for the cowl.

020920104.jpg


Then we attacked the kick panels, and Cowl Mounts.

020920107.jpg


020920106.jpg


0209201015.jpg


We mocked up the drivers floors, just to see.

020920109.jpg


Then to finish off the day the first section of the tunnel was installed.

0209201013.jpg


020920101.jpg


Decided to make a plate to mount the top part of the tunnel, just to give some adjustment if needed. All joints are sealed with Marine Sealer/Adhesive.

All in all it was a good productive day, Tomorrow, Complete tunnel, and start on the firewall/floors.
 
Last edited:
OP
OP
Revelation

Revelation

Bronco Guru
Joined
Oct 9, 2004
Messages
4,812
Had a productive day, getting the measurements right for the 435 shifter, Going to fab something to replace the half of the body brace I am going to have to cut.
Did I mention that the tunnel is a bitch?
Spent the better part of the day getting it to fit the way I want it, still not perfect but I think I have it where it needs to be and is going to stay. Had the floor pans and firewall sections in place and it is gonna be sharp!

No pics today, forgot to take the camera with me.
 
Top