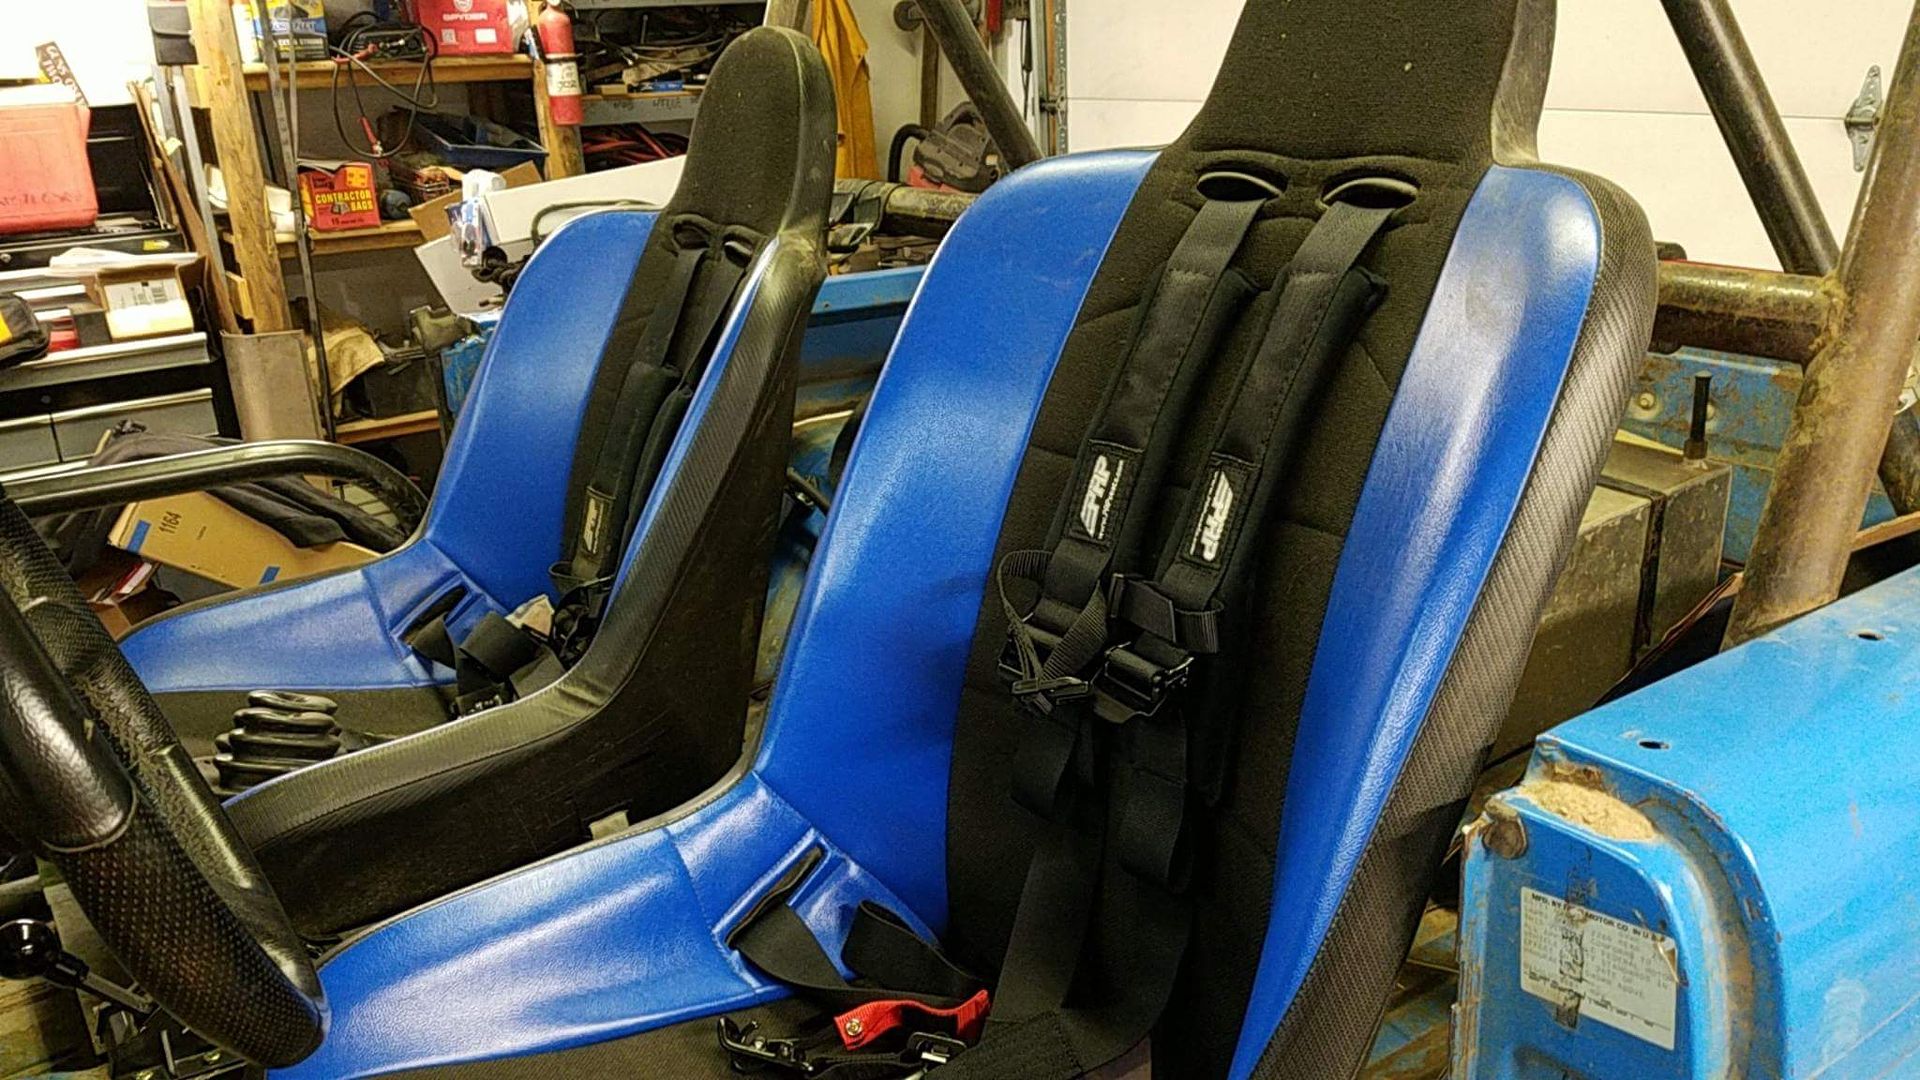
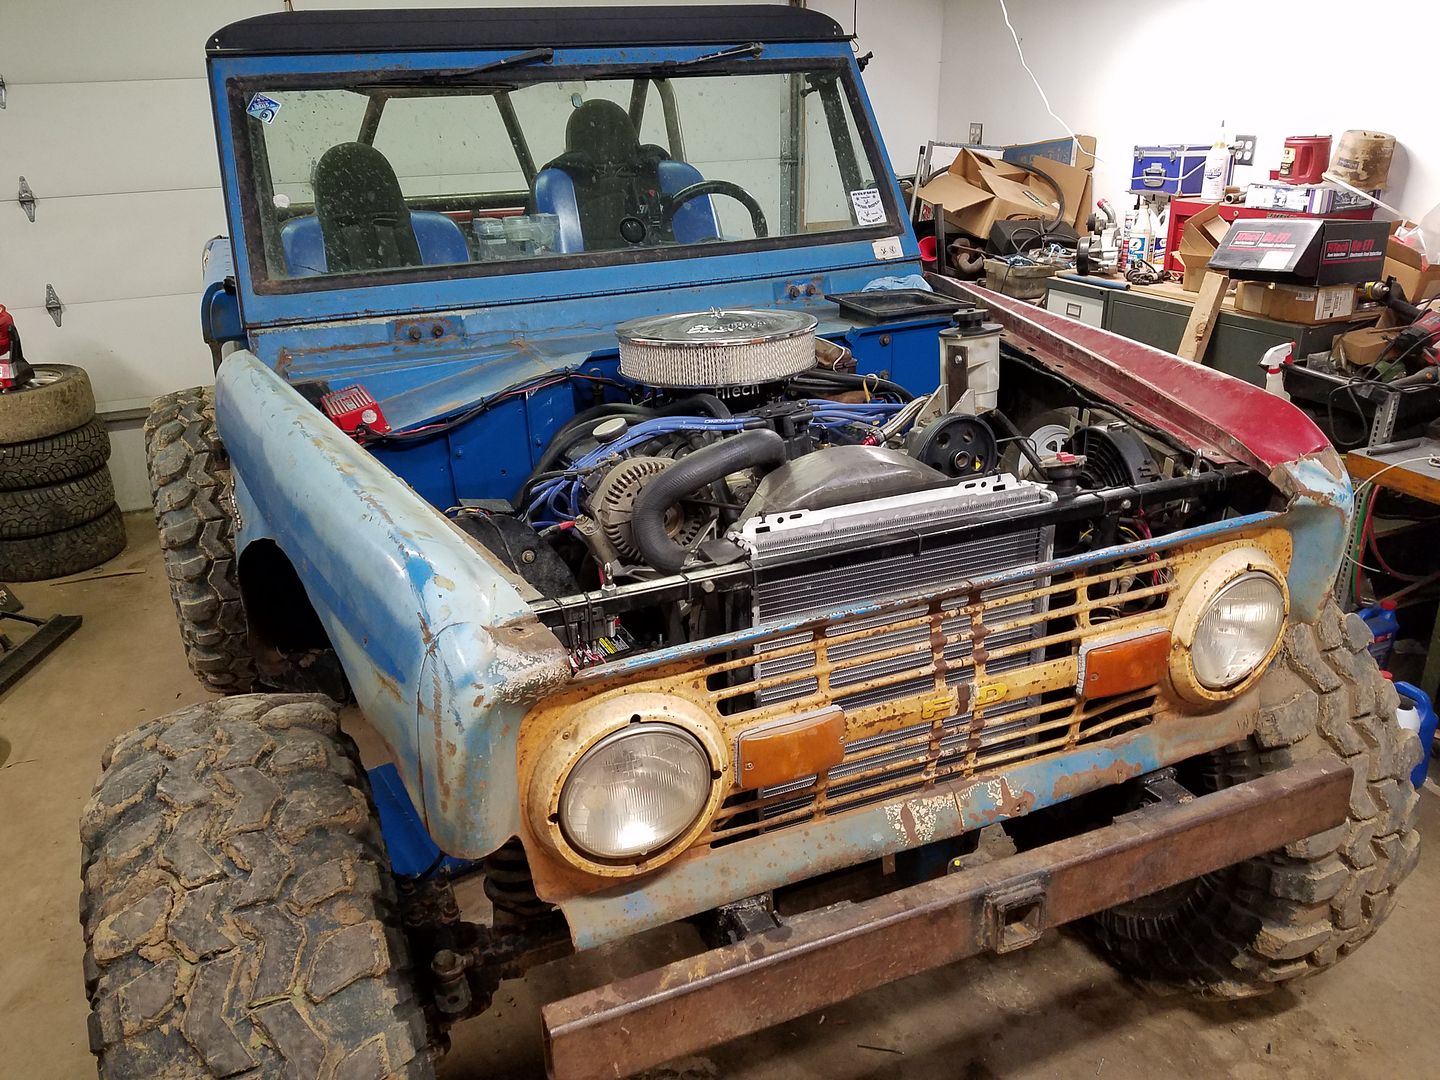
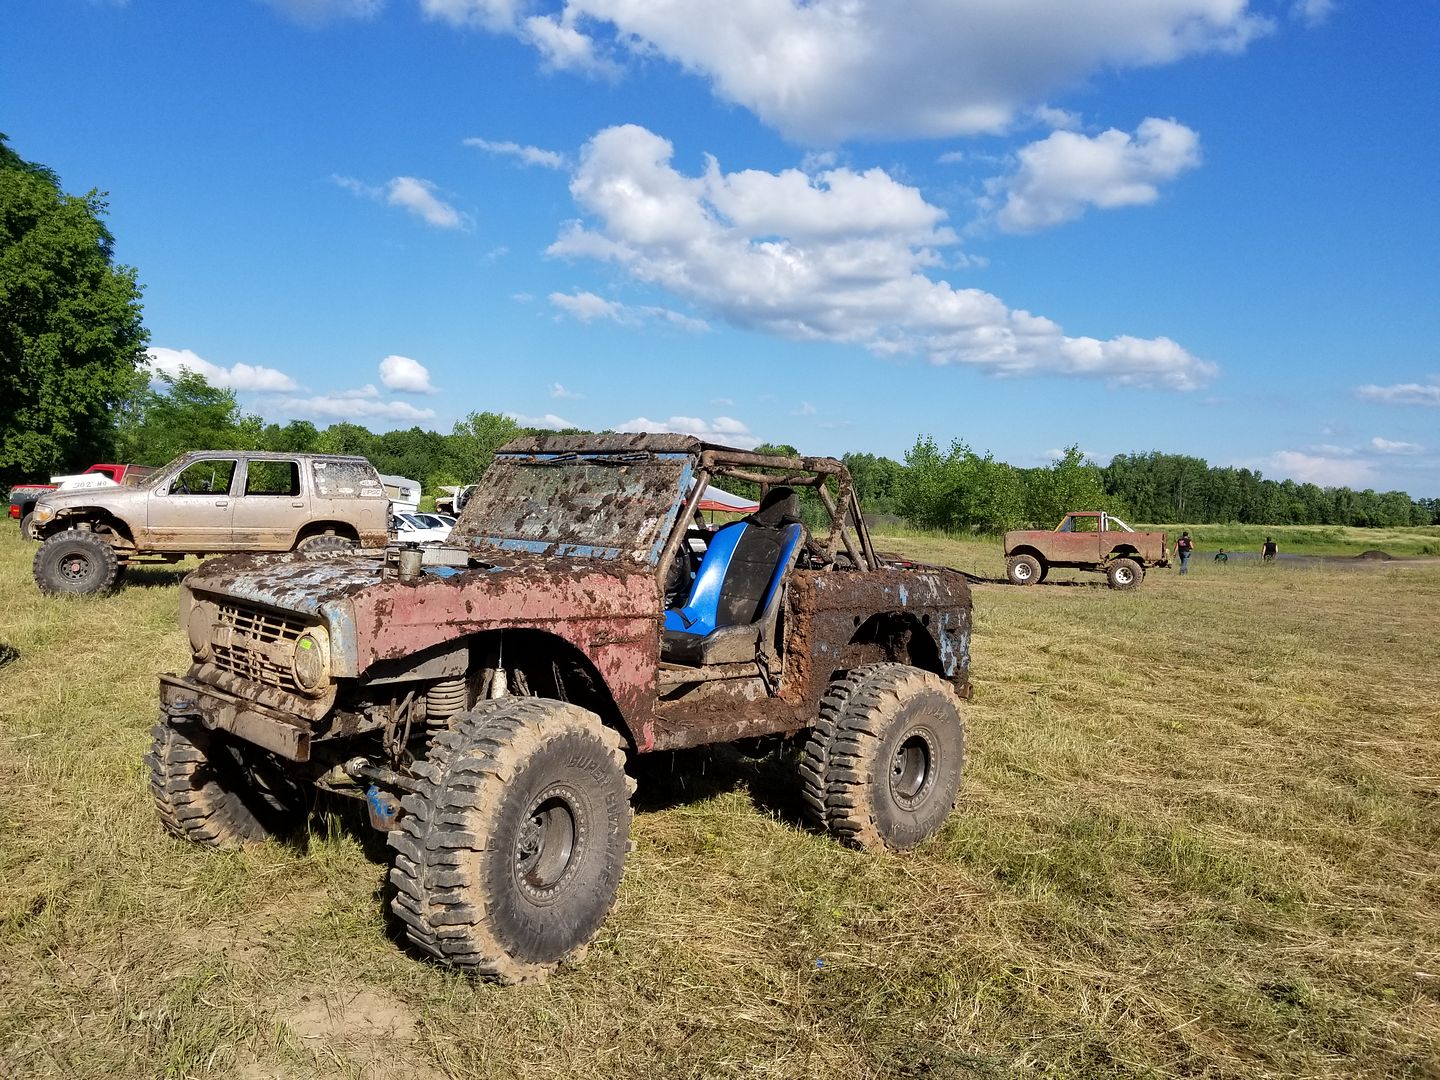
• Welcome to ClassicBroncos! - You are currently viewing the forums as a GUEST. To take advantage of all the site features, please take a moment to register. It's fast, simple and absolutely free. So please join our community today!
    If you have problems registering or can't log into your account, please contact Admin.

Money Pit - Phase III

OP
OP
KyleQ

KyleQ

Bronco Guru
Joined
Apr 24, 2008
Messages
5,480
Last night I got side tracked working on the 64' Galaxie 500 with my brother - we tossed on some new wires, re-gapped all the plugs and fidgeted with the timing until the rain forced us inside.

I tore the water pump off the motor and found that it wasn't even machined flat :mad: No wonder it leaked!

I grabbed the pump off the old motor, which at least had a Ford stamping on it and installed that pump. I hurled some paint at it so it wouldn't be crusty blue and called it a night. If this leaks I'm going to lose it-

7Ooe5X1uCGc8HdM7LIVjEIR-vj1GOrPp4aYArvJCIbYpX92IB_zpsw48maxdu.jpg


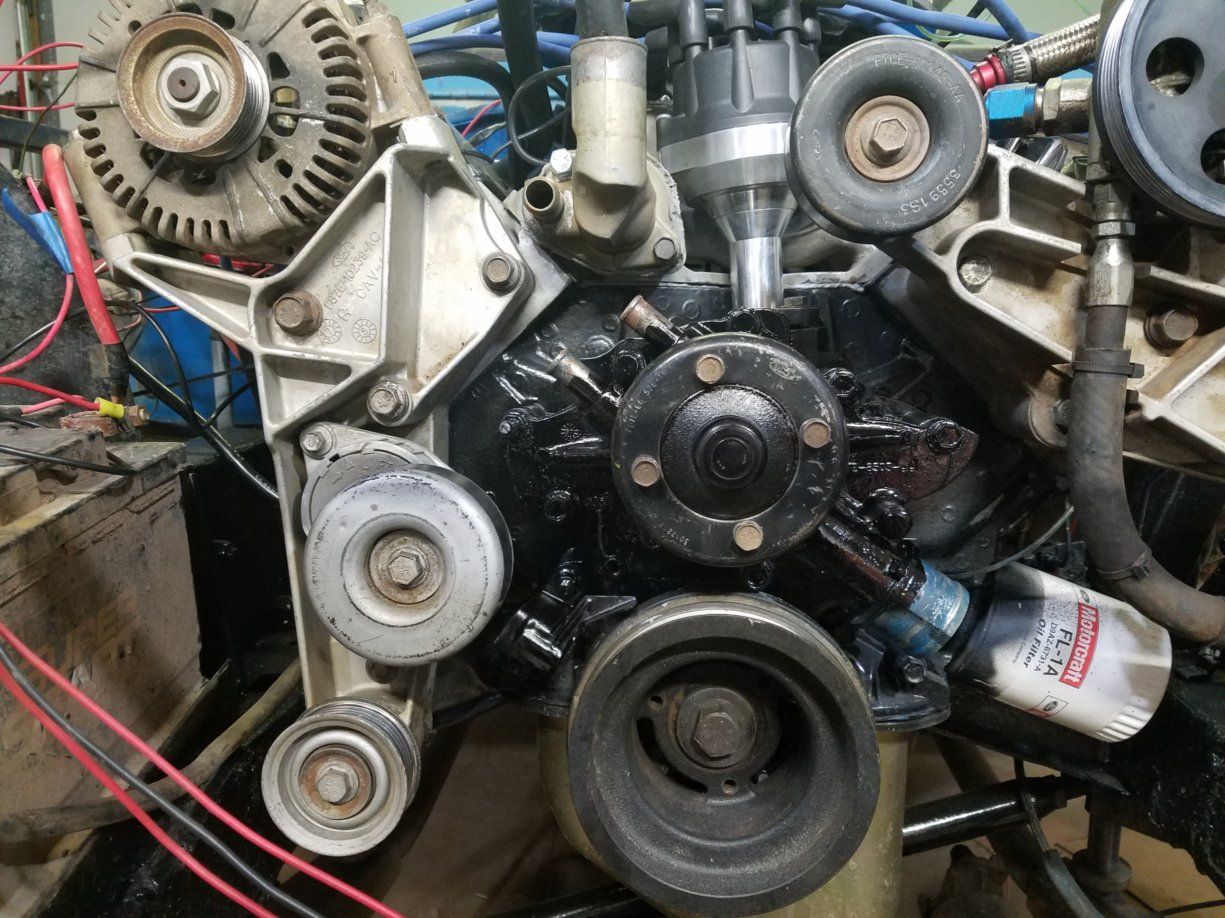
That junk is going back to the store for my money back - also found the only idler pulley bearing I didn't check is FUBAR. Add it to the list-
 
OP
OP
KyleQ

KyleQ

Bronco Guru
Joined
Apr 24, 2008
Messages
5,480
Got everything buttoned up and was able to take the Bronco out for its first spin -

I need exhaust - NOW.

My ears are still ringing...
 
OP
OP
KyleQ

KyleQ

Bronco Guru
Joined
Apr 24, 2008
Messages
5,480
I adjusted the starting IAC waaay down to the 30's to get it to idle down faster from startup. Here is a quick video after a few laps in the back yard-

[youtube]Yyl0AtL3ZrE[/youtube]

Hope to get exhaust soon - caught some air on a bump in the back yard and smoked a power steering line, so much for a clean engine bay... %) Luckily I have spare line and the fittings are good - I'll make a fresh line and order some replacement line for a trail fix.


I also found this-
qvVoB6HOWxgIvMaIioS_IqxBMXP9-ovr_0ke7UtStrwpX92IB_zpsbdsw22ft.jpg


Which then lead to a full on baking soda bath -
UsIjQlvbbE8lJaDZZbRU0cS86VQ0t6KQneMx3BsqnLIpX92IB_zpsq08gvtth.jpg


I picked up the next model up from the battery I was running as my shop discount made it the same price as the replacement, plus it is AGM.
 
OP
OP
KyleQ

KyleQ

Bronco Guru
Joined
Apr 24, 2008
Messages
5,480
Had a brake line fail on me - easy fix though. Didn't want to replace the entire line, so a quick splice will do it.
20170510_225845_zpsmmnuhkc5.jpg


I now have exhaust! I was able to just chop off where it turned up towards the manifolds and run new stuff.

20170518_183109_zpsv3qyaerd.jpg

Don't mind the line on the drive shaft - I had to whip that together quick so we knew where we could run the exhaust, it isn't welded together at this point. Going to be 1410 front and rear :cool:
20170518_183150_zpskvydl5gl.jpg


Had to modify the pass side a little bit to get it to clear the floor - totally worth it when I've only got $175 into them! They totally fit perfectly on a 302 without a body lift, cheapest header option out there with bolts, gaskets and ball collectors.
20170518_215120_zps4yjqnkoh.jpg


Got some fresh 15-W50 Mobile One in the t-case - ordered up a new tach too, can't wait to wire this up. The 8" 10K RPM monster tach just wasn't going to fit :p
20170510_233652_zpsvu0echvd.jpg


I got the FMRVB but I've got no time to install it before the event - hard to take things apart that are working this close to an event.
20170510_171543_zps65gh03ac.jpg


Just a few things left to button up - need to install my trans cooler, thermostat and filter to button up the trans side of things. I've got that tach, trans temp and a shifter mount on the inside and then I believe its sheet metal and welding the front driveshaft together. Shouldn't be a problem to have it done by Wed night :)
 
OP
OP
KyleQ

KyleQ

Bronco Guru
Joined
Apr 24, 2008
Messages
5,480
Things always take longer than expected - didn't get nearly as much done as I thought I was going to get done - but that is how she goes.

Trans filter, thermostat and cooler installed - just need to wire the probe and fan.
received_10154810807999092_zpsyfnkxb96.jpeg


Drained the fuel system and swapped out that terrible flip and turn cap for a simple screw on unit.
received_10154809602874092_zpsbci6kere.jpeg


When I was prepping for my shifter mount I noticed I had my belts mounted to the cage on the outside and the floor on the inside -
20170521_161913_zps40hcxndm.jpg


I made some brackets and welded nuts on the inside-
20170521_162033_zpsntpt8suu.jpg


Stupid overkill shifter mount is complete-
20170521_184637_zps3vq2sqcc.jpg


Got my harness installed on the driver side - a lap belt just won't cut it anymore.
received_10154813571584092_zpspzfq4ajd.jpeg


I shortened up a bunch of wiring and put the fenders and grill back on.
20170521_230538_zpsc8hvmepe.jpg

20170521_230424_zpsrj6pvgpk.jpg


Nice to have it look like a truck again-

I also welded up the front drive shaft - still need to clearance the driveshaft flanges to run the kind of angle I need on full droop.

20170520_214605_zpsgbb4pdvp.jpg


Final thrash list:
Wire rear fan and temp probe - got lucky and I'm going to use the old fuel pump power to run the fan.

Connect tach signal wire to either MSD box or Neg side of coil. Does it matter? Currently have a wire run inside from the tach output of the MSD box.

Clearance front driveshaft and install new 1410 Spicer joints.

Replace front pinion seal and inspect fluid.

Plumb oil pressure gauge - have nylon and copper lines, depending on time I'll go with the copper.

Pack? ;D
 

broncoitis

Bronco Guru
Joined
Jul 23, 2010
Messages
4,449
Good job! It would be nice to have a trail rig as well but that is down the road a little bit! I like how your rig is all business! Good Job!
 
OP
OP
KyleQ

KyleQ

Bronco Guru
Joined
Apr 24, 2008
Messages
5,480
Thanks guys - the build has always been function over form, I do eventually want to get some painting done.

I'm getting sick and as a result I'm running out of steam and getting muscle aces - not what I need in the final hours of crunch time.

I'm finding that the front drive shaft doesn't have a whole lot of travel in it before it binds up - not what I wanted to find out this close to an event. I spent a few hours with a carbide burr trying to squeak every little bit of angle out of the 1410 stuff. The joint body is hitting the flange and the caps also run into the flange, there is no more angle to get at this point.


20170522_211728_zps74c6weo1.jpg

20170522_211740_zpsqw1p6a85.jpg


What I want to do it pull the drive flanges out and drive up my trailer like a RTI ramp and spin the front drive shaft and see at what angle it will bind. Then I'll have to bolt a chain around the axle to the frame to keep the drive shaft alive.

If I need more angle, I think this may be the only option - at over $300 too! :eek:
1473838.jpg


I think my father is going to lend a hand tonight - need to paint and install the tunnel cover and tidy up some wiring. Front pinion seal went smoothly and the fluid in the front end looks like mostly gear oil, so it should be fine.
 
OP
OP
KyleQ

KyleQ

Bronco Guru
Joined
Apr 24, 2008
Messages
5,480
Got the hood fitted - being that I've absolutely hacked the shit out of the hood, there is no surprise that it is a wet noodle.

I got some 1/8" angle aluminum and riveted it to the sides of the hood - presto - more rigid than the original hood.

Looks like I'll get some good cold air with this setup too - just need to find a scoop that will clear the air cleaner so when I make the last hood (without the swiss cheese holes) everything will fit nicely. I'm going to switch to a sag pump so the reservoir doesn't stick through the hood.

20170523_212359_zpsyclgs5hc.jpg
 
OP
OP
KyleQ

KyleQ

Bronco Guru
Joined
Apr 24, 2008
Messages
5,480
Time for an update - weekend went well, couldn't break the truck either!

We marked this stump to be burnt so a little flex testing to make sure the drive shaft would clear was in order. Top of the stump is a bit over 4' tall-

20170526_131616_zpscsssvxqh.jpg


20170526_131725_zpsmvegfei8.jpg


20170526_131854_zpsmzbaxmod.jpg


Thank goodness for beadlocks! That wrap bar sure keeps the rear driveline angles in check-
20170526_131653_zpsq1wql3tu.jpg


Everything clears just fine on the front too - thankfully I ground enough clearance.

20170526_131645_zpsoq07y85w.jpg


I didn't take many pictures when we were out on the trails - I had a lot going on with the new motor, ignition, FiTech tuning and just having fun. I'm going to have to make some beefy motor mounts as all the torque this motor makes just wasted the mounts that lasted years in the old setup. Being that the X-treme motor mounts didn't fit I'm just going to weld a plate between the top and bottom plates on the motor mounts and see how that works.

I've got a bit of video to get uploaded - some of it turned out good :p

Things to change -

Rear bumps needs to get swapped to the shorter bumps - bottoms out just too fast.

Install long travel rear shackles - need more droop.

De-stroke front bumps to smoothen out the ride up front-

Finish covering the floor to keep heat from the passenger compartment.

Install full manual, reverse valve body in transmission.
 

sprdv1

Contributor
REBEL
Joined
Mar 8, 2007
Messages
81,779
#BEASTMODE

Make sure you bring that thing to OCBR and wheel with us.. Sept this year, but that may be too quick

Great job brother
 
OP
OP
KyleQ

KyleQ

Bronco Guru
Joined
Apr 24, 2008
Messages
5,480
Thank you -

I've got a lot going on this year - I do need to make it out there one of these years...
 

TTTGOWYO

Tyler T. - EB Obsessed
Joined
Sep 3, 2007
Messages
2,151
Loc.
Louisville
Great job. I love the way you just get it done and solve problems quickly to get her on the trails. That thing is a beast.
 
OP
OP
KyleQ

KyleQ

Bronco Guru
Joined
Apr 24, 2008
Messages
5,480
Great job. I love the way you just get it done and solve problems quickly to get her on the trails. That thing is a beast.

Yeah - this is a trail rig, so there is no sense in trying to make it perfect and super pretty when I just bounce it off of logs, rocks and trees.

I've got another project I want to get started on soon - a real road driver

It's been sitting for awhile, but everything but the drivetrain is there - which I have. Once I get the details hammered out on the trail rig I want to get this driving so I can take it to work. My new job is far closer and I've been driving my 96' without the top on to work and it just makes me really want to get this thing going.

2011-09-03_14-11-39_333.jpg
 

TTTGOWYO

Tyler T. - EB Obsessed
Joined
Sep 3, 2007
Messages
2,151
Loc.
Louisville
Nice, that is the best of both worlds. I would love to someday build a trail rig once my Bronco is "done". Mine is going to end up too nice to beat on, but will be driven and mild offroaded. Keep us posted on both.


Yeah - this is a trail rig, so there is no sense in trying to make it perfect and super pretty when I just bounce it off of logs, rocks and trees.

I've got another project I want to get started on soon - a real road driver

It's been sitting for awhile, but everything but the drivetrain is there - which I have. Once I get the details hammered out on the trail rig I want to get this driving so I can take it to work. My new job is far closer and I've been driving my 96' without the top on to work and it just makes me really want to get this thing going.

2011-09-03_14-11-39_333.jpg
 
OP
OP
KyleQ

KyleQ

Bronco Guru
Joined
Apr 24, 2008
Messages
5,480
I had a very long vacation - Sunday - Friday at Wisconsin Dells and on Friday my buddy pulled my truck to Chetek,WI and another friend showed up (20 min after I got home) to pick me up and drive me out with his truck. I've got some awesome friends :)

I didn't take any pics and I've got some go-pro footage that I'm going to upload. We basically wheeled Sat, got caught in a nasty rain storm on the night run and then drank around the fire to start warm afterwards. In the morning we cleaned up and left -we had a photographer with, still trying to get his contact info as he got a lot of pictures of me hitting the hard stuff.

Bronco_zpscyvvk6b9.jpg


I was cooking the trans early on and ditched the thermostat I had installed after the filter/before the cooler. Temps came down immediately but were not sustainable during heavy hill assaults. I'm going to move the trans lines from inside the frame to outside - I'm certain that the exhaust is just baking the lines.

Now that I've got sufficient time wheeling the new setup it's time to spend even more money on gears %) I knew it would happen eventually, just not one of the last things - haha.

These are the ratios with the NP435 and 4.10 gears. I really liked the gearing, just not being able to change the gears fast enough. 1st was stupid low and reverse was worthless, so the C4 fixes that.

Tcase Hi Tcase Lo
1 27.50 104.48
2 13.73 52.16
3 7.36 27.96
4 4.11 15.62

Current ratios are not the greatest- even with the extra horsepower sometimes I don't have enough to bang 2nd in heavy traction and maintain wheel speed. It crawls ok with the torque - (shoulder shrug)
Tcase Hi Tcase Lo
1 10.11 38.42
2 6.00 22.80
3 4.11 15.62

Gearing to 5.13 seems so much better, if it wasn't for 5.38 not being available for a D70, I'd be going that route. I put my old setup next to the projected setup and I like what I see. I hacked the 1st gear off the NP435 so everything lines up how it will get used. I'll get the same gearing back with instant shifting and a reverse gear that I can use. I'm stoked - only $1500 and about a days worth of work :p

C4 with 5.13 NP435 with 4.10
Tcase Hi Tcase Lo | Tcase Hi Tcase Lo
1 12.62 47.96 | 13.73 52.16
2 7.49 28.46 |7.36 27.96
3 5.13 19.49 |4.11 15.62
 
OP
OP
KyleQ

KyleQ

Bronco Guru
Joined
Apr 24, 2008
Messages
5,480
Got ahold of the photographer!

Some hill climbing-
IMG_1474_zpsfobkuc0p.jpg


This hill looked simple but there was a bit of a ledge you couldn't spot from the bottom-
IMG_1462_zpshnyghqre.jpg


I hit it and the front end starting going up, I lifted and then punched it again and up we went.
IMG_1463_zpshnod9n9r.jpg


On the way down the hill next to him Tony hit the hill and it sounded like a drive shaft broke or something by the sound of it. I went back up and the hooked a strap to me and I couldn't figure out why I was having trouble pulling the 4 Runner up the hill.

Not even 6K shifts into 2nd and bouncing off the rev limiter moved him -
IMG_1467_zpsmpssnpfh.jpg

Oh -
IMG_1472_zps7t7a1wx9.jpg

It didn't help that he exploded the driveline and ripped the link mounts off the frame, wedging the axle against the body.

There is this fun ravine with a natural spring running into it - the big trucks on ZXL's and 54's were having a go at this corner and I gave it a go, it was fun ;D
IMG_1452_zpsnm20nzno.jpg

IMG_1453_zpsg8pmxotq.jpg

The exit was a good time - I thought I got a little air, but I didn't feel ANYTHING on the landing, totally fine.
IMG_1455_zpscfltr4pu.jpg


The sides were fun too-
IMG_1458_zpszeb3rfnq.jpg


I really need to stretch this thing - I couldn't get up another hill because the front end just wanted to lift on me... I'll start uploading video tonight too, I've got footage of that climb and some mud fun. Oh - and I need roll cage handles, I shouldn't be grabbing on the cage like that.
 
OP
OP
KyleQ

KyleQ

Bronco Guru
Joined
Apr 24, 2008
Messages
5,480
[youtube]Vo_5ZVjwkuA[/youtube]

[youtube]u7AfNvPAfjg[/youtube]

[youtube]D35gBTO_OIY[/youtube]
 
OP
OP
KyleQ

KyleQ

Bronco Guru
Joined
Apr 24, 2008
Messages
5,480
Last month I wanted to play in the mud a little bit and switch up what tires I was going to run. 15's don't clear D60 brakes without lots of modification, so I pulled a few strings at work and had some spacers cut for me.

Spacer_zps8ljvakjo.jpg

20170714_100133_zpslfb5axn6.jpg


Tossed on the 39.5 x 18 Boggers and forgot how mean they look :cool:
20170713_204519_zpscaggbxyh.jpg


20170714_211728_zpsrifm9czh.jpg


It was a ton of fun, got super dirty and the tires worked excellent -
20170715_175935_zpsmyitbqiz.jpg
 
Top