big a
Full Member
Nice work Mr. The Welder! I really love this website! Seeing people take something that's falling apart and rebuilding it to put it back on the road is awesome!!!! That rear bumper looks great too!!!! I'm finally to rust repair on my Bronco, but fortunately my frame is in great condition. From the seats back I just have a little surface rust, but from the pans forward, well, typical rust! I'm learning as I go and it's great to read thru your thread and watch you tackle the obstacles without hesitation!!! Plus, its a diesel!!!!!!!!!!!!!!!!!!
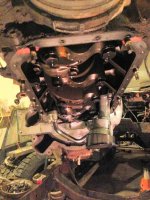
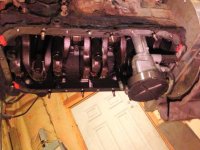
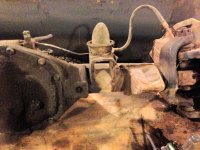
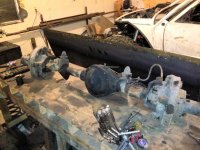
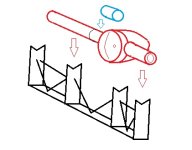
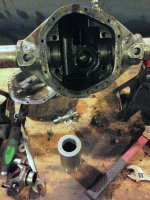
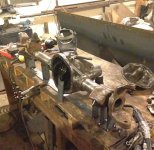
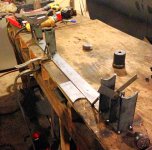
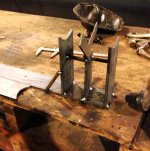
As to your pan, I realize you are using a different engine, but on the cummins I just notched the oil pan. It's easy on the cummins because there is room around pick up tube near the front of the sump and the dipstick goes in a the rear of the sump.
http://classicbroncos.com/forums/attachment.php?attachmentid=314900&d=1380150387
http://classicbroncos.com/forums/attachment.php?attachmentid=314899&d=1380150387
http://classicbroncos.com/forums/attachment.php?attachmentid=314898&d=1380150387
http://classicbroncos.com/forums/attachment.php?attachmentid=314897&d=1380150387
I'm looking forward to following your build!
Last edited: