Nice work Bernie, keep it up, it will be looking good in no time!


Nice work Bernie, keep it up, it will be looking good in no time!
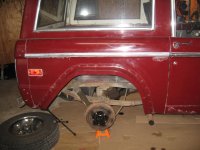
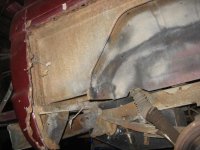
Well thats it next is the pass side
Thanks for looking guys!
Nice XR7! I have a 67 standard.
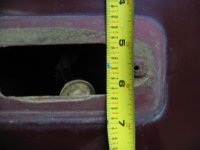
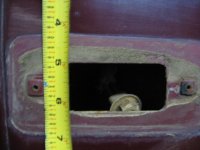
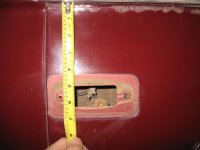
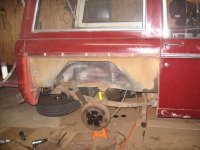
How did you remove and replace the front and rear part of the quarter that is sandwiched together? I saw in quarter 1 you had the rocker off but in pass. side you have the quarter mounted without removing it. Any tips would be appreciated. Did you use sheet metal screws to hold in place and what size? Looks good.Do you want to come to Iowa for a couple weeks?
Great Job, it really is coming along
Aaron