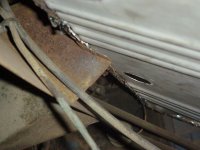
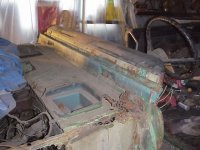
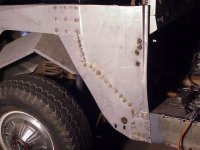
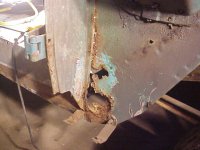
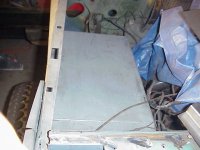
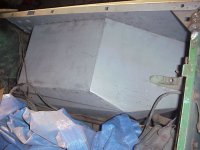
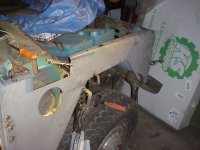
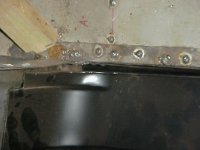
i found that the holes and nuts for the pedals were in the wrong location on mine. Mine was also missing the hood hinge nuts. I called them and they checked the ones they had and they had nuts so it was a fluke. Weld them though, when I moved the nuts for the pedals they came off easily. What you do not get with the cowl panel is the support for the column, the windshield supports. Those you have to move from yours to the new one. The passenger side cowl panel also has some fit issues so be ready.
I saw the writeup and noticed the need to weld those pieces on. Doesnt look too horrible, but I certainly was hoping that it wouldnt be necessary.
I have heard about the fitment issues with the passenger side cowl....not sure what the problem is, but have heard people give up in disgust only to work on trying to find someone with that original panel in good shape for sale...doesnt sound like it will be much fun.
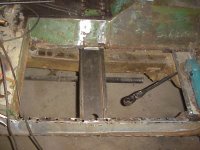
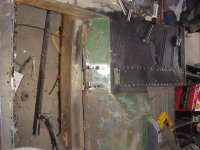
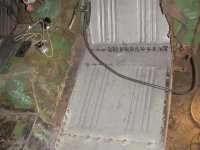
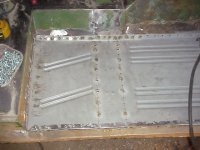
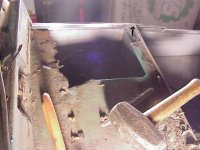
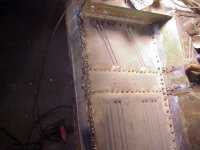
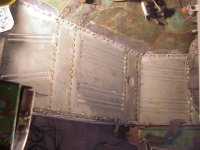
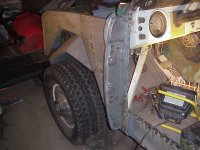
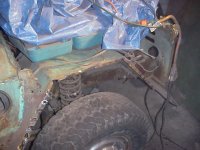
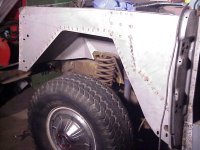
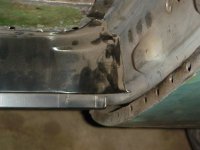
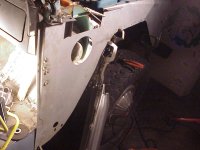
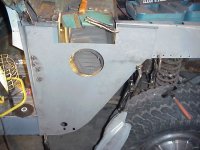
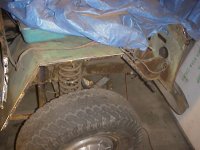
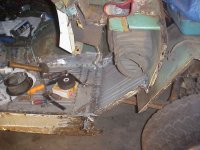
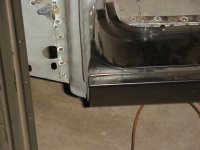
Had a couple days of no working on the truck...and was rather looking forward to getting back to it. Got a reasonable amount done tonight. Started with the drivers kick panel. I didnt have a lot of good measurements to go by, so had to spend a decent amount of time trying to take into consideration as many problems I could think up before putting the welder to the panel. So I looked at the radiator support to windshield distance, the holes in the inner fender and kick panel to see if they were the right space apart compared to my fender, the opening at the door compared to the untouched passenger side and a few other things. Finally got it to where I figure it should be and got that put in.
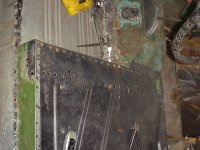
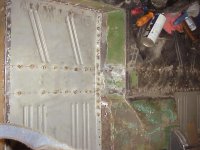
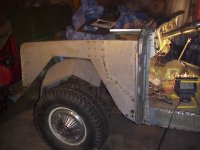
Next I worked on getting the driver hinge post installed. I had a lot of measurements to go by (thank you Grauerfam) so I took those numbers, compared them to the numbers I got before taking mine apart and at the advice of others I measured, and measured, then remeasured....and measured again just in case...it took a bit of tweaking on the new panel...and some cutting and a bit of grinding, but finally got all the numbers to match up perfectly so I got that welded into place. Was happy to see that it went in so well.
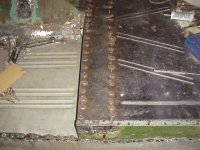
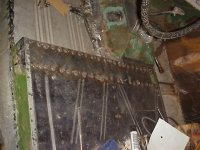
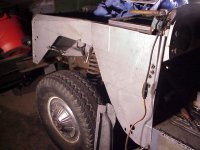
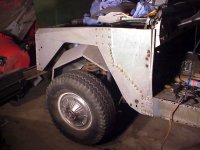
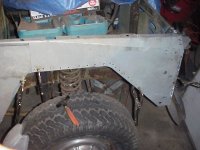
Tomorrow night (if I have time) I will get the drivers side wheel tub installed, then begin removal of the passenger pieces. Those all need to be replaced as well.
Anthony